
You can achieve professional-quality finishes using seven proven techniques: wet sanding with pumice creates a smooth cement-like paste for removing layer lines, while vapor smoothing with acetone or MEK melts surface imperfections. Rotary tool polishing with tripoli compound delivers high-gloss results, and tumbling processes multiple parts simultaneously. Heat guns quickly melt surface flaws, dry buffing wheels enhance shine, and progressive grit sanding from 80 to 2000 grit transforms rough prints. Master these methods to reveal exceptional surface quality.
Wet Sanding With Pumice for Layer Line Removal
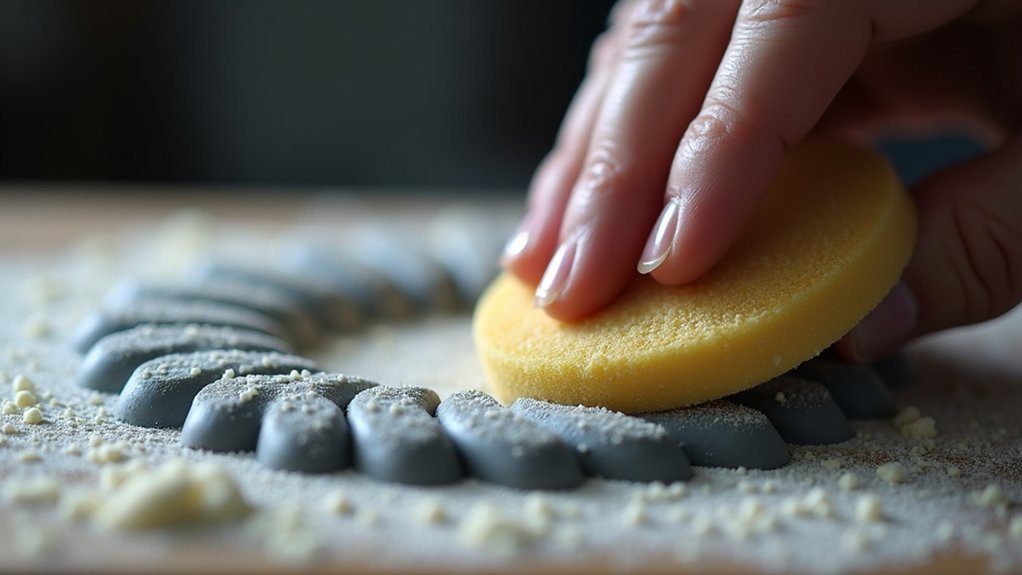
Transform your rough 3D prints into smooth, professional-looking pieces by wet sanding with pumice—a technique that effectively eliminates those stubborn layer lines.
Create a paste-like consistency resembling wet cement for best results. Apply medium to firm pressure while focusing on outer edges to maintain your print’s proper fit. This pressure application guarantees effective layer line removal without compromising dimensional accuracy.
After wet sanding, thoroughly clean the surface to remove leftover sand particles that could scratch during the polishing process.
Change your gloves immediately after cleaning to prevent contamination. A properly prepared clean surface is essential for achieving a smooth finish.
This meticulous preparation sets the foundation for successful subsequent polishing steps, ultimately delivering a clear, shiny final result that transforms your 3D prints into professional-quality pieces.
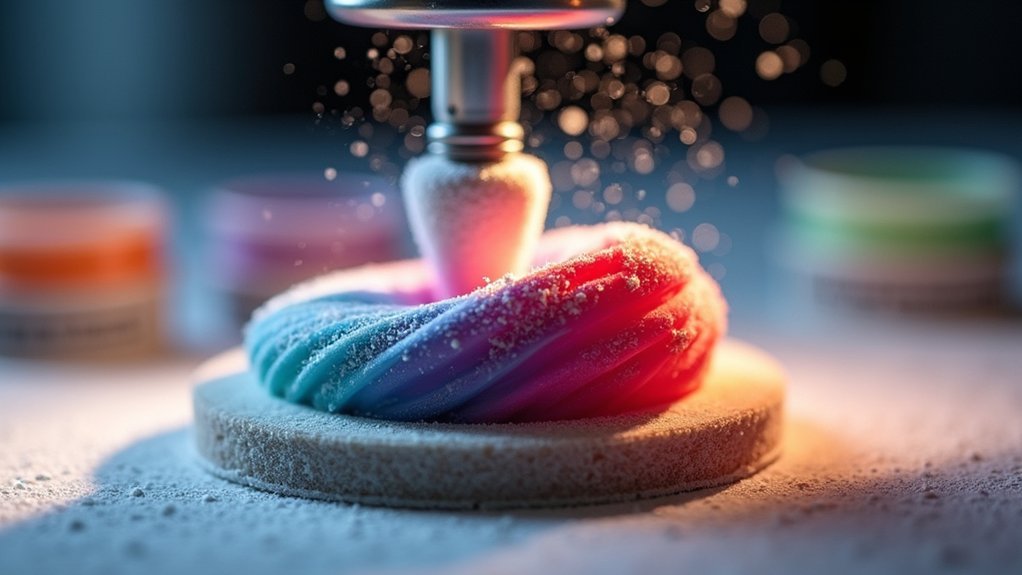
Vapor Smoothing With Chemical Solvents
You’ll need to match the right solvent to your filament material—acetone works perfectly for ABS prints, while MEK or its substitutes are your go-to options for PLA parts.
Before you start the vapor smoothing process, set up proper ventilation in your workspace and wear protective gear to avoid inhaling fumes or getting solvents on your skin.
The key is creating a controlled environment where solvent vapors can condense evenly on your print’s surface without compromising your safety.
Solvent Selection Methods
When selecting the right solvent for vapor smoothing your 3D prints, you’ll need to match the chemical to your filament material for best results. Different thermoplastics require specific solvents to effectively melt the surface layer and improve surface quality without damaging your 3D printed parts.
| Material | Recommended Solvent | Alternative Options |
|---|---|---|
| ABS | Acetone | Acetone-based blends |
| PLA | MEK | MEK substitutes |
| PETG | Limited options | Test carefully |
Your solvent selection methods should prioritize safety precautions and proper ventilation since these chemicals are flammable and toxic. Unlike manual sanding, vapor smoothing delivers uniform results across intricate geometries. Always test your chosen solvent on sample pieces first to verify compatibility and achieve the desired finish quality.
Application Safety Procedures
Chemical vapors pose serious health risks, so establishing proper application safety procedures before starting any vapor smoothing project protects you from potential harm.
Always work in a well-ventilated area or under a fume hood to prevent harmful chemical vapors from accumulating. Wear personal protective equipment including chemical-resistant gloves, safety goggles, and respiratory masks to guard against skin contact and respiratory exposure.
Keep your workspace away from open flames since flammable solvents create fire hazards. Follow manufacturer guidelines for proper solvent usage, including recommended concentrations and exposure times to achieve ideal results safely.
After completing your project, dispose of used solvents and contaminated materials according to local regulations to prevent environmental damage and maintain compliance with safety standards.
Rotary Tool Polishing With Compound Application
You’ll achieve professional-grade finishes on your 3D prints by mastering compound selection and proper application techniques with rotary tools.
Heavy to medium polishing compounds like tripoli work best for removing layer lines and surface imperfections when applied with medium to firm pressure.
Controlling your rotary tool’s speed becomes essential for preventing heat buildup while maximizing the compound’s effectiveness across different print materials.
Compound Selection and Application
Since achieving a mirror-like finish requires the right combination of compound and technique, you’ll want to select a heavy to medium polishing compound like tripoli for best results on your 3D printed surfaces. Proper compound selection guarantees ideal results across various materials.
When you apply the polishing compound, use a small amount and work it into the surface with medium pressure for even distribution. This prevents uneven wear while maximizing effectiveness.
Always use a clean buffing wheel designated specifically for polishing to avoid cross-contamination between different compounds.
For enhanced reflective appearance, buff while the surface remains slightly wet with compound. This technique helps achieve that coveted shiny finish.
Remember that regular cleaning of residual compound from your part prevents dulling and maintains clarity.
Rotary Speed Control Techniques
When mastering rotary tool polishing, your speed control directly impacts the quality of your final finish. Adjust rotary speed based on your material—use 5,000 to 10,000 RPM for delicate surfaces and up to 30,000 RPM for robust materials.
Apply polishing compound consistently to prevent overloading, which causes uneven results and excessive heat generation. Maintain a steady hand while keeping your rotary tool moving continuously to achieve an even polish across the entire surface.
Use a light touch, letting the tool’s speed do the work rather than pressing hard, which creates surface imperfections. Keep your tool moving to prevent overheating any single area.
Regularly clean buffing wheel between applications to avoid cross-contamination and guarantee the clearest possible finish on your 3D print.
Tumbling for Batch Processing Multiple Parts
While individual polishing methods can deliver excellent results, tumbling revolutionizes your post-processing workflow by handling dozens of parts simultaneously.
This batch processing technique places your 3D printed parts in a rotating barrel with abrasive media that gently removes layer lines and surface imperfections. You’ll find the scalability impressive – what once took hours of manual work now processes automatically while you focus on other tasks.
Choose your abrasive media wisely: ceramic works well for PLA, while plastic media suits delicate materials like nylon.
The tumbling action consistently improves surface quality across your entire batch, delivering uniform finish results. Processing times range from hours to days depending on your desired polishing level, making tumbling perfect for production runs requiring consistent, professional-grade surfaces.
Heat Gun Surface Melting for Quick Smoothing
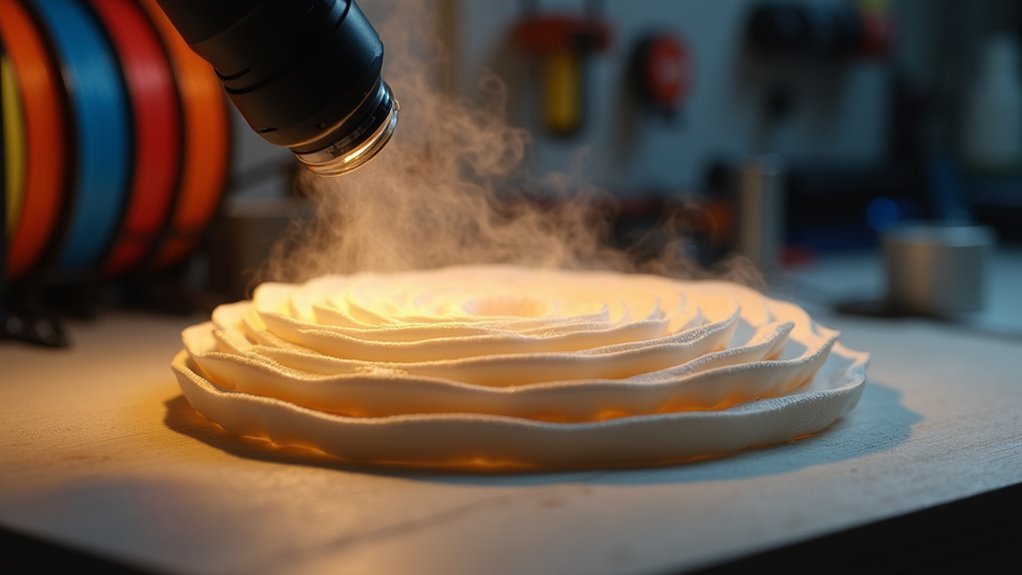
Heat guns offer a rapid alternative to mechanical polishing methods when you need quick surface improvements on your 3D prints.
You can effectively melt surface imperfections like strings and blobs to achieve a smoother finish on your printed part. Set your temperature setting between 200°C to 300°C, using lower temperatures for sensitive materials like PLA. This technique delivers significant aesthetic improvements by reducing prominent layer lines without requiring extensive manual sanding.
Maintain proper distance to prevent deformation and use a sweeping motion across the surface for an even melt.
Don’t expose any area to prolonged heat, as this causes localized overheating. Heat gun smoothing works exceptionally well on FDM prints where you want quick aesthetic enhancements.
Dry Buffing Wheel Techniques for High Shine
After completing your initial polishing stages, dry buffing wheels become your primary tool for achieving that coveted mirror-like finish on 3D printed surfaces.
You’ll want to use a clean buffing wheel to prevent cross-contamination from previous polishing compounds. For best results, buff while your surface remains slightly damp to enhance the high shine and achieve a smooth finish.
Apply light pressure during the process to avoid damaging your 3D prints while effectively removing any remaining residue.
You must regularly clean your buffing wheel to maintain effectiveness and prevent debris from scratching during final stages.
Consistent practice with dry buffing techniques will improve your polishing skills considerably, enhancing the surface appearance and overall finish quality of future projects.
Progressive Grit Sanding and Multi-Stage Polishing
When you’re ready to transform your 3D printed part from rough to remarkable, progressive grit sanding forms the foundation of professional-quality finishing. Start with coarse grit sandpaper around 80-120 grit to eliminate major imperfections, then gradually advance through fine grits up to 2000 for a smooth finish.
Multi-stage polishing follows sanding completion. Apply tripoli compound first for initial polishing, then switch to finer polishing compounds for high-gloss results. Between each stage, perform thorough cleaning to remove dust and debris that could contaminate subsequent steps.
Your buffing techniques should include dry buff wheel application after compound treatment. This enhances shine while ensuring surface clarity.
Regular practice with these progressive methods will consistently deliver professional-quality finish results on your 3D prints.
Frequently Asked Questions
How to Buff and Polish 3D Print?
You’ll apply heavy polishing compound like tripoli evenly, then use a clean dry buff wheel for final buffing. Clean all residue afterward and use different wheels for different compounds to avoid cross-contamination.
How to Get Perfectly Smooth 3D Prints?
You’ll achieve perfectly smooth 3D prints by starting with proper layer height settings, then sanding with wet pumice to remove layer lines, cleaning thoroughly, and finishing with tripoli polishing compound using dry buffing.
What Is the Best Tool to Smooth 3D Prints?
You’ll find a dry buff wheel works best for smoothing 3D prints. It removes polishing compound residue while enhancing shine. Use it after applying tripoli compound for ideal results on your printed parts.
What Is the Best Sanding Method for 3D Printing?
Start with 100-200 grit sandpaper to remove major imperfections, then progress to finer grits up to 1000. Use circular motions and wet sanding for better results, finishing with thorough cleaning.
Leave a Reply