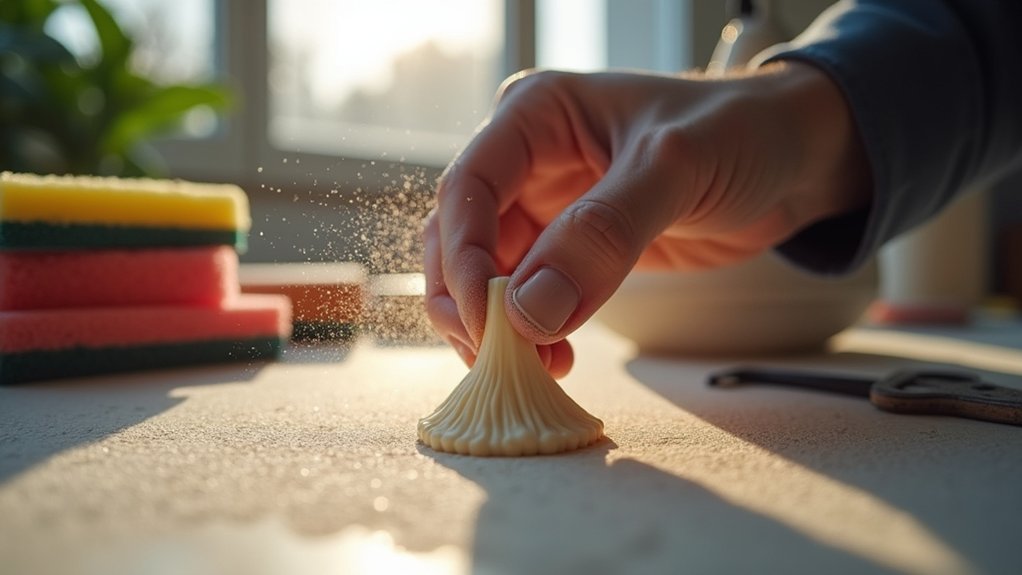
To sand 3D prints like a pro, you’ll start with coarse 80-100 grit sandpaper to remove major layer lines, then progressively work through finer grits up to 2000 for a polished finish. Use steady, even strokes to avoid flat spots, and consider wet sanding to reduce dust and prevent heat buildup. Don’t skip grit levels or rush the process—each stage is essential for achieving that smooth, professional look. Master these fundamentals and you’ll discover advanced techniques that take your prints to the next level.
Why Sand 3D Prints?
While 3D printing technology has revolutionized manufacturing and prototyping, the raw prints often emerge with visible layer lines, rough surfaces, and minor imperfections that detract from their final appearance.
Sanding transforms these basic prototypes into polished, professional-looking pieces by creating a smooth surface that eliminates those telltale layer lines.
Sanding eliminates visible layer lines and transforms rough 3D prints into smooth, professional-quality finished pieces.
You’ll find that sanding dramatically improves paint adhesion, ensuring your finish lasts longer and looks better.
For functional parts, sanding removes rough edges and maintains precise dimensions, allowing components to fit and move properly.
The process also reveals hidden design details, making features more prominent and enhancing the overall aesthetic appeal.
Essential Tools and Materials for Sanding
You’ll need the right sandpaper grits and specialized tools to achieve professional-looking results on your 3D prints.
Start with coarse 80-100 grit sandpaper for removing major layer lines and imperfections, then progress through finer grits up to 2000 for that smooth, polished finish.
Consider adding sanding sponges for flat surfaces and needle files for detailed work in tight corners where regular sandpaper can’t reach.
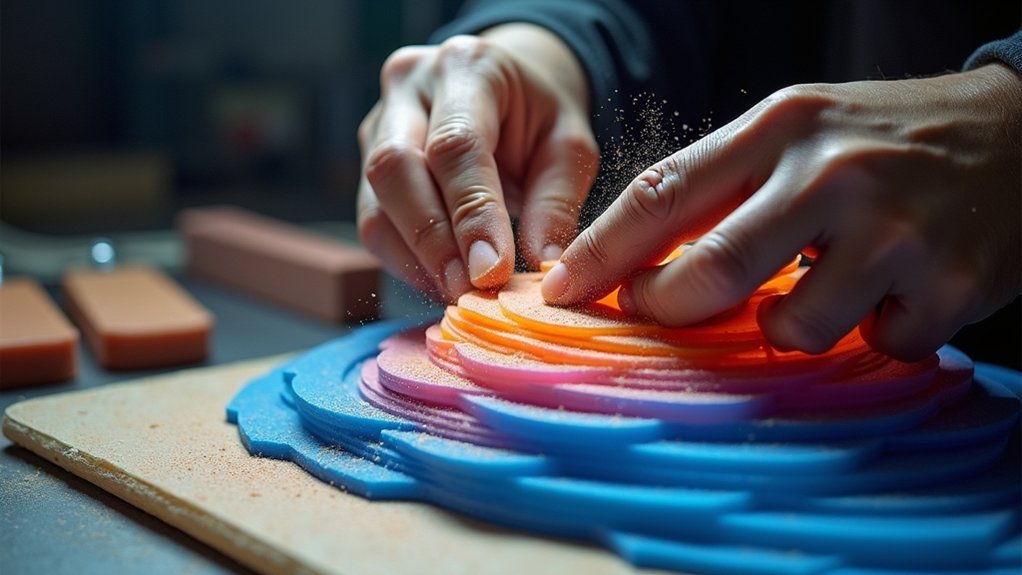
Sandpaper Grit Selection
Choosing the right sandpaper grit makes the difference between a mediocre finish and professional-looking results on your 3D prints.
Your sandpaper grit selection strategy should follow a systematic progression from coarse to ultra-fine grits.
Here’s your essential grit progression:
- Coarse grit sandpaper (80-150 grit) – Remove major imperfections and layer lines initially.
- Medium grits (220-600 grit) – Refine the surface and eliminate scratches from coarse sanding.
- Fine grits (800-2000 grit) – Create smooth, polished finishes with wet sanding techniques.
- Material-specific considerations – ABS tolerates coarser grits while PETG requires gentler approaches.
Stock multiple grit ranges in your workshop.
This variety guarantees you’ll handle any print smoothing challenge effectively, from removing stubborn support marks to achieving mirror-like finishes on detailed models.
Specialized Sanding Tools
Beyond selecting the right grit, your sanding success depends on having specialized tools that match your print’s geometry and material requirements.
Sanding blocks deliver consistent pressure across flat surfaces, ensuring even results without creating unwanted indentations. For complex geometries, needle files excel at reaching tight corners and intricate details where standard sandpaper can’t fit.
When working with heat-sensitive materials like PLA, wet sanding paper becomes essential for reducing friction-generated heat that could warp your print.
Sanding sponges offer flexibility for curved surfaces, conforming to your print’s contours better than rigid tools.
For larger projects, Dremel rotary tools dramatically accelerate the process, though you’ll need careful control to prevent overheating.
Always wear proper safety gear including respirators and goggles to protect against harmful dust particles.
Step-by-Step Sanding Process
Start with coarse 100-150 grit sandpaper to tackle the most prominent layer lines and surface imperfections on your 3D print. This initial stage removes the bulk of unwanted material, creating a foundation for finer work.
Follow this systematic approach:
- Progress through grits gradually – Move from 100-150 to 220, then 400-600 grit for ideal smoothness.
- Maintain consistent motion – Use steady, even strokes to avoid creating flat spots on curved surfaces.
- Consider wet sanding – Reduces dust and prevents heat buildup that can melt PLA material.
- Use appropriate tools – Employ sanding blocks for flat areas and needle files for intricate corners.
Regularly inspect your progress to remove layer lines effectively.
If you’re planning to sand between coats of primer or paint, stop at 400 grit to maintain proper adhesion.
Wet Sanding Vs Dry Sanding Techniques
Your choice between wet and dry sanding techniques will significantly impact both your process and results.
Dry sanding offers speed and convenience, making it ideal for initial rough work on your 3D prints. However, it creates more dust and risks overheating your material with finer grits.
Wet sanding provides superior control and allows you to achieve exceptionally smooth finishes. By using water or lubricant, you’ll reduce dust, prevent overheating, and safely use grits up to 2000 without excessive scratching. This technique works particularly well with PLA and ABS materials.
For best results, combine both methods. Start with dry sanding to address major imperfections, then shift to wet sanding for that polished, professional finish you’re seeking.
Sanding Different 3D Printing Materials
Since each 3D printing material has unique properties, you’ll need to adjust your sanding approach accordingly to achieve best results.
Your material choice directly impacts how you should tackle sanding the outer surface:
- PLA – Start with 80-100 grit sandpaper and progress to 220-600 grit for smooth finishes. This material responds exceptionally well to standard sanding techniques.
- ABS – Use lower grits and avoid heat generation to prevent melting. Consider acetone vapor smoothing after sanding for professional results.
- PETG – Employ wet sanding with fine grits to prevent heat buildup and maintain material integrity during the process.
- Resin prints – Handle delicately with finer grits, avoiding aggressive techniques that could damage intricate details.
Each material also accepts different fillers – lightweight body fillers work well for PLA and ABS, while resin prints require photopolymer resin fillers.
Common Sanding Mistakes to Avoid
Even with the right material-specific approach, many makers sabotage their results through preventable errors that can ruin hours of printing and preparation work.
Don’t sand too aggressively – this creates deep scratches and uneven surfaces that compromise your print’s aesthetic. Instead, lightly sand with controlled pressure to maintain surface integrity.
Aggressive sanding creates deep scratches and uneven surfaces that ruin your print’s appearance and require extensive rework.
Never skip grit levels during sanding. Progress gradually from coarse to fine grits for best results. Jumping between grits creates poor finishes that require additional work.
Avoid dry sanding with finer grits, especially on PLA. Wet sanding prevents overheating and material melting that destroys fine details.
Don’t rush the process. Take time to thoroughly complete each stage, ensuring all imperfections are addressed.
Exercise caution with rotary tools – use low speeds and gentle pressure to prevent heat damage.
Finishing Touches After Sanding
Once you’ve completed the sanding process, thorough inspection becomes your next critical step to guarantee a professional-quality finish.
Clean all dust and debris from your print’s surface before applying any treatments to prevent defects.
Follow these essential finishing steps:
- Apply filler primer to fill small gaps and create an even base while revealing areas that still need sanding.
- Clean thoroughly between each coat to promote ideal adhesion and smooth results.
- Add a clear coat after painting for enhanced protection, shine, and durability.
- Polish with compound for resin prints to achieve a high-quality, glossy aesthetic.
These finishing touches transform your sanded print from acceptable to exceptional, promoting your hard work produces professional results.
Alternative Smoothing Methods
While sanding remains the most common approach, you don’t always need to rely solely on abrasives to achieve smooth 3D prints.
Chemical vapor smoothing can dissolve surface imperfections on materials like ABS, while heat gun methods allow you to carefully melt and reshape layer lines on certain plastics.
Coating and filling techniques using products like epoxy resins or filler primers offer another route to eliminate surface flaws without traditional sanding.
Chemical Vapor Smoothing
If you’re looking for an alternative to manual sanding that can eliminate layer lines entirely, chemical vapor smoothing offers a hands-off approach that dissolves your print’s surface layer using solvent vapors.
This technique works by placing your ABS print in a sealed chamber with acetone, allowing the vapor to gently soften the outer layer. You’ll achieve results equivalent to applying several light coats of finish without manual effort.
Here’s what you need to know:
- Material compatibility – Only use with ABS prints, not PLA or PETG
- Timing control – Monitor exposure carefully to prevent overmelting
- Safety first – Work in ventilated areas with proper PPE
- Chamber setup – Use sealed containers with small solvent amounts
Chemical vapor smoothing delivers professional results but requires strict safety protocols and material considerations.
Heat Gun Methods
When you need an alternative to chemical vapor smoothing that offers more control over the process, heat gun methods provide a precise way to smooth ABS prints by carefully softening the surface layer.
You’ll want to maintain a 6-12 inch distance from your print to prevent overheating. Move the heat gun in circular motions to distribute heat evenly across thin layers, avoiding prolonged exposure that could cause warping or burning.
Set your heat gun between 200°F to 300°F and test on a small area first to find the ideal temperature.
This technique works best on simple shapes with minimal detail, as intricate designs might lose definition when the material softens and flows.
Always keep the heat gun moving to achieve uniform results.
Coating and Filling
Chemical smoothing and heat gun methods aren’t your only options for achieving professional-looking 3D prints.
Coating and filling techniques provide excellent alternatives that require different sanding approaches for ideal results.
Here are four effective coating and filling methods:
- XTC 3D Epoxy Resin – Apply thin coats to smooth layer lines and create glossy finishes without extensive sanding.
- Filler Primers – Use filler primers from Evercoat or 3M in light applications, sanding between each coat for smooth bases.
- Photopolymer Resin – Fill low spots and texture precisely, especially effective on intricate designs.
- Clear Acrylic Spray – Apply multiple thin coats of Rustoleum to fill gaps and enhance surface smoothness.
Always allow coatings to cure fully before sanding.
This guarantees better adhesion and smoother final finishes for your projects.
Frequently Asked Questions
What Is the Best Way to Sand 3D Prints?
Start with coarse 100-150 grit sandpaper to remove layer lines, then progress to finer grits up to 600. Use wet sanding for PLA, check progress frequently, and apply filler primer before painting.
How to Get Perfectly Smooth 3D Prints?
You’ll achieve perfectly smooth prints by starting with 100-grit sandpaper, progressing through finer grits to 600, using wet sanding techniques, applying thin filler primer coats between stages, and wearing proper safety equipment.
Should You Wet or Dry Sand 3D Prints?
You should use both methods for best results. Start with dry sanding to remove major imperfections quickly, then switch to wet sanding with fine grit for a smooth, professional finish.
Is It Safe to Sand a 3D Print?
Sanding 3D prints isn’t inherently dangerous, but you’ll need proper safety gear. Always wear a respirator, safety goggles, and gloves. Work in well-ventilated areas since plastic dust and fumes can harm you.


Leave a Reply