You’ve experienced the frustration of filament jams disrupting your prints at the worst possible moments. While basic troubleshooting might provide temporary relief, persistent jamming issues often require hardware upgrades that address the root cause. The extruder system plays an essential role in consistent filament delivery, and specific upgrades can transform your printer’s reliability. Three particular modifications stand out for their proven ability to eliminate jamming problems permanently.
Creality Official Ender 3 Metal Drive Feeder Extruder Upgrade
If you’re looking to eliminate the frustration of filament feeding issues on your Ender 3, the Creality Official Metal Drive Feeder Extruder Upgrade delivers the durability and reliability you need. This aluminum alloy extruder replaces your plastic stock part with a robust 40-teeth drive gear that handles PLA, ABS, TPU, and PETG effortlessly. You’ll appreciate the adjustable pressure bolt and beveled filament intake that prevent scraping and jams. Installation’s straightforward with the included DIY kit, and you’ll notice immediate improvements in print consistency. Plus, Creality backs this upgrade with 24/7 support and a 12-month warranty for peace of mind.
Best For: Ender 3 users experiencing filament feeding problems who want a durable, long-term solution that improves print consistency and reliability.
Pros:
- All-metal aluminum alloy construction with 40-teeth drive gear provides superior durability compared to plastic stock extruder
- Adjustable pressure bolt and beveled filament intake prevent scraping and jams while handling multiple filament types (PLA, ABS, TPU, PETG)
- Easy DIY installation with included hardware, backed by 24/7 customer support and 12-month warranty
Cons:
- Requires assembly as a DIY kit rather than coming pre-assembled
- Instructions could be clearer according to some user feedback
- Limited compatibility to specific Creality printer models (Ender-3 Series, CR-10, CR-10S)
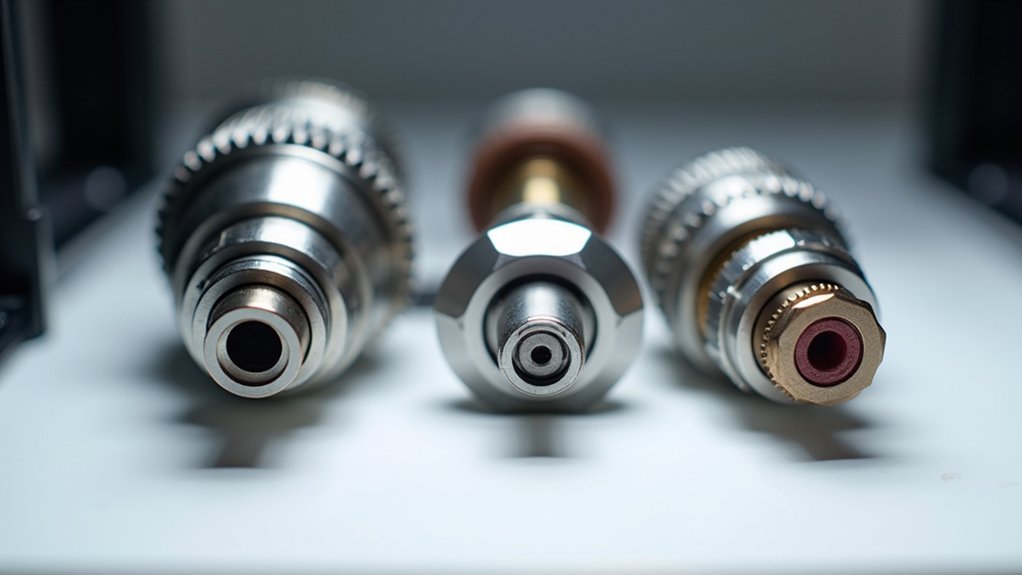
Creality Ender 3 MK8 HotEnd Kit with 0.4mm Nozzle
The Creality Ender 3 MK8 HotEnd Kit transforms your printing experience with its premium Capricorn PTFE tubing that delivers the lowest friction available for Bowden systems. You’ll notice improved responsiveness, reduced retraction requirements, and enhanced print accuracy while virtually eliminating clogs—especially with chunky filaments like woodfills or ironfills.
Installation takes just 15-30 minutes, though you’ll need to carefully manage the wiring to avoid interference. The kit includes everything you need: the 24V 40W hotend assembly, four MK8 brass nozzles, and 40cm of genuine Capricorn tubing. Users consistently report significant print quality improvements and restored printer functionality, making this upgrade’s value exceptional compared to buying individual replacement parts.
Best For: Ender 3 series printer owners experiencing clogs, jamming issues, or seeking improved print quality, especially when working with specialty filaments like woodfills or ironfills.
Pros:
- Premium Capricorn PTFE tubing provides lowest friction for improved responsiveness and reduced clogging
- Complete kit includes hotend assembly, four MK8 nozzles, and genuine tubing for exceptional value
- Quick 15-30 minute installation with significant print quality improvements reported by users
Cons:
- Wire management can be tricky and challenging in tight spaces during installation
- Some users need to verify assembly integrity upon receipt to avoid potential failures
- Installation complexity may be overwhelming for complete beginners despite the relatively short time requirement
Creality Official Ender 3 V3 SE KE Hotend Upgrades Kit for 3D Printers
Creality’s Official Ender 3 V3 SE KE Hotend Upgrades Kit transforms your 3D printer into a high-speed powerhouse capable of reaching 600 mm/s printing speeds and temperatures up to 300°C. You’ll experience a 30% increase in the hotmelt section, dramatically reducing clogs and improving material flow. The titanium alloy throat minimizes heat transfer while the ceramic heating block heats to 200°C in just 40 seconds. You can print diverse materials including PLA, ABS, PETG, and TPU with enhanced stability. However, you’ll face compatibility issues with K1C models and potential thermistor connection problems during installation.
Best For: Ender 3 V3 SE/KE owners seeking to upgrade their 3D printer’s speed and temperature capabilities for high-performance printing with diverse materials.
Pros:
- Enables high-speed printing up to 600 mm/s with 30% increased hotmelt section and reduced clogging
- Reaches high temperatures up to 300°C quickly (200°C in 40 seconds) with durable titanium alloy construction
- Compatible with multiple materials including PLA, ABS, PETG, and TPU with improved print quality and success rates
Cons:
- Not compatible with newer K1C models due to different PCBA tool board connections
- Installation challenges reported with thermistor JST connections that may not fit properly
- Requires thermal paste application and careful setup to prevent temperature fluctuations
Factors to Consider When Choosing Extruder Upgrades That Eliminate Jams in 3D Printing
When you’re selecting an extruder upgrade to prevent frustrating jams, you’ll need to evaluate several critical specifications that directly impact performance. Start by checking material compatibility requirements and temperature range capabilities to guarantee your chosen upgrade handles your preferred filaments without overheating or underperforming. Don’t overlook installation complexity, filament diameter specifications, and drive gear configuration—these factors determine whether you’ll achieve smooth, reliable printing or continue battling persistent clogs.
Material Compatibility Requirements
Since different materials present unique feeding challenges, you’ll need an extruder upgrade that handles various filament types without causing jams. Your upgraded extruder should accommodate PLA, ABS, TPU, and PETG to maximize your printing versatility. Look for designs with optimized metal extrusion and beveled filament intakes that minimize scraping and improve flow across different materials.
Flexible filaments like TPU require precise handling, so choose upgrades with smooth feeding mechanisms. High-quality PTFE tubing with low friction properties greatly reduces clogging risks during printing. You’ll also want an adjustable pressure mechanism on the drive gear, allowing you to fine-tune settings based on your specific material. This adjustment capability prevents over-compression of soft filaments while ensuring adequate grip on harder materials, eliminating jams regardless of what you’re printing.
Temperature Range Capabilities
Your extruder upgrade’s temperature range determines which materials you can successfully print without encountering jams. High-quality upgrades support temperatures up to 300°C, enabling you to print advanced materials like nylon and high-temperature PLA that standard extruders can’t handle.
Enhanced temperature stability prevents the inconsistent heating that causes filament clogging in your nozzle or heat break. You’ll need a higher wattage heating element for faster temperature response times, which supports quicker printing speeds while reducing jam risks from overheating or underheating.
Effective cooling mechanisms maintain ideal heat break temperatures, preventing heat creep that commonly causes jams. Choose extruders with titanium alloy components for superior thermal conductivity and resistance to thermal degradation, ensuring consistent high-temperature performance.
Installation Complexity Assessment
Installation complexity varies dramatically between extruder upgrades, and you’ll want to evaluate several key factors before making your purchase. First, assess whether you’re buying a complete kit or need existing hardware for installation. DIY kits require careful assembly and technical skills that aren’t always beginner-friendly.
Check the installation instructions’ clarity, as detailed guidance noticeably reduces errors and frustration. Most straightforward upgrades take 15-30 minutes, while complex systems demand considerably more time.
Verify compatibility with your printer’s existing components, particularly wiring management and thermistor connections. Mismatches complicate installation unnecessarily.
Read user feedback about installation experiences to understand potential challenges you’ll face. These insights help you anticipate difficulties and determine if the upgrade matches your technical abilities.
Filament Diameter Specifications
Three critical diameter specifications directly impact your extruder’s ability to prevent jams: the filament size, tolerance range, and consistency throughout the spool. You’ll need to match your extruder upgrade to the standard 1.75mm filament diameter, as using 2.85mm variants creates improper feeding and increased resistance that leads to clogs. Choose manufacturers offering tight tolerances within ±0.02mm to maintain uniform extrusion pressure and prevent material flow disruptions through your hotend. Consistent diameter throughout each spool guarantees your upgraded extruder won’t encounter feeding variations that cause jams. After installing your extruder upgrade, you’ll need to recalibrate extrusion settings based on your specific filament diameter to optimize feed rates and eliminate jam occurrences during printing sessions.
Drive Gear Configuration
While selecting an extruder upgrade, the drive gear configuration determines whether you’ll experience smooth filament feeding or frequent jams during your printing sessions. You’ll want to prioritize a 40-teeth drive gear over configurations with fewer teeth, as it provides superior grip and control. Look for adjustable pressure settings that let you optimize grip for different filament types, reducing slippage and jams. A beveled filament intake enhances smooth entry while minimizing scraping. Choose metal gears over plastic alternatives—they’re more durable and resist wear that causes degradation-related jams. Guarantee proper alignment and tension during installation, as misalignment creates uneven pressure that increases clog likelihood. These factors work together to maintain consistent extrusion flow.
Heat Dissipation Features
Heat dissipation features work alongside your drive gear setup to prevent filament jams caused by thermal issues. You’ll want upgrades with split structures or specialized materials that enhance cooling efficiency, stabilizing temperature differentials between the heat break and hot end. A well-designed heat sink reduces heat creep, preventing premature filament softening that causes extruder jams.
Look for high-quality materials like titanium alloy throats that minimize heat transfer and improve temperature regulation stability. You should prioritize upgrades with efficient cooling systems, including ceramic heating elements that accelerate heat-up times while reducing thermal fluctuations. These features prevent overheating that leads to nozzle clogs and maintain ideal printing temperatures throughout your projects, ensuring consistent filament flow without jamming issues.
Frequently Asked Questions
How Long Do Upgraded Extruders Typically Last Before Needing Replacement?
You’ll typically get 2-5 years from upgraded extruders before they need replacement. Your usage frequency, maintenance habits, and filament types affect longevity. High-quality upgrades often last longer than stock extruders with proper care.
Can I Install These Extruder Upgrades Without Voiding My Printer Warranty?
You’ll likely void your printer’s warranty by installing extruder upgrades, since manufacturers typically don’t cover modifications. Check your warranty terms first, or wait until it expires before upgrading your extruder components.
Do Extruder Upgrades Work With Third-Party Filaments or Only Specific Brands?
Most extruder upgrades work with virtually any third-party filament brand you’ll use. They’re designed for universal compatibility, so you won’t be locked into specific manufacturers or premium brands.
What Tools Are Required for Installing Most Extruder Upgrade Kits?
You’ll typically need a hex key set, screwdrivers, pliers, and wire strippers. Most kits include specific allen keys, but you’ll want needle-nose pliers for connectors and a multimeter for troubleshooting electrical connections.
Will Upgrading My Extruder Affect My Printer’s Maximum Printing Speed?
You’ll likely see improved maximum printing speeds after upgrading your extruder. Better filament control, reduced friction, and more consistent extrusion let you push higher speeds without compromising print quality or causing jams.
Leave a Reply