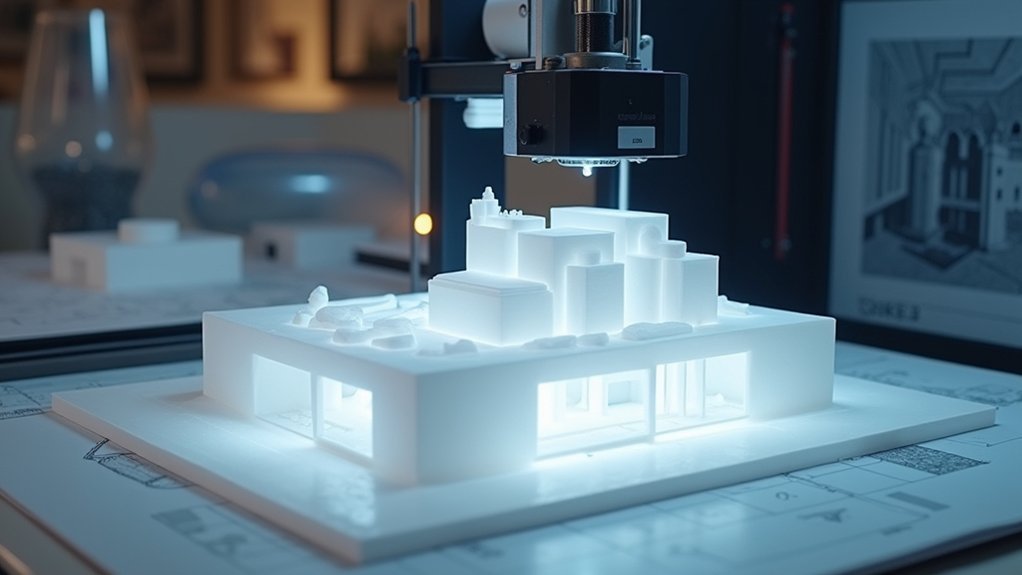
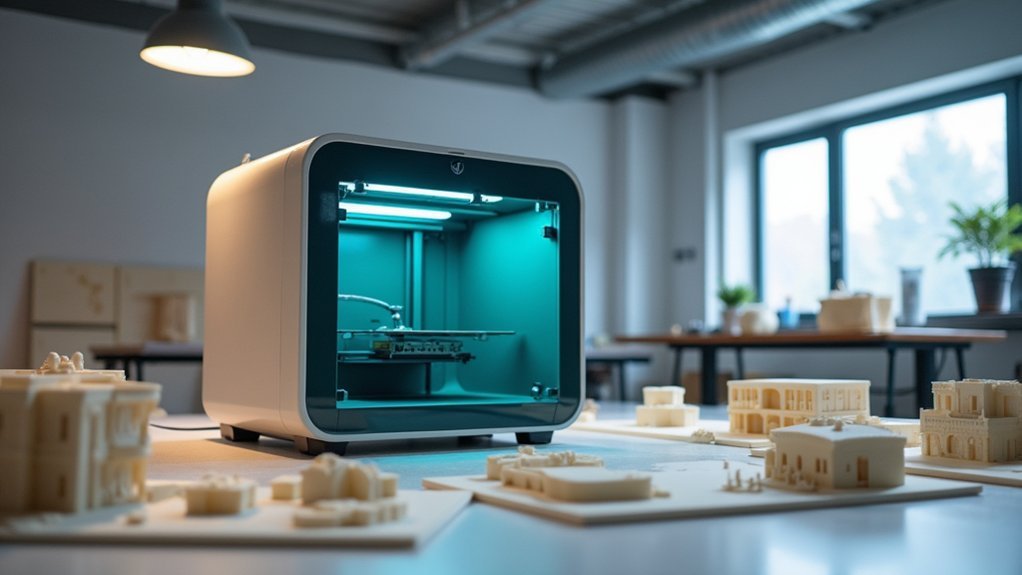
The Formlabs Form 3 stands out as the top 3D printer for architectural models, delivering exceptional precision with 25-micron layer thickness and smooth surface finishes that capture intricate design details. You’ll appreciate its SLA technology that eliminates time-consuming manual craftsmanship while producing precise models directly from your CAD files. The laser-curing process requires minimal post-processing, making it ideal for showcasing complex geometries to clients. Discover how other technologies and workflows can further transform your architectural model-making process.
Why 3D Printing Transforms Architectural Model Creation

When you’re designing architectural models, 3D printing fundamentally transforms your creative process by eliminating the time-consuming manual craftsmanship that traditional model-making demands.
You’ll leverage rapid prototyping capabilities to produce precise models directly from your CAD files using SLA and FDM technologies. This advancement lets you create intricate designs that would’ve been nearly impossible to craft by hand.
You can iterate quickly through multiple design concepts, making adjustments on the fly to foster innovation. Your client communication improves dramatically when you provide tangible representations that showcase complex geometries effectively.
Additionally, you’re supporting sustainable practices by minimizing material waste during production. The integration streamlines your entire model-making workflow while maintaining the precision your architectural models require.
Essential Features to Look for in Architectural 3D Printers
Precision stands as the cornerstone when selecting your architectural 3D printer, but it’s just one of several critical features you’ll need to evaluate.
Build volume determines whether you can print larger components without tedious assembly work, so prioritize spacious printing areas that accommodate various model complexities.
High resolution capabilities are non-negotiable—aim for minimum 100-micron precision to capture intricate design details with smooth, accurate surfaces.
Achieve 100-micron precision minimum to ensure your architectural models display crisp detail and professional-grade surface quality.
Material compatibility varies greatly across different printing technology options like FDM, SLA, and SLS, directly impacting your model’s durability and finish quality.
Don’t overlook printing speed, which affects project timelines and workflow efficiency.
Finally, make certain your chosen printer offers a user-friendly interface with seamless software integration, streamlining the shift from CAD designs to finished architectural models.
Stereolithography (SLA) Printers for High-Detail Models

Among the various printing technologies available, stereolithography (SLA) printers excel at delivering the exceptional precision architectural models demand.
You’ll achieve remarkable resolution with layer thickness as low as 25 microns, making SLA resin ideal for showcasing complex geometries and fine architectural details.
SLA technology’s laser-curing process produces smooth surface finishes that require minimal post-processing, saving you valuable time.
You can complete intricate designs within hours, dramatically accelerating your workflow compared to traditional model-making methods.
For detailed architectural presentations, SLA printers like the Formlabs Form 3 offer user-friendly interfaces and automatic resin dispensing.
This high precision technology guarantees your models capture every architectural element with stunning clarity, making SLA the preferred choice for professional architects seeking exceptional detail quality.
Fused Deposition Modeling (FDM) for Large-Scale Prototypes
You’ll find FDM printers excel when you’re creating architectural models that need substantial size and quick turnaround times.
This technology lets you produce large-scale prototypes efficiently while keeping costs manageable for your firm.
Understanding FDM’s capabilities, the advantages of bigger build volumes, and how to choose the right materials will help you maximize this technology’s potential for architectural modeling.
FDM Technology Overview
When creating large-scale architectural prototypes, FDM technology stands out as the most practical choice for designers who need to balance cost, speed, and functionality. Fused deposition modeling (FDM) builds architectural models layer by layer using melted thermoplastic filament, making it perfect for quick iterations and concept models. The print resolution ranges from 50 to 300 microns, delivering decent detail while maintaining rapid production speeds.
| Material | Strength | Best Use |
|---|---|---|
| PLA | Low-Medium | Concept models |
| ABS | Medium-High | Functional prototypes |
| PETG | High | Durable displays |
| TPU | Flexible | Gaskets/seals |
| Wood-fill | Medium | Aesthetic models |
Large-format FDM printers like the Ultimaker S5 accommodate build volumes up to 500 x 500 x 500 mm, enabling single-print architectural components that would otherwise require assembly.
Large Model Benefits
While smaller desktop printers struggle with architectural components, large-format FDM machines excel at producing substantial building prototypes that’d typically require weeks of manual assembly.
Fused Deposition Modeling (FDM) technology transforms your architectural workflow by enabling single-print fabrication of expansive models.
You’ll gain significant advantages when creating large-scale architectural prototypes:
- Build volumes reaching several cubic feet eliminate part assembly requirements
- Rapid layer-by-layer construction reduces production time compared to traditional methods
- Thermoplastic materials like PLA and ABS offer versatile finishes and mechanical properties
These architectural prototypes prove exceptionally durable for transportation between project sites while remaining cost-effective for your budget.
You’ll appreciate how FDM’s material versatility lets you experiment with different aesthetic and structural characteristics, ensuring your large models accurately represent your design vision.
Material Selection Guide
Although FDM technology supports numerous thermoplastic materials, choosing the right filament determines your large-scale prototype’s structural integrity and visual appeal.
For architectural projects requiring durability, ABS offers excellent strength and heat resistance, while PLA provides easier printing with smooth surface finishes for detailed prints. PETG combines both advantages, delivering chemical resistance and clarity for transparent design elements.
Your material selection should align with your prototype’s purpose. For presentation models, wood-filled filaments create realistic textures mimicking actual building materials. Metal-infused options add weight and premium aesthetics to your 3D printing projects.
Consider layer resolution when selecting materials—PLA achieves finer details at 100-micron layers, while ABS performs better for structural components requiring post-processing flexibility in FDM applications.
Selective Laser Sintering (SLS) for Complex Geometries
Since architectural models often demand intricate details and complex internal structures that traditional manufacturing can’t achieve, Selective Laser Sintering (SLS) emerges as the ideal solution for ambitious design projects.
SLS technology transforms ambitious architectural visions into reality, delivering intricate details and complex structures impossible with traditional manufacturing methods.
You’ll find that SLS uses high-powered lasers to fuse powdered materials layer by layer, creating highly detailed architectural models with exceptional precision.
SLS technology offers distinct advantages for your complex geometries:
- Material versatility – Choose from plastics to metals based on your project requirements
- Superior mechanical properties – Create durable models suitable for functional testing and handling
- Fine resolution – Achieve 0.1 to 0.2 mm layer thickness for intricate architectural details
When you’re designing models with internal cavities, overhangs, or interconnected components, selective laser sintering delivers results that other 3D printing methods simply can’t match.
Binder Jetting Technology for Full-Color Architectural Models

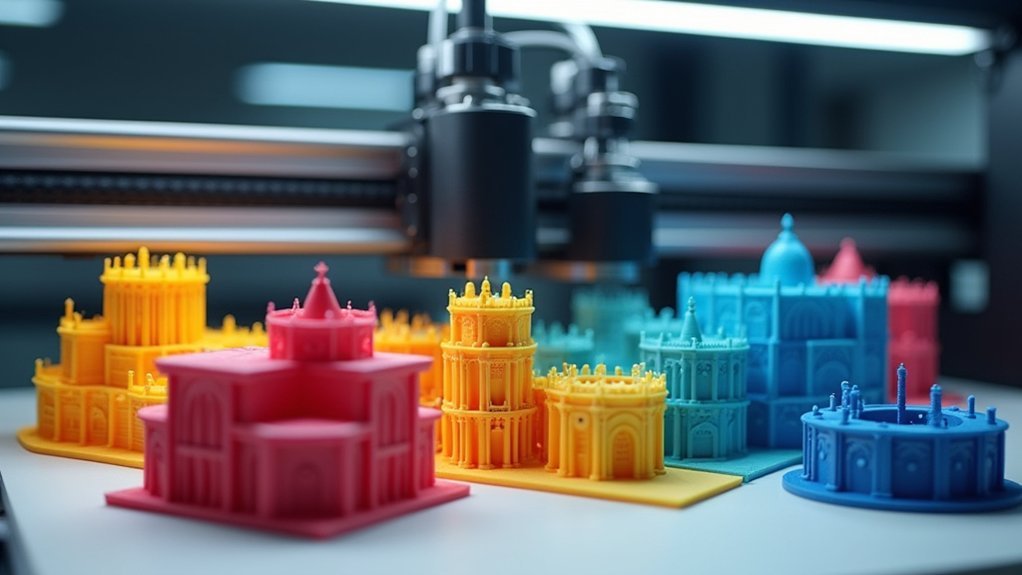
When you need to present architectural concepts with realistic color representation, binder jetting technology transforms your design presentations by producing full-color models that capture every nuance of your vision. This process bonds powdered materials with liquid binding agents, enabling rapid fabrication of complex geometries with vibrant hues that traditional methods can’t match.
| Feature | Advantage | Consideration |
|---|---|---|
| Color Range | Full-spectrum vibrant hues | Porous surface finish |
| Fabrication Speed | Rapid production cycles | Brittle material properties |
| Geometry Capability | Complex architectural details | Display-only applications |
| Cost Structure | Cost-effective for quantities | Limited structural use |
| Equipment Range | $300-$100,000+ options | Professional vs. budget quality |
You’ll find binder jetting particularly valuable for client presentations where architectural models require intricate detailing and realistic coloration while maintaining cost-effective production schedules.
Top 3D Printer Recommendations for Architecture Firms
While architectural visualization demands precision and detail, selecting the right 3D printer can transform your firm’s model-making capabilities from concept sketches to compelling client presentations.
For architects seeking professional-grade results, these printers deliver exceptional quality for architectural models:
- Formlabs Form 3 – SLA technology produces high-resolution prints with smooth surface finishes, perfect for intricate detailed features.
- Ultimaker S5 – Large build volume and dual extrusion capabilities enable complex models while maintaining precision for architectural projects.
- Prusa i3 MK3S+ – Celebrated for versatility and high precision, featuring auto bed leveling and filament detection for enhanced printing experience.
Each printer addresses different firm requirements, from budget considerations to specific project demands.
You’ll find these recommendations balance quality, reliability, and functionality essential for professional architectural model production.
From CAD to Physical Model: Software and Workflow Setup
Creating accurate architectural models requires a streamlined workflow that bridges your digital designs with physical output.
You’ll start with architectural CAD software like BIM, Rhino 3D, or SketchUp to develop your digital foundation. Before 3D printing, verify your models are properly scaled and compatible by adjusting for assembly requirements and post-processing needs.
Digital architectural models require proper scaling and compatibility verification before printing to ensure seamless assembly and professional results.
Slicing software becomes essential for architects seeking ideal print quality. You’ll configure layer height, support structures, and material specifications to achieve precise resolution.
Consider your printer’s build volume when preparing models—larger components often require splitting into manageable sections.
Post-processing techniques like sanding and bonding enhance your finished models’ durability and appearance.
This systematic approach transforms your digital concepts into professional-grade physical representations that effectively communicate architectural vision.
Post-Processing Techniques for Professional Architectural Models
Once you’ve printed your architectural model, you’ll need to transform the raw output into a professional presentation piece through strategic post-processing.
Surface finishing methods like sanding, chemical smoothing, and protective coatings will eliminate layer lines and enhance durability for long-term display.
You’ll also need to master assembly techniques and select appropriate bonding agents to seamlessly join multiple components into a cohesive final model.
Surface Finishing Methods
After your architectural model emerges from the printer, the real artistry begins with surface finishing techniques that transform a rough prototype into a professional presentation piece.
Surface finishing methods dramatically enhance your 3D printed models’ appearance and durability.
Start with essential preparation steps:
- Sanding – Smooth rough edges and imperfections for better aesthetic appeal
- Cleaning – Remove excess resin with isopropyl alcohol for SLA prints
- Curing – Complete the hardening process for peak surface quality
Painting adds vital visual impact to your models.
You’ll achieve stunning results through airbrushing or detailed hand-painting techniques.
Advanced post-processing techniques like vapor smoothing eliminate visible layer lines on FDM prints, creating polished surfaces that rival injection-molded parts.
Protective coatings provide the finishing touch, offering glossy or matte appearances while preserving your work’s quality and speed of presentation.
Assembly and Bonding
When your architectural model exceeds your printer’s build volume, strategic assembly becomes the bridge between individual components and a cohesive masterpiece.
You’ll need to carefully plan how structural parts connect, guaranteeing accurate alignment throughout the process. Chemical adhesion and mechanical assembly serve as your primary bonding techniques, each offering distinct advantages depending on your model’s requirements.
Advanced adhesives specifically formulated for your printing materials will dramatically improve joint strength and longevity.
You can’t overlook precision during assembly—high-quality prints guarantee seamless part integration, virtually eliminating visible seams.
Test-fit components before applying adhesives, and consider incorporating alignment pins or tabs during the design phase.
Post-processing techniques like strategic sanding around joints will further enhance your model’s professional appearance and structural integrity.
Frequently Asked Questions
Which Printer Do Architects Use?
You’ll typically use SLA printers like Formlabs Form 3 for detailed models, FDM printers like Creality Ender 3 V2 for budget concepts, or high-end options like Ultimaker S5 for complex designs.
What Is the Best 3D Printer for Architecture?
You’ll find the Formlabs Form 3 excels for detailed architectural models with its SLA technology, while the Ultimaker S5 offers larger build volumes for complex designs requiring dual materials.
What Are the 3D Printers Used in Architecture?
You’ll find SLA printers like Formlabs Form 3 for detailed models, FDM printers like Creality Ender 3 V2 for concepts, SLS for complex geometries, and Binder Jetting for colorful presentations.
What Is the Best Paper for Architecture Models?
You’ll want cardstock or heavy-weight paper at least 200 gsm for structural integrity. Use translucent vellum for glass elements, and consider foam board for lightweight components. Choose colors and textures that accurately represent your design.


Leave a Reply