You’ll achieve exceptional bed adhesion by optimizing three key slicer settings. Set your first layer height to 0.1mm with extrusion width increased to 120-150% of normal settings – this creates maximum surface contact and proper filament squish. Reduce your first layer print speed to 20-30 mm/s, allowing sufficient bonding time. Configure a 0.10mm brim distance for easy removal while maintaining stability. These adjustments work together to eliminate adhesion failures and transform your printing success rate.
First Layer Height and Extrusion Settings
When you’re struggling with prints that won’t stick to your bed, adjusting your first layer height and extrusion settings can make the difference between success and failure.
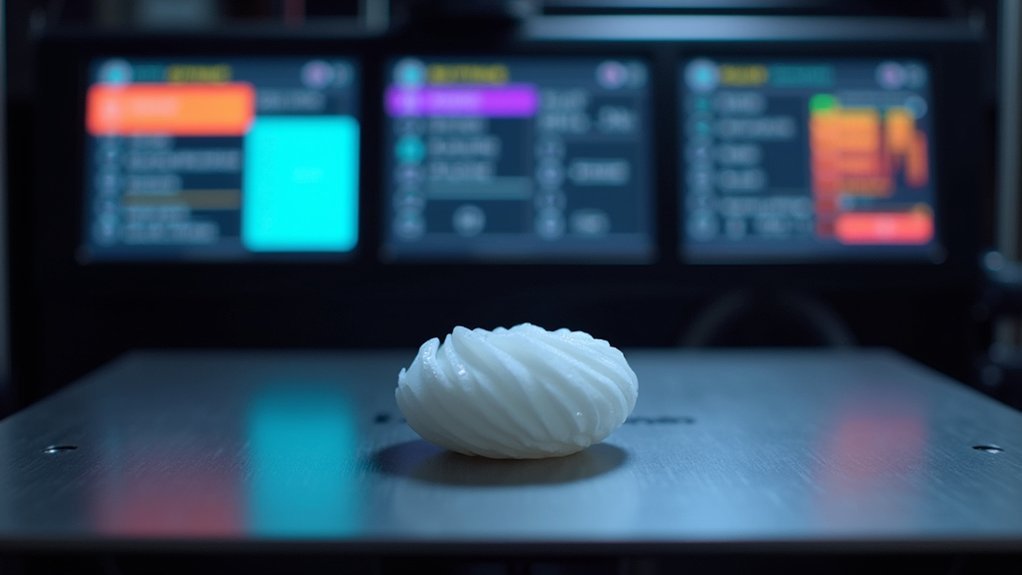
Set your first layer height to 0.1mm to create better contact with the print bed, especially when working with PLA materials. This lower height guarantees proper squish and adhesion.
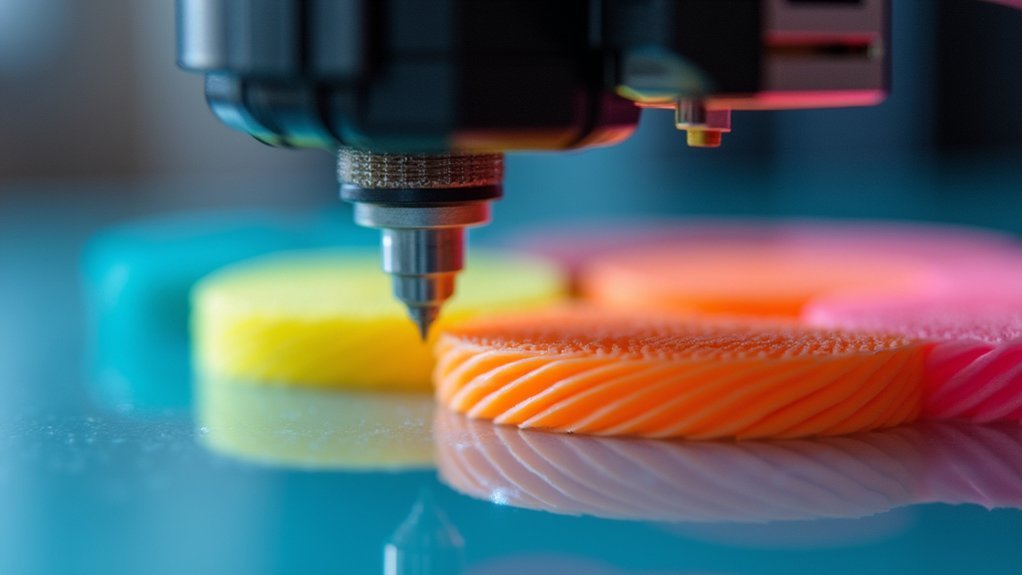
Next, increase your extrusion width to 120-150% of your normal width. This wider extrusion creates more surface area touching the bed, dramatically improving your bond strength.
The combination of proper first layer height and increased extrusion width gives you the foundation for successful prints.
For challenging prints, use a brim to provide additional contact points around your model’s perimeter, further enhancing stability during those critical first layers.
Brim and Raft Configuration Options
While your first layer settings provide the foundation for bed adhesion, brims and rafts offer additional support structures that can save even the most challenging prints.
You’ll want to configure your brim with approximately 0.10mm distance from your model, ensuring easy removal while maximizing stability. Increasing first layer extrusion width enhances the brim’s adhesion surface area on your build surface.
For delicate prints with intricate features, brims prevent warping by providing extra contact area.
However, rafts work better for models with minimal contact points or when using warp-prone materials like ABS and PETG. These create a complete base layer beneath your print, greatly improving bed adhesion for challenging materials and complex geometries that might otherwise fail.
Print Speed and Temperature Calibration

Beyond structural supports, fine-tuning your print speed and temperature settings creates the ideal environment for superior bed adhesion. Your first layer print speed should drop to 20-30 mm/s, allowing filament to bond properly with the surface. This slower pace gives each layer height sufficient time to establish contact.
| Material | Bed Temperature | Nozzle Adjustment |
|---|---|---|
| PLA | 50-60°C | Lower 5-10°C |
| PETG | 70-80°C | Lower 5-10°C |
Temperature calibration requires reducing your nozzle temperature by 5-10°C for the first layer, preventing overheating and warping. Increase first layer extrusion width to 120-150% for enhanced contact area. Regular calibration based on specific filament properties guarantees consistent adhesion results across different materials you’ll encounter.
Frequently Asked Questions
Will Higher Bed Temperature Make PLA Stick Better?
Yes, you’ll get better PLA adhesion with higher bed temperatures around 50-60°C. The warmer surface keeps your first layer from cooling too quickly, reducing warping and improving your filament’s bond.
What Are the Best Slicer Settings for PLA?
You’ll want 0.15-0.3mm layer height, 50mm/s print speed, 200-220°C nozzle temperature, 60°C bed temperature, and 10-20% infill for most prints. Enable retraction at 4-6mm distance.
How to Make Filament Stick to Bed Better?
You’ll improve filament adhesion by increasing first layer height to 0.2mm, slowing print speed to 25mm/s, using wider extrusion width, adding brims for small parts, and setting proper bed temperatures.
What Is the Best Bed Temperature for PETG Adhesion?
You’ll get the best PETG adhesion by setting your bed temperature between 70-80°C. This range prevents warping while ensuring strong first-layer bonding, so you’ll achieve consistent prints without layer separation issues.


Leave a Reply