
You’ll need a 3D printer capable of handling nylon or carbon fiber-reinforced filament to create durable automotive wire clips. Download STL files from platforms like Thingiverse or Cults3D, checking for positive reviews and vehicle compatibility. Configure your printer with 0.2mm layer height, 30% infill, and 50mm/s print speed for maximum strength. Choose heat-resistant materials that can withstand engine bay temperatures up to 120°C. After printing, test-fit clips and perform stress testing to verify they’ll survive automotive conditions and provide the reliability you’re seeking.
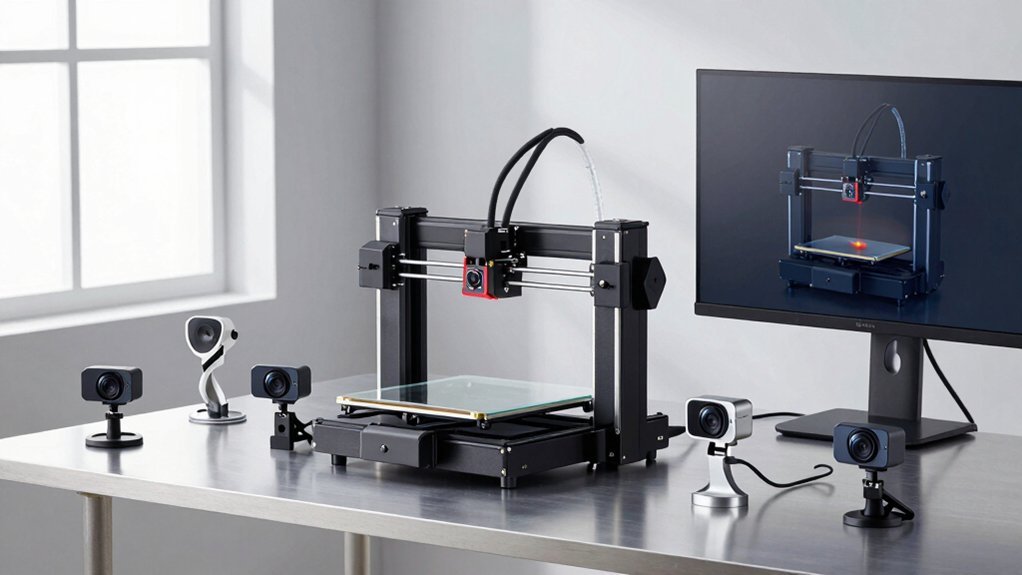
Materials and Equipment Required for 3D Printing Wire Clips
Starting your automotive wire clip 3D printing project requires specific materials and equipment to secure durable, heat-resistant results.
You’ll need a 3D printer capable of handling robust materials like nylon and carbon fiber, which provide the strength and temperature resistance essential for automotive applications.
Your equipment setup must include reliable slicing software to convert 3D models into machine-readable code. This software allows you to optimize print settings for automotive clips.
Reliable slicing software converts 3D models into machine code while optimizing print settings for automotive wire clip applications.
You’ll also need access to various 3D file formats, particularly STL or OBJ files, which you can download from resources like Thingiverse.
The combination of proper materials and equipment guarantees your printed wire clips will withstand automotive environments while maintaining secure fitment in their designated mounting locations.
Sourcing and Downloading STL Files for Automotive Wire Clips
Before you can begin printing, you’ll need to locate high-quality STL files designed specifically for automotive wire clips. When sourcing these files, several platforms offer reliable options for download.
Here are three key considerations for finding quality STL files:
- Check community feedback – Look for designs with positive ratings and user comments on platforms like Thingiverse to guarantee functionality.
- Verify vehicle compatibility – Confirm the STL files match your specific vehicle model for proper fitment and installation.
- Choose reputable platforms – Use established sites like Cults3D and Thingiverse that offer multiple file formats (STL, OBJ) and quality assurance.
Many designers create replacement clips specifically to improve upon brittle factory versions, offering enhanced durability and better fit for automotive applications.
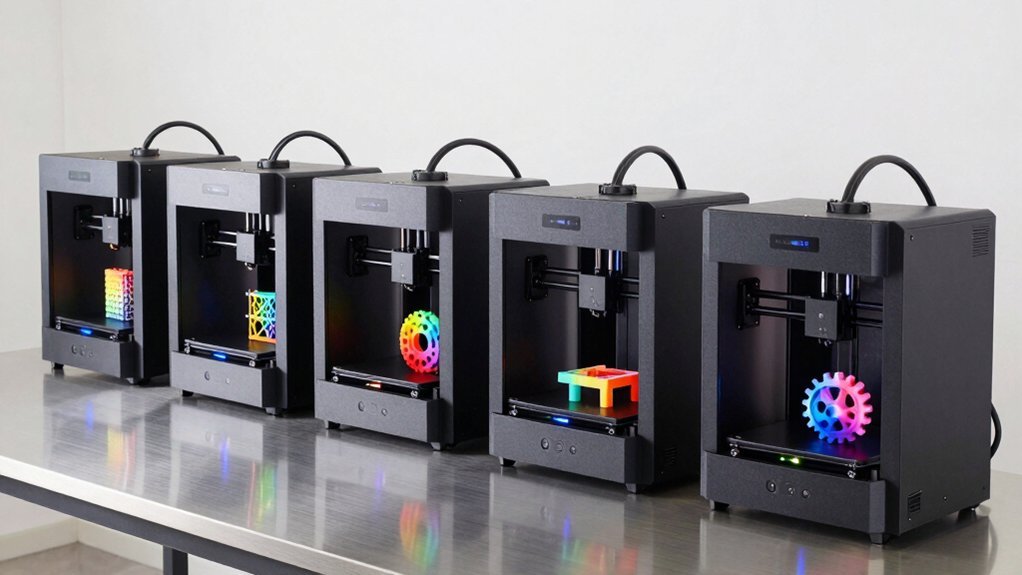
Printer Settings and Configuration for Durable Wire Clips
Once you’ve downloaded your STL files, configuring your 3D printer correctly becomes vital for producing wire clips that can withstand automotive conditions.
Set your layer height to 0.2mm for ideal balance between detail and print speed while maintaining structural integrity. Use 30% infill density to provide sufficient strength without excessive material waste.
Adjust your print speed to 50mm/s for better layer adhesion, reducing delamination risks. Configure your printer settings to avoid rafts or supports, as these interfere with the snug fit required for existing mounts.
For maximum durability, experiment with nylon and chopped carbon fiber filament blends, which offer enhanced heat resistance important for automotive environments.
Design Considerations for Heat-Resistant Automotive Applications
Consider these essential design elements:
- Material Selection – Choose nylon reinforced with chopped carbon fiber over standard ABS plastics for superior heat resistance and durability.
- Tension-Fit Mechanism – Design clips that fit snugly into existing mounts without requiring glue or adhesives.
- Thermal Accommodation – Include adequate clearance to handle thermal expansion and contraction during operation.
Build in slight flexibility to prevent breakage at high temperatures.
Test your prototypes under simulated heat conditions to validate performance and longevity before finalizing your automotive wire clip design.
Step-by-Step Printing Process for Wire Management Clips
Five essential steps will transform your CAD design into functional automotive wire clips.
First, configure your 3D printing parameters with 30% infill and 0.2mm layer height while avoiding supports to maximize strength.
Second, select durable materials like nylon or chopped carbon fiber instead of standard ABS plastic for superior heat resistance.
Third, start the printing process, monitoring initial layers to guarantee proper adhesion and dimensional accuracy.
Fourth, inspect your finished clips for surface defects or dimensional inconsistencies that could affect the tension fit mechanism.
Test-fit each clip into existing hollow stems, making minor adjustments if needed.
Fifth, share your successful designs with the 3D printing community, documenting modifications and performance results.
This collaborative approach helps refine automotive wire management solutions for everyone.
Post-Processing and Installation Techniques
Once you’ve finished printing your automotive wire clips, you’ll need to carefully remove any support material to achieve a clean, professional finish.
Light sanding of rough edges guarantees smooth installation and proper fitment within your vehicle’s wire management system.
Before final installation, always test-fit your clips in the existing hollow stems or mounting points to confirm they’ll secure properly without requiring additional adhesives.
Removing Support Material
The successful removal of support material marks a critical step in creating functional automotive wire clips that’ll perform reliably under hood conditions.
You’ll need to wait until your print has cooled completely before attempting removal to prevent warping or breakage.
Follow these essential steps to remove support material effectively:
- Use appropriate tools – Employ pliers or craft knives to carefully extract support structures without damaging the clip itself.
- Apply heat when needed – Soften stubborn material with a heat gun or hot water, especially in intricate areas with limited access.
- Clean surfaces thoroughly – Sand rough edges smooth to guarantee proper fit during installation.
After removing all supports, test fit your clips in their intended location, making necessary adjustments before final installation.
Proper Clip Installation
Three critical preparation steps guarantee your 3D printed automotive wire clips install correctly and function reliably. First, thoroughly clean your clips to remove any residual material that could prevent proper fitment. Next, test-fit each clip by simulating the installation process before final placement. This guarantees proper alignment and functionality without surprises.
Use tension-fit installation by pressing clips directly into existing hollow stems left by removed factory clips. This method provides secure placement without adhesives.
| Installation Step | Key Action |
|---|---|
| Pre-Installation | Clean clips thoroughly |
| Test Fitting | Check alignment before final install |
| Installation Method | Press into hollow stems |
| Post-Installation | Monitor for wear regularly |
If fit discrepancies occur due to print variations, create sleeves or modify clips accordingly. After you install the clips, regularly check them for signs of wear or brittleness, especially in high-heat areas.
Testing and Quality Assurance for Automotive Wire Clips
You’ll need to subject your 3D printed wire clips to rigorous material stress testing to verify they can handle the constant vibrations and mechanical loads in automotive environments.
Heat resistance validation becomes critical since engine bay temperatures can exceed 200°F, potentially causing standard plastics to deform or fail.
Test your clips by exposing them to temperature cycling between -40°F and 250°F while applying mechanical stress to simulate real-world conditions.
Material Stress Testing
Before installing your 3D-printed wire clips in an automotive environment, you’ll need to conduct thorough material stress testing to confirm they can withstand the demanding conditions they’ll face.
This testing evaluates how well your clips handle engine heat and vibrations over extended periods.
Your material stress testing should focus on three critical areas:
- Tensile strength and impact resistance – Test how much force your clips can handle before breaking.
- Thermal stability – Verify performance under high engine temperatures.
- Fatigue resistance – Use cyclic loading to simulate real-world stress patterns.
Follow ASTM and ISO standardized testing methods to guarantee your clips meet automotive industry requirements.
Don’t forget dimensional inspections and fitting tests to confirm your clips maintain precise tolerances for secure mounting.
Heat Resistance Validation
When automotive wire clips face extreme engine bay temperatures reaching 120°C, they must maintain their structural integrity and gripping force without warping or becoming brittle.
You’ll need to validate heat resistance through systematic testing protocols that simulate real-world conditions.
Start by subjecting your 3D printed clips to temperatures between 80°C and 120°C for extended periods, monitoring for deformation or material degradation.
Implement thermal cycling tests that alternate between extreme hot and cold conditions to replicate daily automotive operation cycles.
After heat exposure, verify that clips retain their flexibility and clamping strength.
Test their ability to securely hold wire bundles without cracking or losing tension.
Document any changes in material properties to validate your chosen filament’s performance under automotive thermal stress conditions.
Frequently Asked Questions
Can You 3D Print Wire Connectors?
You can 3D print wire connectors using durable materials like nylon or PETG. Design them with CAD software, customize for specific wire gauges, and consider conductive filaments for enhanced electrical performance in your applications.
Can You 3D Print Automotive Parts?
You can absolutely 3D print various automotive parts like brackets, trim pieces, and dashboard components. Many car enthusiasts create custom replacement parts using durable materials, saving money while achieving professional-quality results for their vehicles.
How to Add Metal Threads to 3D Print?
You can insert heated threaded metal inserts into your 3D print at 200-250°C, or design precise thread tolerances for screws. Print with 50%+ infill for strength and consider post-tapping threads.
What Is 3D Printing Wire Called?
You’ll find 3D printing wire called “additive manufacturing.” This process builds objects layer by layer, creating custom wire clips and routing solutions. You’re fundamentally adding material progressively rather than subtracting it from blocks.
Leave a Reply