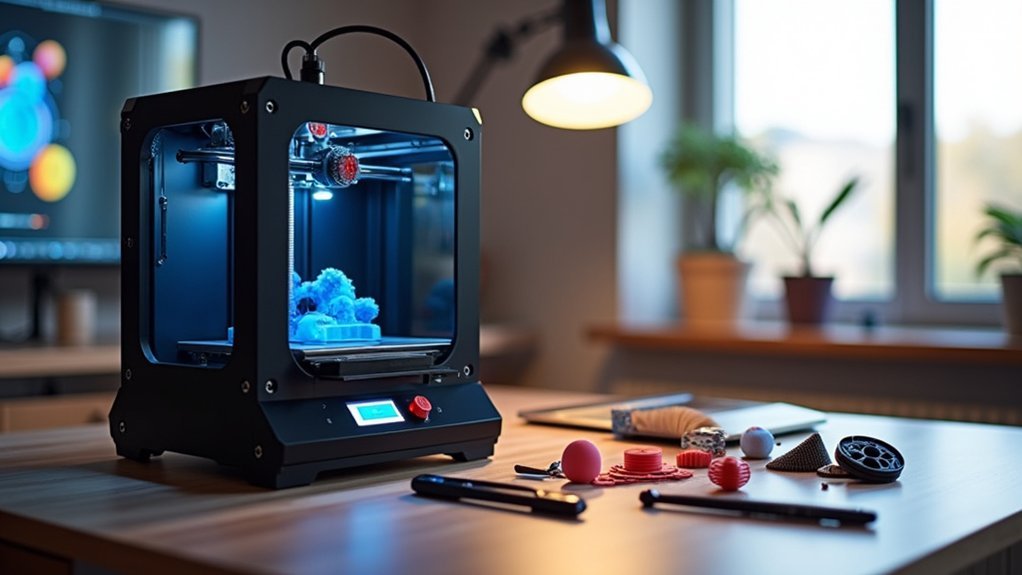
When 3D printing dashboard components, you’ll need heat-resistant materials like ABS or nylon that withstand temperatures up to 150°C without warping. Design snap-fit connections with 0.1-0.3mm tolerances for tool-less assembly and cleaner appearances. Incorporate strategic ventilation channels and reinforced mounting points to prevent overheating and guarantee secure attachment. Apply proper surface finishing with progressive sanding, primer, and protective coatings for professional results. Always create prototypes to test fit and functionality before final installation to avoid costly mistakes and guarantee perfect integration with your vehicle’s interior.
Choose Heat-Resistant Materials for Dashboard Durability
When you’re 3D printing dashboard components for automotive applications, selecting heat-resistant materials becomes critical to prevent warping and structural failure under intense sunlight and temperature fluctuations.
ABS stands out as an excellent choice, withstanding temperatures up to 100°C while delivering exceptional durability and impact resistance.
You’ll find nylon equally valuable for dashboard components, offering high strength and flexibility while maintaining structural integrity at elevated temperatures.
For demanding automotive environments, consider engineering resins specifically designed for high-temperature applications—these can endure temperatures exceeding 150°C.
Design With Snap-Fit Connections for Easy Assembly
Since tool-less assembly dramatically streamlines dashboard installation, designing your 3D printed components with snap-fit connections eliminates the need for screws, bolts, or adhesives while reducing assembly time and complexity.
When creating these dashboard components, maintain precise tolerances between 0.1 to 0.3 mm for secure fits without compromising part integrity.
Material selection proves essential for successful snap-fit connections. Choose flexible materials like ABS or Nylon to improve engagement and durability in automotive environments. These materials better withstand repeated use and mechanical stress.
Flexible materials like ABS and Nylon deliver superior snap-fit performance, ensuring reliable connections that withstand automotive stress and repeated assembly cycles.
Enhance your design by incorporating ribs or undercuts to strengthen snap-fit joints. This approach not only improves performance but also elevates aesthetics by eliminating visible fasteners, creating cleaner, more streamlined dashboard appearances that meet professional automotive standards through strategic 3D printing techniques.
Incorporate Proper Ventilation and Mounting Points
Effective dashboard designs require two critical elements: strategic ventilation channels and reinforced mounting points that guarantee both thermal management and structural stability.
When 3D printing dashboard components, you’ll prevent electronic overheating by incorporating adequate ventilation pathways that dissipate heat effectively during vehicle operation.
Design well-defined mounting points using CAD software to create precise alignment features, making certain of seamless installation without misalignment issues.
You’ll want to reinforce these mounting points with integrated ribs or additional material to withstand stress and vibrations.
Consider using flexible materials for specific components, allowing minor installation adjustments while maintaining structural integrity.
Your reinforced design approach reduces component failure risks and assures secure attachment to the vehicle’s dashboard, creating reliable, professionally-finished results.
Apply Surface Finishing Techniques for Professional Appearance
Three essential surface finishing techniques will transform your 3D printed dashboard components from rough prototypes into professional-grade automotive parts.
1. Start with progressive sanding – Begin with coarse abrasives to eliminate layer lines, then work through progressively finer grits. This creates the foundation for a superior surface finish that’ll make your components look factory-made.
2. Apply primer and epoxy coatings – Use primer to enhance paint adhesion and color uniformity.
Follow with epoxy coatings for durability and a glossy finish that protects against UV damage and wear while maintaining structural integrity.
3. Consider advanced techniques – Explore electroplating for metallic finishes on intricate designs, or dyeing techniques for vibrant colors that match your vehicle’s aesthetic without compromising the part’s performance.
Test Fit and Functionality Before Final Installation
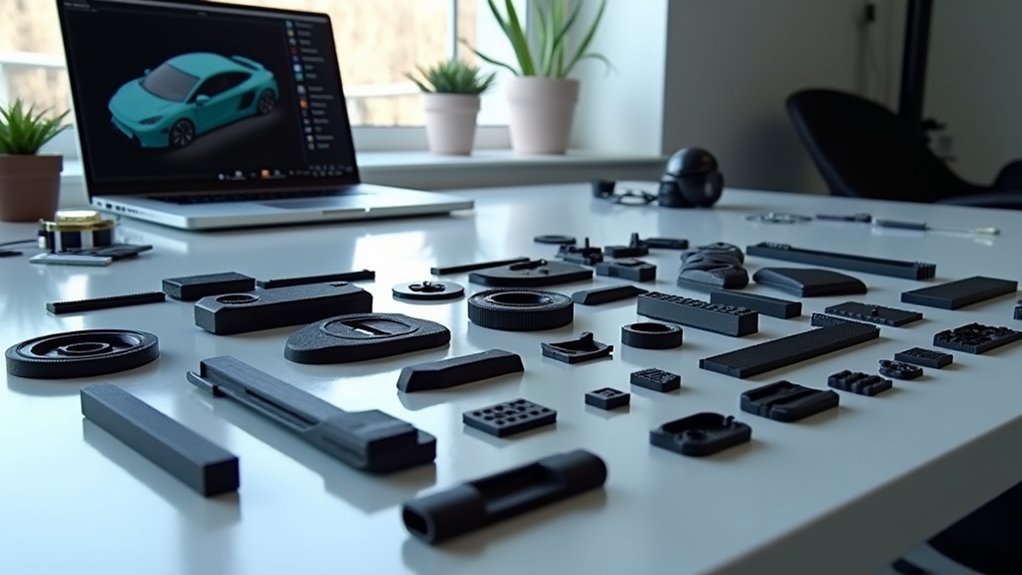
Before installing your finished dashboard component, you must verify that every dimension aligns perfectly and all moving parts function smoothly. Start by creating a prototype to prevent misalignment during installation. Use digital calipers to compare measurements between your 3D printed part and the original component.
| Test Element | Action Required |
|---|---|
| Prototype Creation | Print initial version for verification |
| Dimensional Check | Measure with digital calipers |
| Clearance Verification | Test accessibility of buttons/screens |
| Functionality Test | Check dials and switches operation |
| Design Refinement | Make iterative modifications |
Conduct a thorough test fit in your vehicle to identify clearance issues. Confirm buttons, knobs, and screens remain accessible. Test all movable parts for binding or interference. Based on results, make necessary adjustments to your dashboard component design before final installation.
Frequently Asked Questions
What Is the 45 Degree Rule for 3D Printing?
You’ll find the 45-degree rule states that overhangs steeper than 45 degrees from vertical require support structures. Following this prevents sagging and print failures while ensuring your parts print successfully without additional supports.
What Is the Most Profitable Thing to 3D Print?
You’ll find custom car parts generate the highest profits in 3D printing. Classic car replacement components, vehicle accessories, and automotive prototypes command premium prices since enthusiasts pay well for hard-to-find, personalized parts.
What Is the Best Way to Put Together 3D Printed Parts?
You’ll achieve best results using snap-fit joints, threaded inserts, and UV-cured adhesives for strong bonds. Use jigs for precise positioning, and split larger assemblies into smaller interlocking sections with pins and slots.
How to Make 3D Printed Parts Look Better?
You’ll improve your 3D printed parts by sanding with progressively finer grits, applying primer, then using airbrushing techniques. Add epoxy coating for durability and consider decorative foils for premium finishes.
Leave a Reply