You’ll revolutionize your automated construction 3D printing by establishing robust design-to-print workflows that integrate CAD and BIM systems for maximum efficiency. Optimize your material selection with sulpho-aluminous cement and proper water-to-cement ratios for superior bonding. Implement rigorous equipment calibration protocols with regular maintenance schedules to prevent quality issues. Create controlled environmental conditions using climate-controlled spaces and air filtration systems. Develop thorough quality assurance systems with real-time monitoring sensors and machine learning algorithms. These strategic approaches will unleash the full potential of your construction printing operations.
Establish Robust Design-to-Print Workflows Before System Deployment

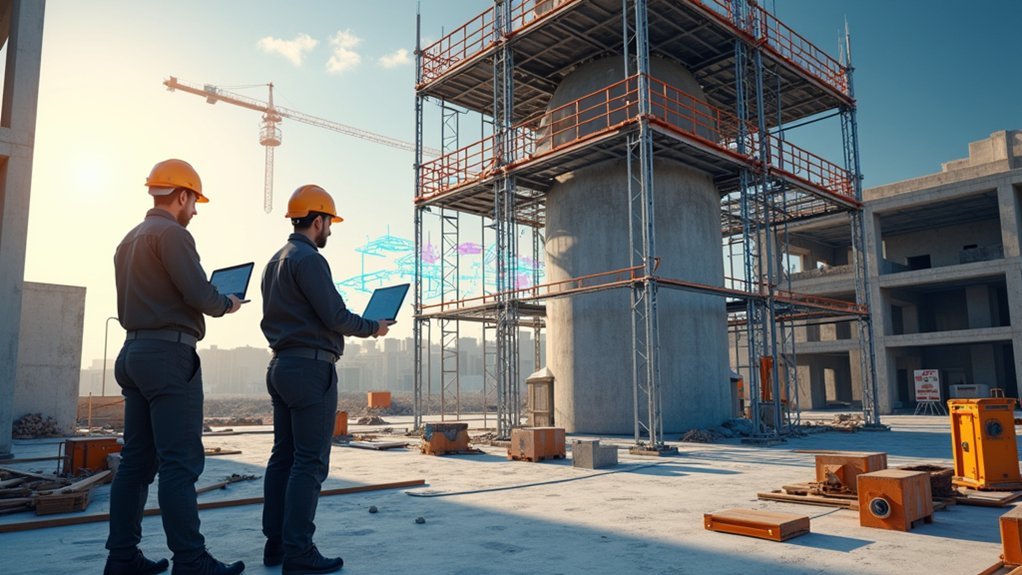
Before you deploy any automated construction 3D printing system, you must establish a robust design-to-print workflow that optimizes every element for additive manufacturing. This strategic approach delivers remarkable results—you’ll achieve a 62.4% reduction in human resources and a 24.5% decrease in construction duration compared to traditional methods.
Integrate CAD and BIM systems into your workflow to simplify the shift from design to printing technology. This integration enhances accuracy and efficiency throughout your construction process.
Seamless CAD and BIM integration transforms your design-to-print transition, delivering enhanced accuracy and efficiency across all construction operations.
Select materials specifically suited for 3D printing, such as sulpho-aluminous cement, to improve structural integrity and longevity.
Your well-defined workflow will streamline manual procedures and minimize human error, enabling more automated operations.
Continuously refine your design-to-print workflow using performance feedback to increase productivity and optimize resource utilization.
Optimize Material Selection and Concrete Mix Formulations for Print Quality
Material selection serves as the foundation of successful automated construction 3D printing, directly determining your project’s structural integrity and print quality.
You’ll want to prioritize sulpho-aluminous cement for enhanced bonding and reduced shrinkage during curing. Optimize your water-to-cement ratio to maintain flowability while preserving structural integrity throughout the layering process.
Incorporate superplasticizers into your concrete mix to improve workability and reduce paste viscosity, enabling smoother extrusion and better layer adhesion.
Your material use should include angular aggregates, which provide superior interlocking and mechanical strength compared to rounded alternatives.
During concrete printing, regularly evaluate and adjust print parameters like extrusion speed and layer height based on your material properties.
This systematic approach to the printing process will greatly improve surface finish and overall quality.
Implement Comprehensive Equipment Calibration and Maintenance Protocols

While your concrete mix formulation sets the stage for success, proper equipment calibration and maintenance protocols determine whether your 3D printer can consistently deliver precision results.
You’ll need to regularly calibrate your printing equipment to guarantee accurate layer alignment and material deposition, as minor misalignments create significant structural weaknesses in construction applications.
Develop a thorough maintenance checklist that includes inspections for loose screws, unclean print beds, and worn components.
Schedule weekly and monthly reviews to address issues before they impact print quality and cause costly project delays.
Leverage auto-leveling features to streamline setup while maintaining clean, controlled environments for your construction technology.
Temperature fluctuations and dust contamination directly affect print accuracy and equipment longevity in large-scale building projects.
Create Controlled Environmental Conditions for Consistent Print Performance
Environmental conditions can make or break your automated construction 3D printing project, as temperature fluctuations and humidity variations directly impact material behavior and print quality. You’ll need to establish a controlled environment that protects your printing process from external disruptions.
| Environmental Factor | Control Method | Benefit |
|---|---|---|
| Temperature/Humidity | Climate-controlled rooms | Prevents warping |
| Dust/Contaminants | Air filtration systems | Reduces clogs |
| Weather Elements | Enclosed printing spaces | Protects layering |
Regular monitoring helps you troubleshoot and adjust settings for ideal performance. You should consider climate-controlled tents when working with sensitive construction materials like sulpho-aluminous cement. These enclosed spaces shield your operations from wind and precipitation while maintaining stable conditions that guarantee consistent material flow and solidification throughout your project.
Develop Integrated Quality Assurance and Real-Time Monitoring Systems

Three critical monitoring layers form the backbone of successful automated construction 3D printing: structural integrity assessment, process enhancement, and defect prevention.
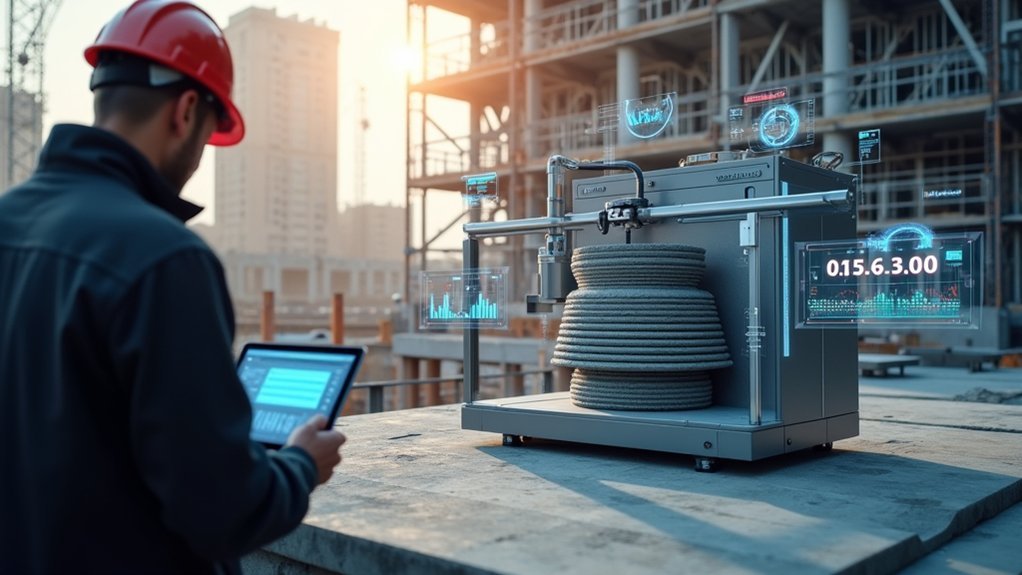
You’ll need integrated quality assurance systems equipped with sensors and real-time data analytics to continuously evaluate your printed elements against design specifications.
Deploy machine learning algorithms that analyze process data, enabling predictive maintenance before failures occur.
Install vision systems for real-time monitoring to catch defects like layer misalignment immediately.
Create automated feedback loops that adjust printing parameters on-the-fly, ensuring ideal material deposition while reducing waste.
The structural integrity of your prints depends on these interconnected systems working together.
Regularly conduct performance audits to refine your processes and maintain continuous improvement in efficiency and output quality.
Frequently Asked Questions
What Is the 45 Degree Rule for 3D Printing?
You should limit overhangs to 45 degrees from vertical when 3D printing. This prevents sagging and deformation, reduces support structure needs, improves print success rates, and decreases post-processing time.
What Are the Techniques Used in Construction 3D Printing?
You’ll find five main techniques in construction 3D printing: extrusion through nozzles, gantry systems using contouring methods, flexible robotic arms for complex geometries, powder bonding methods, and spray techniques for smooth surfaces.
What Are the Factors Affecting 3D Printing Technology Adaptation in Construction?
You’ll face high machinery costs, skilled worker shortages, unclear regulations, printer size constraints, and material consistency issues when adopting 3D printing technology in construction projects.
How Long Does It Take to 3D Print a 2000 Sq Ft House?
You can 3D print a 2000 sq ft house in just 24 to 48 hours, depending on your printer’s speed, design complexity, material type, and environmental conditions affecting the construction process.


Leave a Reply