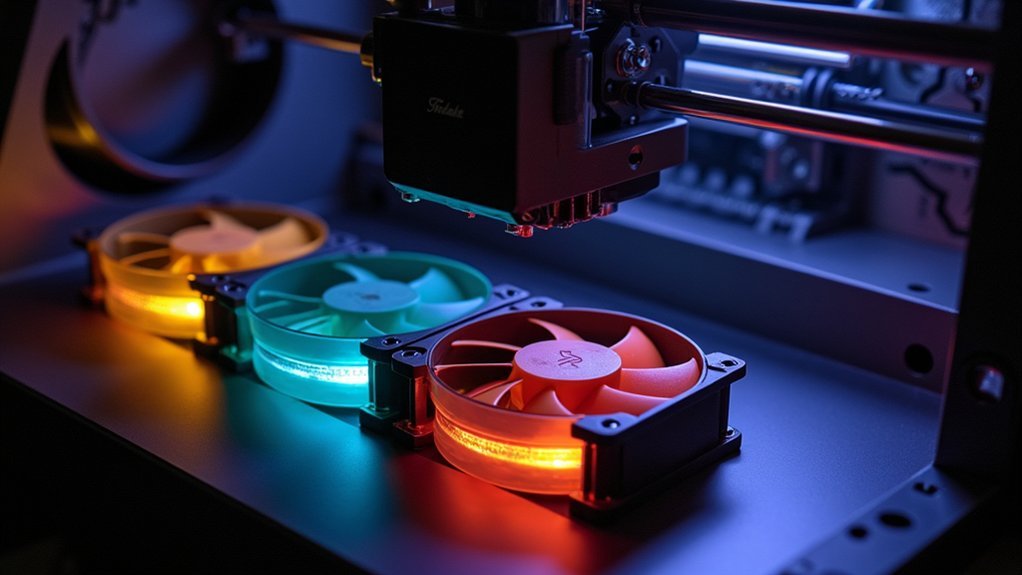
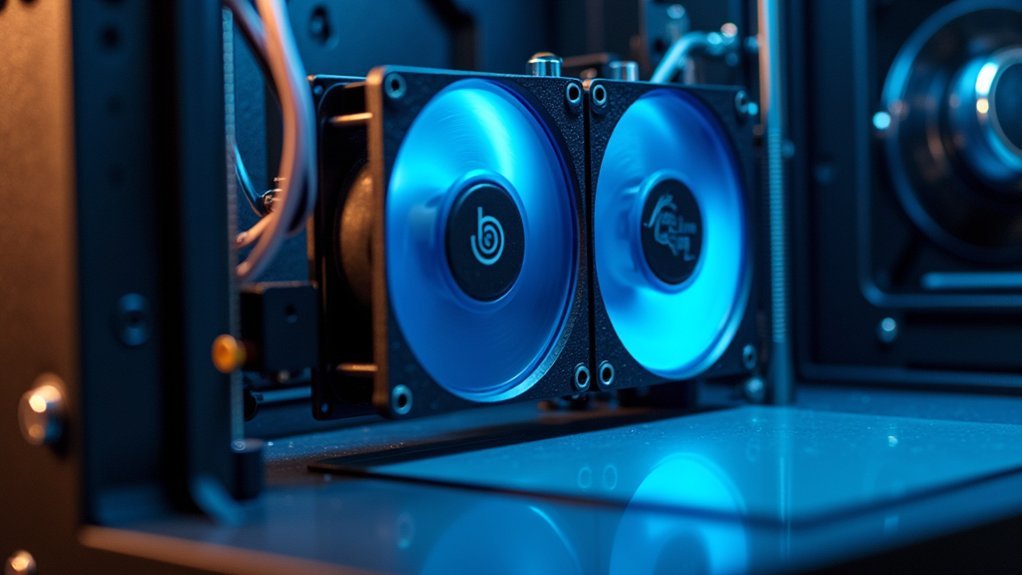
You’ll want to replace your Ender 3’s inadequate stock fans with Noctua NF-A4x10 models for whisper-quiet operation at just 17.9 dBA, or upgrade to dual 5020 blower fans for aggressive cooling during high-speed prints. Custom part cooling ducts and shrouds dramatically improve airflow direction around your nozzle, while mainboard fan replacements prevent overheating during extended sessions. Don’t forget power supply fan modifications and proper voltage considerations for 12V components in your 24V system—there’s much more to optimize.
Why Stock Ender 3 Cooling Systems Fall Short

While the Ender 3 has earned its reputation as an excellent entry-level 3D printer, its stock cooling system represents one of its most significant weaknesses.
You’ll quickly discover that the stock cooling fan simply can’t deliver adequate airflow for quality prints, especially when working with complex geometries or high-temperature materials. The insufficient cooling leads to filament jamming and inconsistent extrusion during faster print speeds.
Additionally, you’ll notice excessive noise levels that make your Creality Ender unsuitably loud for home or office environments. Poor layer adhesion and surface finish become common issues, while inadequate hotend cooling increases thermal runaway risks.
These limitations make aftermarket cooling upgrades essential for peak performance.
Top Noctua Fan Replacements for Silent Operation
Noctua fans offer the ideal solution to the Ender 3’s noisy operation problems, delivering whisper-quiet performance that transforms your printing experience.
The NF-A4x10 FLX operates at just 17.9 dBA, greatly reducing noise levels compared to stock fans. You’ll find perfect compatibility with 40mm and 80mm sizes designed specifically for the Ender 3’s cooling system.
At whisper-quiet 17.9 dBA operation, the NF-A4x10 FLX delivers perfect compatibility with Ender 3 cooling systems while dramatically reducing noise levels.
The NF-F12 and NF-A8 models deliver exceptional airflow up to 92 m³/h while maintaining low power consumption, ensuring optimal thermal management during long prints.
Advanced aerodynamic features like flow-optimized blades and stepped inlet design maximize cooling efficiency while minimizing turbulence.
With SSO2 bearings rated for 150,000 hours, these fans considerably outlast stock components, reducing maintenance and providing reliable long-term performance.
Dual 5020 Fan Cooling Kits for High-Speed Printing

As printing speeds increase, dual 5020 fan cooling kits become essential upgrades that deliver the aggressive airflow needed to maintain quality at accelerated print rates.
These powerful systems reach up to 8000 RPM, providing superior heat dissipation that prevents overheating during demanding prints.
You’ll find installation straightforward since most kits utilize existing mounts and connectors.
The stepless speed control lets you fine-tune cooling based on your specific filament requirements and print settings.
Key advantages include:
- Enhanced layer adhesion through consistent temperature management
- Improved surface finish quality on detailed prints
- Better reliability when using high-temperature filaments
- Customizable airflow control for different printing scenarios
Upgrading to dual 5020 fans transforms your Ender 3’s cooling performance, enabling faster print speeds without compromising quality or risking print failures.
Part Cooling Duct Upgrades and Custom Shrouds
Beyond upgrading fans themselves, enhancing your Ender 3’s part cooling duct design delivers substantial improvements in print quality and reliability.
Custom shrouds direct airflow more effectively around your nozzle, cooling printed parts without affecting hotend temperature. This targeted cooling enhances layer adhesion and surface finish considerably.
Custom shrouds deliver precise airflow control, dramatically improving layer adhesion and surface quality without compromising hotend stability.
Many aftermarket ducts accommodate dual fan setups, increasing cooling efficiency for materials like PETG or ASA that require precise thermal management. You’ll find popular designs on Thingiverse, with options tailored specifically for different Ender 3 models ensuring perfect fit and peak performance.
Replacing your stock cooling duct reduces print failures and defects, especially during long or high-speed prints.
The improved airflow management translates directly into more consistent results and higher success rates across various printing materials and speeds.
Complete Hotend Cooling System Overhauls

When standard cooling upgrades aren’t sufficient for demanding print requirements, a complete hotend cooling system overhaul transforms your Ender 3’s thermal management capabilities.
You’ll upgrade to an all-metal hotend combined with high-performance cooling fans to eliminate filament jamming and handle diverse materials effectively.
Essential components for your extensive overhaul include:
- Larger cooling fans – Install 40mm or 5015 models for superior airflow and heat dissipation
- Custom ducting systems – Direct airflow precisely around the hotend for effective temperature control
- Silent fan upgrades – Choose Noctua fans for reliable performance with reduced operational noise
- Silicone hotend socks – Maintain temperature stability while preventing heat creep issues
This systematic approach enables higher printing speeds, broader filament compatibility, and consistent print quality through enhanced thermal management.
Power Supply Fan Modifications for Quieter Performance
You can dramatically reduce your Ender 3’s operational noise by replacing the stock 80mm power supply fan with a quieter aftermarket model like a Noctua fan.
Since many silent fans operate at 12V while the Ender 3 uses a 24V system, you’ll need a voltage step-down module to guarantee compatibility and peak performance.
This modification transforms your printer from a noisy machine into a whisper-quiet workhorse without compromising cooling efficiency.
80mm Silent Fan Replacement
One of the most effective noise reduction modifications targets the power supply fan, which typically runs at high RPMs and generates considerable operational noise during printing sessions.
You’ll find that replacing your stock fan with a silent alternative from manufacturers like Noctua or Arctic dramatically reduces operational noise while maintaining proper cooling performance.
When upgrading your power supply fan, consider these essential factors:
- Voltage compatibility – Verify your replacement fan matches the 24V requirement for Ender 3 models
- RPM efficiency – Choose lower RPM fans with higher efficiency ratings for maximum noise reduction
- Installation requirements – Plan for potential adapter or step-down modules to facilitate proper connections
- Performance verification – Monitor temperatures after installation to confirm adequate cooling performance
This upgrade delivers significant noise reduction, creating a more pleasant printing environment.
Voltage Step-Down Solutions
Most aftermarket fans operate at 12V rather than the Ender 3’s native 24V system, making voltage step-down modules a necessary component for successful fan upgrades. You’ll need these converters to safely power Noctua and other low-noise fans without damaging them.
| Component | Voltage | Installation |
|---|---|---|
| Stock Fan | 24V | Plug-and-play |
| Noctua Fan | 12V | Requires step-down |
| Step-Down Module | 24V to 12V | Soldering needed |
| Wiring Harness | Modified | Adapter connections |
| Heat Shrink | N/A | Insulation protection |
Installing step-down solutions involves soldering connections to fan wires, adapting existing wiring without complete rewiring. This modification prevents overheating issues while maintaining reliable operation. You’ll achieve considerably quieter performance without sacrificing airflow, enhancing cooling efficiency and improving print quality while reducing filament jamming.
Mainboard Cooling Solutions and Heat Management
You can greatly improve your Ender 3’s reliability by upgrading mainboard cooling solutions that prevent overheating and thermal failures.
Replace your stock mainboard fan with a high-quality Noctua or Sunon unit to reduce noise while enhancing heat dissipation around critical electronics.
Consider implementing thermal protection methods like fan shrouds, dual-fan setups, or silent board upgrades to maintain stable operating temperatures during extended printing sessions.
Silent Board Upgrades
While noise reduction remains a primary motivation for upgrading your Ender 3’s mainboard, the thermal management benefits can’t be overlooked.
The BIGTREETECH SKR mini E3 V1.2 delivers exceptional silent operation while implementing advanced thermal runaway protection that safeguards your printer from overheating failures.
You’ll maximize your upgrade’s effectiveness by addressing these key areas:
- Install stepper dampers to eliminate motor vibrations that generate heat through friction
- Add a dedicated 40mm cooling fan for consistent mainboard temperature control
- Choose low-decibel fans like Noctua models that balance quiet operation with adequate airflow
- Implement proper ducting or fan shrouds to optimize heat dissipation pathways
This thorough approach guarantees your silent board upgrade delivers both whisper-quiet printing and superior thermal management, preventing performance throttling during extended print sessions.
Mainboard Fan Replacement
Although the Ender 3’s stock mainboard fan provides basic cooling functionality, upgrading to a premium replacement like a Noctua or Sunon model transforms both thermal performance and operational noise levels.
You’ll need a 12V fan paired with a step-down voltage module since your mainboard operates at 24V. This compatibility guarantees peak performance without damaging the fan.
Installing a high-quality fan delivers substantial benefits beyond noise reduction.
You’ll experience enhanced thermal management that prevents overheating and thermal runaway incidents, especially during extended print sessions. The improved cooling maintains stable operation when you’re printing with high-temperature materials, reducing thermal stress on your electronics.
This upgrade extends your mainboard’s lifespan while providing the quiet operation you want for overnight prints.
Thermal Protection Methods
Beyond upgrading individual cooling components, extensive thermal protection strategies safeguard your Ender 3’s mainboard and electronics from heat-related damage.
You’ll want to implement multiple layers of protection that work together to prevent overheating incidents.
- Firmware thermal runaway protection – Enable this critical safety feature that automatically shuts down your printer when temperatures exceed safe thresholds, providing essential backup protection.
- Strategic thermal insulation – Install silicone socks on hotends to contain heat where needed while preventing excessive transfer to sensitive mainboard components.
- Stepper motor dampers – Reduce heat generation from motors while minimizing operational noise, contributing to overall thermal management.
- Enhanced airflow management – Add multiple case fans to create proper air circulation patterns that efficiently remove heat from electronic components.
Installation Tips and Voltage Considerations for 12V Components
When you’re installing 12V cooling components on your Ender 3’s 24V system, you’ll need a step-down voltage regulator to prevent damage to your new fans.
Choose wiring that’s properly rated for your fan’s current draw to avoid overheating and component failures. Always double-check polarity before making connections—reverse voltage will instantly damage your fans.
Consider using connectors like the OmniJoin Adapter Kit to streamline installation and minimize soldering requirements. This approach reduces complexity while maintaining reliable connections.
Before completing your upgrade, verify that all electrical connections are properly insulated. Exposed wires can create short circuits that’ll damage your printer’s mainboard or the new components themselves.
Taking time to guarantee proper voltage regulation, correct polarity, and adequate insulation will keep your cooling upgrades running safely and effectively for years.
Frequently Asked Questions
What Are the Best Improvements for the Ender 3?
You’ll benefit most from upgrading to Noctua fans for quieter operation, installing a Creality cooling kit with 5020 fans, adding step-down voltage modules, and implementing custom fan shrouds for better thermal management.
What Is the Best Replacement Hot End for Ender 3?
You’ll find the E3D V6 stands out as the top replacement hot end for your Ender 3. It’s incredibly versatile, handles high-temperature materials excellently, and delivers consistent performance across various filament types.
What Is the Max Temperature for Ender 3 V3?
You’ll find the Ender 3 V3’s hotend reaches a maximum temperature of 260°C, while the heated bed hits 100°C. You should monitor temperatures closely and consider upgrading cooling for consistent high-temperature printing performance.
How to Improve 3D Printer Cooling?
You’ll improve 3D printer cooling by upgrading to high-performance fans, installing adjustable ducts for better airflow direction, adding dual part cooling fans, and maintaining clean, properly aligned components regularly.


Leave a Reply