You can eliminate ABS warping by maintaining a heated bed at 100-110°C, creating an enclosed printing environment, and reducing print speeds to 40-60 mm/s. Clean your build plate thoroughly, use adhesion enhancers like 3DLAC spray, and disable cooling fans during initial layers. Set your nozzle temperature 5-10°C higher for first layers, implement proper bed leveling with 0.1mm gaps, and allow gradual cooling for 20+ minutes post-print. These extensive strategies will transform your ABS printing success.
Understanding the Root Causes of ABS Warping

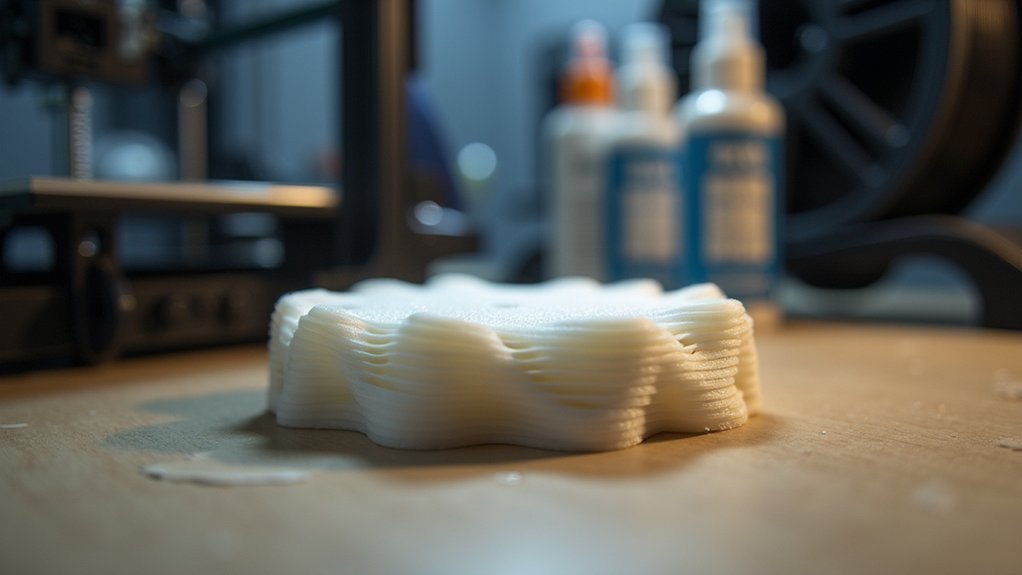
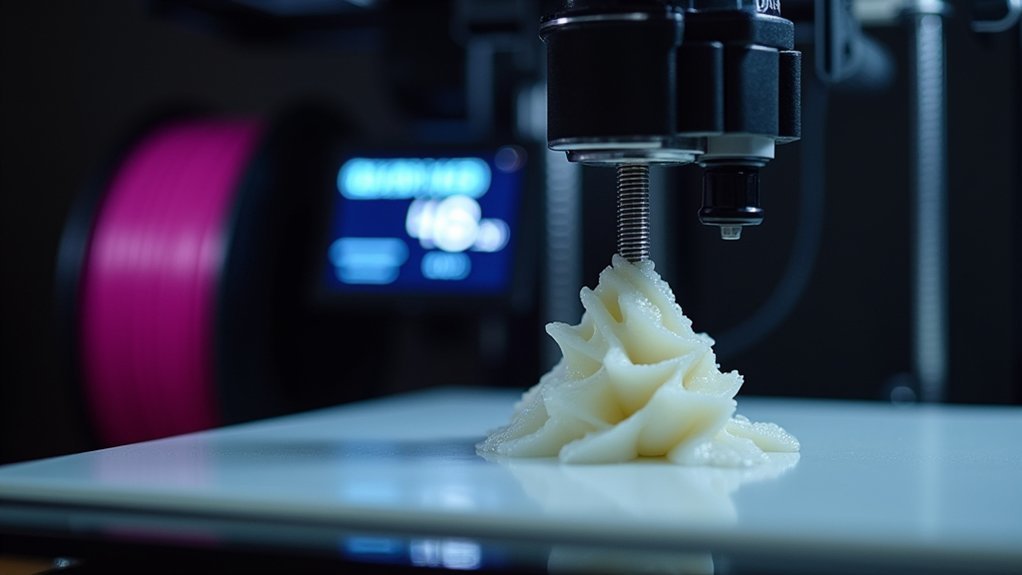
When ABS plastic cools during 3D printing, it contracts rapidly and unevenly, creating internal stresses that cause your print to warp and lift from the build plate. This ABS warping stems from the material’s high shrinkage rate during the cooling process.
ABS plastic’s rapid, uneven cooling creates internal stresses that cause warping and lifting from the build plate during 3D printing.
Poor bed adhesion compounds the problem, allowing corners to lift as thermal contraction pulls the print away from the surface.
Inconsistent temperature settings create uneven cooling patterns throughout your print, leading to differential expansion and contraction at various heights.
Environmental factors like drafts or cold air can destabilize your print temperature, worsening warping issues.
Additionally, an unleveled bed and temperature fluctuations greatly increase warping likelihood, making larger prints particularly susceptible to failure as these stresses accumulate over time.
Optimizing Heated Bed Temperature Settings
Your heated bed temperature serves as the foundation for preventing ABS warping, and getting it right makes the difference between successful prints and frustrating failures. Set your bed temperature between 100°C to 110°C to maintain consistent heat throughout the printing process.
| Temperature Range | Best For | Preheat Time | Surface Material |
|---|---|---|---|
| 100°C | Standard ABS | 30+ minutes | Glass/PEI |
| 105°C | Large prints | 35+ minutes | Smooth PEI |
| 110°C | Complex geometry | 40+ minutes | Textured PEI |
| Variable | Experimental | 30+ minutes | Testing surfaces |
Always preheat your heated bed for at least 30 minutes before printing to guarantee uniform temperature distribution. Regular bed leveling prevents uneven heating that contributes to warping. Consider experimenting with different bed surfaces like smooth PEI sheets to prevent warping while maintaining ideal adhesion.
Implementing Proper Build Plate Preparation Techniques

Even with ideal bed temperatures, poor build plate preparation will sabotage your ABS prints before they begin. Your build plate’s cleanliness and surface treatment directly impact adhesion quality, making preparation just as essential as bed temperature optimization.
Start by thoroughly cleaning your build plate with warm soapy water and a scotch brite pad to eliminate residues that compromise adhesion. Next, apply adhesion enhancers like 3DLAC spray to create superior first-layer grip that prevents warping.
Fundamental preparation steps include:
- Level your print bed correctly to guarantee uniform surface contact across the entire build plate
- Experiment with smooth PEI sheets instead of textured surfaces for better ABS print adhesion
- Maintain bed temperature at 100-110°C during the preparation process to optimize surface conditions
Proper preparation transforms problematic ABS printing into reliable, warp-free results.
Creating an Enclosed Printing Environment
Although proper bed preparation sets the foundation for successful ABS printing, temperature fluctuations throughout the printing process can still cause devastating warping that ruins your prints. Creating an enclosed printing environment solves this problem by maintaining stable ambient temperature around your printer. You’ll eliminate drafts and external air exposure that cause rapid cooling and subsequent warping.
An enclosed setup retains heat effectively, supporting the higher printing bed temperature requirements of 100-120°C that ABS demands. This controlled environment enhances layer adhesion and prevents moisture absorption that degrades print quality.
| Without Enclosure | With Enclosure |
|---|---|
| Warped prints | Perfect corners |
| Wasted filament | Successful prints |
| Frustration | Confidence |
Users consistently report improved success rates when printing ABS in enclosed environments.
Adjusting Print Speed and Cooling Controls

While an enclosed environment controls external temperature factors, fine-tuning your printer’s speed and cooling settings provides the precision control needed to eliminate warping at the source.
Adjusting print speed to 40-60 mm/s creates ideal conditions for layer adhesion while reducing thermal stress. You’ll want to slow your initial layer to 20 mm/s for superior bed adhesion that prevents corner lifting.
Cooling fans require careful management – decrease speeds or disable them during initial layers to maintain stable temperatures and prevent rapid cooling that causes warping.
- Implement adaptive infill patterns like cubic or lightning to distribute internal stresses evenly
- Monitor temperature gradients by controlling fan speeds throughout the print process
- Balance print speed with thermal management for consistent layer bonding
Selecting the Right Bed Adhesion Methods
Once you’ve optimized your print settings, selecting the proper bed adhesion method becomes your next critical defense against ABS warping. Your bed surface choice dramatically impacts first-layer adhesion success.
| Method | Preparation | Effectiveness |
|---|---|---|
| 3DLAC Spray | Clean bed with warm soapy water | Considerably enhances adhesion |
| ABS Juice | Apply acetone-dissolved ABS mixture | Creates strong first-layer bond |
| Smooth PEI Sheet | Use scotch brite pad for cleaning | Superior adhesion over textured surfaces |
| Brim Addition | Set 0.02 thickness for small prints | Improves stability and prevents lift |
Start by cleaning your bed thoroughly with warm soapy water and a scotch brite pad. Smooth PEI sheets outperform textured surfaces for ABS adhesion. Consider experimenting with 0.02 brims for prints with smaller footprints to maximize warping resistance.
Using Brims and Rafts for Enhanced Stability
When your ABS prints still struggle with corner lifting despite proper bed adhesion, brims and rafts serve as your structural reinforcement solution.
Setting brims to 0.02mm creates additional contact area around your print’s base, greatly improving adhesion while preventing warping.
Rafts provide thicker foundation layers that distribute heat evenly and stabilize models during cooling, making them essential for tall or thin pieces.
- Brim Implementation: Apply 0.02mm brims to increase surface contact and eliminate the “canoeing” effect on large prints exceeding 2 inches in height.
- Raft Specifications: Use 0.5mm raft thickness for ideal support without excessive material consumption.
- Combined Approach: Pair brims or rafts with heated beds at 100-120°C for maximum adhesion enhancement and warping prevention.
Managing Chamber Temperature and Airflow
Although brims and rafts provide excellent base adhesion, controlling your printer’s chamber temperature and airflow represents the next critical step in eliminating ABS warping.
You’ll need to maintain steady heat throughout the printing process to prevent uneven cooling that causes material contraction.
Start by pre-warming your printer chamber before beginning any print. This creates consistent conditions that improve adhesion and reduce corner lifting.
Turn off your chamber fan during printing to minimize rapid cooling, which destroys layer adhesion and triggers warping.
Consider installing an enclosure around your printer to control ambient temperature and eliminate drafts.
Seal any openings with tape to prevent cold air infiltration.
These modifications create thermal stability that’s essential for successful ABS printing, regardless of your printing speed.
Fine-Tuning First Layer Settings
You’ll achieve the best ABS adhesion by mastering three critical first layer elements that work together to prevent warping from the start.
Your bed’s leveling precision directly impacts how well your initial layer height distributes across the surface, while proper nozzle temperature calibration guarantees the material flows smoothly and bonds effectively.
Get these settings dialed in correctly, and you’ll eliminate most warping issues before they can even begin.
Bed Leveling Precision
Since proper bed leveling forms the foundation of successful ABS printing, achieving precision in this step can make the difference between a warped failure and a flawless print.
You’ll need to maintain a consistent 0.1mm gap between your nozzle and bed surface, ensuring your first layer adheres properly without clogging. Even with ideal print temperature settings, poor bed leveling will cause warping issues that ruin your prints.
- Use the paper gauge method, sliding paper under the nozzle with slight resistance to achieve proper height
- Perform bed leveling checks before every print session to maintain consistency across your build surface
- Run dedicated first layer test prints to fine-tune your leveling and identify potential issues before starting larger projects
Initial Layer Height
Once your bed sits perfectly level, optimizing your initial layer height becomes the next critical step in preventing ABS warping.
Start with 0.2 mm, but reduce it slightly to enhance contact with your print bed. You’ll want your bottom layer properly squished against the surface, creating a stronger bond that reduces warping risk as printing progresses.
For taller prints, consider a thicker first layer around 0.3 mm to provide additional stability.
Set your print speed slower at 20-30 mm/s for the initial pass, allowing proper adhesion without rapid cooling.
Don’t forget to adjust your first layer temperature approximately 10°C higher than your standard nozzle temperature. This combination will greatly improve adhesion and decrease warping likelihood throughout your print.
Nozzle Temperature Calibration
While proper layer height sets the foundation, calibrating your nozzle temperature precisely determines whether your first layer achieves perfect adhesion.
You’ll want to start within the 220°C to 250°C range for ABS, but don’t stop there. Boost your initial temperature by 5-10°C above your standard setting to combat shrinkage during the first few layers.
Temperature calibration works hand-in-hand with your print speed settings. Reducing your first layer speed to 20-30 mm/s gives the heated filament more time to bond properly with your build plate.
- Test temperatures in 5°C increments to find your filament’s sweet spot
- Monitor adhesion quality during the first three layers for best results
- Combine higher initial temperatures with slower speeds for maximum effectiveness
Post-Processing Techniques for Stress Relief
Even after you’ve successfully printed an ABS part, internal stresses within the material can still cause warping hours or even days later. Post-processing techniques provide effective stress relief solutions to improve dimensional stability.
| Technique | Temperature | Duration | Benefits |
|---|---|---|---|
| Gradual cooling | Room temp | 20+ minutes | Reduces rapid contraction |
| Heated chamber cooling | 40-60°C | 30-60 minutes | Maintains stable temperature |
| Oven annealing | 80-100°C | 1-2 hours | Relieves internal stresses |
| Acetone vapor smoothing | Room temp | 10-30 minutes | Enhances aesthetics, reduces minor warping |
| Edge trimming/sanding | N/A | As needed | Improves fit and appearance |
You’ll find annealing particularly effective for stress relief, while acetone vapor smoothing addresses both aesthetic quality and minor warping issues simultaneously.
Frequently Asked Questions
How Do I Stop My ABS From Warping?
You’ll prevent ABS warping by maintaining your heated bed at 100-120°C, enclosing your printer, turning off cooling fans, applying adhesives like 3DLAC, and adding brims to increase your print’s footprint stability.
What Temperature Should the Bed Be for ABS Warping?
You should set your bed temperature between 100°C and 120°C for ABS printing. Start at 110°C for better adhesion, and preheat your bed for thirty minutes before printing to minimize warping.
Is ABS Prone to Warping?
Yes, you’ll find ABS is highly prone to warping due to its thermal expansion properties. It contracts unevenly as it cools, causing lifted corners and canoe effects, especially in taller prints.
How Do You Reduce ASA Warping?
You’ll reduce ASA warping by maintaining a 90-110°C heated bed, using an enclosed chamber, applying adhesive like ABS juice, minimizing fan speeds initially, and adding brims or rafts for stability.


Leave a Reply