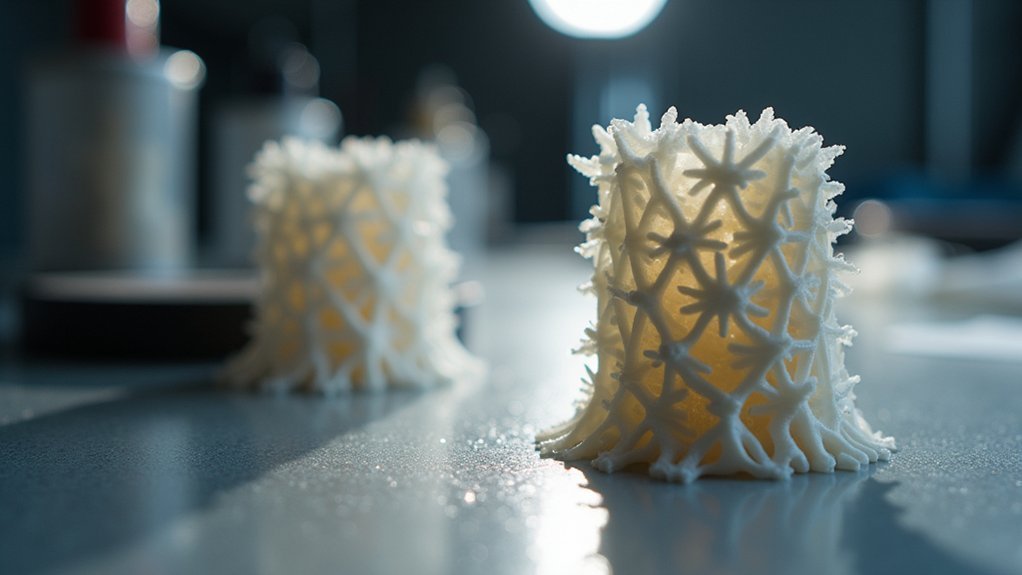
Support density directly controls how much internal structure your printer creates within support material, which determines whether your overhangs print successfully or sag into drooping failures. Low density (10-15%) saves material and time but risks insufficient scaffolding for complex geometries, while high density (20-40%) provides stronger support but increases material usage and complicates removal. You’ll need to balance structural integrity with post-processing ease, and understanding these trade-offs will help you optimize your specific printing applications.
Understanding Support Density Fundamentals

When you’re designing support structures for 3D printing, support density serves as the vital parameter that determines how much material fills the internal structure of your supports. This setting directly controls the amount of plastic used within support frameworks, which fundamentally impacts both structural integrity and removal ease.
You’ll find that support density acts as the backbone of successful overhang printing, establishing the foundation for complex geometries that would otherwise fail during the printing process.
Understanding this concept helps you balance competing priorities in your prints. Higher support density means more material and stronger scaffolding, while lower density reduces waste but potentially compromises stability.
Your choice affects everything from print success rates to post-processing time, making support density a vital decision point in achieving quality results.
Impact of Low Density Settings on Print Performance
Although low support density settings between 10-15% offer tempting advantages like faster print times and effortless support removal, they’ll test your model’s structural limits during the printing process.
You’ll notice insufficient support density can cause overhangs to sag or droop, particularly with complex geometries requiring robust reinforcement. While you’ll save material and reduce print weight, you’re increasing failure risks for models with significant overhangs or intricate details.
Low density settings often compromise surface quality on overhang undersides, demanding extra post-processing work. You’ll need to strike a careful balance—too little support density creates poor results, but you’ll discover ideal settings through testing different configurations based on your specific model geometry and printing conditions.
Benefits and Drawbacks of High Density Support Structures

Higher support density settings between 20-40% greatly improve your print’s structural integrity, delivering superior results for complex overhangs and intricate geometric features that demand robust reinforcement.
You’ll experience markedly reduced sagging and enhanced overall print quality when tackling challenging geometries.
However, high support density comes with trade-offs you must consider. You’ll consume more material and face longer print times, making this approach inefficient for simpler models.
The removal process becomes more complicated and potentially damaging if you don’t configure settings correctly. Additionally, you’ll notice rougher surface finishes on your print’s underside, requiring extra post-processing work to achieve smooth results.
Balance these benefits against the drawbacks when determining ideal support density for your specific project requirements.
Material Usage and Print Time Considerations
Since support density directly controls how much filament you’ll consume during printing, managing this setting becomes essential for both your budget and project timeline.
Higher support density means more material usage and longer print times, as your printer creates denser structures that require additional layers and extrusion time.
You’ll find that the typical 20-40% support density range offers a prime balance between material efficiency and adequate structural support.
However, if you’re working on simple geometries, reducing support density to 10-15% can greatly cut both material costs and print duration.
Just remember that while lower densities save resources, they may compromise stability for complex overhangs, potentially leading to failed prints that waste even more time and filament.
Surface Quality Effects From Different Density Levels

Beyond the cost and time implications, your support density choice dramatically impacts the surface finish of your printed parts. When you use higher density (30-40%), you’ll achieve better overhang stability and smoother surfaces, but you risk stronger bonding that’s harder to remove.
Lower densities (10-15%) create weaker support structure connections, leading to drooping and surface imperfections.
The density-quality relationship affects these critical areas:
- Overhang smoothness – Higher densities prevent sagging for cleaner finishes
- Support removal difficulty – Dense supports bond more strongly, potentially damaging surfaces
- Pattern interaction – Grid supports at higher densities outperform linear supports at lower densities
- Complex geometry success – Proper calibration prevents failures and irregularities in intricate designs
Support Removal Challenges at Various Densities
When you’re ready to remove supports from your finished print, the density you’ve chosen becomes the deciding factor between a smooth post-processing experience and a frustrating struggle.
Higher density supports at 20-40% create stronger bonds with your model, making removal considerably more challenging and potentially damaging delicate features. You’ll face support removal challenges when dense supports tear away surface material or leave stubborn residue requiring extensive cleanup.
Conversely, lower density supports at 10-15% break away easily but create different problems. While they’re simpler to remove, they often leave behind poorly supported areas with rough surfaces that need additional finishing work.
Finding the right balance means testing different densities for your specific geometry and material, ensuring you can remove supports cleanly without compromising your print’s structural integrity or surface quality.
Balancing Structural Integrity With Post-Processing Ease
You’ll need to find the sweet spot between support density that’s strong enough to prevent print failures and low enough to remove without damaging your part.
The key lies in understanding ideal density settings, mastering effective removal techniques, and maximizing material usage efficiency.
Getting this balance right means you’ll achieve reliable prints while minimizing both material waste and post-processing headaches.
Optimal Density Settings
Since finding the perfect balance between structural integrity and post-processing ease determines your print’s success, support density becomes one of your most critical settings to master.
You’ll discover that ideal density settings typically fall within the 20-40% range, providing the sweet spot between adequate support and manageable removal.
Here are four key strategies for achieving ideal density settings:
- Start with 25% density for most overhangs and test upward or downward based on results
- Use gradual infill changes to concentrate denser supports only where critically needed
- Increase density to 35-40% for complex geometries with challenging overhangs
- Test different settings on small model sections before committing to full prints
Support Removal Techniques
While proper density settings lay the foundation for successful prints, mastering support removal techniques guarantees you can extract clean, damage-free models from even the most complex geometries.
You’ll want to implement vertical separation layers between supports and your model to prevent excessive adhesion while maintaining structural integrity. Tree supports offer an excellent balance, providing necessary stabilization while simplifying removal processes.
When extracting supports, use specialized tools like pliers or precision cutters rather than forcing removal by hand. Work methodically from outer edges inward, applying gentle pressure to avoid damaging delicate features.
If you’ve used higher density settings for critical overhangs, expect more challenging removal but plan accordingly with proper separation techniques. These support removal techniques assure your final prints maintain their intended quality and dimensional accuracy.
Material Usage Efficiency
Finding the ideal support density requires balancing three competing priorities: material conservation, structural support, and post-processing convenience.
You’ll need to optimize your support density settings to achieve efficient material usage without compromising print quality.
Here’s how to maximize material efficiency:
- Start with 20-25% density for simple overhangs and gradually increase for complex geometries.
- Test incrementally by adjusting density in 5% steps to find your model’s minimum requirements.
- Consider geometry complexity – intricate details need higher density while basic overhangs work with lower settings.
- Factor removal difficulty into your calculations since higher densities create stronger adhesion.
Smart support density choices reduce filament waste while maintaining structural integrity.
You’ll save material costs and printing time by avoiding unnecessarily dense supports that complicate post-processing.
Optimal Density Ranges for Different Print Applications
Although support structures serve the same fundamental purpose across all 3D printing projects, you’ll need to adjust their density based on your specific application requirements.
For most standard prints, ideal density ranges between 20-40% provide the best balance of structural support and easy removal. When you’re creating simple models with minimal overhangs, you can use lower densities of 10-15% to speed up printing and simplify post-processing.
However, complex geometries with substantial overhangs require higher densities above 40% for adequate rigidity. Larger models particularly benefit from increased density to prevent deformation during printing.
You’ll need to experiment with different settings since ideal densities vary greatly across materials and printer configurations, directly impacting your final print quality.
Frequently Asked Questions
What Does Density Do in Printing?
Density controls how much material you’re using in specific areas of your print. You’ll get stronger, more stable structures with higher density, but you’ll also use more filament and increase printing time.
What Is the Best Support Density for 3D Prints?
You’ll find 20-40% support density works best for most prints. Use higher density for complex overhangs and lower density when you want easier removal and faster printing times.
What Should Support Density Be in Cura?
You should set support density between 15-20% in Cura for most prints. Start with 15% for easier removal, then increase to 20-40% if you need better overhang quality or structural stability.
Is 10% Support Density Enough?
10% support density isn’t enough for complex geometries or delicate overhangs. You’ll risk print failures and sagging. Start with 10% for simple models, but increase to 15-20% for better reliability and quality.


Leave a Reply