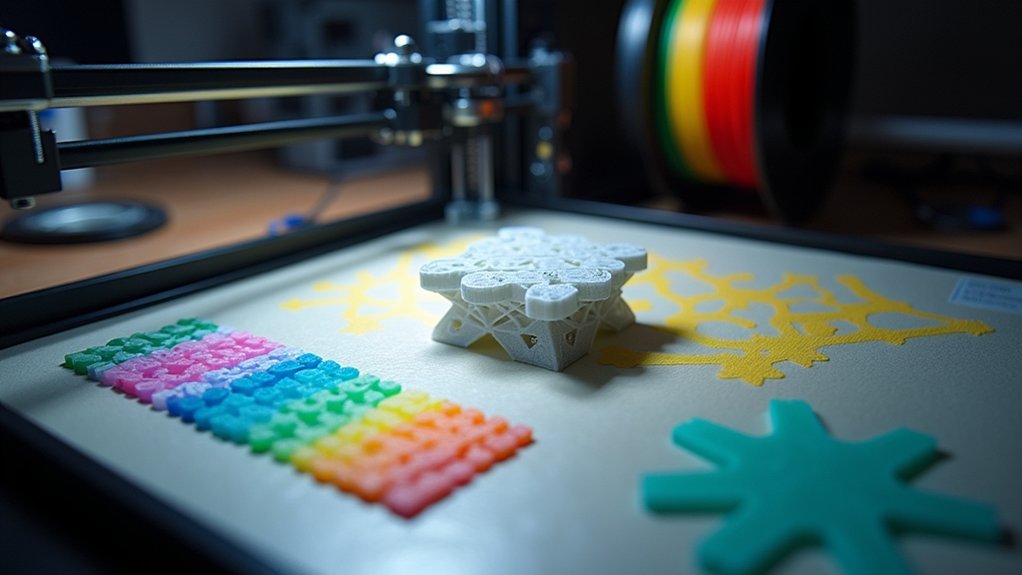
You’ll optimize your 3D printer’s support generation by adjusting density between 10-50% based on model complexity, setting contact distance at 0.2-0.5mm for easier removal, and configuring overhang angles between 45-60° depending on your material—PLA works best at 50-60° while TPU needs 35-45°. Choose grid patterns for stability or tree supports to reduce material usage, and fine-tune interface thickness to 2-3 layers for better surface quality while minimizing post-processing work and material waste.
Understanding Support Density and Pattern Selection

When configuring your 3D printer’s support settings, selecting the right density and pattern becomes essential for balancing print quality with material efficiency.
Support density typically ranges from 10% to 50%, where higher densities provide better stability but consume more material and time. You’ll find that different support patterns like grid, lines, and tree supports each offer unique advantages for specific geometries and removal ease.
Higher support densities offer improved stability and surface quality but require more material and printing time than lower density alternatives.
Higher support density creates smoother final surfaces, while lower densities may leave visible attachment marks.
You should tailor your choices based on your model’s complexity, overhangs, and bridging requirements. Experimenting with various support patterns and densities will greatly improve your print quality and reduce failure risks, especially for intricate designs requiring precise support placement.
Configuring Contact Distance and Z-Height Parameters
Critical contact distance settings determine whether your supports will detach cleanly or damage your model’s surface.
You’ll want to set your Contact Distance (Z Distance) between 0.2 to 0.5 mm for ideal results. This range guarantees easy removal while maintaining adequate support effectiveness throughout printing.
Your Z Lift height requires careful calibration, typically ranging from 5 to 7 mm depending on your build platform size. This prevents excessive adhesion between model and supports during the printing process.
Consider your support angle below 30% for easier detachment.
Contact Diameter affects adhesion strength—larger diameters like 0.8 mm provide stronger support but complicate removal compared to 0.6 mm settings.
Adjust Contact Depth based on model complexity, using greater depths for intricate designs requiring enhanced stability.
Selecting Optimal Support Structure Types

You’ll need to choose the right support structure type based on your model’s geometry and complexity.
Grid supports offer maximum stability for simple overhangs, while tree supports use less material and remove more easily for intricate designs.
Linear supports work well for basic models, but you can also create custom supports for precise placement or use adaptive supports that automatically optimize based on your geometry.
Grid Vs Tree Supports
Building a house requires choosing between a concrete slab or a pier foundation—similarly, selecting the right support structure for your 3D prints demands understanding when to use grid versus tree supports.
Grid supports work best for straightforward designs with simple overhangs, providing stable coverage across the print’s base. However, they’ll leave noticeable marks on your model’s surface and create more friction during removal, making detailed finishes challenging.
Tree supports offer the best support for complex geometries while reducing material consumption. They branch strategically to contact your model at fewer points, minimizing surface damage and simplifying post-processing. You’ll find them ideal for intricate shapes where precision matters.
Experiment with both types and adjust density settings to optimize your print quality and prevent failures.
Linear Support Advantages
When simplicity meets efficiency, linear supports emerge as the most practical choice for straightforward 3D printing projects. You’ll find these support structures incredibly easy to implement and remove, making them perfect when you need minimal intervention during post-processing.
Their simple line pattern considerably reduces material usage compared to complex grid or tree alternatives, helping you save on filament costs while cutting print time.
Linear supports provide reliable stability for smaller overhangs and less intricate geometries, ensuring your prints maintain structural integrity throughout the process. When you configure them properly, they’ll leave barely visible marks on your finished model, delivering clean surface finishes.
For projects prioritizing efficiency and cost-effectiveness, linear supports offer an excellent balance of functionality and resource conservation.
Custom Support Placement
Custom support placement transforms your printing precision by giving you complete control over where and how supports interact with your model.
You’ll strategically position supports to minimize visible marks while enhancing your final surface finish. Manual placement through software tools optimizes specific complex areas, reducing material usage and improving print quality markedly.
You must analyze your model’s geometry to determine the most effective support structure type.
Tree supports excel with intricate shapes while using minimal material, whereas grid and linear supports serve different geometric needs.
Custom support placement proves particularly valuable for preventing failures in areas with considerable overhangs or complex geometries.
This targeted approach guarantees printing stability while making post-print removal easier, ultimately delivering superior results for challenging projects.
Adjusting Overhang Angle and Threshold Settings

You’ll need to define precise overhang angle limits that match your printer’s capabilities and prevent print failures.
The threshold you set directly impacts print quality—too conservative creates unnecessary supports, while too aggressive risks drooping and structural issues.
Different materials require specific angle adjustments since PLA handles steeper overhangs better than flexible filaments that sag under their own weight.
Defining Overhang Angle Limits
Since overhang angles directly determine where your 3D printer will struggle without assistance, setting the proper angle limits becomes critical for balancing print quality with material efficiency.
Your overhang angle threshold in support settings controls when your slicer generates supports—typically between 45° to 60° for ideal results.
Setting a 45° threshold serves as the standard baseline, ensuring any steeper angles receive support while allowing gentler slopes to print freely.
You’ll reduce material usage by increasing this limit, but you’re also risking sagging and print failures on complex geometries.
Lower thresholds create conservative support generation, using more material but providing better safety margins.
Fine-tuning this balance prevents poor surface finishes and maintains structural integrity throughout your prints.
Threshold Impact on Quality
When you adjust overhang angle thresholds, you’re directly controlling the trade-off between print quality and material efficiency.
Setting the overhang angle threshold to 30% or lower dramatically reduces support requirements while preserving quality for models with gradual slopes. However, increasing this threshold enables more aggressive overhangs without support, though complex geometries risk print failures.
Since ideal settings vary by model, you’ll need to test different angles to balance support needs with surface finish quality.
Fine-tuning these threshold settings in your slicer prevents excessive support generation, improving print efficiency and material usage. This enhancement boosts visual quality by minimizing visible support marks and creating superior surface finishes on your final prints.
Material-Specific Angle Adjustments
Different 3D printing materials demand distinct overhang angle settings to achieve ideal results.
You’ll need to adjust your support generation parameters based on your chosen filament’s characteristics and thermal properties.
PLA typically handles steeper angles better than ABS, allowing you to set more aggressive overhang angle thresholds. ABS requires more conservative settings due to its tendency to warp and sag during printing.
Consider these material-specific adjustments:
- PLA: Set overhang angle threshold between 50-60° for best support generation
- ABS: Use 40-50° threshold to prevent sagging on gradual slopes
- PETG: Apply 45-55° settings for balanced support coverage
- TPU: Implement 35-45° threshold due to flexible material properties
Fine-tuning these settings reduces post-processing time while maintaining excellent print quality across different materials.
Customizing Support Interface and Bridge Settings
While basic support structures provide essential scaffolding for overhangs and bridges, you’ll achieve superior print quality by fine-tuning the interface settings that control how supports connect to your model. The support interface acts as a buffer layer that minimizes visible marks on your finished print while maintaining necessary structural integrity.
| Setting | Recommended Value | Impact |
|---|---|---|
| Support Z Distance | 0.15-0.25mm | Easier removal |
| Interface Thickness | 2-3 layers | Enhanced stability |
| Support Density | 15-25% | Prevents sagging |
| Interface Pattern | Zigzag/Lines | Smoother finish |
| Bridge Settings | Grid pattern | ideal strength |
Adjusting your support Z distance creates the perfect balance between removability and stability. You can also utilize adaptive supports to automatically enhance placement based on your model’s geometry, ensuring reliable prints for complex overhangs.
Fine-Tuning Removal and Post-Processing Parameters
Perfect support removal begins long before you reach for your tools—it starts with strategic parameter adjustments that’ll save you hours of tedious post-processing work.
Fine-tuning your Support Z Distance creates the ideal gap between your model and supports, making removal considerably easier while protecting delicate features.
You’ll want to experiment with densities between 10% and 50% to find the sweet spot for your specific print.
When removing supports, follow these essential steps:
- Use proper tools like pliers or cutters to prevent model damage
- Remove supports slowly and methodically from largest to smallest
- Sand or file remaining artifacts for smooth finishes
- Check for any missed support material in intricate areas
Strategic parameter tuning minimizes post-processing requirements while ensuring your supports still provide adequate structural integrity during printing.
Frequently Asked Questions
What Should My Support Density Be?
You’ll want 15-20% density for simple models, but increase to 30% or higher for complex overhangs. Test different densities since your specific model’s geometry determines what works best.
How to Make 3D Print Supports Stronger?
You’ll strengthen your supports by increasing density to 20-50%, using thicker 0.25-0.3mm interface layers, reducing Z distance to 0.2mm, implementing tree supports for complex parts, and choosing 0.6-0.8mm contact diameters.
How to Optimize a 3D Printer?
You’ll optimize your 3D printer by calibrating bed leveling, adjusting temperature settings, fine-tuning layer height, selecting proper print speeds, maintaining clean nozzles, and regularly updating firmware for consistent, high-quality prints.
What Is the Best Support Infill for 3D Printing?
You’ll find 20-30% support infill density works best for most prints. Use grid patterns for stability or tree supports for complex geometries. Test different settings based on your model’s overhangs and complexity.


Leave a Reply