You’ll need to adjust support settings for overhangs because the default 30-degree threshold and standard configurations rarely match your specific model’s geometry, material requirements, and desired surface quality. Different overhang angles require tailored support density—complex geometries need 20-50% density while simpler models work with 10-15%. Tree supports excel for small, uneven overhangs, while normal supports handle large, flat areas better. Proper Z distance settings and placement strategies greatly impact material usage, print success, and post-processing time, and mastering these adjustments will transform your printing results.
Understanding Overhang Angles and Threshold Settings
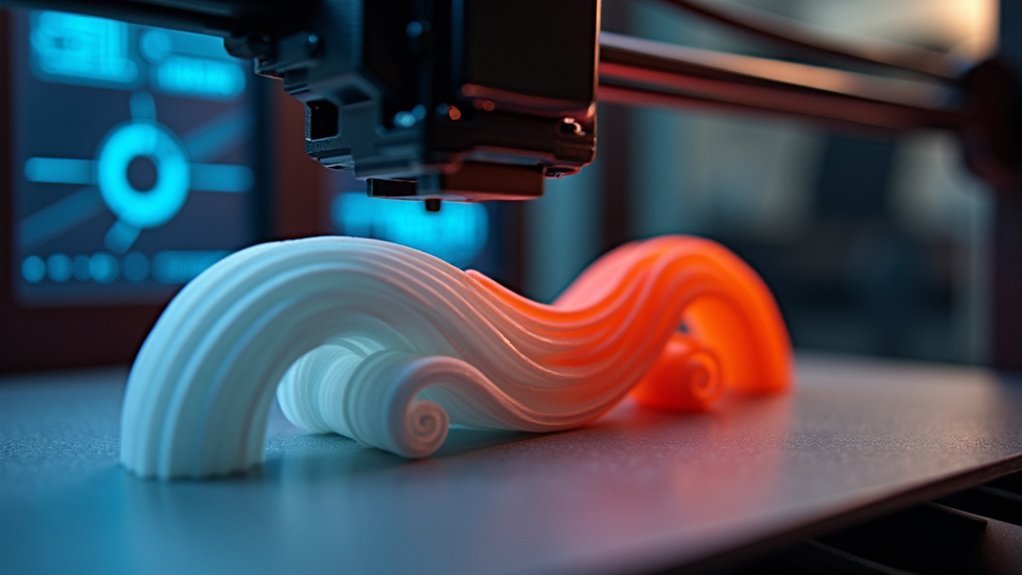
When you’re setting up support structures for 3D printing, understanding overhang angles becomes your first critical decision point.
Most slicing software sets the default threshold at 30 degrees, meaning any overhang exceeding this angle will require support material to prevent sagging during printing.
In Prusaslicer, you can customize your support settings by adjusting the Overhang Threshold anywhere from 0° to 180°.
However, you’ll need to understand that Prusaslicer measures overhang angles from horizontal rather than vertical, which often causes confusion when interpreting support requirements.
Be aware that overhangs above 55° may experience support issues due to slicer limitations.
You’ll achieve ideal results by testing different threshold settings and observing how your printer handles varying geometries before committing to complex prints.
Normal Support Vs Tree Support Selection Criteria
After establishing your overhang threshold settings, you’ll face the crucial decision between Normal Support and Tree Support structures.
Normal Support works best for large, flat overhangs, offering superior quality and stability from the build plate to your model. It’s particularly effective when you can auto-detect overhangs using your 30-degree threshold setting.
Normal Support delivers exceptional quality and stability for large, flat overhangs when paired with 30-degree threshold auto-detection.
Tree Support excels with small, uneven overhangs due to its exceptional strength and material efficiency. You’ll find Tree Support styles like Slim Tree for saving material, Strong Tree for maximum robustness, or Hybrid Tree combining both benefits.
For Normal Support, choose Grid style when you need extended stability beyond the overhang, or Snug style to minimize print speed impact while maintaining close alignment.
Support Density Optimization for Different Model Types
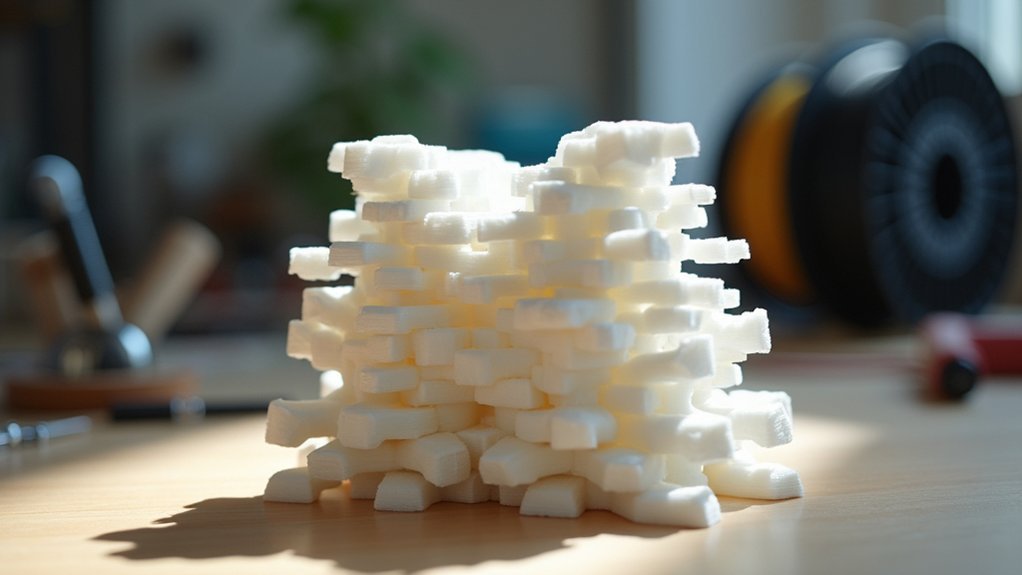
When you’re selecting support density, you’ll need to balance three critical factors that directly impact your print’s success.
Material usage increases considerably with higher densities, but complex geometries with steep overhangs often require 20-50% density to prevent failures.
You can optimize print time by using lower densities around 10-15% for simpler models, though this requires careful consideration of your specific overhang angles and geometric complexity.
Material Usage Considerations
Beyond mere structural considerations, support density directly impacts your material consumption and overall printing efficiency.
You’ll find that common settings ranging from 10% to 50% density create an essential balance between support strength and material conservation. While higher densities provide enhanced stability for complex overhangs, they’ll considerably increase your material usage and print times.
For simpler models with basic overhangs, you can reduce density without compromising quality, saving both material and time.
Your choice of support patterns matters too—tree supports often prove more material-efficient than grid patterns for intricate designs.
Regular testing and adjustments tailored to your specific model types will lead to improved outcomes and minimized waste, ultimately optimizing your printing workflow.
Complex Geometry Requirements
Complex geometries demand more nuanced support density strategies than standard overhang configurations.
You’ll need to analyze your model’s intricate features to determine ideal density levels. For extensive overhangs and complex shapes, increase density from 15% to 50% to prevent sagging and guarantee stability.
However, you can reduce density to 10-20% for models with small, delicate features to minimize material waste while maintaining adequate support.
Tree support patterns often work better than grid patterns for complex geometries, allowing more efficient material use around intricate shapes.
You should test different density settings for your specific model type, as what works for architectural details won’t necessarily suit organic curves.
Higher densities provide necessary stability for elaborate designs, but you’ll want to balance support effectiveness with removal ease and material consumption.
Print Time Balance
Although higher support densities provide better stability, they’ll dramatically extend your print time and consume more material than necessary for many projects.
You’ll find the ideal balance typically falls between 10% to 50% density, depending on your model’s specific needs.
For simple models with minimal overhangs, you can safely use lower densities around 10-15%, reducing both print time and material waste without sacrificing quality.
However, intricate designs with extensive overhangs require higher densities of 30-50% for adequate support.
Don’t hesitate to experiment with different density settings for each model type.
You’ll often discover that certain designs print successfully with surprisingly low support densities, saving hours of print time and significant material costs while maintaining excellent results.
Placement Strategies: Build Plate Only Vs Everywhere
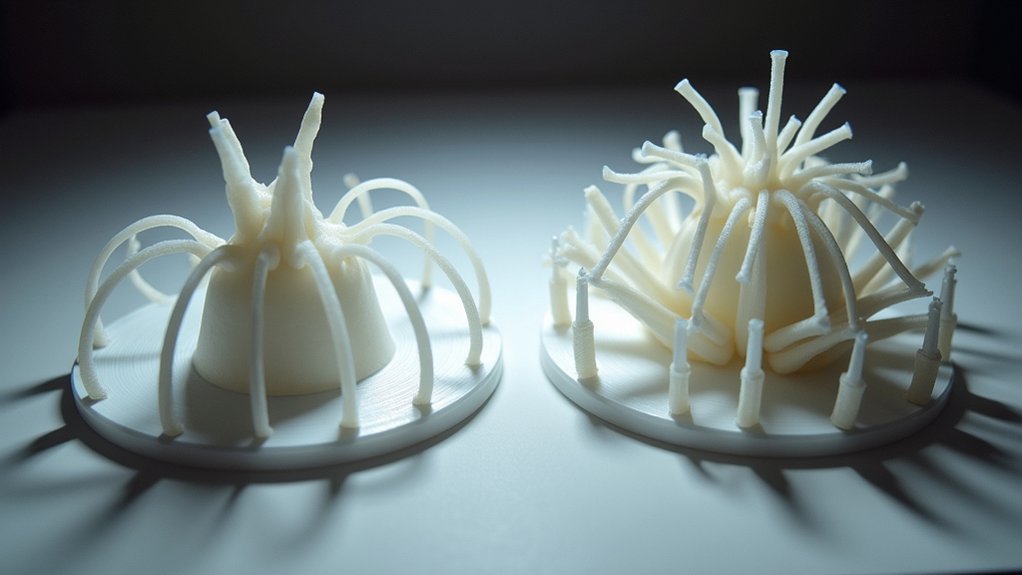
When you’re configuring support settings, you’ll need to choose between two primary placement strategies that greatly impact your print’s outcome.
“Build Plate Only” restricts supports to areas touching the print bed, making it perfect for simpler models with minimal overhangs. This approach conserves material and reduces print time considerably.
“Support Everywhere” generates supports throughout your entire model, providing stability for complex geometries and extensive overhangs.
Consider these key factors when choosing your strategy:
- Model complexity – intricate designs require everywhere placement
- Overhang severity – considerable overhangs need thorough support
- Material conservation – build plate only minimizes waste
- Post-processing time – everywhere placement increases support removal
Your choice directly influences material usage, print success rate, and final surface quality.
Z Distance and Interface Settings for Clean Removal
You’ll need to fine-tune your Z distance settings to create the perfect gap between supports and your model’s overhangs.
Adding interface layers between the support structure and your print creates a smoother changeover that protects surface quality while making removal much easier.
Master these settings and you’ll transform post-processing from a frustrating chore into a quick, clean separation that leaves your overhangs looking professional.
Optimal Z Distance Settings
Since the gap between your support structure and model directly determines removal difficulty, mastering Support Z Distance settings becomes essential for achieving clean, damage-free prints.
You’ll find that ideal distances typically fall between 0.1mm and 0.3mm, depending on your material and model complexity.
Consider these key scenarios when setting your Z Distance:
- Simple overhangs with PLA: Start with 0.2mm for balanced adhesion and easy removal.
- Complex geometries requiring strong support: Use 0.1mm to prevent sagging while accepting tougher removal.
- Delicate models needing pristine surfaces: Set 0.25-0.3mm to minimize contact marks and potential damage.
- Flexible materials like TPU: Increase to 0.3mm since these materials naturally adhere more strongly.
Interface Layer Benefits
While proper Z Distance settings form the foundation of clean support removal, adding interface layers creates an even smoother separation between your supports and model surfaces.
You’ll notice greatly improved surface finishes with fewer visible support marks on your final print. Interface layers act as a buffer zone, making support removal considerably easier while preserving delicate model features that might otherwise break during post-processing.
You can fine-tune interface thickness to balance adhesion strength with removability. Thicker interfaces provide better adhesion during printing but still separate cleanly afterward.
This configuration reduces the force you’ll need to remove supports, protecting intricate overhangs and thin walls. Properly configured interface settings cut your post-processing time substantially, helping you achieve professional-quality results with minimal cleanup effort.
Post-Print Removal Techniques
Breaking away supports becomes effortless when you’ve dialed in the right Z Distance and interface settings. Your 0.1-0.3 mm Z Distance creates the perfect separation gap, while the interface thickness acts as a protective buffer layer between support and model.
Follow these removal techniques for clean results:
- Gentle twisting motion – Rotate supports at their base connection points rather than yanking straight up.
- Use needle-nose pliers – Grip support structures close to the model surface for controlled removal.
- Work from outside edges inward – Start with outer supports before tackling those near intricate details.
- Sand lightly if needed – Remove any remaining interface residue with fine-grit sandpaper.
You’ll minimize surface damage and preserve delicate overhangs with properly configured settings.
Material-Specific Support Configuration Requirements
Although all 3D printing materials require supports for overhanging features, each filament type demands specific configuration adjustments to achieve ideal results.
You’ll need lower support density for PLA since it adheres well naturally, while PETG requires higher density for better stability during printing.
When working with ABS, increase your first layer density to improve build plate adhesion and prevent warping issues.
For flexible filaments like TPU, carefully manage your Support Z Distance—too much separation causes sagging, while too little makes removal difficult.
Choose Tree supports over Normal structures for flexible materials to guarantee easier removal.
Materials like nylon that shrink considerably during cooling need custom support placements to counteract warping.
Adapt these thermal-based adjustments to match each material’s unique cooling characteristics.
Manual Support Painting for Complex Geometries
Take control of your support placement by manually painting support areas directly onto your model’s surface, giving you precision that automatic algorithms can’t match.
This technique proves invaluable for intricate models with selective overhangs, allowing you to minimize material waste while maximizing print quality.
You’ll have access to different support styles during manual painting:
- Normal supports for standard vertical reinforcement
- Tree supports for organic, branching structures
- Custom density adjustments for varying strength requirements
- Strategic placement targeting critical overhang zones
Layer Height Impact on Overhang Performance
While manual support painting gives you precise control over support placement, your layer height settings work hand-in-hand with these supports to determine overhang success.
Lower layer heights like 0.15 mm dramatically improve overhang performance by providing better adhesion and support for steep angles. The standard 0.2 mm default often fails with overhangs exceeding 45°, causing sagging and print failures.
Layer heights of 0.15 mm prevent overhang failures that plague standard 0.2 mm settings on steep angles.
You’ll need to test different layer heights based on your printer’s capabilities since ideal settings vary between models.
Finer layers create smoother shifts and reduce defects in overhanging sections. When you combine reduced layer heights with proper support settings, you’ll achieve superior print quality for complex geometries with challenging overhangs.
Support Pattern Selection for Structural Stability
When you’re selecting support patterns for overhangs, you’ll need to choose between grid and tree patterns based on your model’s specific requirements.
Grid patterns excel at supporting large overhangs and flat surfaces, while tree supports work better for complex geometries with minimal contact points.
Your density settings will directly affect both structural strength and material consumption, so you’ll want to balance support reliability against the effort required for removal.
Grid Vs Tree Patterns
As you select support patterns for your 3D prints, you’ll encounter two primary options that dramatically affect both structural stability and material efficiency.
Grid supports serve as your default choice, extending beyond overhang regions to create a stable foundation for larger overhangs. They’re particularly effective when you need reliable structural support across wide areas.
Tree supports offer a branching architecture that excels with complex geometries and uneven overhangs while consuming less material.
Consider these key visualization differences:
- Grid patterns create uniform rectangular scaffolding beneath your print.
- Tree supports branch upward like natural tree structures.
- Grid extends broadly for maximum stability coverage.
- Tree focuses precisely on targeted support points.
You’ll find tree patterns ideal for intricate designs, while grid patterns excel when you prioritize structural reliability over material conservation.
Density Impact on Strength
Three fundamental density levels control your support structure’s effectiveness: light (10-20%), medium (20-35%), and heavy (35-50%).
Light density saves material but risks support failure on complex overhangs, while heavy density provides maximum stability at the cost of increased material usage and removal difficulty.
You’ll find medium density works best for most applications, offering reliable support without excessive waste.
Higher densities become necessary when printing steep overhangs or delicate features that can’t tolerate support failure.
Lower densities work for simple overhangs with gentle angles.
Test different densities within your model’s requirements to find the sweet spot.
Remember that denser supports create stronger structures but demand more post-processing time and material investment, directly impacting your print’s success and efficiency.
Pattern Removal Considerations
Beyond density selection, your choice of support pattern fundamentally determines both structural stability and post-processing workload.
Tree supports excel with complex geometries through their adaptive branching structure, while grid supports offer consistent stability but consume more material.
Consider these pattern removal factors:
- Interface smoothness – Tree supports create cleaner contact points, reducing sanding and finishing time.
- Material waste – Grid patterns generate more excess material that you’ll need to dispose of properly.
- Access angles – Tree supports provide better tool access for removal in tight spaces and internal cavities.
- Breaking points – Grid supports often require more force to remove, potentially damaging delicate overhangs.
You’ll need to experiment with different patterns based on your model’s specific geometry, as each responds differently to various overhang configurations and angles.
Post-Processing Considerations in Support Design
While designing supports for your 3D prints, you’ll want to take into account how they’ll affect the post-processing workflow since removing them cleanly can make or break your final result.
You’ll find that proper support settings considerably ease the removal process, minimizing damage and ensuring a clean finish. Consider tree supports over traditional grid supports—they’re more efficient and easier to remove, reducing visible support marks.
Tree supports outperform traditional grid supports by offering easier removal and fewer visible marks on your finished prints.
You’ll need tools like pliers or cutters for safe detachment, especially with higher density structures.
After removal, you might need sanding or filing to smooth contact areas. Test different support styles and densities to identify what works best for your specific models, ultimately enhancing the final appearance while simplifying your post-processing workflow.
Testing and Calibration Methods for Optimal Results
Achieving consistent support performance requires systematic testing and calibration of your printer’s overhang capabilities.
You’ll need to run dedicated overhang test parts to determine your printer’s maximum angle threshold, with many machines handling up to 70° under ideal conditions.
Start your calibration process with these essential steps:
- Print overhang test models at different angles to establish your printer’s limits.
- Experiment with layer heights, starting at 0.15mm for better overhang performance versus 0.2mm.
- Adjust support density and patterns in your slicer to balance material usage with structural integrity.
- Fine-tune the Overhang Threshold setting in slicers like PrusaSlicer based on your test results.
Share your findings with the 3D printing community to gather valuable insights and refine your calibration methods for consistently excellent results.
Frequently Asked Questions
What Does Support Overhang Angle Do?
Support overhang angle sets the maximum angle your printer can create overhangs without adding support structures. You’ll save filament and time by preventing unnecessary supports on gentle slopes while ensuring steep angles get proper support.
Is It Better to Print Overhangs Fast or Slow?
You should print overhangs slowly, typically between 30-50 mm/s. Slower speeds allow better material cooling and layer adhesion, preventing sagging and print failures that occur when material doesn’t solidify properly.
What Is the Overhang Setting in Cura?
The overhang setting in Cura controls when support structures automatically generate based on angle thresholds. You’ll find it defaults to 30 degrees, but you can adjust it to optimize supports for your specific model’s geometry.
Do I Need Supports for Small Overhangs?
You don’t typically need supports for small overhangs under 30 degrees. Your printer can likely handle these angles without sagging. Test your printer’s capabilities first, then enable “Remove Small Overhangs” to save material.


Leave a Reply