
Variable layer height technology automatically adjusts your print’s layer thickness based on model geometry, using thinner layers for detailed areas and thicker layers for simple sections. You’ll achieve 30-40% time reductions without compromising quality since complex features get the detail they need while flat surfaces print faster with thicker layers. This eliminates the traditional compromise between speed and surface finish. Configure your slicer’s adaptive settings to reveal these impressive efficiency gains and optimization strategies.
Understanding Variable Layer Height Technology
While traditional 3D printing relies on uniform layer heights throughout the entire print, variable layer height technology automatically adjusts thickness based on your model’s geometry.
This intelligent approach analyzes your design and determines where detail matters most. In complex areas with curves, overhangs, or fine features, the system will adjust the layer height to use thinner layers for superior surface quality.
Conversely, in simple geometric sections with minimal detail, it applies thicker layers to speed up printing without sacrificing quality.
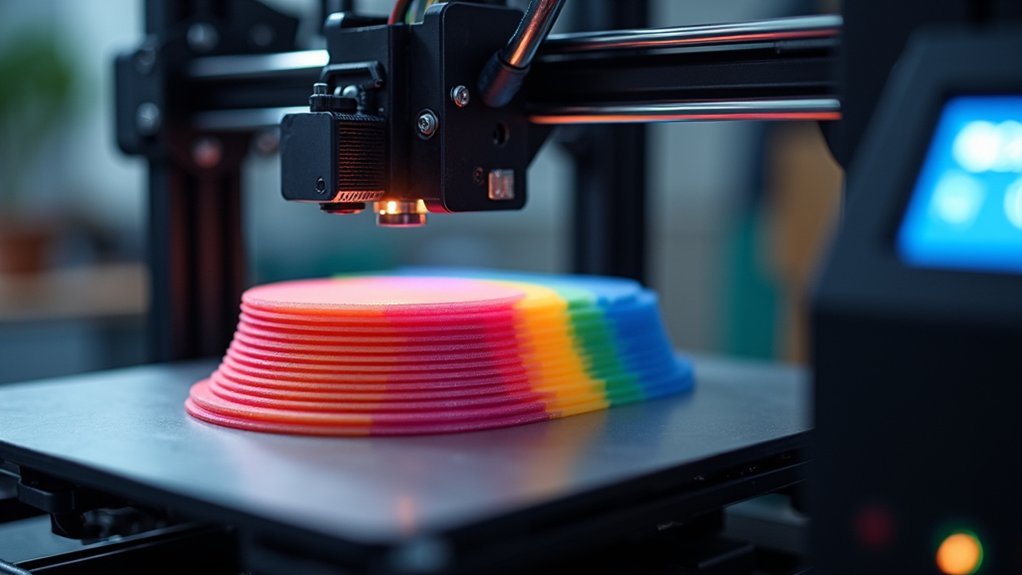
Variable Layer Height technology eliminates the traditional compromise between speed and quality. You’ll notice smoother surfaces on slopes and curves while dramatically reducing overall print times.
The system prevents the stepping effect common with fixed layer heights, delivering professional results efficiently.
How Adaptive Layer Heights Reduce Print Time
When you implement adaptive layer heights, your printer automatically reduces the total number of layers required by using thicker layers in geometrically simple areas. This intelligent approach streamlines your printing process by applying thin layers only where detail matters most, while utilizing thicker layers on flat surfaces and less intricate sections.
You can configure adaptive layers within a specific range, such as 0.08-0.28 mm for standard 0.4 mm nozzles. Modern slicers like Orca Slicer provide both automatic and manual controls for this optimization.
| Layer Type | Height Range | Use Case |
|---|---|---|
| Detail layers | 0.08-0.12 mm | Complex geometry |
| Standard layers | 0.15-0.20 mm | General features |
| Fast layers | 0.24-0.28 mm | Flat surfaces |
| Adjustment zones | Variable | Smooth blending |
| Support layers | Optimized | Structural elements |
This strategy delivers print time reductions exceeding 30% without compromising quality.
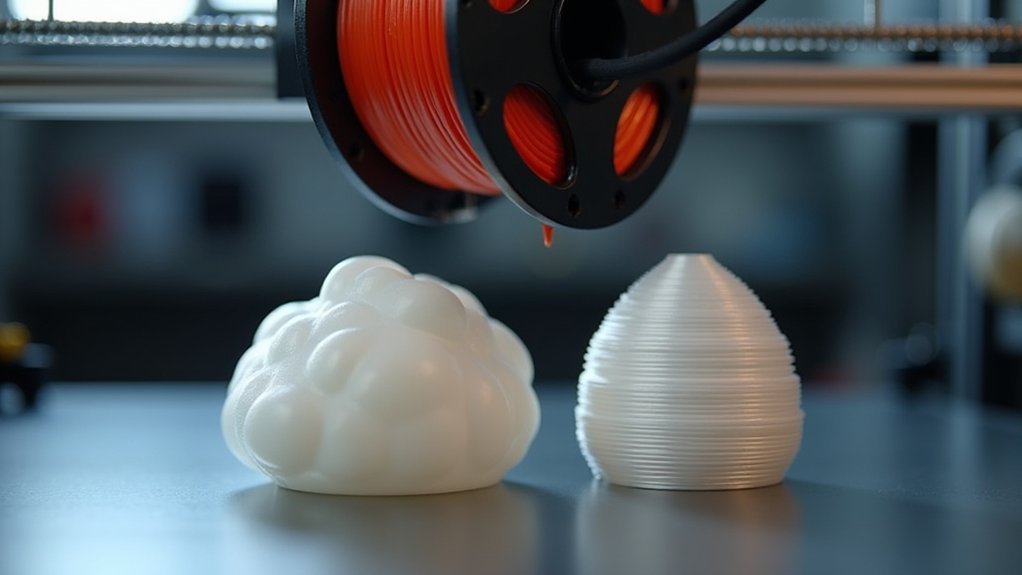
Comparing Fixed vs. Variable Layer Height Performance

As your 3D printer moves through each layer using a fixed height setting, it applies the same thickness regardless of whether it’s rendering intricate curves or simple flat surfaces.
This uniform approach forces you to compromise—either accept longer print times with thin layers throughout, or settle for rougher surfaces when using thicker layers on detailed areas.
Variable layer height transforms this equation entirely. You’ll achieve up to 30% faster prints on complex models because the slicer automatically adjusts thickness based on surface angles and detail requirements.
While fixed heights lock you into one-size-fits-all printing, variable settings optimize each section independently. Your print quality improves dramatically as fine details receive thin layers while simple surfaces use thicker ones, eliminating the traditional trade-off between speed and surface finish quality.
Setting Up Variable Layer Heights in Your Slicer
Five simple steps will get you started with variable layer heights in your slicer software.
First, open your 3D model and locate the variable layer height tool in the top toolbar to activate this feature.
Next, choose between automatic mode for simplified adjustments or manual controls for precise fine-tuning.
When using manual mode, left-click decreases layer heights while right-click increases them based on your model’s geometry.
Apply the smooth function to create gradual shifts using a Gaussian filter, preventing abrupt changes between different heights.
Finally, verify your printer settings accommodate the minimum and maximum layer thickness requirements, as these settings affect all extruders during printing for ideal quality and time efficiency.
Automatic vs. Manual Layer Height Control
Although both automatic and manual layer height control achieve variable printing results, they differ greatly in complexity and user involvement.
Automatic layer height control simplifies your workflow by analyzing model geometry and adjusting heights without intervention, making it perfect if you’re new to 3D printing or want hassle-free optimization.
Manual layer height control gives you precise command over every adjustment. You’ll left-click to increase heights and right-click to decrease them using the adaptive layer height tool.
This hands-on approach lets you experiment with different settings to balance print speed against detail quality. You can apply the smooth function to create seamless changes between varying heights, enhancing both print quality and aesthetics while achieving significant time reductions.
Optimal Layer Height Ranges for Different Models
When selecting ideal layer heights for your 3D prints, you’ll want to stay within the 0.08 mm to 0.28 mm range for standard 0.4 mm nozzles.
For optimal 3D printing results with 0.4 mm nozzles, maintain layer heights between 0.08 mm and 0.28 mm.
This variable layer height approach lets you optimize both quality and speed based on your model’s complexity.
Here’s how to choose the right layer height for different models:
- Detailed models with curves or slopes – Use thinner layers (0.1 mm or lower) in intricate areas to capture fine details and smooth surfaces.
- Simple geometric shapes – Apply thicker layers (0.2 mm or higher) on flat sections to reduce print time considerably.
- Hybrid models – Combine both approaches using adaptive layer height technology to minimize layers in basic areas while maintaining detail where needed.
This strategy reduces both material consumption and printing time.
Smoothing Transitions Between Layer Heights
While variable layer heights offer tremendous flexibility in balancing quality and speed, abrupt changes between thick and thin layers can create visible artifacts on your print’s surface.
Orca Slicer’s smooth function solves this problem by applying a Gaussian filter that eliminates harsh shifts between different layer heights. You can customize the smoothing intensity by adjusting the Gaussian filter radius to match your model’s detail requirements.
The “Keep Min” option preserves ultra-fine features during smoothing shifts, ensuring intricate details aren’t lost. Multiple clicks on the smooth button progressively enhance the effect, giving you complete control.
This smoothing process proves especially valuable for complex geometries, creating seamless blends that optimize your overall print quality.
Time Savings on Complex Geometries
Since complex geometries contain both intricate details and simple surfaces, variable layer heights deliver substantial time savings by intelligently adapting thickness throughout your print.
You’ll see dramatic improvements when printing models with curves, overhangs, and varying detail levels.
Your time savings come from three key enhancements:
Three strategic enhancements work together to maximize your printing efficiency while maintaining precision where it matters most.
- Adaptive thickness allocation – Thick layers handle simple surfaces while thin layers preserve fine details.
- Reduced total layer count – Slopes and curves require fewer layers to achieve smooth finishes.
- Automatic surface angle detection – Software calculates ideal heights based on geometry complexity.
This approach can reduce your print time by up to 30% compared to uniform layers.
Models with mixed complexity benefit most, as variable layer height settings allow you to improve print efficiency without compromising quality on detailed sections.
Balancing Speed and Surface Quality
Although variable layer heights offer impressive time savings, you’ll need to carefully balance speed gains with surface quality requirements for ideal results.
You can achieve this balance by strategically adjusting layer thickness based on your model’s geometry. Use thinner layer height settings in detailed areas where surface finish matters most, while applying thicker layers in flat sections where speed takes priority.
The adaptive slicing technology automatically calculates effective layer thickness by analyzing surface angles, delivering up to 30% time reductions without sacrificing quality.
You’ll find smooth mode particularly valuable since it enhances shifts between different heights, improving surface appearance without adding significant print time. This intelligent approach eliminates the ladder-like appearance while maintaining efficient printing practices.
Common Limitations and Compatibility Issues
Despite its advantages, variable layer height technology presents several compatibility challenges that can impact your printing workflow.
You’ll encounter restrictions that require careful consideration before implementing this feature.
Key limitations include:
- Organic tree supports incompatibility – You can’t use variable height settings with organic tree supports, forcing you to choose between adaptive layers and advanced support structures for complex geometries.
- Multi-color printing constraints – Different variable heights across objects disable the prime tower feature, which you need for consistent color changes and print quality maintenance.
- Simple model inefficiency – Adaptive layer heights won’t benefit flat, basic models where uniform layers already provide adequate quality without the added complexity.
Always guarantee consistent height settings across all objects to maintain prime tower functionality and avoid print failures.
Best Practices for Maximum Time Efficiency
When you’re targeting maximum efficiency with variable layer heights, focus on strategic thickness distribution that matches your model’s geometric complexity.
Apply thinner layers exclusively to detailed areas requiring precision, while using thicker layers for flat surfaces and simple geometry.
Enable adaptive slicing to automatically calculate ideal layer thickness based on surface angles—this eliminates guesswork and maximizes efficiency.
Activate smooth mode to create seamless shifts between different layer heights. This prevents your printer from wasting time on unnecessary fine layers where detail isn’t critical.
Experiment with your slicer’s settings to find the sweet spot between quality and speed for your specific models.
These optimizations can reduce your printing time by approximately 30% compared to uniform layer height approaches while maintaining surface quality.
Measuring Your Time Savings Results
After implementing these variable layer height strategies, you’ll want concrete data to validate your efficiency gains.
Modern slicing software like Orca Slicer provides real-time measurement tools that display projected time reductions as you adjust settings. When you enable adaptive slicing with proper filter radius settings, you’ll see immediate calculations showing potential savings.
Here’s how to track your variable layer height improvements:
- Compare baseline times – Record original print durations using fixed layer heights before switching to adaptive settings.
- Monitor software projections – Use built-in time estimation displays that update as you modify layer height parameters.
- Document actual results – Track real-world print times to verify the 30-40% reductions commonly achieved with optimized variable layer height configurations.
This data-driven approach guarantees you’re maximizing efficiency gains while maintaining quality standards.
Frequently Asked Questions
How Does Variable Layer Height Work?
You’ll adjust layer thickness based on your model’s geometry, using thinner layers for detailed areas and thicker layers for flat surfaces. Software calculates ideal heights through adaptive slicing, smoothing changes automatically.
What Does Reducing Layer Height Do?
Reducing layer height gives you finer details and smoother surfaces on your prints. You’ll see less ladder-like stepping on curves and slopes, creating higher visual quality, especially on complex geometries requiring precision.
Does an Orca Slicer Have Variable Layer Height?
Yes, you’ll find Orca Slicer has variable layer height capabilities. You can activate adaptive layer heights through the interface, manually adjust specific areas, and use smooth changes for optimized print quality and reduced times.
What Is the Best Layer Height Setting?
You’ll want 0.2mm for most prints, balancing detail and speed. Use 0.1mm for intricate models requiring fine details, or 0.28mm for simple objects where speed matters more than surface quality.
Leave a Reply