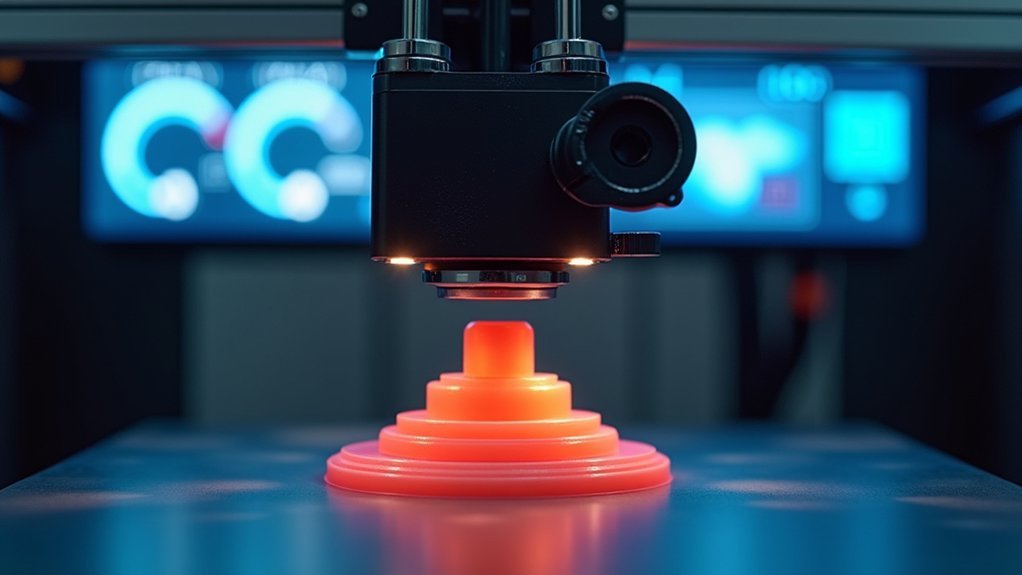
To optimize your 3D printer’s travel speed, start by gradually increasing settings from default values by 20-30 mm/s in your slicing software’s speed menu. Test with complex geometries to find the sweet spot between efficiency and quality, typically ranging from 80-150 mm/s depending on your printer’s capabilities. Adjust acceleration and jerk settings to prevent vibrations that cause ghosting or ringing. Different materials require different approaches—PLA handles aggressive speeds up to 120 mm/s while flexible filaments need slower 20-30 mm/s speeds. Master these fundamentals and you’ll discover advanced techniques for maximizing performance.
Understanding Travel Speed in 3D Printing

Efficiency drives every successful 3D print, and travel speed plays an essential role in determining how quickly your printer completes each project.
Travel speed refers to how fast your printhead moves when it’s not extruding filament, directly impacting your overall print time. You’ll typically find suitable settings between 80-150 mm/s, depending on your printer’s mechanical properties.
Understanding this parameter helps you balance speed with print quality throughout the printing process. While faster travel speeds reduce non-deposition movement duration, they can introduce vibrations that create defects like ringing or ghosting.
Your printer’s capabilities, model complexity, and material choice all influence the ideal travel speed. Mastering this balance guarantees you maximize efficiency without compromising the final result’s integrity.
Factors That Impact Travel Speed Performance
Your printer’s hardware sets the foundation for travel speed performance, with frame rigidity and stepper motor quality determining how fast you can move without sacrificing accuracy.
You’ll need to fine-tune acceleration and jerk settings in your slicer to achieve smooth, rapid movements between print areas without causing vibrations or positioning errors.
Environmental factors like temperature changes can also affect your printer’s performance, requiring you to adjust travel speeds based on your printing conditions.
Printer Hardware Limitations
While optimizing travel speed settings can boost your printer’s performance, the hardware itself sets hard limits on what speeds you can actually achieve. Your printer hardware limitations start with the stepper motors and motion system type, which directly determine your maximum travel speed capabilities.
Printer frame rigidity plays a critical role—flexible frames create vibrations that force you to reduce speeds. Your linear motion components, including bearings and rails, must handle high-speed movements smoothly. Even with quality hardware, firmware settings can impose speed caps if they’re not optimized properly.
| Hardware Component | Speed Impact |
|---|---|
| Stepper Motors | Determines acceleration limits |
| Frame Construction | Controls vibration resistance |
| Linear Bearings | Affects movement precision |
| Motion System Type | Influences overall speed capacity |
Acceleration and Jerk Settings
Beyond your printer’s physical components, acceleration and jerk settings act as the software gatekeepers that determine how effectively you can use your hardware’s speed potential.
These parameters directly control how your print head reaches maximum travel speeds and handles directional changes.
Acceleration settings determine how quickly your printer can reach peak velocity. While 500 mm/s² serves as a common starting point, you’ll need to experiment within the 100-2000 mm/s² range to optimize performance without causing vibrations.
Here’s how to balance speed and print quality:
- Start conservative – Begin with lower acceleration values (300-500 mm/s²) and gradually increase
- Test jerk settings – Adjust between 5-20 mm/s to minimize ringing artifacts
- Monitor results – Watch for ghosting or quality degradation as you push settings higher
Environmental Temperature Effects
Temperature fluctuations around your 3D printer create a cascade of material behavior changes that directly impact how fast you can safely move your print head. Higher ambient temperature reduces filament viscosity, enabling smoother extrusion but increasing oozing risks during rapid movements.
You’ll need a heated print bed to maintain proper adhesion and prevent warping that could shift your print mid-travel. Watch humidity levels carefully—they affect hygroscopic filaments like PLA, potentially causing clogs that force slower speeds.
Cooler environments trigger thermal contraction, warping parts and requiring reduced travel speeds to avoid print failures. Maintain stable ambient temperature between 20°C and 25°C for consistent material behavior and ideal travel performance.
Default Travel Speed Settings Vs Optimal Settings
Your printer’s default travel speed settings aren’t always the best choice for ideal print quality.
Most slicing software sets travel speeds between 120-150 mm/s, but you’ll often get better results by reducing this to around 80 mm/s to minimize vibrations and improve precision.
Testing different speed parameters helps you find the sweet spot between your printer’s capabilities and the quality you’re aiming for.
Default Speed Limitations
Most slicing software defaults to conservative travel speeds around 120 mm/s, leaving significant performance on the table for capable 3D printers.
These default speed limitations don’t reflect your machine’s actual capabilities, often resulting in unnecessarily lengthy print times. High-performance printers can handle ideal travel speeds exceeding 150 mm/s without compromising quality.
You’ll need to address three key areas to overcome these limitations:
- Check your printer definition files – Default configurations may underestimate your machine’s travel speed capabilities.
- Test incrementally higher speeds – Start at 130 mm/s and increase gradually until you find your printer’s sweet spot.
- Consider material requirements – Some filaments perform better with adjusted printing speed parameters.
Customizing these settings transforms your printer’s efficiency dramatically.
Optimal Speed Parameters
While default travel speed settings typically hover between 100-150 mm/s across most 3D printers, you’re likely missing considerable time savings by accepting these conservative baselines.
You can achieve ideal settings by pushing your travel speed to 120 mm/s or higher, depending on your printer’s capabilities. High-performance models handle speeds up to 500 mm/s without sacrificing print quality.
The key is finding your sweet spot through testing. Start at 120 mm/s and gradually increase until you notice quality degradation. Higher speeds greatly reduce overall printing time by minimizing non-deposition movements.
However, you’ll need to fine-tune jerk and acceleration settings to maintain stability. Remember that ideal travel speed varies between printers, so what works for others may require adjustment for your specific hardware configuration.
Speed Setting Comparisons
Understanding these speed principles becomes more actionable when you compare specific default settings against their optimized counterparts.
Most slicers ship with conservative travel speed defaults of 120-150 mm/s, but these print speed settings rarely maximize your printer’s potential. High-performance machines can handle travel speeds exceeding 200 mm/s without sacrificing print quality.
Consider these comparison scenarios:
- Budget printers: Default 120 mm/s vs optimized 160-180 mm/s can reduce overall printing speed by 15-25%
- Mid-range machines: Increasing from 150 mm/s to 200-220 mm/s often maintains quality while gaining significant time savings
- High-end printers: Conservative defaults severely limit capability—optimized settings at 250+ mm/s can achieve dramatic improvements
Testing reveals that high speeds aren’t automatically problematic when properly calibrated with acceleration settings.
Hardware Limitations and Travel Speed Capabilities
Before you can push your 3D printer to its speed limits, you’ll need to understand what your hardware can actually handle. Your printer specifications determine the maximum speed you can achieve – most desktop models reach 50-120 mm/s travel speed, while high-performance units can hit 500 mm/s.
Your motion system design matters considerably; CoreXY configurations typically outperform standard Cartesian setups in speed potential.
Hardware capabilities depend on motor type, frame rigidity, and mechanical components. You can upgrade stepper motors, belts, and pulleys to boost performance, but don’t forget proper calibration settings.
Optimizing acceleration and jerk values prevents missed steps and vibrations that’ll ruin your prints when pushing higher speeds. Know your limits before attempting aggressive speed increases.
Slicing Software Configuration for Travel Speed
Once you’ve identified your hardware’s speed limits, you’ll need to configure your slicing software to take full advantage of those capabilities.
Most slicing software includes dedicated travel speed settings within the Speed section, typically defaulting between 120-150 mm/s. However, you can often push these limits higher based on your printer’s performance.
Here’s how to optimize your print settings:
- Locate the travel speed setting in your slicing software’s Speed configuration menu
- Start with conservative increases of 20-30 mm/s above default values to test stability
- Run trial prints with complex geometries to evaluate quality versus printing speed trade-offs
Properly tuned travel speed can dramatically reduce overall print time, especially for intricate models requiring extensive non-printing movements between features.
Calibrating Your Printer for Maximum Travel Speed
After configuring your slicer settings, you’ll need to calibrate your printer’s hardware to actually achieve those higher travel speeds reliably.
Begin calibrating your printer by ensuring accurate steps per millimeter for each axis, as this directly impacts travel movement precision.
Next, perform test prints with varying travel speed settings to identify your ideal settings that balance efficiency and quality.
Watch for issues like ringing or ghosting that indicate you’ve pushed speeds too far.
Regular maintenance of your printer’s mechanical components—particularly belts and bearings—reduces friction and enables smoother, faster movements.
Consider firmware upgrades like switching to Klipper, which offers superior motion control algorithms that can greatly enhance your printer’s travel speed capabilities through better acceleration and jerk control.
Material Considerations for Travel Speed Optimization
Your material choice directly impacts ideal travel speed settings, with PLA allowing aggressive speeds up to 120 mm/s while flexible filaments like TPU require much slower 20-30 mm/s rates to prevent feed issues.
You’ll need to adjust these speeds based on your material’s flow characteristics, as higher viscosity filaments demand more conservative travel rates to maintain consistent extrusion.
Temperature also plays a significant role since hotter nozzle temperatures affect material viscosity and flow behavior, requiring you to fine-tune travel speeds accordingly.
PLA Travel Speed Settings
PLA stands out as one of the most forgiving materials when it comes to travel speed optimization, allowing you to push speeds between 100 to 150 mm/s without sacrificing print quality.
These higher speeds dramatically reduce print times while maintaining excellent adhesion and surface finish.
Configure your slicing software with these essential PLA travel speed considerations:
- Balance acceleration settings – Match travel speed with appropriate acceleration values to prevent ringing and ghosting artifacts that compromise quality.
- Monitor environmental conditions – Adjust speeds based on temperature and humidity, as these factors directly impact PLA’s performance during rapid movements.
- Calibrate for stringing prevention – Higher travel speeds help minimize material oozing between print sections, resulting in cleaner changes.
Proper calibration guarantees ideal results across varying conditions.
Material Flow Rate Impact
While travel speed optimization often takes center stage in 3D printing discussions, material flow rate serves as the critical foundation that determines whether your speed settings will succeed or fail.
Your material flow rate directly impacts how fast you can push travel speed without sacrificing quality. If you increase travel speed beyond your material’s flow capacity, you’ll encounter under-extrusion, creating gaps and weak spots in your prints.
You can enhance flow rate by adjusting temperature—higher temps for PLA improve extrusion speed during travel moves.
Consider upgrading to a larger nozzle for faster prints, as bigger openings allow higher flow rates without compromising quality on non-detailed sections.
Temperature-Dependent Travel Adjustments
Since temperature affects both material behavior and extrusion characteristics, you’ll need to adjust travel speeds based on your specific material and its ideal printing temperature. Higher print temperatures improve material flow but can increase stringing risks, requiring careful travel speed calibration. Temperature-dependent travel adjustments become critical when switching between materials with different thermal properties.
Consider these temperature-related travel speed factors:
- Hot-end temperature: Higher temperatures may necessitate faster travel speeds to minimize oozing, while lower temperatures allow moderate speeds without compromising quality.
- Ambient temperature conditions: Cooler environments require slower travel speeds to maintain proper layer adhesion and prevent warping issues.
- Material-specific thermal behavior: Each filament type responds differently to temperature changes, affecting preferred travel speed settings for consistent results.
Monitor how your specific material behaves at different temperatures to fine-tune travel speeds accordingly.
Balancing Travel Speed With Print Quality
Although travel speed optimization can dramatically reduce your print times, you’ll need to find the sweet spot between speed and quality to avoid compromising your final results.
The balance between travel speed and print quality requires careful consideration of your printer’s stability and frame rigidity. While typical travel speeds range from 120-150 mm/s, pushing beyond your printer’s limits creates vibrations that cause ghosting and ringing artifacts.
Set your travel speed higher than actual print speeds to minimize overall print time during non-printing movements. However, complex models with intricate details demand more conservative settings.
Regular calibration helps maintain this delicate balance—monitor your prints closely and adjust speeds incrementally. Start conservatively, then increase gradually while watching for quality degradation.
Common Travel Speed Problems and Solutions
Even with careful calibration, travel speed enhancement often creates specific problems that can frustrate even experienced users.
Travel speed optimization remains one of the most challenging aspects of 3D printing, even for seasoned professionals.
You’ll encounter issues that directly impact your print quality, but understanding their root causes helps you implement effective solutions.
The most common travel speed problems include:
- Ringing and ghosting artifacts – These occur when your print head movement exceeds your printer’s mechanical capabilities, causing vibrations that show up as ripples on your prints.
- Poor layer adhesion – Excessive travel speed can prevent proper settling between print segments, leading to weak layer bonds and structural defects.
- Inconsistent extrusion – Rapid direction changes stress your extruder system, causing under-extrusion or over-extrusion issues.
Adjust your acceleration and jerk settings to solve these problems while maintaining ideal travel speed performance.
Testing Methods to Find Your Optimal Travel Speed
How do you determine the perfect travel speed for your specific 3D printer setup?
Start with systematic testing methods using recommended speeds around 100 mm/s, then adjust in 10 mm/s increments. Use simple geometric shapes like cubes or pyramids for quick evaluation without complex details affecting results.
Monitor your prints carefully for defects like ringing or ghosting, which indicate excessive speeds. Most printers experience these artifacts above 120 mm/s.
Document each test’s travel speed, print time, and print quality outcomes to build your reference guide for ideal settings.
Once you’ve identified your ideal speed, fine-tune related parameters like acceleration and jerk values.
This thorough approach guarantees you’ll achieve the best balance between print quality and efficiency for your specific printer configuration.
Advanced Travel Speed Settings and Parameters
After establishing your baseline travel speed through testing, you can release your printer’s full potential by fine-tuning advanced parameters that work alongside speed settings.
To optimize your printer’s performance beyond basic travel speed adjustments, you’ll need to calibrate these interconnected settings:
- Acceleration values – Control how quickly your printer reaches target travel speed, typically ranging from 1000-3000 mm/s² depending on your machine’s capabilities and desired precision.
- Jerk settings – Determine instant velocity changes during direction switches, with higher values enabling smoother shifts but potentially causing vibrations that affect print quality.
- Printing speed coordination – Balance travel speed with actual printing speed to prevent excessive acceleration differences that can cause mechanical stress and reduce overall efficiency.
These parameters work synergistically to maximize your printer’s motion efficiency.
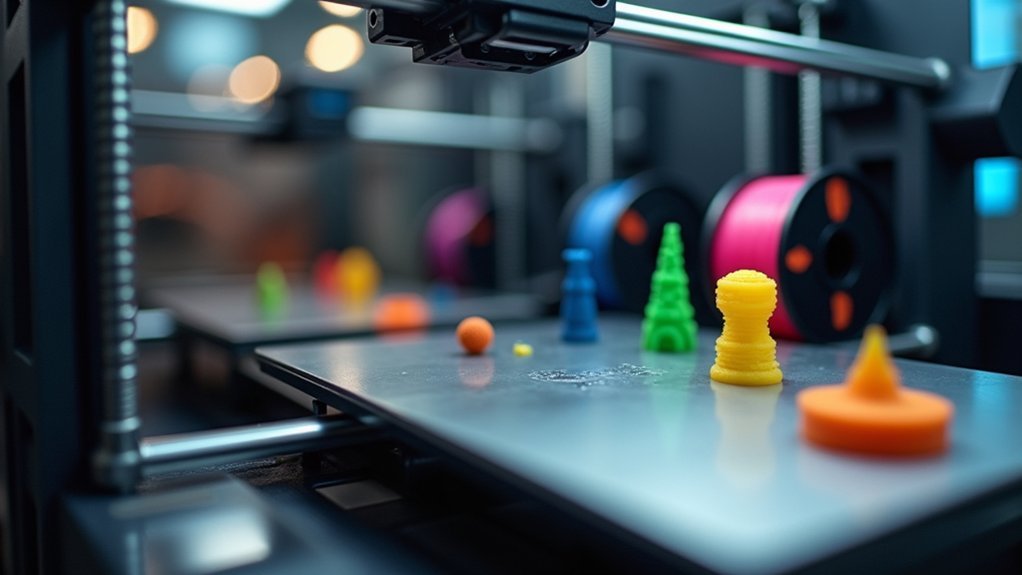
Travel Speed Optimization for Different Print Types
While you’ve mastered the fundamental parameters that govern travel speed, you’ll discover that different print types demand distinct optimization strategies to achieve the best results.
For simple prints with minimal details, you can push travel speed to 200 mm/s, dramatically reducing overall print time without compromising quality. However, intricate designs require a more conservative approach.
| Print Type | Recommended Travel Speed | Key Considerations |
|---|---|---|
| Simple/Basic | 150-200 mm/s | Maximize faster printing speeds |
| Detailed/Complex | 50-100 mm/s | Prevent ringing and ghosting |
| Mixed Complexity | 100-150 mm/s | Balance speed and precision |
When optimizing printing speed, you’ll need to balance travel speed with acceleration settings. This prevents vibrations that could degrade print quality, ensuring your printer delivers consistent results regardless of model complexity.
Monitoring and Maintaining Optimal Travel Speed Performance
Once you’ve established your ideal travel speed settings, maintaining consistent performance requires ongoing monitoring and systematic maintenance practices.
Regular evaluation guarantees your printer continues delivering exceptional results while preventing degradation in print quality.
Your maintenance routine should include these essential practices:
- Monitor firmware updates – Manufacturers frequently release enhancements that improve travel speed performance and printing speed efficiency, so you’ll want to check for updates quarterly.
- Fine-tune acceleration and jerk settings – Regularly test these parameters in your slicing software to refine directional changes during travel moves without compromising quality.
- Inspect for mechanical wear – Check axis movement, lubricate moving parts, and verify smooth motion to maintain higher travel speeds with reliable performance.
Conduct periodic test prints to verify that speed adjustments don’t introduce ghosting or ringing issues.
Frequently Asked Questions
What Should My Travel Speed Be 3D Printing?
You’ll want to set your travel speed between 120-150 mm/s for most desktop printers. Start at 120 mm/s and gradually increase while testing to find your printer’s ideal balance between speed and quality.
How to Reduce Travel Time in 3D Printing?
You’ll reduce travel time by enabling combing to minimize movements, optimizing model orientation, reducing support material, fine-tuning jerk and acceleration settings, and properly configuring retraction to allow faster travel speeds.
How Do I Optimize My 3D Printer Speed?
You’ll boost your 3D printer speed by increasing travel speeds to 100-150 mm/s, using larger nozzles like 0.6mm, choosing simpler infill patterns, minimizing supports, and maintaining proper calibration.
Does Travel Speed Affect Print Quality?
Yes, travel speed directly affects your print quality. Too high causes ghosting and ringing from vibrations, while too low increases oozing time. You’ll need proper calibration for ideal surface finish and detail.


Leave a Reply