To install hotend insulation socks, you’ll need to power down your 3D printer completely and let the hotend cool to 50°C or below for safe handling. Disconnect the ceramic heater, cooling fan, and thermistor plugs, then use an H2 Allen key to remove the hotend assembly screws. Carefully slide the silicone sock over the heater block, making sure it doesn’t pinch any wires or obstruct moving components. After reassembly, you’ll want to recalibrate your PID settings and monitor performance to guarantee ideal temperature stability and print quality improvements.
Benefits of Hotend Insulation Socks for Temperature Regulation
When you’re looking to achieve consistent print quality, hotend insulation socks serve as a critical component for maintaining thermal stability throughout your printing process.
These protective covers regulate your heater block temperature, preventing the thermal fluctuations that can compromise your extrusion consistency.
Silicone socks create a barrier between your hotend and cooling fans, which otherwise would cause unwanted temperature drops during printing. This protection becomes especially valuable during high-speed printing scenarios where maintaining ideal temperatures proves challenging.
You’ll also benefit from improved energy efficiency, as the insulation minimizes heat loss through convection. This allows your heater to operate more effectively while consuming less power.
Additionally, the enhanced temperature regulation translates directly into better print reliability and overall quality improvements.
Required Tools and Materials for Installation
You’ll need specific tools and materials to successfully install hotend insulation socks on your 3D printer.
The essential items include an H2 Allen key, scissors for trimming, and the silicone sock itself.
Don’t forget safety equipment like heat-resistant gloves to protect yourself during the installation process.
Essential Installation Tools
Proper preparation greatly impacts the success of your hotend insulation sock installation. You’ll need specific tools to complete this process efficiently and safely.
Start by gathering an H2 Allen key, which you’ll use to remove screws from the hotend heatsink. Keep a pair of tweezers nearby to carefully maneuver wires out of plastic wire clips during disassembly.
Have thermal grease ready, as you’ll apply it generously to the ceramic heater and thermistor hole during reassembly.
Ensure you have the correct Silicone Sock for Hotend – specifically one designed for your hotend model, like an E3D silicone sock.
Finally, keep clean cloths or paper towels available for wiping excess thermal grease and maintaining a tidy workspace throughout the installation.
Silicone Sock Materials
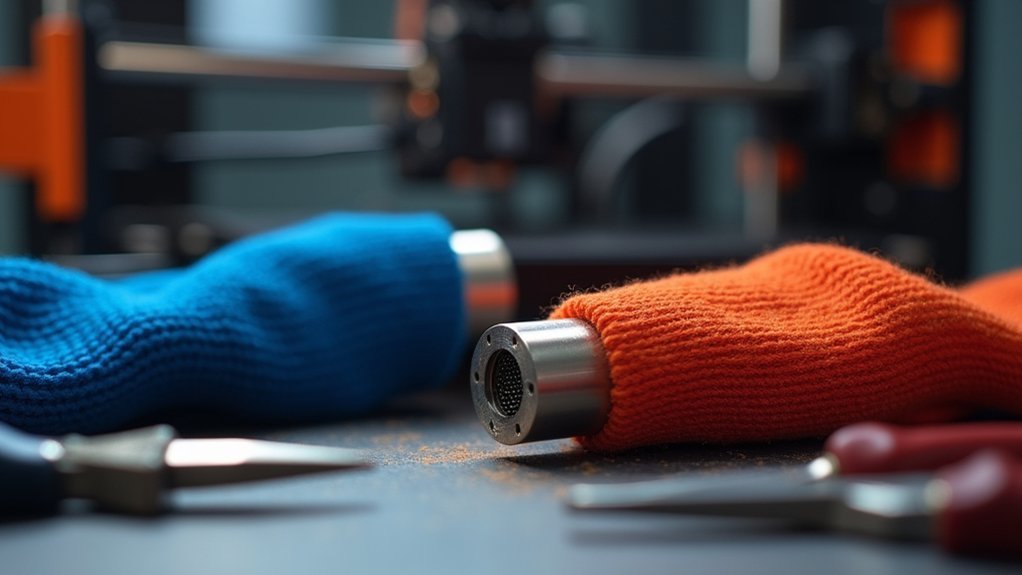
High-temperature silicone forms the foundation of quality hotend insulation socks, engineered to withstand extreme heat up to 300°C while providing superior thermal protection.
When selecting your silicone sock, you’ll need one specifically designed for your hotend model to guarantee proper fit around the heater block.
Your silicone sock should come pre-cut for most standard configurations, but you might need to trim it slightly to accommodate heater wires and thermistor connections. The material’s flexibility allows for custom modifications while maintaining its insulating properties.
Don’t forget to have thermal grease available for reapplication during installation. This guarantees ideal thermal conductivity between your heater elements and the silicone sock, maximizing heat retention and preventing temperature fluctuations that could affect your print quality.
Safety Equipment Needed
Five essential tools form your safety arsenal for hotend insolution sock installation, protecting both you and your printer components throughout the process.
The safety equipment needed guarantees you’ll complete this task without injury or component damage.
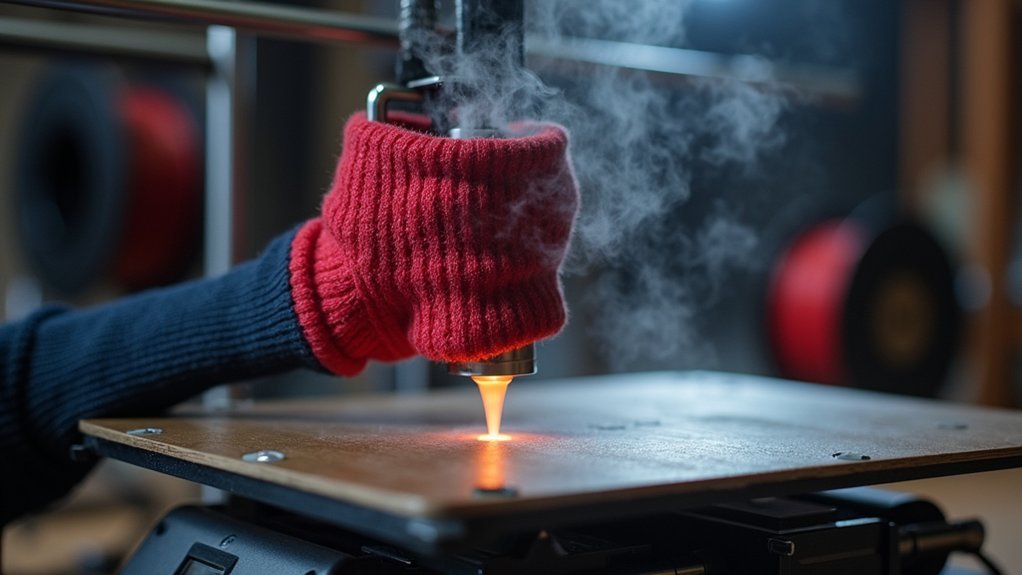
Heat-resistant gloves are absolutely critical since you’ll be handling components that reach temperatures exceeding 200°C.
Precision screwdrivers or Allen keys allow careful removal of hotend assembly screws without stripping threads.
You’ll need pliers for disconnecting tight ceramic heater and thermistor plugs safely.
Three additional items complete your safety setup:
- Thermal grease or paste for proper heat transfer during reassembly
- Clean, flat workspace to organize components and prevent part loss
- Anti-static wrist strap to protect sensitive electronic components from electrostatic discharge
Safety Precautions Before Starting the Installation
Before you start installing hotend insulation socks, you’ll need to power down your printer completely and disconnect it from all electrical sources to prevent potential shock or short circuit hazards.
Let the hotend cool to 50°C or below to avoid burns during handling.
Throughout the installation process, you must keep all exposed wires away from metal components to maintain electrical safety.
Power Down Completely First
Proper safety protocols start with completely powering down your 3D printer before you begin installing hotend insulation socks. This essential step protects both you and your printer’s delicate electronics from potential damage during maintenance.
Before you power down completely first, verify the hotend temperature has cooled to 50°C or lower to prevent burns.
Once cooled, follow these critical steps:
- Turn off the printer’s power switch to stop all electrical current flowing through the system
- Unplug the power cord from the wall outlet to eliminate any risk of electrical short circuits
- Wait for complete shutdown before handling any components to guarantee all moving parts have stopped
You’ll now have a safe working environment for installing your hotend insulation socks without electrical hazards.
Disconnect All Electrical Connections
Three critical electrical connections require disconnection to guarantee complete safety during hotend insulation sock installation. You’ll need to carefully disconnect the ceramic heater, cooling fan, and thermistor from your printer’s heater block. These components carry electrical current that could cause shock or damage if you don’t properly isolate them first.
| Component | Location | Safety Risk |
|---|---|---|
| Ceramic Heater | Heater block | High voltage shock |
| Thermistor | Temperature sensor port | Short circuit damage |
| Cooling Fan | Fan housing | Motor interference |
| Power Supply | Main connector | Electrical hazard |
| Control Board | Wiring harness | System damage |
Remove each connection methodically, avoiding contact with exposed wires. Label disconnected wires to make certain you’ll reconnect them correctly after installing your insulation sock.
Avoid Wire Contact Hazards
While working near electrical components, you’ll need to maintain strict separation between wires and metal surfaces to prevent dangerous short circuits. The heater and thermistor wires are particularly vulnerable during hotend insulation sock installation, as they can easily contact exposed metal components when you’re maneuvering around the assembly.
Follow these essential wire management practices:
- Route wires away from sharp edges – Keep heater and thermistor cables clear of metal brackets or frame components that could cut through insulation.
- Use insulated tools exclusively – Never use bare metal tools when working near live electrical connections.
- Inspect wire integrity regularly – Check for nicks, cuts, or worn insulation before and after installation.
Compromised wire insulation creates serious safety hazards that can damage your printer or cause injury.
Preparing the Printer and Hotend for Sock Installation
Before you begin installing the hotend insulation sock, you’ll need to power off your 3D printer completely and unplug it from the electrical outlet to eliminate any risk of shock or injury.
Next, set your hotend temperature to 50°C or lower to prevent burns while handling components.
Remove the magnetic cover from your hotend to expose the screws that secure the heatsink.
You’ll need to disconnect the ceramic heater, fan, and thermistor plugs before proceeding.
Using an H2 Allen key, carefully remove the screws holding the hotend assembly in place.
Move all wires out of the plastic wire clip to avoid damage during removal.
This preparation guarantees you can safely access the hotend for sock installation.
Removing the Fan Shroud for Better Access
You’ll need to disconnect the fan shroud components before gaining proper access to your hotend for sock installation.
Start by unplugging the fan’s power connector, then use an Allen key or screwdriver to remove the mounting screws that secure the shroud in place.
Once you’ve carefully detached the fan shroud, you’ll have created a clear workspace that allows easy access to install the insulation sock without obstruction.
Disconnecting Fan Shroud Components
Gaining proper access to your hotend requires removing the fan shroud, which can obstruct the installation process.
Before beginning this procedure, you’ll need to safely disconnect the fan shroud components to prevent damage during removal.
Follow these essential steps for proper disconnection:
- Power down completely – Turn off your printer and unplug it from the power source to eliminate electrical hazards.
- Remove existing barriers – Take off any silicone sock that’s already installed, as it’ll block access to the fan shroud.
- Detach the fan assembly – Carefully unscrew all mounting screws and keep them organized for reassembly.
Once you’ve completed these steps, gently pull the fan shroud away from the hotend while protecting any connected wires from damage.
Creating Installation Workspace
With the fan shroud components properly disconnected, you can now focus on creating an ideal workspace for sock installation. Using your H2 Allen key, carefully remove the screws securing the fan shroud to gain complete access to the hotend assembly. This step transforms your workspace from cramped to spacious, allowing precise maneuvering around delicate components.
| Step | Tool Required | Safety Check |
|---|---|---|
| Remove fan shroud screws | H2 Allen key | Power disconnected |
| Detach fan shroud | Hands | Wires secured |
| Position wires safely | N/A | Clear workspace |
| Verify clearance | Visual inspection | No obstructions |
Once you’ve removed the fan shroud, gently reposition any loose wires to prevent damage during installation. This creating installation workspace approach guarantees you’ll have unobstructed access while maintaining component safety throughout the process.
Cutting and Modifying the Silicone Sock for Wire Clearance
Before installing your silicone sock, examine the hotend’s wire routing to determine if you’ll need to create clearance cuts. Most hotends require minor modifications to accommodate heater wires without interfering with heating elements.
When cutting and modifying the silicone sock for wire clearance, precision is essential to maintain thermal performance.
Follow these steps for proper modification:
- Mark the cut location – Position the sock against your hotend and identify where heater wires create interference.
- Make precise cuts – Use sharp scissors or a craft knife to create small, clean cuts without compromising insulation properties.
- Test the fit – Verify the silicone sock slides snugly over the heater block while providing adequate wire clearance.
Minor misfits are acceptable and won’t greatly impact your printer’s thermal stability during operation.
Sliding the Sock Onto the Heater Block
Start by removing the fan shroud to access the hotend assembly more easily.
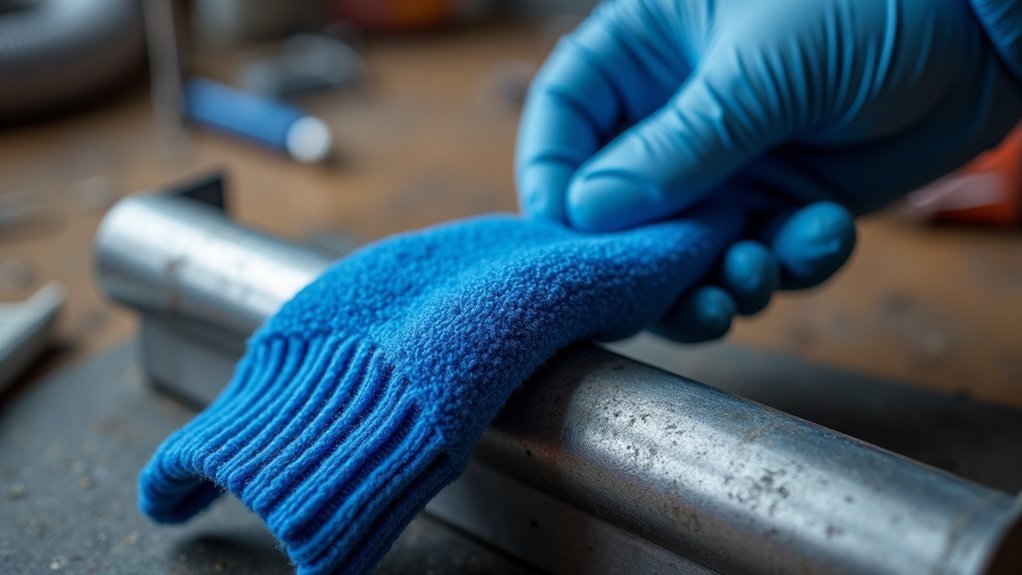
Once you’ve gained clear access, carefully slide the silicon sock onto the heater block. Position it so it fits snugly around the base while guaranteeing complete coverage of the entire heater block.
Pay close attention to the heater wire positioning as you install the sock. Make sure the silicon sock doesn’t hinder or pinch the heater wires during installation. The fit should be secure but not overly tight.
After positioning, double-check that the sock doesn’t obstruct the fan’s operation or interfere with any moving components during printing. Test the fan’s rotation and verify all moving parts have adequate clearance before proceeding with your printing tasks.
Ensuring Proper Fit and Positioning
Three critical checkpoints will determine whether your hotend insulation sock performs effectively. After sliding the sock onto your hot end’s heater block, you’ll need to verify proper positioning and clearance.
- Component Access: Confirm the sock doesn’t obstruct the thermistor, heater cartridge, or their wires. You may need to trim the silicone slightly around wire entry points for a suitable fit.
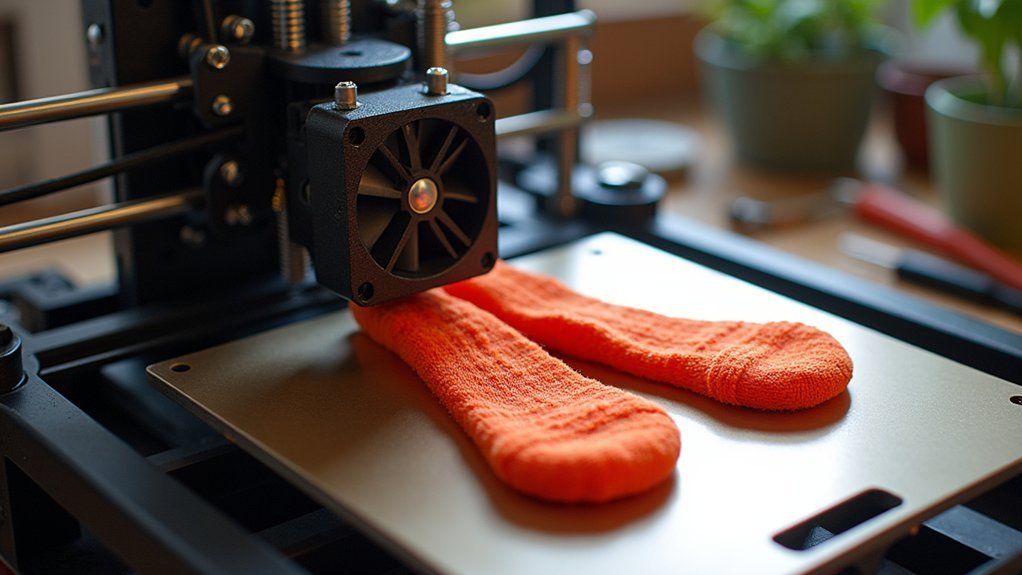
- Airflow Maintenance: Position the sock to maintain clear access to your hotend fan. Proper cooling airflow prevents overheating and maintains consistent temperatures during printing.
- Movement Clearance: Double-check that the sock doesn’t interfere with any moving parts or block the filament path, which could cause jams.
Complete your PID tuning after installation, as the sock changes your hot end’s thermal behavior and affects print quality.
Checking for Interference With Moving Parts
Once you’ve positioned your hotend insulation sock, you’ll need to perform an extensive movement test to verify it won’t interfere with your printer’s operation.
Manually move the print head through its complete range of motion along the X and Y axes. Watch carefully for any contact between the sock and moving components or the frame.
Pay special attention to the clearance around the fan shroud, making sure the sock doesn’t obstruct airflow vital for proper cooling.
Check that the sock hasn’t extended too far, potentially catching on belts, rods, or other mechanical parts.
If you notice any interference, reposition the sock immediately. This verification step prevents potential malfunctions and guarantees smooth printing operations once you begin using your printer.
Reinstalling the Fan Shroud and Components
Reassemble your hotend components systematically to guarantee peak printer performance. Start by positioning the complete hotend assembly and aligning screw holes with the bracket for a secure fit.
Tighten screws evenly without overdoing it to prevent damage.
Follow this systematic approach for best results:
- Reconnect electrical components – Attach the thermistor, hotend fan, and ceramic heater plugs in the specified order to maintain proper functionality.
- Install fan shroud correctly – Confirm proper fan orientation to avoid operational issues that could cause inadequate cooling.
- Organize wiring – Guide loose cables through the plastic wire clip to prevent interference with moving parts.
Double-check that your E3D silicone sock doesn’t obstruct airflow from the fan, as this maintains ideal temperature control during printing operations.
PID Calibration After Installation
After installing your hotend insulation sock, you’ll need to recalibrate the PID settings to confirm accurate temperature control. The insulation changes thermal behavior, making PID tuning essential for peak performance.
Use the M303 command to initiate tuning, specifying your extruder, target temperature, and cycle count. For PLA printing, set the target temperature to 210°C.
Run multiple tuning cycles to achieve refined PID values that enhance thermal stability and print quality.
Once you’ve completed the calibration process, save the new PID values to your printer’s firmware. You can also incorporate these values into your slicer’s starting scripts to confirm they’re automatically applied for every print, maintaining consistent temperature regulation throughout your printing sessions.
Testing and Maintenance Tips for Hotend Socks
With your PID settings properly configured, you’ll want to verify that your hotend sock performs correctly under real printing conditions. Run several test prints while monitoring temperatures and print quality to guarantee stable performance.
Here are essential maintenance practices for peak silicone sock longevity:
- Regular Inspection – Check your silicone sock weekly for tears, discoloration, or warping that could compromise thermal insulation and print quality.
- Airflow Monitoring – Confirm the sock doesn’t obstruct cooling fan airflow, which can negatively impact part cooling and overall print results.
- Replacement Planning – Keep spare silicone socks available for immediate replacement when degradation occurs, preventing unexpected print failures.
Consider upgrading to compatible fan shrouds designed specifically for silicone socks to maximize cooling efficiency while maintaining insulation benefits.
Frequently Asked Questions
What Does a Hotend Sock Do?
A hotend sock insulates your heater block, maintaining consistent extrusion temperatures. It prevents cooling fans from affecting your extruder temperature, stops plastic from sticking, and improves thermal stability during high-speed printing sessions.
How to Install Silicone Sock P1S?
You’ll heat your nozzle to 50°C, remove the fan shroud, slide the silicone sock onto the heater block snugly, trim if needed, reconnect everything, and perform PID tuning afterward.
How to Connect Thermistor to Hotend?
You’ll insert the thermistor into the heater block’s designated hole, secure it with the retaining clip, then connect the thermistor plug to the mainboard’s corresponding port for proper temperature readings.


Leave a Reply