Your 3D printer’s hotend heating failures typically result from voltage drops in your power supply, faulty heating cartridge elements with incorrect resistance readings, loose or corroded wiring connections, and malfunctioning temperature sensors delivering inaccurate readings. You’ll also encounter issues from defective PWM signals, firmware bugs, misconfigured PID settings, ambient temperature fluctuations, and clogged nozzles creating back pressure. These problems often trigger thermal runaway protection, causing unexpected shutdowns that’ll frustrate your printing projects and waste valuable time.
Power Supply Voltage Drops and Electrical Instabilities
When your 3D printer’s hotend fails to reach or maintain proper temperatures, voltage drops from your power supply often serve as the primary culprit.
Power supply voltage drops cause your heater cartridge to receive insufficient power, leading to inconsistent heating and potential thermal runaway errors.
Insufficient power delivery to heater cartridges creates unstable temperatures and triggers dangerous thermal runaway protection systems.
You’ll encounter electrical instabilities from faulty wiring or loose connections, resulting in intermittent power loss during operation.
Continuous power cycling worsens these issues, as repeated resets further degrade your power supply or associated circuitry.
Use a multimeter to measure voltage at your heater cartridge connector – consistent readings below rated voltage indicate power supply problems.
Maintain stable electrical connections and guarantee your power supply meets your printer’s demands to prevent heating failures.
Faulty Heating Cartridge Elements and Resistance Issues
You’ll need to regularly test your heating cartridge’s resistance with a multimeter to catch problems before they cause complete failures.
When resistance deviates considerably from the manufacturer’s specifications, it’s a clear sign your cartridge is developing internal issues.
Watch for degradation symptoms like inconsistent heating patterns where your hotend initially heats up but can’t maintain stable temperatures during printing.
Cartridge Resistance Testing Methods
Testing your heating cartridge’s resistance provides the most reliable method for diagnosing faulty heating elements before they cause print failures.
You’ll need a multimeter to measure resistance across your heater cartridge terminals. Follow this systematic approach:
- Disconnect first – Always disconnect the heating cartridge from your printer’s wiring to avoid inaccurate readings and potential multimeter damage.
- Check normal range – Look for resistance between 10-30 ohms, depending on your cartridge specifications.
- Identify failure patterns – Considerably higher or infinite readings indicate faulty elements requiring replacement.
- Spot short circuits – Resistance below expected range suggests internal shorts that can cause overheating and thermal runaway.
Make resistance testing part of your routine maintenance schedule to guarantee consistent heating performance and prevent unexpected failures during critical prints.
Element Degradation Symptoms
Although heating cartridge elements appear robust, they gradually deteriorate through repeated thermal cycles that stress their internal components.
You’ll notice several warning signs when your heating cartridge begins failing. Temperature fluctuations during printing indicate inconsistent heating performance, while your hotend’s inability to reach target temperatures suggests increased internal resistance. Complete heating failure represents total element breakdown.
Watch for visual damage indicators like burnt areas or broken wires on your heating cartridge. These physical signs demand immediate replacement to prevent safety hazards.
Resistance changes create excessive heat generation, potentially causing dangerous thermal runaway conditions. You can identify degradation early by monitoring temperature consistency during prints and performing regular visual inspections of the cartridge housing and wire connections.
Damaged or Loose Wiring Connections to the Hotend

Electrical connections serve as the lifeline between your 3D printer’s control board and the hotend’s heating cartridge, making them critical points of failure when damaged or loose.
When these connections deteriorate, you’ll experience intermittent power supply issues that cause your hot end to fail during printing operations.
Several wiring problems can compromise your hotend’s performance:
- Insufficient contact creating voltage drops that prevent proper heating
- Frayed or poorly insulated wires leading to dangerous short circuits
- Loose terminal connections causing inconsistent power delivery
- Corroded connectors reducing electrical continuity
You should regularly inspect all wiring connections to guarantee consistent heating and prevent thermal runaway errors.
Use a multimeter to check continuity and voltage at the heater cartridge connector, helping you identify potential issues before they cause complete heating failures.
Malfunctioning Temperature Sensors and Thermistor Failures
Temperature sensors act as the eyes and ears of your 3D printer’s heating system, constantly monitoring hotend temperatures to guarantee safe and accurate operation.
When your temperature sensor malfunctions, it’ll deliver inaccurate readings that can cause your printer to overheat or fail to heat properly, triggering dangerous thermal runaway errors.
Thermistors, the core components managing temperature regulation, frequently fail from normal wear and tear.
You’ll notice inconsistent temperature readings and failed prints when they’re wearing out. Damaged wires or improper connections make your printer interpret temperatures as outside normal ranges, causing the hotend to stop heating entirely.
You can prevent these issues by regularly checking and calibrating your temperature sensors.
Invest in high-quality thermistors specifically designed for 3D printing applications to greatly reduce failure risk and enhance your hotend’s temperature control reliability.
Control Board PWM Signal Problems and Circuit Defects

When your 3D printer’s control board sends faulty Pulse Width Modulation (PWM) signals, it’ll disrupt the precise power delivery needed for consistent hotend heating. This signal controls your heating cartridge’s power output, and when it malfunctions, you’ll experience temperature inconsistencies or complete heating failure.
Faulty PWM signals from your control board will compromise hotend heating precision, causing temperature fluctuations and potential heating failures.
Several issues can compromise your PWM signal:
- Circuit defects – Damaged traces or faulty components interrupt signal transmission, potentially causing thermal runaway.
- Connection problems – Loose plugs and corroded connectors create intermittent heating behavior.
- Firmware issues – Bugs or misconfigurations affect signal output, leading to improper temperature control.
- Component degradation – Worn control board elements gradually reduce signal reliability.
Regular inspection of your control board and connections helps identify these PWM signal problems before they cause complete hotend failures.
Heat Creep Causing Premature Filament Melting
Heat creep develops when excessive thermal energy travels upward through your hotend’s heat break, causing filament to soften and melt prematurely in areas where it should remain solid.
You’ll experience heat creep when your cooling fan fails or provides inadequate airflow. Extended printing sessions and slow speeds worsen this condition by exposing filament to heat longer. Poorly designed thermal barriers can’t prevent upward heat transfer effectively.
| Heat Creep Causes | Symptoms | Solutions |
|---|---|---|
| Fan malfunction | Inconsistent extrusion | Replace cooling fan |
| Poor thermal barrier | Frequent clogs | Install bimetallic heat break |
| Extended heat exposure | Stringing/oozing | Reduce printing temperatures |
| Inadequate airflow | Print quality defects | Improve ventilation design |
Upgrading to quality hotends with bimetallic heat breaks greatly reduces heat creep by improving thermal isolation between heated and cooled zones.
Inadequate Cooling Fan Performance and Airflow Restrictions
Your cooling fan serves as the primary defense against hotend overheating, yet inadequate performance from this critical component frequently leads to thermal management failures.
When your cooling fan operates below recommended RPM or encounters airflow restrictions, heat dissipation becomes insufficient, creating cascading problems throughout your printing process.
Several factors compromise cooling fan effectiveness:
- Dust buildup on fan blades and housing reduces airflow capacity
- Physical obstructions around the cooling fan block proper ventilation
- Temperature fluctuations from poor cooling trigger thermal runaway errors
- Heat creep occurs when inadequate cooling allows heat to travel up the filament path
Regular maintenance including cleaning and inspection guarantees your cooling fan maintains peak airflow.
Consistent fan maintenance through thorough cleaning and regular inspection ensures optimal airflow performance and prevents costly thermal management failures.
Without proper cooling fan performance, you’ll experience filament melting too quickly, clogs, and inconsistent extrusion that ruins print quality.
Firmware Bugs and Software Configuration Errors
Although hardware components often take the blame for hotend heating failures, firmware bugs and software configuration errors frequently cause more subtle yet equally damaging thermal management problems.
You’ll encounter incorrect temperature readings that trigger thermal runaway errors or prevent your hotend using the printer’s heating element from reaching target temperatures.
Misconfigured PID tuning settings create unstable temperature control, causing dangerous fluctuations during prints.
Outdated firmware versions contain unresolved bugs that disrupt consistent heating cycles and cause mid-print failures.
Your slicer software settings can also force the printer to attempt heating outside ideal filament temperature ranges.
Regular firmware updates and proper configuration maintenance are essential for preventing these software-related heating issues and ensuring reliable thermal management.
Environmental Temperature Fluctuations Affecting Performance
Your garage’s temperature swings can wreak havoc on your hotend’s heating performance, creating frustrating print failures you mightn’t expect.
When ambient temperatures drop considerably or change rapidly, your hotend struggles to maintain consistent heating, leading to poor extrusion and potential thermal runaway errors.
These environmental factors compromise your printer’s thermal stability, making it nearly impossible to achieve reliable results without addressing the underlying temperature control issues.
Garage Temperature Impact
When you set up your 3D printer in a garage, temperature swings become a silent enemy of consistent hotend performance.
Garages typically lack climate control, exposing your printer to extreme environmental conditions that directly affect heating reliability.
Cold temperatures force your heating cartridge to work harder, often failing to maintain proper heat levels. This leads to under-extrusion or complete heating failures mid-print.
Hot garage conditions create the opposite problem, causing overheating that triggers heat creep and unwanted filament oozing.
Consider these protective measures:
- Install insulation around your printer workspace
- Use temperature-regulated enclosures for stability
- Monitor ambient temperatures before starting prints
- Relocate to climate-controlled areas when possible
Maintaining stable environmental conditions guarantees your hotend performs reliably regardless of external temperature fluctuations.
Thermal Stability Issues
Environmental temperature fluctuations create a cascade of thermal instability problems that extend far beyond simple heating challenges.
When your garage or workspace experiences dramatic temperature swings, your hotend’s thermistor can’t maintain accurate readings, triggering thermal runaway errors mid-print. These fluctuations compromise your cooling fan performance, creating unpredictable heating cycles that destabilize the entire thermal system.
Insufficient insulation around your hotend and heat sink makes everything worse, as external temperature changes rapidly affect heat retention.
Your printer struggles to compensate for these variations, leading to inconsistent extrusion temperatures and failed prints. You’ll need to monitor ambient conditions regularly and guarantee proper insulation to maintain stable thermal performance.
Without addressing these environmental factors, you’ll continue experiencing frustrating heating failures.
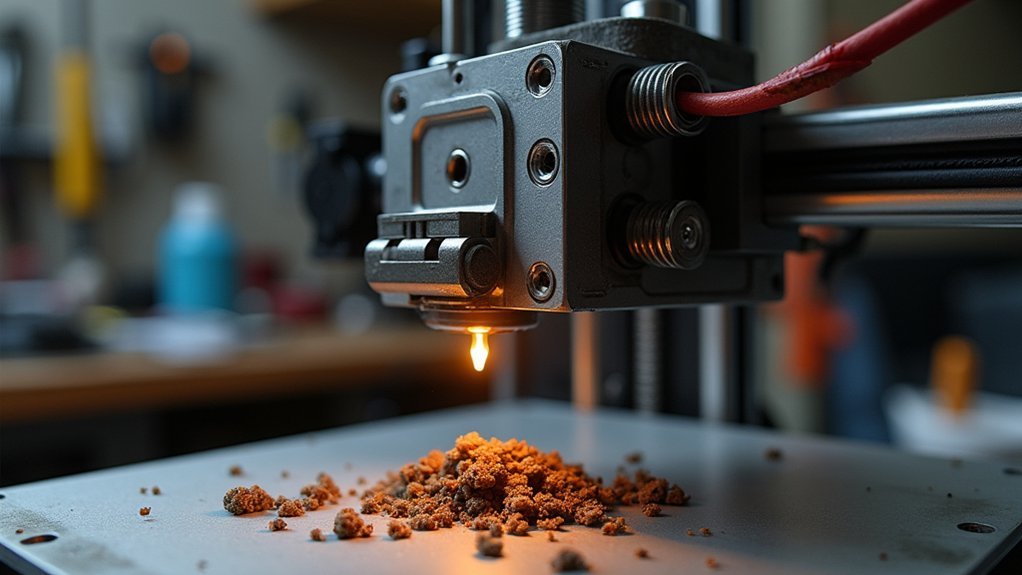
Clogged Nozzles Creating Back Pressure and Heating Interruptions
Although they might seem like minor obstructions, clogged nozzles can trigger a cascade of heating problems that’ll disrupt your entire printing process.
When your clogged nozzle creates back pressure, it prevents proper filament flow and causes temperature fluctuations that interrupt heating cycles.
This back pressure wreaks havoc on your hotend system by:
- Straining the heater cartridge, potentially causing overheating and thermal runaway errors
- Preventing the thermistor from accurately sensing molten filament temperature
- Creating heating instability that compromises print quality
- Forcing your system to work harder, leading to premature component failure
You can prevent these issues by regularly cleaning your nozzle with wire or needle tools and using high-quality filament with proper printer calibration to maintain consistent heating performance.
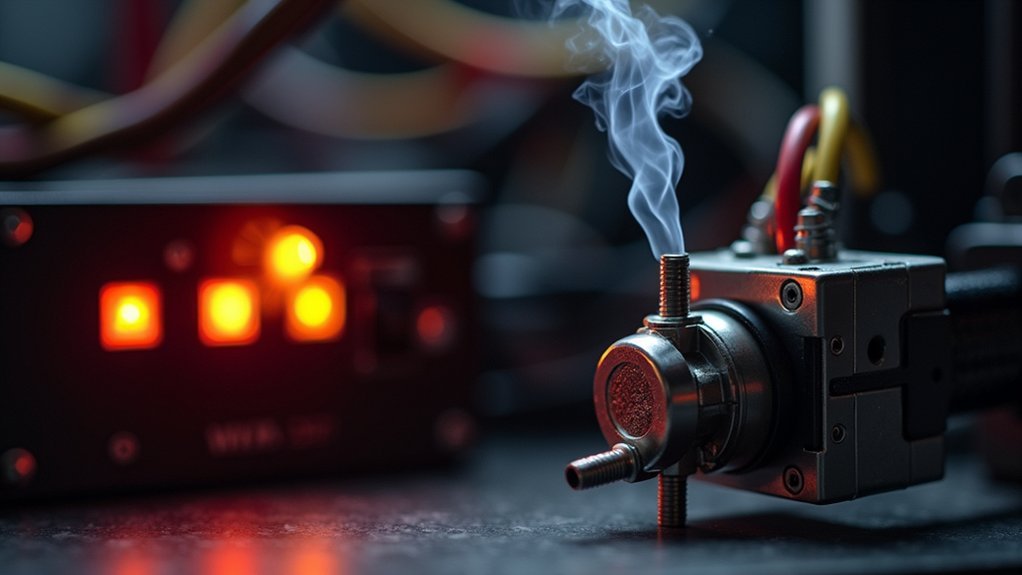
Thermal Runaway Protection Triggering False Shutdowns
While thermal runaway protection serves as a critical safety feature, it can ironically become the source of your heating failures when it triggers false shutdowns. This protection activates when your printer detects temperature drops from the thermistor due to faulty sensors or poor connections.
Your firmware’s designed to shut down if temperatures exceed or fall below safe limits, preventing fire hazards. However, you’ll encounter false triggers from inconsistent voltage supply caused by failing power supplies, creating erratic temperature readings.
Frequent power cycling worsens these issues, causing intermittent electrical faults and component degradation. You can prevent these false thermal runaway protection shutdowns through regular maintenance and inspection of your thermistor, wiring, and electrical connections, ensuring stable operation.
Frequently Asked Questions
Why Is My 3D Printer Heating Failed?
Your 3D printer’s heating failed due to electrical problems, faulty temperature sensors, clogged nozzles, or cooling fan issues. Check your wiring connections, clean components, and inspect sensors to identify what’s causing the heating malfunction.
Why Is My 3D Printer Nozzle Not Heating Up?
Your nozzle won’t heat up due to a faulty heater cartridge, damaged thermistor, loose wiring connections, insufficient power supply, or nozzle clogs blocking heat transfer and causing temperature regulation issues.
Why Does My Extruder Stop Heating Mid Print?
Your extruder stops heating mid-print due to loose wiring connections, faulty temperature sensors triggering thermal runaway protection, power supply voltage drops, or heat creep causing firmware safety shutdowns during operation.
Why Does My 3D Printer Keep Heating Up?
Your printer’s overheating because you’ve got a faulty thermistor giving false readings, failed cooling fans, heat creep issues, damaged wiring, or incorrect firmware settings that aren’t properly regulating temperature control.

Leave a Reply