
To unclog your 3D printer nozzle, start by heating it to printing temperature and manually pushing filament through to test flow. If that doesn’t work, try the cold pull method: heat the nozzle to 250°C, cool to 90°C, then pull the filament out sharply. For stubborn clogs, use cleaning filament or carefully insert an acupuncture needle while the nozzle’s hot. These techniques will help you tackle the specific challenges each blockage presents.
What Causes 3D Printer Nozzle Clogs

While 3D printer nozzle clogs can be frustrating, understanding their root causes will help you prevent them from derailing your printing projects.
Poor filament storage leads to moisture absorption and debris accumulation, making your material brittle and introducing impurities that block the nozzle during extrusion. Dust and dirt create additional obstructions in the melting chamber.
Proper filament storage prevents moisture damage and debris buildup that cause nozzle blockages during printing.
Inconsistent filament diameter disrupts flow patterns, increasing clog risks considerably. You’ll also encounter blockages when you don’t perform proper cleaning between material changes, as residue builds up inside the nozzle.
Finally, printing at inadequate temperature settings prevents complete melting, causing heat creep and subsequent jams that’ll stop your prints cold.
How to Identify a Clogged Nozzle
Before you can fix a clogged nozzle, you’ll need to confirm there’s actually a blockage affecting your printer’s performance.
You can identify clogs through three key methods: examining the nozzle tip for visible debris, testing how filament flows during extrusion, and checking for physical resistance when manually feeding material.
These diagnostic steps will help you determine whether you’re dealing with a partial or complete blockage.
Visual Inspection Signs
Several telltale signs indicate when your 3D printer nozzle has become clogged and needs attention. During visual inspection, you’ll notice inconsistent extrusion patterns where filament appears thinner or rougher than normal.
If you observe gaps in layers or under-extrusion during prints, these signs of a clogged nozzle suggest partial clogs requiring immediate maintenance.
When examining the nozzle tip directly, look for residue accumulation or visible debris that obstructs proper filament flow.
Complete blockages become apparent when no material emerges despite proper heating and extruder operation.
You might also hear clicking sounds from extruder gears as they struggle to push filament through the obstruction.
These visual and audible indicators help you quickly identify when your clogged nozzle needs cleaning intervention.
Extrusion Flow Testing
One effective method for identifying nozzle clogs involves performing hands-on extrusion flow testing to assess filament movement through your printer’s hot end. Start by disengaging the extruder gear lever and manually push the filament through the heated nozzle. You’ll quickly notice any resistance that indicates a clogged nozzle developing.
Watch the filament behavior carefully—curling or difficulty advancing suggests partial blockage. If nothing emerges despite proper heating, you’re dealing with a complete clog. Listen for clicking sounds from your extruder motor, which signals it’s struggling against a blockage.
| Test Method | Normal Result | Clog Indicator |
|---|---|---|
| Manual Push | Smooth flow | High resistance |
| Visual Check | Straight extrusion | Curled filament |
| Audio Check | Quiet operation | Clicking sounds |
| Flow Rate | Consistent output | Reduced/no flow |
| Post-Change | Clean extrusion | Inconsistent flow |
Implement regular testing after each filament change to prevent printing failures.
Physical Resistance Checks
Beyond observing extrusion patterns, you can perform direct physical resistance checks to pinpoint nozzle blockages with greater precision.
These hands-on tests help you check the nozzle more accurately than visual inspection alone.
- Disengage the extruder gear and unload the filament, then manually push fresh filament through the hotend. Use minimal force to avoid damaging components while testing physical resistance.
- Monitor filament flow as you push – curling or difficulty feeding indicates a partial clog, while no filament coming through suggests complete blockage.
- Listen for clicking sounds from the extruder gear during loading, which signals resistance from a clogged 3D printer nozzle or filament debris blocking the path.
These checks reveal signs of wear before complete failure occurs.
Essential Tools and Safety Preparations
Before you start unclogging your 3D printer nozzle, you’ll need to gather the right tools and prioritize safety.
Essential cleaning tools include cleaning filament, a brass wire brush, an acupuncture needle, a heat gun, and cleaning supplies like isopropyl alcohol and lint-free cloths.
Always turn off and unplug your printer first, then set up a well-ventilated workspace with proper safety gear like gloves and safety glasses.
Required Cleaning Tools
The success of unclogging your 3D printer nozzle depends heavily on having the right tools and taking proper safety precautions before you begin.
You’ll need specific equipment to effectively clean nozzles and remove stubborn filament residue from your 3D printer.
Here are the essential cleaning tools you’ll need:
- Cleaning filament or nylon filament matching your printer’s diameter to push through internal blockages
- Brass wire brush for scrubbing exterior buildup without damaging the nozzle surface
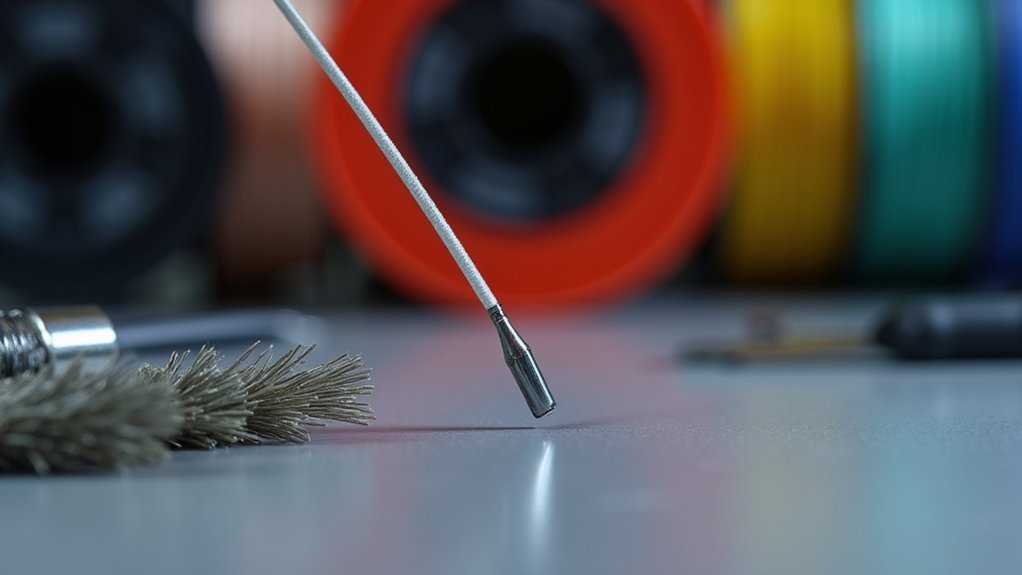
- Acupuncture needle for precisely breaking up internal clogs and debris
Additionally, gather a heat gun for melting stubborn residue, tweezers for handling small debris, and needle-nose pliers for grip.
Before you remove the nozzle, make certain you’re wearing safety glasses and gloves while working in a well-ventilated area.
Safety Precautions First
While having the right tools is essential, prioritizing your safety must come first when unclogging a 3D printer nozzle. Always turn off and unplug your printer completely to eliminate electrical hazards before beginning any maintenance. Allow hot components to cool down entirely to avoid burns when handling them.
| Safety Risk | Protective Action |
|---|---|
| Burns from heated nozzle | Wait for complete cooling |
| Eye injury from debris | Wear safety glasses |
| Chemical exposure | Work in well-ventilated area |
| Electrical shock | Unplug printer completely |
| Accidents from clutter | Maintain clean workspace |
Don protective gear including safety glasses and gloves to shield yourself from debris and heated materials. Maintain a well-ventilated area to minimize exposure to fumes, and keep your workspace organized to prevent wear and tear on components while ensuring tools remain accessible.
Workspace Setup Tips
Once you’ve established proper safety protocols, setting up an organized workspace will streamline your nozzle unclogging process and prevent additional complications.
Your workspace should be well-ventilated to handle fumes from heated materials and cleaning solvents. Keep surfaces clean and free from debris that could contaminate your filaments or interfere with repairs.
Here’s what you’ll need for an effective setup:
- Essential tools: Gather needle-nose pliers, tweezers, brass wire brush, cleaning filament, acupuncture needles, and a nozzle wrench before starting.
- Safety equipment: Keep safety glasses and gloves within reach to protect against solvent splashes and hot components.
- Organization system: Designate specific areas for tools, waste materials, and cleaning supplies to maintain your clean workspace throughout the process.
Manual Filament Push and Cold Pull Methods
When your 3D printer nozzle shows signs of clogging, you’ll want to try two effective manual methods before moving to more invasive solutions.
The manual filament push involves disengaging your extruder gear lever and gently pushing filament through the heated nozzle. Apply minimal force to test filament flow without damaging components.
For the cold pull method, heat the nozzle to 250°C (200°C for PLA), then cool to 60-90°C before quickly pulling out the filament. Use nylon filament or cleaning filament to effectively capture debris inside your clogged nozzle.
| Method | Temperature | Action | Purpose |
|---|---|---|---|
| Manual Push | Operating temp | Push filament | Test flow |
| Cold Pull | 250°C → 60-90°C | Pull filament | Remove clogs |
| Cleaning | Varies | Use nylon | Clear debris |
| Prevention | N/A | Regular maintenance | Avoid buildup |
Using Cleaning Filaments and Wire Brushing Techniques
If manual methods don’t fully resolve your nozzle blockage, cleaning filaments offer a specialized solution designed specifically for clearing stubborn clogs.
These specialized materials effectively remove blockages from your clogged nozzle without causing damage.
These specialized cleaning materials safely dissolve stubborn nozzle obstructions while protecting your hotend from potential damage during the clearing process.
Follow this process for best results:
- Heat the nozzle to your last material’s printing temperature and insert the cleaning filament through the hotend.
- Extrude smoothly until filament flows consistently, confirming the blockage is cleared and filament buildup is removed.
- Clean the exterior using a brass wire brush with circular motions, avoiding steel brushes that could scratch the surface.
Regular maintenance using these techniques prevents future clogs and guarantees consistent extrusion quality.
The combination of cleaning filaments and proper wire brushing creates an effective strategy to remove blockages completely.
Advanced Unclogging With Needle and Solvent Methods
Should cleaning filament fail to resolve persistent blockages, advanced techniques using needles and solvents provide powerful alternatives for tackling the most stubborn clogs.
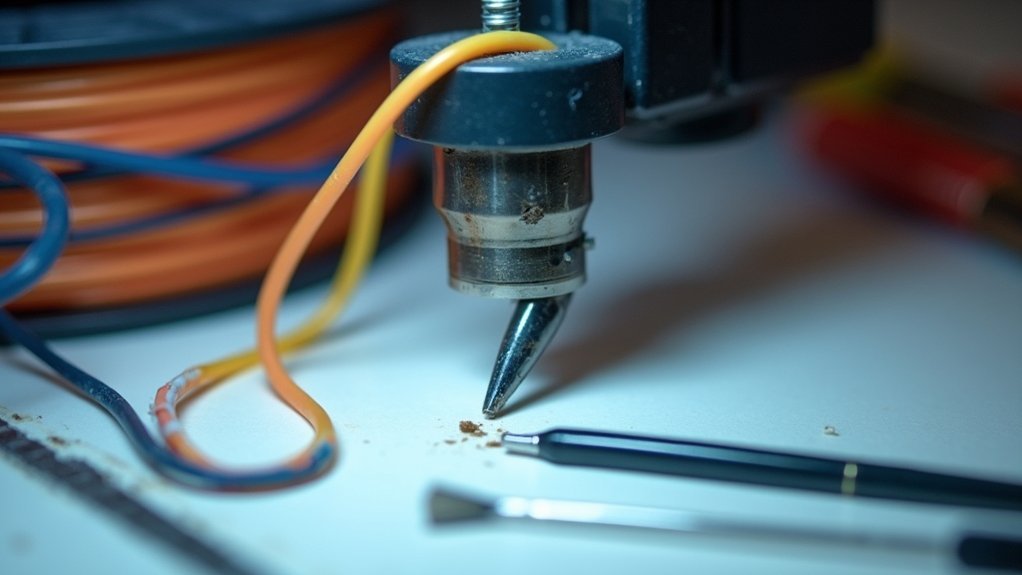
The acupuncture needle to break up debris works by preheating your nozzle to the last printing temperature, then carefully inserting a needle thinner than the nozzle diameter without removing debris.
For the cold pull method, heat your nozzle high, insert cleaning filament, cool it down, then pull out hardened filament particles.
Solvent methods involve soaking the nozzle in acetone for ABS clogs or ethyl acetate for PLA blockages.
You can also apply localized heat using a heat gun to soften clogs before clearing them, ensuring heat from the nozzle penetrates effectively.
Preventive Maintenance for Long-Term Nozzle Health
While these advanced techniques can resolve even the most challenging blockages, implementing a consistent preventive maintenance routine will save you time and frustration by keeping clogs from forming in the first place.
Effective preventive maintenance for nozzle health requires three key practices:
1. Regular cleaning and storage protocols – Clean your nozzle after each session to remove residual filament buildup.
Store printing materials in airtight containers with desiccant packets to prevent moisture absorption that degrades filament quality.
2. Quality control measures – Invest in high-quality filaments with consistent diameters and minimal impurities to reduce clogging risk from poor material composition.
3. Routine inspections and calibration – Check your nozzle regularly for debris or damage.
Adjust temperature settings according to specific filament requirements, ensuring proper melting and flow rates for ideal performance.
Frequently Asked Questions
How Do I Unclog My 3D Printer Nozzle?
You’ll need to heat your nozzle to 250°C, then try the cold pull method with cleaning filament. If that doesn’t work, use an acupuncture needle or remove and soak the nozzle in acetone.
How Do I Unblock a Printer Nozzle?
You’ll need to heat your nozzle to soften clogs, then use a fine needle to probe gently. Try the cold pull method with cleaning filament, and clean the exterior with a brass brush regularly.
How to Fix Nozzle Blockage?
You’ll fix nozzle blockage by heating it to printing temperature, manually pushing filament through, using cold pull method, probing with thin needle, or soaking removed nozzle in acetone if clogs persist.
Why Is Nothing Coming Out of My 3D Printer Nozzle?
Your nozzle’s likely clogged from filament degradation, moisture, or wrong temperature settings. You’ll hear clicking sounds and feel resistance when manually pushing filament. Check for debris and verify proper heating temperatures.


Leave a Reply