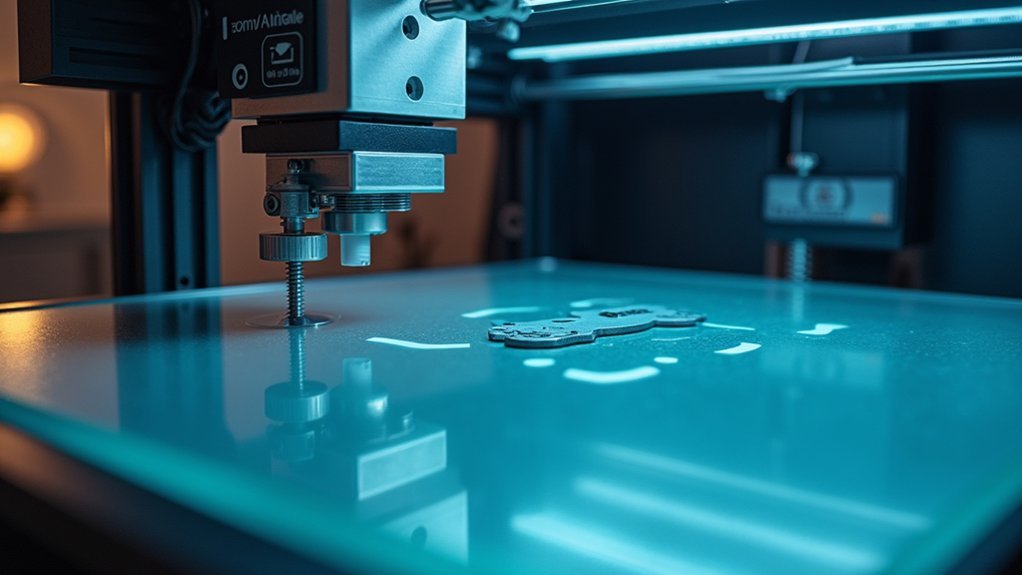
You can fix flexible bed leveling issues with three proven solutions: first, clean your surface thoroughly using 91-99% isopropyl alcohol to remove oils and residues, then apply hairspray for better adhesion. Second, perform proper manual calibration using the paper test at all corners and center, or upgrade to auto-leveling with BLTouch sensors. Third, install hardware upgrades like solid spring steel mounts and frame reinforcements to maintain consistent leveling. These techniques will transform your printing reliability.
Surface Cleaning and Preparation Techniques

The foundation of successful flexible bed leveling starts with proper surface preparation, as even microscopic contaminants can compromise first-layer adhesion and lead to failed prints.
You’ll want to clean your bed surface regularly with isopropyl alcohol at 91-99% concentration to remove oils from fingerprints and residues that accumulate over time.
Regular cleaning with high-concentration isopropyl alcohol eliminates fingerprint oils and accumulated residues that interfere with proper bed adhesion.
Dawn dishwashing liquid mixed with water also effectively removes stubborn contaminants before printing.
Between prints, use a razor blade scraper to remove any leftover filament material that could create surface irregularities.
For glass beds, apply unscented extra super hold hairspray as a fine mist after cleaning to enhance adhesion. The magnetic properties of flexible beds ensure they maintain their flat shape even after repeated bending for print removal.
Always clean immediately after scraping to remove dust particles that could cause print defects.
Manual and Auto Bed Leveling Calibration
Once you’ve properly cleaned your flexible bed surface, achieving precise calibration becomes your next critical step for consistent first-layer adhesion.
Both manual and auto-leveling methods offer distinct advantages for flexible bed calibration.
- Manual calibration using the paper test – Place paper between the nozzle and bed at corners and center, adjusting height screws until you feel slight friction at each point.
- Auto-leveling sensor calibration – Your printer’s probe measures bed topography automatically, with firmware compensating for minor warping through adjusted nozzle paths.
- Iterative adjustment approach – Perform multiple passes between corners and center to guarantee uniform distance, as flexible beds can shift during adjustment.
- Regular recalibration schedule – Level before each session and after surface changes, keeping logs of settings for consistent results. Proper calibration prevents issues like under-extrusion, warping, and misalignment that commonly occur with flexible bed surfaces.
Hardware Upgrades and Mechanical Solutions

While calibration techniques can resolve many flexible bed leveling challenges, persistent issues often point to underlying hardware limitations that require mechanical upgrades.
Installing a BLTouch probe provides the most accurate and repeatable bed leveling solution, particularly effective on glass surfaces where other sensors struggle. You’ll need firmware support, but compatibility with popular printers like Ender 3 makes installation straightforward. The probe measures the bed in a grid pattern at the beginning of each print to compensate for surface irregularities.
Strengthen your printer’s foundation by upgrading bed mounts to solid spring steel or silicone systems, which maintain level integrity longer.
Add washers and lock nuts to prevent loosening. Reinforce your frame with corner braces or metal components to eliminate wobble that compromises leveling precision.
These mechanical improvements work together, ensuring sensor measurements remain valid and reducing the frequency of manual adjustments.
Frequently Asked Questions
How Often Should I Recalibrate My Bed Leveling Mesh?
You should recalibrate your bed leveling mesh monthly or after every 20-30 print hours. Recalibrate immediately after physical disturbances, when variance exceeds 25 microns, or when you’re experiencing adhesion issues.
Can Firmware Updates Cause Previously Working Bed Leveling to Fail?
Yes, firmware updates can absolutely cause previously working bed leveling to fail. You’ll encounter sensor triggering issues, probe clustering problems, or compatibility conflicts that disrupt your established leveling routines completely.
What’s the Ideal Probe Point Density for Flexible Bed Leveling?
Start with a 3×3 grid for initial calibration, then increase density if you’re experiencing adhesion issues between probe points. Higher-resolution meshes work better with precise sensors and advanced firmware capabilities.
Should I Level My Bed Hot or Cold for Best Results?
You should level your bed hot at your typical printing temperature. Hot leveling captures thermal expansion and warping that cold leveling misses, ensuring better first-layer accuracy and print reliability.
Why Does My Bed Leveling Work Sometimes but Fail Other Times?
Your bed leveling fails intermittently due to loose probe wiring, dirty sensors, mechanical misalignment, outdated firmware, temperature changes, debris buildup, or improper initial calibration settings requiring multiple attempts.


Leave a Reply