You’ll dramatically improve your Prusa printer’s first layer quality by upgrading from the default 3×3 mesh grid to a 7×7 configuration, which increases probing points from 9 to 49 for enhanced accuracy. Enable magnet compensation to eliminate measurement errors up to 80 microns caused by bed magnets, and set probe repetitions to 3-5 times for reliable data. Use Bed Level Correction to fine-tune individual corner heights within 20-micron precision after completing XYZ calibration. These advanced techniques reveal professional-grade print consistency.
Upgrade Your Mesh Grid Density to 7×7 Points for Superior First Layer Adhesion
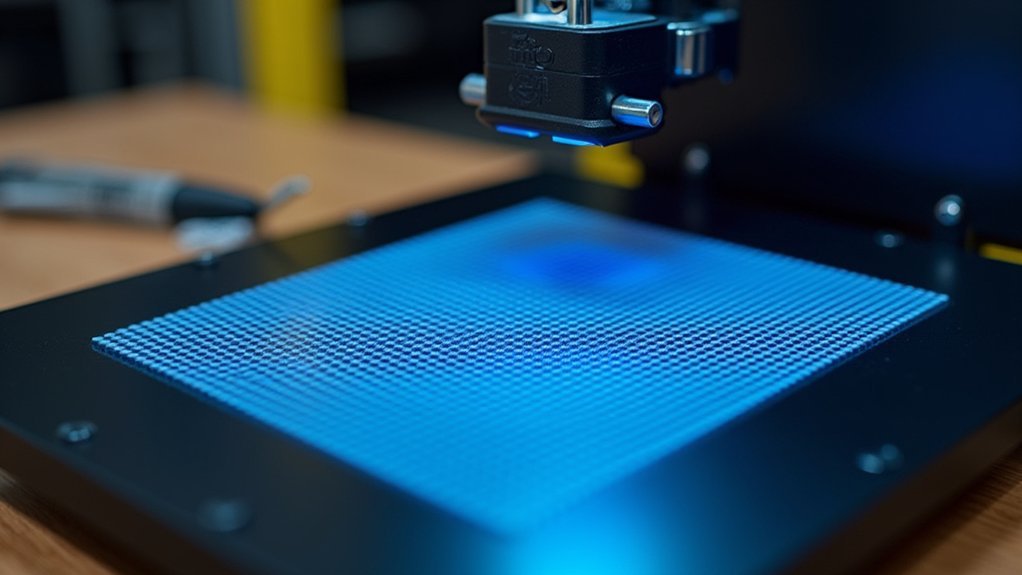
Most Prusa printers ship with a default 3×3 mesh bed leveling grid that provides only 9 probing points across your print surface.
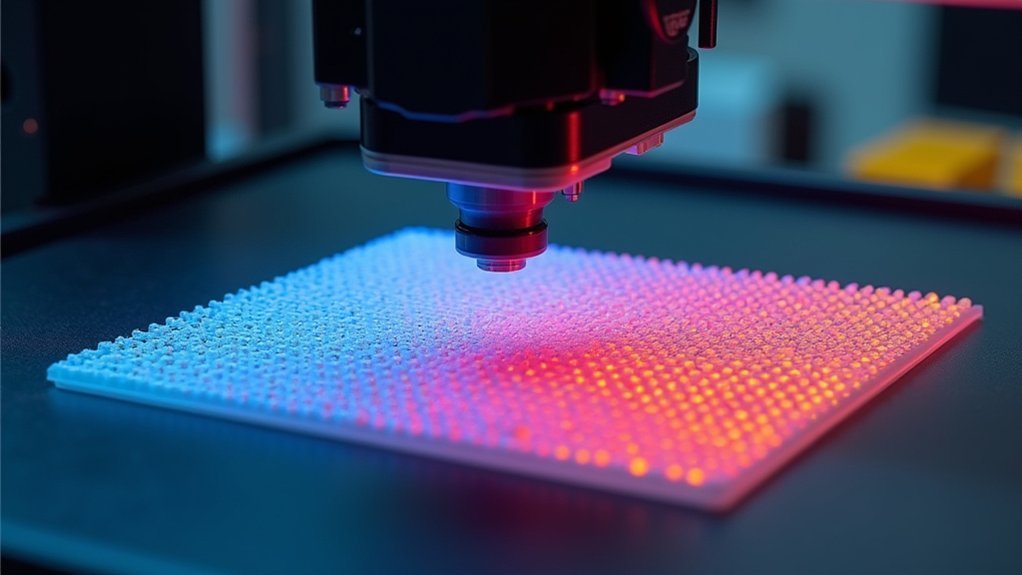
Upgrading to a 7×7 grid dramatically increases accuracy by capturing bed height variations through 49 probing points, resulting in superior first layer adhesion consistency.
A 7×7 mesh grid captures 49 probing points for dramatically improved bed leveling accuracy and consistent first layer adhesion.
You’ll find the mesh density settings under Settings > Mesh Bed Leveling on your LCD menu.
For ideal results, configure each point to probe 3-5 times rather than once—this averages out measurement noise and compensates for minor sensor inconsistencies, though it’ll increase calibration time. Pre-heating the PINDA probe while keeping the nozzle temperature low can enhance calibration accuracy.
Don’t forget to enable magnet compensation since three grid points near bed magnets can create sensor reading offsets up to 80 microns, potentially skewing your mesh data and affecting print quality.
Use Bed Level Correction to Fine-Tune Individual Corner Heights Within 20-Micron Precision
After completing your mesh bed leveling, you’ll want to fine-tune individual corner heights using Bed Level Correction for precision adjustments as small as 20 microns.
These tiny adjustments can dramatically improve first layer adhesion and uniformity where mesh leveling alone falls short.
Before making corrections, verify you’ve completed XYZ calibration, cleaned your steel sheet with 90% isopropyl alcohol, and optimized your first layer calibration.
Work on one corner at a time, making incremental changes within the +/- 100 micron limit. Use negative values to move the nozzle closer for better adhesion, or positive values to prevent nozzle dragging.
Print calibration test patterns after each adjustment to monitor results. Use a 0.20 mm layer height when printing your test model to properly evaluate layer quality and bed level corrections.
Even 20-micron changes produce noticeable improvements in layer quality and help compensate for surface irregularities.
Enable Magnet Compensation and Multiple Probe Repetitions to Eliminate Measurement Errors

While corner adjustments handle surface variations, measurement accuracy itself can be compromised by magnetic interference from your printer’s bed magnets.
Enable magnet compensation in your 7×7 mesh settings to eliminate these errors. The firmware automatically ignores direct probe readings at the three affected points and interpolates values from surrounding measurements, correcting skewed readings up to 80μm.
Firmware magnet compensation automatically interpolates probe readings at three affected points, correcting magnetic interference errors up to 80μm.
Additionally, set probe repetitions to 3-5 measurements per mesh point. This averages multiple readings to reduce sensor noise and erratic values from your PINDA or SuperPINDA sensor.
You’ll sacrifice some calibration time, but you’ll gain considerably more reliable mesh data. If leveling issues persist, the printer will automatically re-home and attempt the calibration process again. Access these settings through your mesh bed leveling menu to configure grid density, probe count, and magnet compensation together.
Frequently Asked Questions
How Often Should I Recalibrate My Mesh Bed Leveling?
You should recalibrate mesh bed leveling every one to two months depending on usage intensity. Also recalibrate after firmware updates, mechanical changes, or when you notice first-layer issues or frequent leveling failures.
Can I Use Mesh Bed Leveling With Third-Party Print Beds?
You can use mesh bed leveling with third-party print beds. The PINDA sensor probes surface height variations regardless of bed material, though you’ll need proper magnet compensation settings for best results.
What Happens to My Mesh Data After Firmware Updates?
Your mesh data might survive minor firmware updates, but major version changes usually require factory EEPROM resets. You’ll need to backup your calibration values beforehand and recalibrate afterward to prevent corrupted data.
Should I Heat the Bed During Initial Mesh Calibration?
You should heat the bed to your printing temperature during mesh calibration. This captures thermal expansion effects and guarantees accurate measurements that reflect actual printing conditions, improving first layer consistency.
How Do I Backup and Restore My Mesh Leveling Settings?
Use G81 command to retrieve current mesh data via USB connection. Save the output securely. For restoration, send saved mesh data back using G-code commands or custom scripts to printer’s EEPROM memory.


Leave a Reply