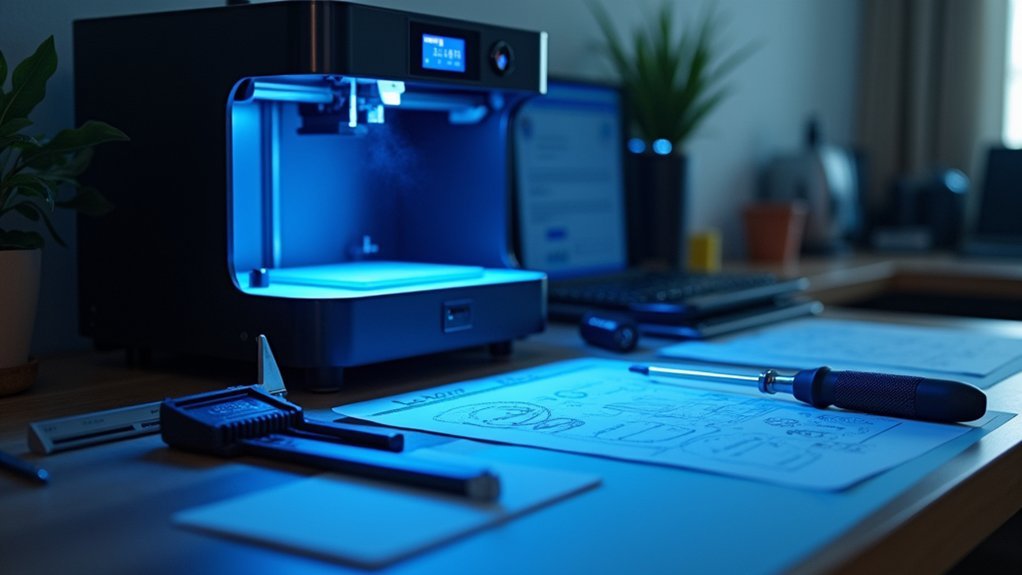
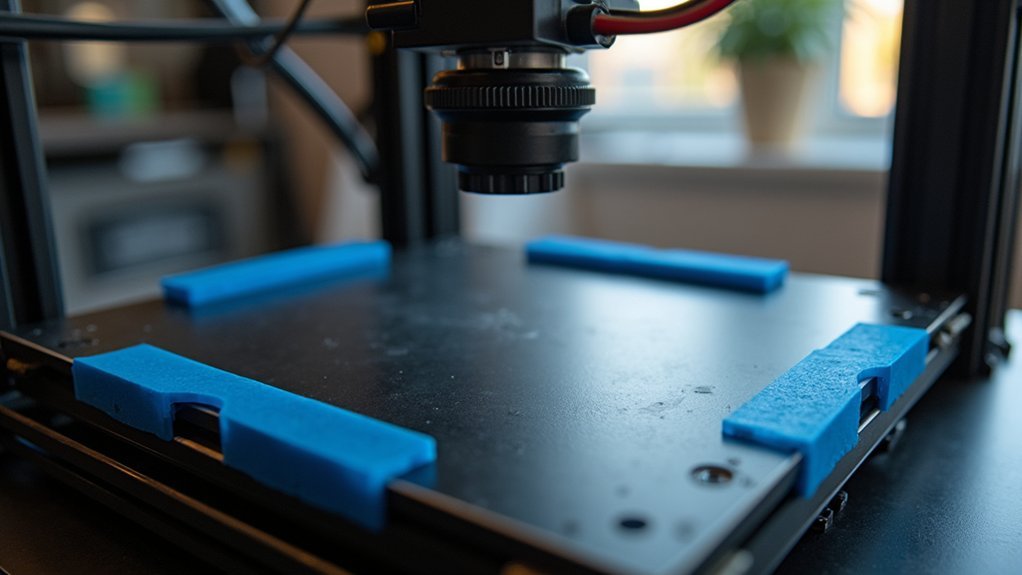
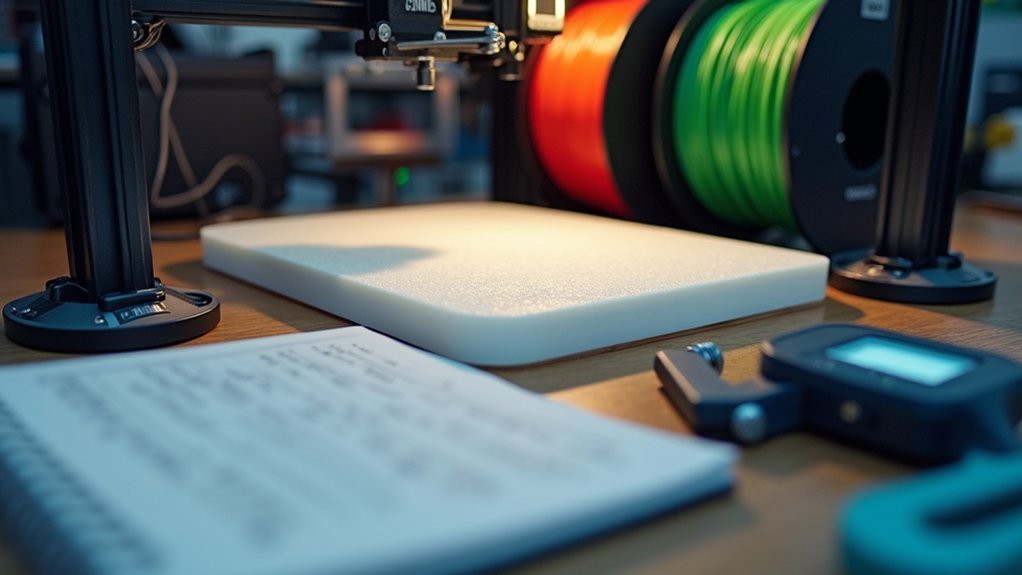
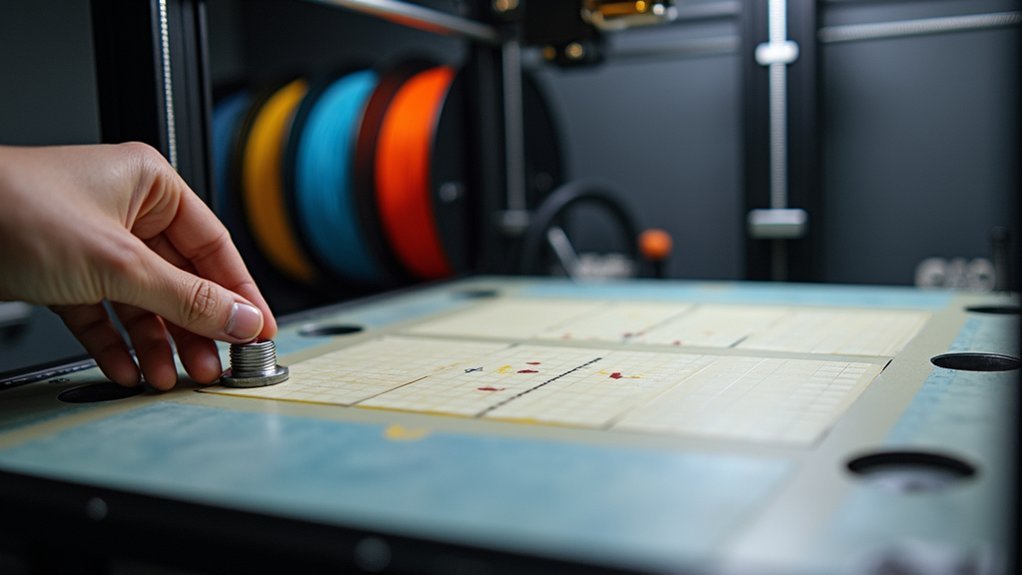
You’ll master manual 3D printer bed leveling by following these seven steps: prepare your workspace and heat the printer to operating temperature, home the printhead to establish zero positions, adjust corner leveling knobs using the paper test method, systematically check and balance all four corners for consistent resistance, verify the level at the bed’s center point, fine-tune through multiple test cycles, and clean while documenting your final settings. These techniques guarantee perfect first-layer adhesion and professional results.
Prepare Your Workspace and Heat the Printer

Before you begin leveling your 3D printer bed, you’ll need to prepare your workspace and heat the printer to confirm accurate results.
Start by clearing the area around your printer to guarantee easy access and avoid disturbances during the process. Keep necessary tools handy, such as a standard A4 sheet or feeler gauge for gap measurement, plus cleaning supplies for any maintenance needs.
Clear your workspace completely and gather essential tools like an A4 sheet, feeler gauge, and cleaning supplies before starting.
Power on your 3D printer and heat the bed to your standard printing temperature—typically 60°C for PLA filament. This heating accounts for thermal expansion of the bed material, which directly affects leveling accuracy.
Allow the bed to fully reach target temperature and stabilize before proceeding. Clean the print surface to remove any dust, oils, or residual material that could interfere with accurate gap measurement. Confirm good ambient lighting for clear visibility of the nozzle-to-bed distance throughout the leveling process.
Home the Printhead and Position at First Corner
You’ll start the leveling process by executing your printer’s home command to establish zero positions on all axes.
Next, manually navigate the printhead to your first corner position, typically the front-left, ensuring the nozzle sits directly above the leveling screw.
Finally, lower the printhead until it’s approximately 1-2 mm above the bed surface, setting up the proper starting height for gap adjustment. Before proceeding with adjustments, disable the stepper motors through your printer’s LCD menu to allow free manual movement of the print head during the leveling process.
Homing Process Steps
The homing process begins when you initiate the sequence through your printer’s control interface by pressing the “Home All” button or sending the G28 G-code command.
Your printhead will move toward the Y-axis limit switch at the printer’s back first, traveling slowly to avoid damaging components. You’ll hear a click when the switch triggers, signaling the firmware to stop and set Y=0.
Next, the printhead moves to engage the X-axis limit switch on one side, establishing X=0 after contact.
Finally, your printer homes the Z-axis by moving the nozzle down until it contacts the bed or triggers a sensor, setting Z=0.
This establishes your coordinate system’s reference points for accurate printing. After homing completes, the motors remain powered to maintain position accuracy until you manually disable them.
Corner Positioning Technique
Once your printer completes the homing sequence, you’ll need to manually position the printhead at the first corner of your bed using the control interface.
Navigate to the corner slowly using incremental jog commands, ensuring you don’t crash the nozzle into the bed surface. Position the printhead directly over the corner’s leveling screw adjustment point for accurate calibration.
Place a standard sheet of paper between the nozzle and bed to gauge the gap. Use your printer’s LCD controls or software to make small Z-axis adjustments while keeping the XY position fixed.
You’re aiming for slight friction when sliding the paper—it shouldn’t move freely or feel excessively tight. This corner becomes your baseline for adjusting the remaining corners.
This positioning ensures the nozzle maintains the same height relative to the bed surface, which is crucial for achieving consistent first layer adhesion across the entire printing area.
Nozzle Height Verification
Before proceeding with precise bed leveling adjustments, initiate the homing sequence to establish reliable reference points for your printer’s X, Y, and Z axes.
Use your printer’s control interface to execute the “Home All” command, ensuring the bed remains at its default position to prevent nozzle contact. Once homing completes, gradually lower the printhead using controlled increments toward the first corner of your print bed. Maintaining proper nozzle height is essential since it significantly influences quality of your final 3D print output.
- Paper Test Method: Slide standard 80gsm paper beneath the nozzle until you feel light friction – the paper should move with slight resistance without tearing.
- Damage Prevention: Stop immediately if you detect any resistance when lowering the nozzle to avoid scratching the bed or damaging the nozzle tip.
- Regular Recalibration: Perform height verification every few months or after extensive printing to maintain consistent print quality.
Adjust Corner Leveling Knobs Using Paper Test
Four critical steps guarantee accurate bed leveling through the paper test method.
First, move your printhead to each corner and place the paper flat between the nozzle and bed surface.
Position the printhead at each bed corner and slide a sheet of paper between the nozzle and printing surface.
Second, slowly lower the nozzle until the paper fits snugly without lifting or excessive slack.
Third, drag the paper gently back and forth to detect proper friction indicating correct spacing.
Fourth, adjust the corner leveling knobs based on resistance—if paper slides freely with no resistance, turn the knob to lower the bed closer to the nozzle.
If paper’s overly tight or can’t move, raise the bed away from the nozzle.
Use small incremental turns and repeat testing until you achieve gentle resistance throughout all corners. Make adjustments using 10 micron increments for precise calibration control.
Check and Balance All Four Corners

After completing initial corner adjustments, you’ll need to systematically verify that all four corners maintain equal nozzle-to-bed distance. Use your printer’s controls to move the print head sequentially to each corner, measuring the gap with standard paper (~0.1 mm thickness).
You’re targeting consistent drag when sliding paper between the nozzle and bed at every position. Bed tilt or twist will cause some corners to be closer while diagonally opposite corners appear farther away.
Address this by adjusting corner leveling screws iteratively, recognizing that correcting one corner affects adjacent ones. Use a round-robin approach, making multiple passes until all corners show identical resistance. Ensure both the nozzle and bed are heated to operating temperature during this process for accurate measurements.
- Compare firmware readouts showing numerical height data per corner
- Perform tactile consistency checks across multiple adjustment passes
- Cross-verify center and midpoint distances after corner balancing
Verify Level at Center Point of Bed
After leveling all four corners, you’ll need to check the center point using the same paper test method to guarantee consistent nozzle-to-bed distance across the entire print surface.
Compare the resistance you feel when sliding paper under the nozzle at center with what you experienced at the corners—it should feel nearly identical.
If there’s a significant difference in resistance, you’ve likely discovered bed warping or sagging that requires further adjustment. Document leveling settings for future reference to maintain consistent results and reduce setup time for subsequent prints.
Center Point Paper Test
Once you’ve checked all four corners of your bed, you’ll need to verify the center point is properly leveled as well.
The center point paper test uses a small piece of standard copy paper to validate the nozzle-to-bed gap at the middle of your print surface. This step’s essential even for printers with automatic probes, as manual verification guarantees accurate calibration.
Cut a small rectangular piece of copy paper and clean both your nozzle tip and bed center area. Heat your printer to printing temperature, then position the nozzle directly above the bed’s center. Lower the nozzle gradually until you can slide the paper underneath with slight friction. Keep the paper in motion while making these adjustments to ensure accurate gap measurement.
- Proper friction feels like light resistance without tearing the paper
- Too much drag means your nozzle’s too close to the bed
- No resistance indicates the gap’s too large for good adhesion
Comparing Corner Resistance Levels
When you’ve completed the center point paper test, you’ll want to compare the resistance you felt there against what you experienced at each corner. The paper should drag with similar friction at all five points – if it doesn’t, you’ve identified leveling issues that need addressing.
Higher resistance at any point indicates the nozzle’s too close to the bed, while lower resistance means it’s too far away. These differences often reveal bed warping, uneven mounting, or insufficient corner adjustments.
Don’t expect perfection on your first attempt – each corner adjustment affects the others, so you’ll likely need several cycles to achieve consistent resistance across the entire bed surface for ideal first-layer adhesion. Remember that regular checks are essential since printer components can shift and settle over time, affecting your carefully calibrated bed level.
Detecting Bed Warping Issues
While corner adjustments form the foundation of bed leveling, the center point serves as your critical baseline for detecting warping issues that can sabotage even perfectly leveled corners.
You’ll need to verify the center’s levelness to identify bed deformation that affects print adhesion and layer consistency. Use a feeler gauge or paper sheet to check the nozzle gap at your bed’s center, then compare this measurement with your corner readings.
If there’s significant variation, you’ve detected warping that’ll cause localized adhesion failures and print defects. When material shrinks during cooling, the center point becomes particularly vulnerable to adhesion problems as upper layers contract while the heated bed maintains bottom layer warmth.
- Temperature management: Adjust bed temperature within your material’s ideal range to prevent differential shrinking
- Environmental control: Minimize drafts and cooling fan speeds that disproportionately affect center adhesion
- Regular maintenance: Re-verify center leveling as part of routine printer upkeep
Fine-Tune With Multiple Test Cycles
After completing your initial manual bed leveling, you’ll need to run multiple test cycles to achieve truly precise results.
Start by running your printer’s bed level test print from the utilities menu. Inspect the printed disks carefully—uniform, solid disks indicate proper leveling, while stringy or incomplete disks mean the bed’s too low at those points. Flattened, compressed disks that peel thin show the bed’s too high.
Make incremental adjustments using appropriate hex keys, then run another test cycle. Don’t rush this process; small changes lead to better consistency.
Repeat until all disks print uniformly across the bed surface. Allow cooling between cycles if needed, and maintain bed cleanliness throughout. Document each adjustment to track progress and avoid overcompensation. If you encounter persistent issues with your test results, consider accessing manufacturer support resources for additional troubleshooting guidance.
Clean and Document Final Settings

Once you’ve achieved consistent test prints across your bed, two critical steps remain: thoroughly cleaning your print surface and documenting your final settings.
Start by removing filament residues and dust using 70-90% isopropyl alcohol with a lint-free cloth. Clean any adhesive residues from previous prints, avoiding abrasive materials that could damage the surface. Verify the bed’s completely dry before your next print.
Clean your print bed thoroughly with isopropyl alcohol and lint-free cloth, removing all residues before ensuring complete dryness.
Next, document your leveling screw positions and any software Z-offset values for future reference. Include environmental conditions like temperature and humidity if relevant. Take photos or create sketches showing final adjustments. After completing manual bed leveling, consider that accurate Z endstop position is essential for maintaining high-quality prints in future sessions.
Essential documentation practices:
- Record exact bed leveling screw positions and firmware settings
- Maintain a dedicated leveling log with calibration dates and adjustments
- Store documentation digitally and physically near your printer for quick access
Frequently Asked Questions
How Often Should I Perform Bed Leveling on My 3D Printer?
You should perform bed leveling every 10-15 prints or biweekly for lighter usage. Always level after changing filaments, nozzles, or moving your printer to maintain consistent first-layer adhesion.
What Should I Do if My Bed Is Warped or Damaged?
If your bed’s warped or damaged, you should first try temporary fixes like adding a glass plate or adhesive sheets. For severe warping, replace the bed surface entirely.
Can I Use Alternatives to Paper for the Gap Testing Method?
You can use feeler gauges for precise thickness measurements, dial indicators for detecting bed deviations, or digital angle gauges for checking flatness. These alternatives offer better accuracy than paper.
Why Does My Bed Leveling Change After a Few Prints?
Your bed leveling changes because mechanical components loosen, springs wear, or your bed warps from thermal expansion. Loose belts, worn bearings, and frame vibrations also shift positioning between prints.
Should I Level the Bed Before Every Single Print Job?
You don’t need to level before every single print. Check it every 10-15 prints or when you notice first layer adhesion issues, nozzle scraping, or after moving your printer.


Leave a Reply