You’ll achieve crisp architectural details by preparing watertight 3D models with proper wall thickness, strategically hollowing large components to save resin, and angling prints 30-45 degrees to minimize support marks. Choose standard resins for smooth finishes or tough resins for durability, then carefully remove tree-like supports and wet sand any imperfections. Apply clear acrylic coatings to conceal layer lines and protect your model from UV degradation. Master these fundamentals and you’ll reveal even more advanced techniques for professional-quality results.
Understanding SLA Technology for Architectural Applications
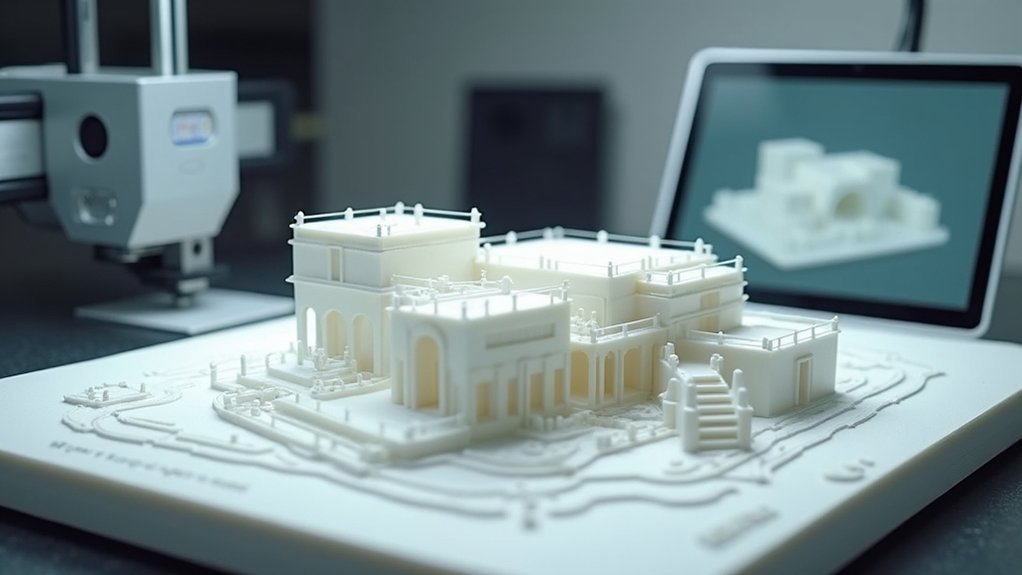
When you’re seeking the highest level of detail and precision for architectural models, SLA (Stereolithography) technology stands as the premier choice among 3D printing methods. This process uses an ultraviolet laser to cure liquid resin layer-by-layer through photopolymerization, creating solid parts with exceptional accuracy.
You’ll find SLA delivers superior surface finishes and fine detail resolution compared to FDM or SLS printing. The technology supports various engineering-grade resins, letting you choose translucent, rigid, or flexible materials that match your architectural vision.
Fast printing cycles with specialized resins like Draft Resin accelerate your iterative design process. Large format SLA printers now enable you to create monumental prototypes that represent entire structures at impressive scales.
SLA’s precision enables you to capture intricate façade textures, interior spatial elements, and complex geometries that traditional model-making can’t achieve effectively.
Preparing 3D Model Files for SLA Printing
Before you send your architectural model to the SLA printer, you’ll need to prepare your 3D files to guarantee successful printing results.
Your model’s geometry must be completely watertight with no holes or gaps, while strategic hollowing can save resin costs and reduce printing time.
You’ll also need to determine the ideal orientation that minimizes support structures on detailed surfaces while maintaining print stability. The high accuracy of SLA prints ensures that complex architectural details will translate precisely from your digital model to the physical prototype.
Ensuring Watertight Model Geometry
Success in SLA printing architectural models hinges on achieving watertight geometry—a fundamental requirement where every surface must form a completely closed, leak-free shell. You’ll need models without holes, gaps, or self-intersecting faces that could compromise print integrity.
Use your 3D software’s “check normals” and “repair mesh” features to identify and fix non-manifold geometry before export. Pay special attention to wall thickness—maintain at least 0.6mm throughout your model to prevent weak spots and structural failures.
SLA technology produces watertight parts because each layer is chemically bonded during the curing process, creating seamless surfaces with excellent tolerances for architectural detail work.
| Common Issues | Solutions |
|---|---|
| Non-manifold edges | Use automated mesh repair tools |
| Missing faces/holes | Visual inspection and manual patching |
| Inverted normals | Check and correct face orientation |
| Intersecting geometry | Separate overlapping elements |
Export using STL format and double-check watertightness in mesh analysis software.
Strategic Hollowing and Support
Once your model geometry is watertight, you’ll need to strategically hollow larger architectural components to save substantial resin costs and reduce printing time.
Maintain a minimum 2mm wall thickness to prevent structural failure while reducing peel forces during printing.
Use Meshmixer or PreForm to create hollow sections with controlled thickness. Always add drainage holes at least 3.5mm in diameter to each hollow cavity, positioning them on non-visible areas. These holes prevent resin trapping and dangerous internal pressure buildup.
Design internal lattice supports within hollow sections to maintain stability and prevent warping. Manual support placement is often necessary since automatic generation overlooks internal voids. Consider experimenting with tree supports for complex internal geometries where traditional supports may be inadequate.
Inspect your hollowed model for thin walls below 1.5mm before printing, as these risk failure under curing stresses.
Optimal Model Orientation
While your model’s geometry and hollowing strategy form the foundation, proper orientation determines whether your architectural print succeeds or fails.
You’ll need to minimize z-axis cross-sectional area by angling your model, which reduces suction forces that can tear prints from the resin tank during layer separation.
Follow these key principles for ideal positioning:
- Rotate approximately 45 degrees on two axes to balance dimensional stability and reduce gravity effects on large surfaces.
- Position delicate features toward the build volume center where heat distribution and curing remain most consistent.
- Minimize surface area exposure to prevent warping and surface imperfections on detailed elements.
Remember that angled orientations create varying support lengths, so place longer supports away from visible surfaces while maintaining structural integrity throughout the printing process. No single perfect orientation exists for all architectural models, so prioritize your most important model features when making positioning decisions.
Creating Watertight Geometry and Fixing Model Defects
You’ll encounter geometry problems like holes, inverted normals, and self-intersecting faces that prevent successful SLA printing of architectural models.
These defects create non-watertight surfaces that cause resin leaks and print failures, making identification and repair essential before slicing.
Modern 3D modeling software provides automated repair tools and manual editing options to fix these mesh errors and guarantee your model’s geometry is completely watertight. Professional PreForm software includes automated analysis features that detect and highlight problematic geometry areas during the model preparation stage.
Identifying Geometry Problems
Most architectural model failures in SLA printing stem from geometry problems that compromise the model’s watertight integrity.
You’ll need to identify these issues before printing to avoid costly failures and material waste.
Use your 3D modeling software’s diagnostic tools to detect critical problems:
- Non-manifold edges – Check for faces sharing edges in invalid ways that create gaps.
- Self-intersecting geometry – Look for overlapping faces within the mesh that confuse slicers.
- Incorrect face normals – Identify missing, inverted, or flipped surfaces that disrupt curing.
Perform a thorough 360-degree inspection with zoom to visually verify closure around intricate details.
Pay special attention to thin walls, which can develop micro-holes or perforations that prevent proper resin containment during printing. Maintain uniform wall thickness throughout your model to prevent structural irregularities that can compromise the final print quality.
Repair Tools and Techniques
Once you’ve identified geometry problems in your architectural model, dedicated repair tools become essential for creating the watertight surfaces that SLA printing demands.
Popular mesh repair software like Meshmixer, Netfabb, and Blender offer both automated and manual fixing options. Use their “Inspector” tools to highlight problematic edges, holes, and internal geometry requiring attention.
These programs can automatically fill holes, remove duplicate vertices, and fix inverted face normals. For complex intersections, employ Boolean operations to merge or subtract model components cleanly.
You’ll want to remove all internal faces and guarantee consistent outward-facing normals to prevent slicing confusion. Print orientation changes can also resolve thin wall issues and prevent breakage of delicate architectural features like window frames.
After repairs, export your model in STL or OBJ format for slicing software compatibility.
Hollowing Strategies for Large Architectural Models
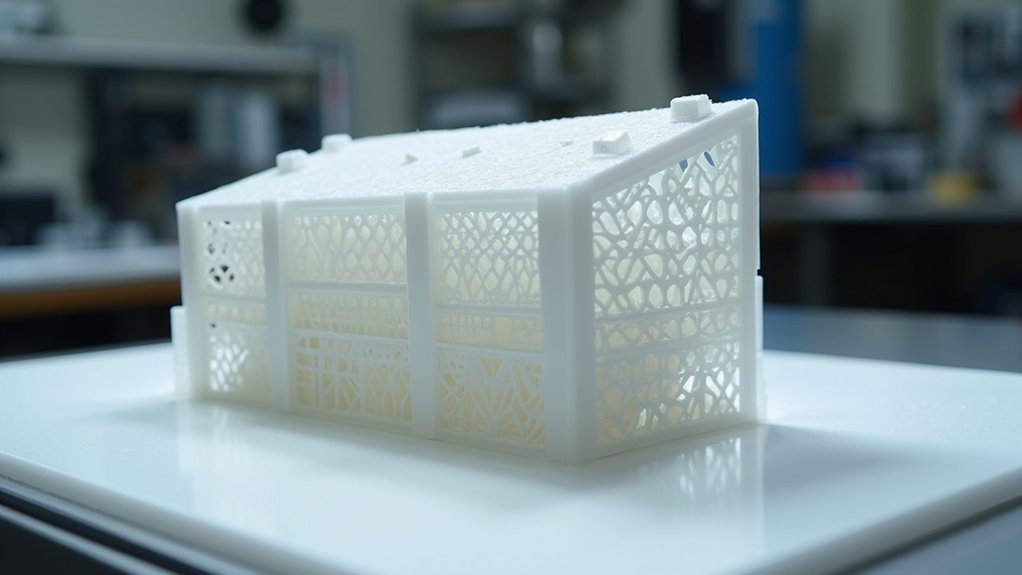
Large architectural models present unique challenges in SLA printing, where material costs and print times can quickly escalate with solid structures. Hollowing offers a strategic solution that reduces resin consumption while maintaining structural integrity.
Hollowing transforms costly solid architectural prints into efficient structures, dramatically cutting resin usage while preserving essential strength and detail quality.
You’ll need to design hollow models with wall thickness between 1.8-3mm to balance strength and material savings.
Essential hollowing requirements include:
- Watertight models – Prevent slicing errors and print failures through proper mesh integrity.
- Strategic drain holes – Place minimum two 3-5mm diameter holes on concealed surfaces for resin evacuation.
- Internal supports – Add lattice or rib structures to prevent collapse during printing and post-processing.
Use software like Meshmixer or PrusaSlicer’s non-destructive hollowing tools to optimize your workflow.
Position drain holes vertically along gravity direction for effective drainage, then seal them post-print for seamless finishes. Proper model orientation during the slicing process ensures optimal drainage and prevents resin trapping that could compromise your architectural details.
Selecting the Right SLA Resin for Your Project
After optimizing your model’s structure through hollowing, you’ll face another critical decision that directly impacts your print’s success: choosing the appropriate resin.
For most architectural models, standard resins provide the best balance of affordability, ease of use, and smooth surface finish quality. They maintain excellent dimensional accuracy for capturing fine details like building textures and structural elements.
Consider tough or durable resins if your model requires enhanced impact resistance for frequent handling or exhibition display. While these cost more and need longer post-processing, they greatly improve durability. These engineering resins require post-curing under UV light for optimal mechanical properties.
Specialty resins offer unique properties like transparency for lighting effects, but they’re expensive and less readily available.
Avoid flexible resins since architectural models require rigidity. High-temperature resins are unnecessary for static presentations.
Optimizing Print Orientation and Support Placement
While proper resin selection sets the foundation for quality prints, the orientation and support strategy you choose will determine whether your architectural model emerges successfully from the printer with crisp details intact.
You’ll want to angle your model between 30°–45° to minimize large flat surfaces parallel to the build platform. This reduces suction forces and decreases support requirements while maintaining print stability.
For ideal results, follow these key principles:
- Position critical details upward – Face windows, textures, and decorative elements toward the resin vat for maximum resolution.
- Use minimal tree-like supports – Place them on non-visible surfaces to preserve aesthetic quality and reduce post-processing.
- Split large models strategically – Divide complex structures along hidden planes, allowing ideal orientation for each segment.
Avoid long, thin supports that create instability, especially around delicate architectural elements. This approach enables rapid production of revised models when design changes are needed, streamlining your overall workflow.
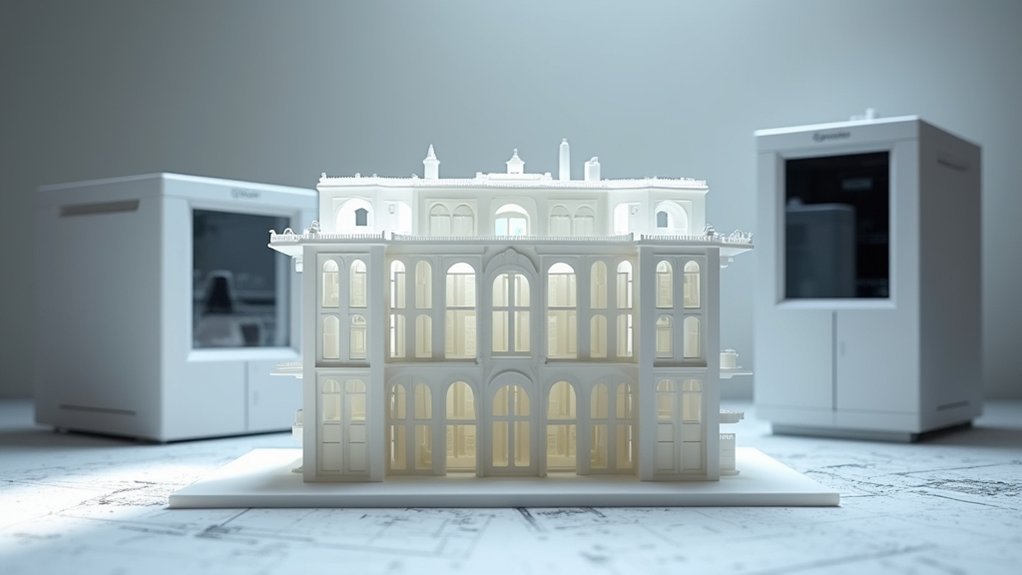
Large-Format SLA Printer Considerations
When you’re planning architectural models that exceed standard printer dimensions or require multiple components in a single build, large-format SLA printers become your most valuable tool.
These machines offer build volumes ranging from 350 x 200 x 350 mm up to massive 2700 x 900 x 800 mm dimensions, enabling complete architectural models in single prints.
You’ll achieve precision from ±0.2 mm accuracy using multiple laser sources operating at 355 nm wavelengths with variable beam sizes from 0.08 to 0.85 mm.
However, you must consider significant trade-offs: these printers weigh 2.5 to 3.7 tons, require 3-5.4 kVA power, and need controlled environments maintaining 22-26°C temperature with under 40% humidity for ideal resin stability and print quality. Large-format printing eliminates weaknesses that would typically occur at joints and connection points when assembling multiple smaller printed sections.
Layer Height and Resolution Settings for Fine Details
Since architectural models demand exceptional detail reproduction, your layer height selection becomes the primary factor determining surface quality and feature definition. SLA printers excel with layer heights between 25-100 microns, far surpassing FDM capabilities.
Layer height selection is the primary factor determining surface quality and feature definition in architectural model printing.
For ideal results, consider these layer height strategies:
- 25-50 microns – Use for intricate details like windows, textures, and curved surfaces requiring smooth finishes.
- 50-100 microns – Apply to standard architectural features balancing detail with reasonable print times.
- Variable heights – Employ adaptive slicing with thinner layers for detailed zones and thicker layers for basic structures.
Remember that layer height only affects Z-axis resolution while X-Y resolution depends on laser spot size. Thinner layers dramatically increase print time but deliver superior surface smoothness essential for professional architectural presentations. Proper calibration ensures consistent layer adhesion and prevents uneven prints that could compromise your architectural model’s precision.
Support Structure Removal Techniques
After your architectural model completes its UV curing process, you’ll face the critical task of removing support structures without damaging delicate features like window frames, ornamental details, or thin walls.
Start with easily accessible supports using flush cutters for clean cuts. Progress to harder-to-reach areas with needle-nose pliers and hobby knives for precision work. Use tweezers to remove small remnants after primary removal.
Remove supports gradually rather than applying high force that could snap delicate elements. Begin with supports away from fine details, then carefully work toward internal structures.
If you’re using LFS technology, supports will snap away with minimal force. After removal, sand any remaining marks and use fine brushes to clear residual material from crevices. For SLA prints, always remove supports after UV curing to prevent warping of your architectural model.
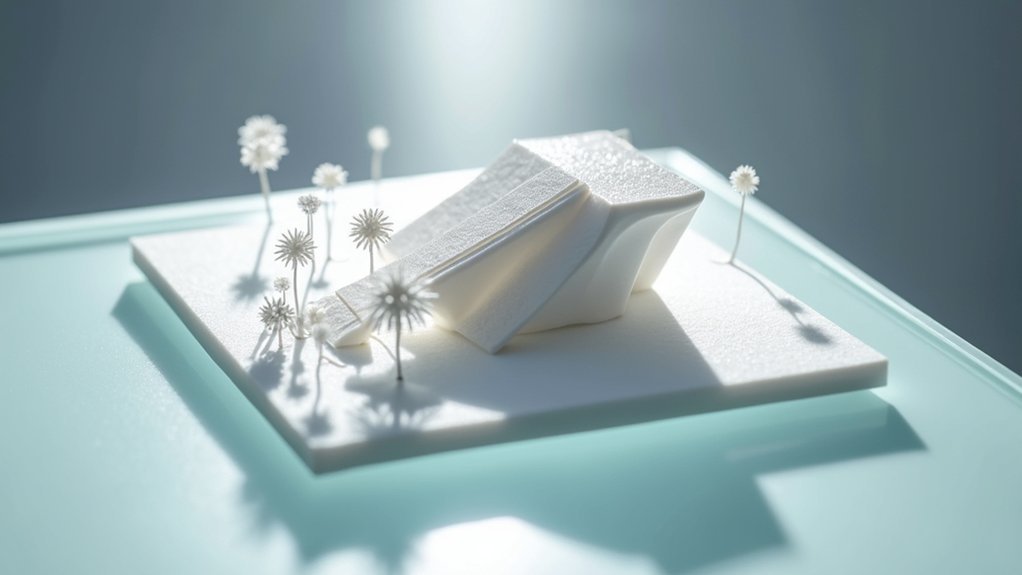
Surface Finishing and Post-Processing Methods
Support removal marks the beginning of your finishing journey, not the end. Your architectural model’s final appearance depends heavily on the post-processing methods you choose. Each technique offers distinct advantages for different model requirements and desired outcomes.
Consider these three primary finishing approaches:
- Wet sanding and polishing – Progressive fine-grit sanding removes layer lines and creates smooth surfaces, with polishing adding reflective qualities.
- Clear acrylic spray coating – UV-protective coatings conceal layer lines while preventing yellowing and degradation over time.
- Mineral oil finishing – Masks surface imperfections and provides even consistency, particularly effective for mechanical components.
You’ll need to balance finish quality against application time. These basic operations prepare parts for advanced finishing techniques if additional refinement becomes necessary.
Chemical vapor smoothing and media tumbling offer additional options, though they’re less suitable for delicate architectural details requiring precision.
Painting and Texturing SLA Architectural Models
While surface finishing prepares your model’s foundation, painting and texturing transforms it into a convincing architectural representation. You’ll want to start with thorough cleaning and light sanding to remove residual resin and layer lines. Apply a resin-compatible primer before your base coat.
| Technique | Application | Result |
|---|---|---|
| Dry brushing | Light paint on mostly dry brush | Highlights raised details |
| Washing | Thinned paint in recesses | Creates shadows and depth |
| Stippling | Tap stiff brush lightly | Simulates brick/stone texture |
| Layering | Multiple translucent coats | Complex material effects |
| Masking | Protect detailed areas | Clean multi-step finishes |
Use acrylic paints for fast drying and easy cleanup. Combine matte, satin, and gloss finishes to simulate different materials. Apply paint in thin layers for optimal coverage and professional results. Finish with UV-resistant clear coat for long-term protection.
Quality Control and Model Validation Workflow
You’ll need to establish a systematic quality control workflow that spans from digital file preparation through final model inspection.
Start with pre-print geometry verification to catch mesh errors and dimensional issues before they become costly printing failures.
Then implement layer inspection protocols during printing and post-print accuracy testing to guarantee your architectural models meet professional standards. SLA technology’s dimensional accuracy surpasses other 3D printing methods, making it essential to leverage this precision through proper measurement and validation techniques.
Pre-Print Geometry Verification
Before sending your architectural model to the SLA printer, thorough geometry verification confirms you’ll achieve the precision and detail quality your project demands.
Start by confirming your STL or CAD file’s integrity—check for mesh errors like non-manifold edges and intersecting faces that’ll cause print failures. Utilize specialized mesh repair software like Meshmixer to fix any detected geometry issues before proceeding to print preparation.
Next, validate these critical dimensions:
- Wall thickness – Confirm minimum 0.4mm thickness to prevent fragile or failed prints
- Feature resolution – Verify holes, slots, and overhangs match your printer’s capabilities
- Digital measurements – Compare model dimensions against original design specifications for accuracy
Use your slicing software’s preview and simulation features to detect geometric anomalies and unsupported regions before printing.
This digital inspection prevents costly material waste and confirms your architectural model captures every intended detail with professional precision.
Layer Inspection Protocols
After confirming your geometry meets specifications, implementing systematic layer inspection protocols guarantees each printed layer maintains the quality standards your architectural model requires. You’ll need high-intensity, diffuse lighting to reveal surface inconsistencies like layer lines, striations, or curing defects. Focus on identifying bubbles, cracks, delamination, or incomplete cured spots that compromise model quality.
| Inspection Method | Key Parameters |
|---|---|
| Visual Examination | Surface roughness, layer shifts, uniformity |
| Dimensional Checks | Layer thickness 30-140 microns, wall thickness 2mm minimum |
| Digital Scanning | 3D geometry capture, CAD model comparison |
| Environmental Monitoring | Resin temperature, UV laser power, humidity control |
| Post-Processing Validation | Solvent cleaning effectiveness, final surface quality |
Use digital calipers or coordinate measuring machines to verify layer thickness consistency against your printer’s specifications. Document all findings thoroughly to support trend analysis and enable targeted improvements in your production workflow for future architectural models.
Post-Print Accuracy Testing
Once your architectural model emerges from the printer, systematic accuracy testing becomes essential for validating whether the physical output matches your design specifications.
You’ll need to evaluate three critical aspects to verify professional-quality results:
- Dimensional Accuracy – Use XYZ calibration cubes and digital calipers to measure your model against CAD specifications. Desktop SLA typically achieves ±0.5% tolerance, while industrial systems reach ±0.15%.
- Surface Quality – Employ benchmark models like 3D Benchy to assess layer visibility, surface finish, and fine detail resolution. Inspect for warping on large flat surfaces and evaluate texture consistency.
- Structural Integrity – Test mechanical properties using clearance gauges for moving parts and check flexural strength to verify your architectural assembly functions as intended.
Remember that printer specifications alone do not guarantee the final dimensional accuracy of your architectural model, making real part inspection the definitive method for evaluating your SLA printer’s actual performance.
Frequently Asked Questions
How Much Does It Cost to SLA Print a Large Architectural Model?
You’ll spend hundreds to thousands of dollars depending on your model’s size and complexity. Large-scale prints cost considerably more due to increased resin usage, longer print times, and extensive post-processing requirements.
Can SLA Printed Models Be Displayed Outdoors Without UV Degradation?
You can’t display SLA printed models outdoors without UV degradation. Standard resins degrade within months in direct sunlight. You’ll need UV-resistant coatings, specialty resins, or protective treatments to prevent cracking and fading.
What Safety Precautions Are Needed When Handling Uncured SLA Resin?
You’ll need disposable nitrile gloves, protective eyewear, and chemical-resistant clothing when handling uncured SLA resin. Work in well-ventilated areas, avoid direct skin contact, and immediately clean any spills to prevent allergic reactions.
How Long Do SLA Architectural Models Typically Last Before Deteriorating?
Your SLA architectural models’ll last several years if they’re display-only pieces in controlled environments. However, models with regular handling or stress typically deteriorate within six to eight months depending on resin type.
Can Multiple Colors Be Printed Simultaneously on a Single SLA Model?
You can’t print multiple colors simultaneously on standard SLA printers since they use single resin vats. You’ll need post-processing techniques like painting or specialized multi-resin setups for color variation.

Leave a Reply