You’ll need UV-compatible pigments designed for photopolymer resins, precision measuring tools like syringes and graduated cups, and proper safety gear including nitrile gloves and respirators. Start with transparent or translucent pigments at 1.25% loading, mix slowly to avoid bubbles, and maintain minimum 12-gram batches for proper curing. Increase exposure times by 3-5 seconds for pigmented resins and always test small batches first. Master these fundamentals and you’ll discover advanced techniques for achieving professional-quality colored prints.
Selecting the Right Base Resin and Compatible Pigments
Success in creating custom-colored SLA prints hinges on choosing the right foundation materials.
You’ll need to select a base resin that matches your project’s requirements. Standard resins work perfectly for prototypes and visual models, offering affordability and ease of use. Engineering resins provide superior strength for functional parts but cost more and require complex post-processing. Specialty resins serve niche applications like casting or flexible components.
Your pigment selection is equally critical. You must choose pigments compatible with acrylate or epoxy-based photopolymer chains. Avoid pigments that absorb UV light considerably, as they’ll prevent proper curing.
Choose UV-compatible pigments for acrylate or epoxy photopolymer chains to ensure proper curing and avoid printing failures.
Transparent or translucent pigments maintain resin clarity while enabling color customization. Balance pigment concentration carefully to preserve mechanical properties and guarantee complete polymerization during printing. SLA resins differ fundamentally from thermoplastics like nylon, requiring specific formulations for optimal workflow performance.
Essential Tools and Equipment for Color Mixing
Precision defines every aspect of custom resin color mixing, making the right tools essential for consistent results.
You’ll need syringes for accurate pigment measurement and graduated mixing cups for volumetric precision. Pipettes enable fine color adjustments while silicone spatulas guarantee thorough incorporation without introducing bubbles.
Consider automated mixers with magnetic drives to prevent pigment settling and maintain standardized mixing times. Heat guns help eliminate post-mixing bubbles effectively.
Store your materials in airtight containers or printer cartridges to prevent contamination and premature curing. Always work in opaque containers to protect your mixed resins from premature UV exposure that could compromise their quality.
Color charts provide reproducible mixing formulas, while spectrophotometers offer professional-grade color verification.
Don’t forget cleaning supplies—isopropyl alcohol, disposable gloves, and dedicated brushes prevent cross-contamination between batches. Proper labeling tracks your pigment ratios for future reference.
Safety Protocols and Protective Measures
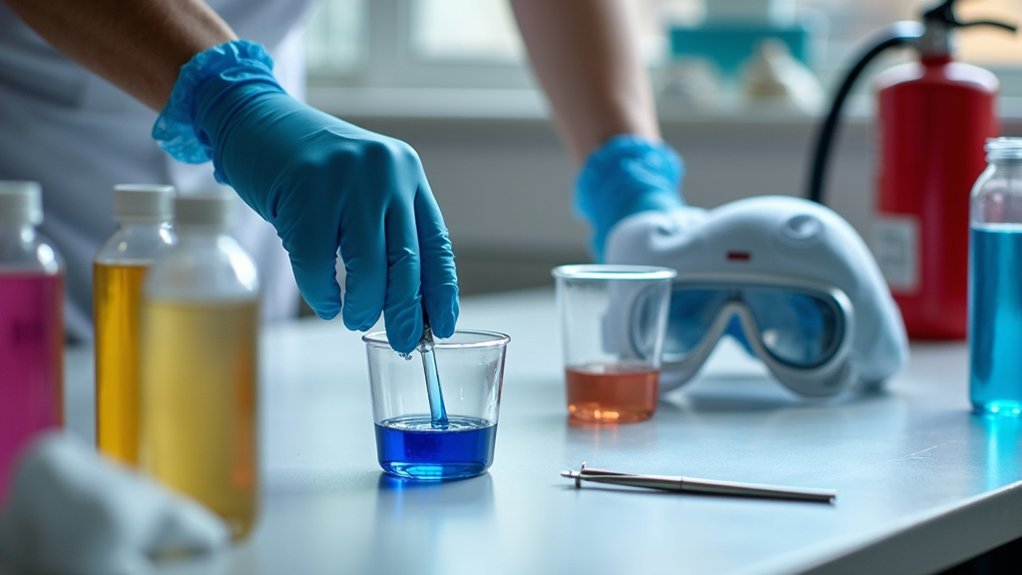
When working with uncured resin and pigments, your safety depends on implementing thorough protective measures from the moment you begin mixing.
Always wear nitrile gloves, safety glasses, and a respirator mask to prevent skin contact, eye splashes, and inhalation of toxic fumes. Remove jewelry before donning gloves to avoid contamination.
Set up your workspace in a well-ventilated area using non-porous surfaces covered with silicone mats or plastic sheeting.
Review Safety Data Sheets before handling any materials to understand specific hazards and disposal requirements.
Never allow uncured resin to contact your skin directly. If exposure occurs, immediately wash with soap and water—don’t use solvents.
Contain spills promptly with absorbent materials and dispose of contaminated waste following toxic waste protocols. Keep paper towels accessible for immediate cleanup of any resin spills during the mixing process.
Precise Measurement Techniques for Consistent Results
Although digital scales might seem like overkill for resin mixing, they’re absolutely essential for achieving consistent results across your SLA prints.
Precision scales with 0.1-gram accuracy far surpass volume measurement methods, which can’t account for density differences between resin and hardener components.
Here’s your systematic approach to accurate measurement:
- Tare your mixing container on the digital scale before adding any resin to capture only component weights
- Maintain minimum batch sizes of at least 12 grams to guarantee proper curing and heat generation
- Measure each component separately rather than combining them during weighing to avoid density-related inaccuracies
- Keep consistent measurement units throughout your mixing process and maintain reference charts for quick ratio verification
Always rely on precise numeric values rather than estimation for repeatable color consistency. Small measurement errors become exponentially more problematic when working with smaller batches, where even minor deviations can prevent proper curing.
Step-by-Step Mixing Process and Best Practices
Once you’ve accurately measured your resins, you’ll need to combine them using methods that guarantee complete dispersion throughout the mixture.
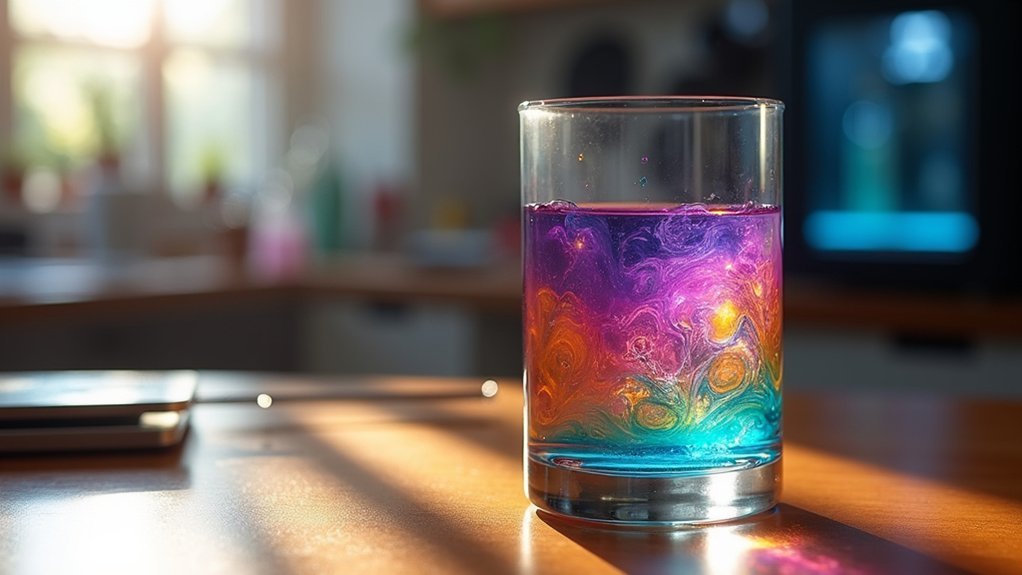
Start by pouring the measured resins into a clean, opaque container and use slow, deliberate stirring motions to avoid introducing air bubbles that can compromise your print quality. When working with Clear Resin, you can achieve custom colors by mixing it with alcohol ink for precise color control and consistency.
The key is achieving uniform color distribution and consistent viscosity before transferring the mixed resin to your printer’s tank.
Precise Measurement Techniques
Three critical factors determine the success of custom resin mixing: accurate measurement, proper ratios, and controlled environment conditions.
You’ll need calibrated digital scales precise to at least 0.01 grams for consistent weight measurement of resin and pigment ratios. When measuring by volume, use clear graduated cylinders or syringes with fine increments to improve accuracy.
Follow these essential measurement techniques:
- Measure each component separately before combining to maintain exact proportions between base resin, color pigment, and additives.
- Avoid measuring very small batches below the supplier’s recommended minimum to guarantee sufficient heat generation for curing.
- Record measurements systematically for reproducibility in future batches and formulation adjustments.
- Start with low pigment loads below 5% to prevent curing issues while achieving desired color intensity.
When selecting base resins for color mixing, ensure you choose compatible resins with similar viscosity and curing characteristics to prevent property inconsistencies in your final mixture.
Thorough Dispersion Methods
After you’ve measured your components accurately, proper mixing becomes the foundation for achieving uniform color distribution throughout your resin.
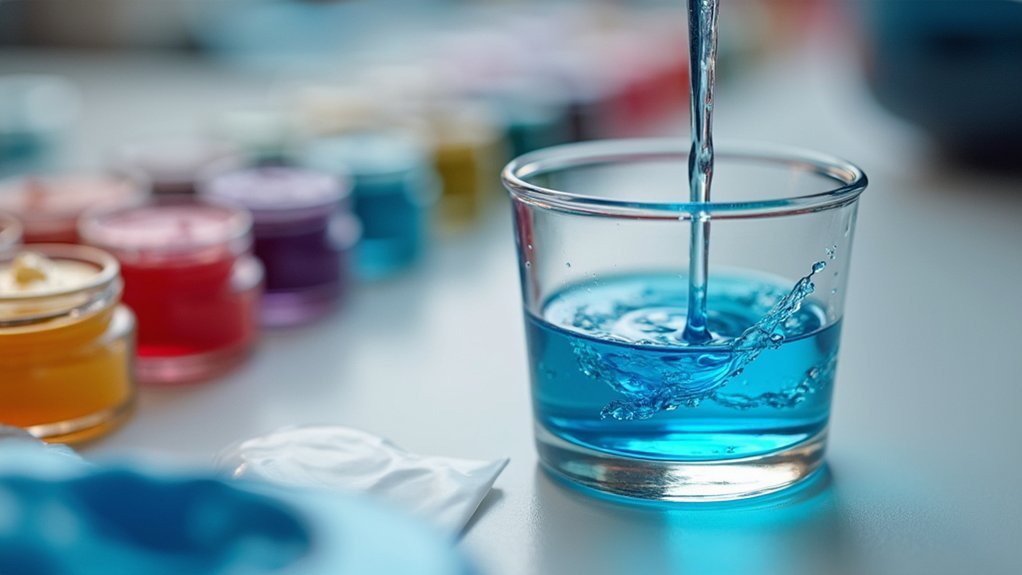
Pour your base resin into a clean mixing container first, then add colorants in small increments. Create a pigment slurry by pre-mixing pigments with a small amount of resin before adding the full volume.
Stir gently with a spatula for several minutes to break up agglomerations, then use a magnetic stirrer for 15-30 minutes if available. Alternate mixing directions to prevent pigment settling or clumping.
Maintain room temperature during mixing to preserve ideal viscosity and pigment solubility. Allow the mixture to rest briefly so air bubbles can rise, then perform visual checks to confirm even distribution before transferring to your printing vat. Always wear gloves when handling uncured resin to protect your skin from contact.
Testing and Calibrating Your Custom Color Formulations
You’ll need to run small test prints with your custom color formulations to evaluate how pigments affect curing behavior and print quality.
Start by printing calibration objects like cones or cubes at your standard layer height to assess dimensional accuracy and surface finish. Since pigments can significantly alter exposure times, you may need to adjust your light exposure duration compared to clear or standard colored resins.
Document your exact pigment ratios and exposure settings for each test so you can replicate successful formulations and refine problematic ones.
Small Test Print Evaluation
Once you’ve mixed your custom colored resin, running small test prints becomes your most reliable method for evaluating color accuracy and print quality before committing to larger projects.
Select test models with diverse geometries—include both flat and curved surfaces to assess color consistency and light reflection patterns. Choose designs with fine details to evaluate color resolution at edges and intricate features.
Your evaluation process should focus on these key areas:
- Color accuracy comparison – Examine prints under standardized lighting conditions (daylight or D65 illumination) against your target sample.
- Uniformity assessment – Check for streaking, gradients, or unintended color variations across surfaces.
- Material properties – Test layer adhesion, dimensional accuracy, and mechanical integrity after pigment addition.
- Post-processing effects – Monitor color shifts during cleaning and curing stages.
Document all results for iterative refinement. Remember that image noise and statistical variations can affect the consistency of your color results between different test batches.
Recording Standardized Mixing Ratios
When developing consistent custom resin formulations, precise documentation separates successful color matching from frustrating trial-and-error cycles.
You’ll need precision syringes or digital pipettes to measure liquid colorants accurately, recording volumes to at least 0.1 mL for repeatability. Express your colorant-to-resin ratios in consistent units like mL per liter, and always include batch numbers for both materials in your records.
Cross-check volumetric measurements by weighing components when possible. Document your exact mixing method, standardized mixing time, temperature conditions, and any settling behaviors you observe.
Create detailed logs with incremental percentage changes for each iteration, using versioning identifiers like v1, v2. This systematic approach guarantees you can reproduce successful formulations and troubleshoot problematic ones effectively. Since SLA resins are specifically formulated for stereolithography printers with distinct chemical properties, maintaining detailed mixing records becomes even more critical for achieving consistent performance across different print jobs.
Adjusting SLA Printer Settings for Colored Resins
Since colored resins behave differently than their clear counterparts during the printing process, you’ll need to modify your SLA printer settings to achieve ideal results.
Pigments interfere with UV light penetration, requiring exposure time adjustments and careful calibration. Regular calibration ensures consistent results as resin properties can vary between batches and manufacturers.
Here’s your adjustment approach:
- Increase exposure time – Start with manufacturer’s clear resin baseline, then add 3-5 seconds for pigmented resins at 1.25% colorant loading.
- Extend first layer cure time – Set to 60 seconds minimum for strong build platform adhesion with colored resins.
- Adjust layer thickness – Use 25 microns for detailed prints or 50-100 microns for faster printing with reduced vibrancy.
- Test incrementally – Print small objects while monitoring adhesion, surface finish, and color vibrancy.
Document successful settings for each pigment concentration and printer combination.
Storage and Handling of Mixed Colored Resins
Proper storage techniques become critical after you’ve mixed your custom colored resins, as pigmented resins require more careful handling than standard clear formulations.
Store your mixed resins in opaque, airtight containers to prevent UV exposure and contamination. Label each container with the mixing date and color formulation for accurate inventory tracking. Keep containers sealed when not in use to limit oxygen exposure, which degrades resin quality over time. Always store resin containers in a cool, dry space away from direct sunlight to prevent premature curing.
Prepare only the quantity you’ll need for short-term projects, as mixed colored resins have reduced shelf life compared to unmixed base resins.
Monitor your stored resins regularly for viscosity changes, gelation, or color shifts that indicate deterioration. If resin thickens or shows signs of premature curing, don’t use it as it’ll compromise print quality and potentially damage your equipment.
Print Quality Optimization With Custom Colors
While creating beautiful custom colors enhances your SLA prints aesthetically, you’ll need to recalibrate your printer settings to maintain excellent quality with pigmented resins.
Darker pigments absorb more UV light, requiring 5-20% longer exposure times than clear resins. You’ll also need to adjust several parameters:
- Exposure Time – Extend layer curing by testing incremental increases until proper adhesion occurs.
- Print Speed – Reduce speed for highly saturated colors to improve layer bonding and surface finish.
- Layer Thickness – Fine-tune to compensate for altered curing kinetics of your pigmented mixture.
- Support Settings – Modify adhesion parameters to account for changes from pigment additives. Additionally, consider optimizing your support placement strategy when working with custom colored resins, as pigmented mixtures may require different support configurations to ensure print stability.
Remember that achieving precise color matching may require sacrificing some resolution or speed for best curing results.
Post-Processing Considerations for Colored Prints
Once your custom-colored prints finish on the build plate, the post-processing phase becomes critical for achieving the vibrant, consistent colors you designed.
Start by washing parts in isopropyl alcohol with double rinsing and agitation to remove uncured resin that can affect color accuracy. Remove supports carefully since rough surfaces cause color inconsistencies, especially in translucent resins. Sand support marks smooth before proceeding.
During post-curing, optimize exposure time, temperature, and wavelength for your specific colored resin. Over-curing can alter color vibrancy or create uneven coloration. Use controlled curing devices when possible.
Apply UV-protective clear coatings to maintain color durability and prevent fading. These finishes also enhance surface gloss, greatly improving how your colored prints appear under various lighting conditions. For optimal results, use various grits of sandpaper to achieve the desired surface smoothness before applying any protective coatings.
Troubleshooting Color Mixing and Printing Issues
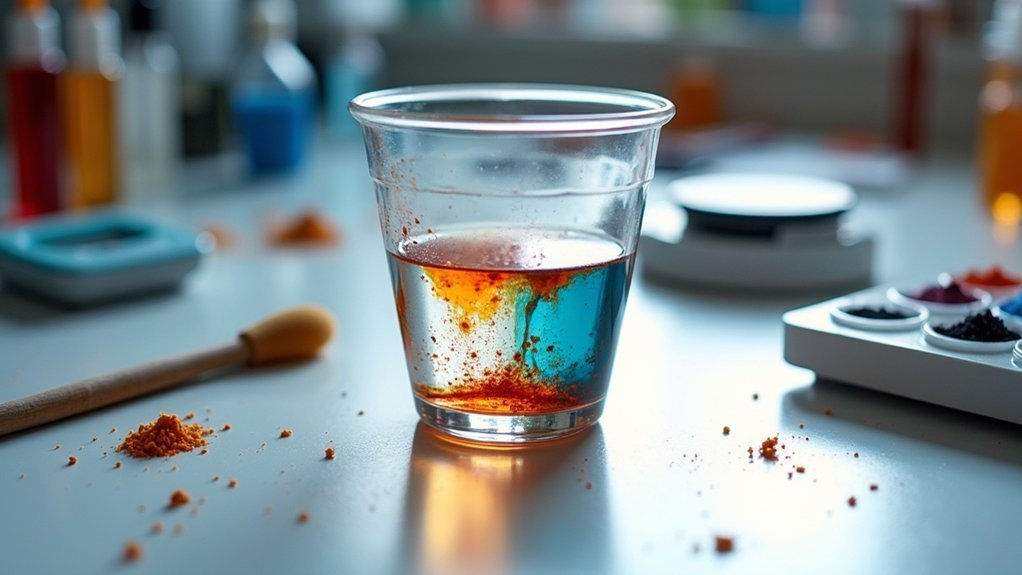
When color mixing and resin printing problems arise, they’ll often trace back to fundamental compatibility and mixing issues that can derail even the most carefully planned projects.
Color mixing failures in resin printing typically stem from basic compatibility issues that can completely sabotage your carefully planned projects.
You’ll encounter brittle prints when chemically incompatible resins don’t crosslink properly, while uneven mixing creates inconsistent mechanical properties and localized color anomalies.
Common troubleshooting steps include:
- Test small batches for mechanical strength before committing to large prints
- Avoid mixing water-washable and standard resins due to markedly different properties
- Clean your LCD screen and resin tank regularly to prevent light blockage and failed layers
- Shake pigment cartridges thoroughly following manufacturer instructions for uniform distribution
Always verify resin compatibility and maintain proper exposure times to prevent uneven curing and structural weaknesses. If custom colored prints consistently fail to adhere or show weak layer bonding, conduct a dry run to verify your screen functionality before adjusting pigment ratios.
Frequently Asked Questions
Can I Mix Different Colored Resins Together to Create New Colors?
You can mix different colored resins together to create new colors, similar to mixing paints. Make certain they’re compatible types with similar curing properties, and thoroughly blend them before printing.
How Long Does Custom Colored Resin Last Before It Expires?
Your custom colored resin typically lasts 6-24 months before expiring, depending on storage conditions. You’ll maximize shelf life by keeping it sealed, cool, and away from UV light exposure.
Will Adding Pigments Void My SLA Printer’s Warranty?
Adding pigments to SLA resin will likely void your printer’s warranty. Manufacturers explicitly warn that altering resin composition can void coverage if issues arise from modifications, leaving you responsible for repair costs.
Can I Use Food Coloring or Acrylic Paint as Pigments?
You can use oil-based food coloring or acrylic paint sparingly, but they’ll likely interfere with UV curing. Water-based food coloring won’t mix properly. Specialized SLA resin dyes work better.
Do Darker Colors Require Longer Exposure Times Than Lighter Colors?
Yes, you’ll need longer exposure times for darker colors. Dark pigments absorb UV light that’s needed for curing, so they prevent proper polymerization unless you extend exposure duration considerably.


Leave a Reply