
You’ll need to clean your resin vat and filter resin after every print, then inspect and lubricate moving components weekly using isopropyl alcohol and light machine oil. Maintain your build platform daily, calibrate your printer regularly, and update firmware for peak performance. Perform monthly deep cleaning with compressed air, store resin in UV-resistant containers, and monitor component wear like FEP film clarity. These essential practices will maximize your printer’s lifespan and help you master advanced troubleshooting techniques.
Clean Your Resin Vat and Filter Resin After Every Print
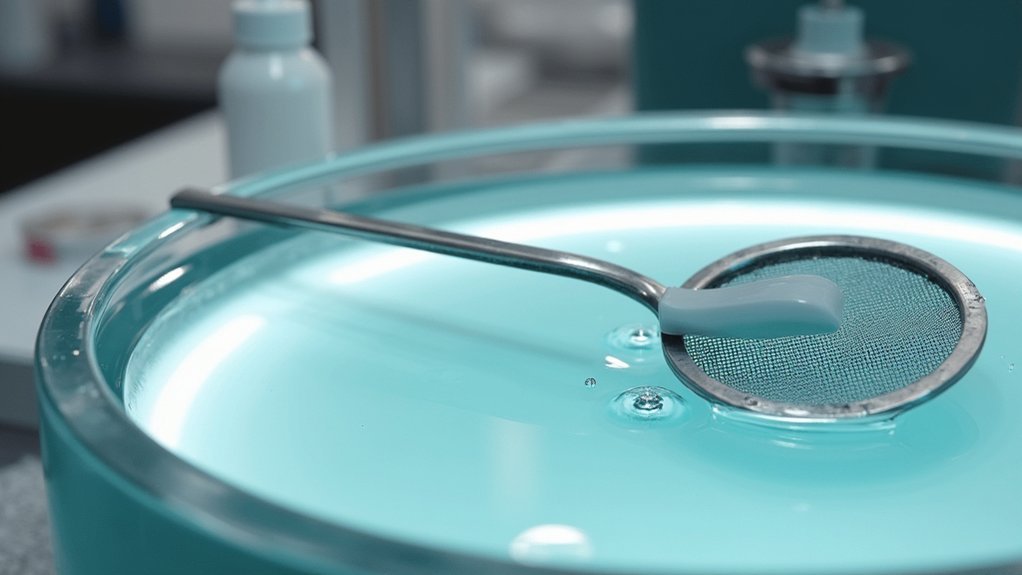
After completing each print, you’ll need to thoroughly clean your resin vat and filter any leftover resin to maintain ideal print quality and extend your equipment’s lifespan.
Use a plastic scraper to remove residual resin from all vat surfaces, then drain leftover resin into an opaque container to prevent light exposure. Filter the resin through a fine mesh strainer before storage—never return unfiltered resin to its original bottle.
Always scrape vat surfaces clean, drain resin into opaque containers, and filter before storage to prevent contamination.
Wipe the vat interior with a microfiber cloth dampened with 95% isopropyl alcohol to dissolve remaining resin.
For cured spots on the FEP film, apply IPA, let it soak, then gently peel off the cured layer. Avoid abrasive materials that could scratch surfaces and allow everything to dry completely before reassembly. After cleaning, check the FEP film for proper tension to ensure optimal performance during your next print session.
Inspect and Lubricate Moving Components Weekly
You’ll need to inspect your printer’s moving components weekly to prevent mechanical failures and maintain print quality.
Check the linear rails and guide rods for contamination, wear, or misalignment that could cause binding or poor motion.
Examine belt tension and apply manufacturer-specified lubricant to slides, lead screws, and rails to guarantee smooth operation. Clean any resin particles or debris from the moving parts using compressed air to maintain optimal performance.
Check Rails and Belts
Weekly inspection of your resin printer’s rails and belts prevents costly failures and maintains print quality throughout extended printing sessions.
Regular checks catch wear early, extending your printer’s lifespan while guaranteeing accurate layer registration.
Focus on these critical inspection points:
- Rails – Check for dirt, resin buildup, physical damage, and secure mounting while testing for smooth movement.
- Belts – Examine teeth for wear, verify proper tension, and ascertain pulleys are properly aligned.
- Cleanliness – Remove dust and debris using lint-free cloths and plastic scrapers to prevent friction.
- Movement testing – Manually move printer axes after cleaning to confirm unrestricted operation.
Replace belts immediately if you detect fraying, cracking, or missing teeth.
Avoid lubricating belts as this causes slippage and premature wear. Suboptimal belt tension can lead to layer shifting and reduced geometric accuracy in your prints.
Apply Proper Lubrication
Proper lubrication keeps your resin printer’s moving components operating smoothly and prevents premature wear that leads to print defects and mechanical failures.
You’ll need to lubricate linear rods, rails, bearings, lead screws, and Z-axis nuts weekly under normal use.
Before starting, power down and unplug your printer for safety.
Clean all moving parts with isopropyl alcohol and lint-free cloths to remove dust, resin residue, and old lubricants. Let surfaces dry completely before proceeding.
Apply light machine oil sparingly to rods, rails, screws, and bearings—avoid thick grease that attracts contaminants.
Manually move the printhead and bed to distribute lubricant evenly. During application, inspect parts for wear, scratches, or corrosion that might require replacement.
Monitor axis movement smoothness to detect any binding or resistance issues. Use PTFE lubricant specifically for Z-axis rods to ensure optimal performance and reduce grinding noises.
Maintain Your Build Platform and Prevent Nozzle Clogs
Your build platform’s condition directly impacts print success, making daily cleaning and proper leveling essential maintenance tasks.
You’ll need to establish consistent routines for removing resin residue with isopropyl alcohol while carefully calibrating platform height before each print session.
Preventing nozzle blockages requires regular cleaning of resin vats and filtering materials to remove cured particles that can disrupt your printing workflow. When maintenance issues persist, dedicated customer support can provide troubleshooting assistance to help resolve complex problems quickly.
Daily Platform Cleaning Routine
Establishing a consistent daily cleaning routine for your build platform prevents resin buildup that can lead to print defects and nozzle clogs.
You’ll maintain peak print quality by following these essential steps immediately after each print session.
Your daily cleaning routine should include:
- Solvent wash – Use IPA or TPM to wash the platform and surface for 5 minutes, ensuring complete dryness before next use
- Gentle wiping – Dampen a microfiber cloth with IPA to remove dust, light adhesive residues, and small contaminants
- Immediate cleaning – Clean platforms right after printing to prevent hardened resin accumulation
- Complete drying – Allow platforms to air dry completely in a clean environment before reinstallation
This routine minimizes cured resin flakes that could contaminate your resin vat or clog nozzles during future prints. If issues persist despite proper maintenance, consult troubleshooting guides or contact customer support for additional assistance with your specific printer model.
Regular Leveling Procedures
A well-leveled build platform forms the foundation of successful resin printing, directly impacting first-layer adhesion and preventing costly print failures. You’ll need to check leveling regularly and perform adjustments when prints show warping or separation issues.
Start by removing the resin vat and cleaning your build platform with isopropyl alcohol. Use an A4 paper sheet as a thickness gauge between the platform and screen. Navigate to manual controls and lower the platform until you feel slight resistance against the paper while still allowing movement.
| Step | Action |
|---|---|
| 1 | Insert paper between platform and screen |
| 2 | Lower platform until gentle contact |
| 3 | Adjust screws for even contact |
| 4 | Test multiple points with paper |
Tighten screws firmly without over-tightening to prevent warping. When securing the screws, use a crisscross method by alternating between opposite sides to ensure even pressure distribution across the build plate.
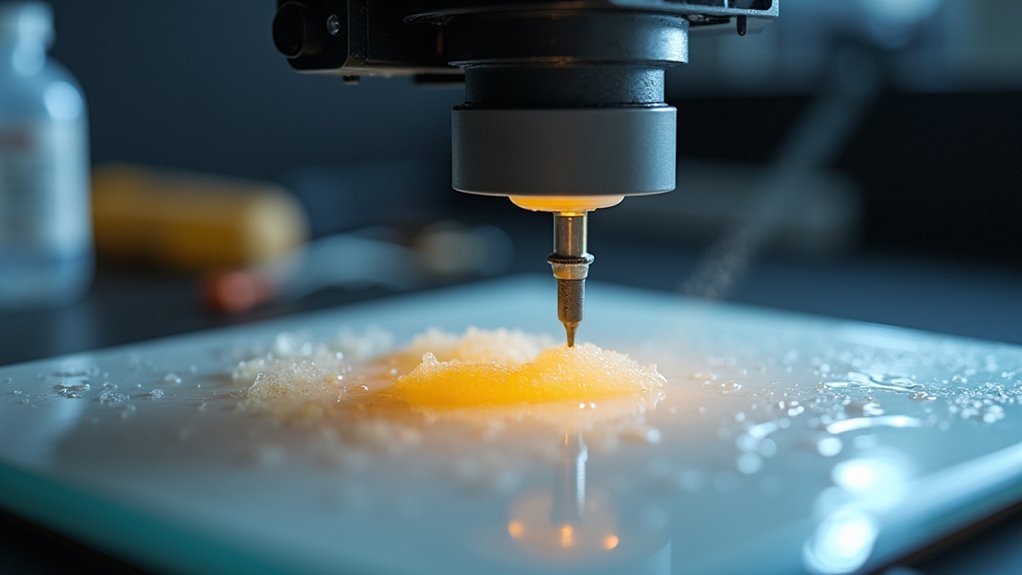
Nozzle Blockage Prevention
While nozzle blockages can derail your printing projects and waste valuable materials, implementing consistent preventive measures will keep your resin printer running smoothly.
You’ll need to focus on proper maintenance routines and quality control practices.
Essential Prevention Strategies:
- Use high-quality resins from reputable manufacturers and store them in airtight containers with desiccants to prevent moisture absorption and contamination.
- Perform daily visual inspections of your nozzle and build platform, removing any visible debris or cured resin that’s accumulated.
- Maintain proper temperature control by preheating your nozzle to correct printing temperatures and avoiding excessive heat that damages components.
- Conduct bi-weekly deep cleaning using appropriate solvents and careful unclogging techniques with fine needles or specialized cleaning tools.
These proactive steps prevent costly downtime and material waste. Establishing a regular maintenance routine helps prevent future blockages and improves print quality significantly.
Calibrate Your Printer and Update Firmware Regularly
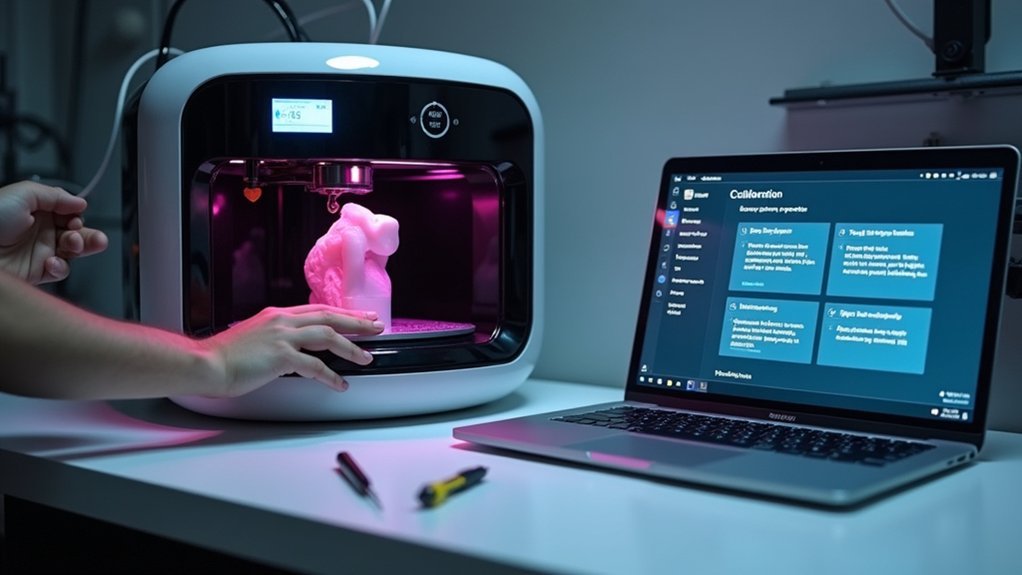
Since resin printers rely on precise light exposure and mechanical positioning to create detailed prints, regular calibration becomes essential for maintaining print quality and preventing costly failures.
Start by leveling your build plate to guarantee proper parallelism with the printing surface. Next, perform exposure calibration by printing test patterns with varying exposure times to identify ideal settings for your specific resin. Adjust the Z-axis offset to control initial layer height and curing thickness.
You’ll need to recalibrate when changing resin types, relocating your printer, or replacing components. Additionally, ensure your resin reaches proper room temperature before printing, as cold resin increases viscosity and affects exposure requirements.
Don’t forget firmware updates—they improve calibration algorithms, fix bugs affecting movement precision, and enhance compatibility with newer resin profiles. Schedule regular calibration checks before major projects to catch mechanical wear.
Perform Monthly Deep Cleaning and Dust Removal
Monthly deep cleaning prevents resin buildup and dust accumulation that can compromise your printer’s performance and print quality.
This thorough maintenance routine involves several critical steps that’ll extend your printer’s lifespan and guarantee consistent results.
Focus on these essential deep cleaning tasks:
- Clean the resin vat and build plate – Remove the vat monthly and soak it in isopropyl alcohol, then gently clean the build plate with IPA using microfiber cloths.
- Remove internal dust and particles – Use compressed air to blow out dust from vents, fans, and internal components without disassembling critical elements.
- Lubricate mechanical components – Apply PTFE-based oils to Z-axis rods and inspect belts, screws, and rails for wear.
- Maintain UV light and LCD screen – Clean the LCD screen with IPA and verify consistent UV curing strength.
Additionally, check for firmware updates monthly to improve performance and optimize your printer’s functionality with the latest software enhancements.
Store Resin Properly and Follow Safety Protocols
Beyond maintaining your printer’s physical components, how you store and handle resin directly impacts both your safety and print quality.
Store resin in opaque, UV-resistant bottles between 5°C to 30°C, keeping containers tightly sealed with minimal air headspace. Shake bottles every two weeks to prevent component settling.
Proper resin storage requires opaque containers, controlled temperatures, sealed bottles, and regular shaking to maintain quality and prevent settling.
Never return unused resin from printer vats to original bottles, as this causes contamination. Always wear gloves and safety glasses when handling resin, ensuring proper ventilation in your workspace.
Clean tools with isopropyl alcohol followed by soap and water. Cover resin vats with UV-proof lids when not printing to extend usability up to two months. Remove jewelry before handling uncured materials to prevent contamination.
Keep safety data sheets accessible and dispose of expired resin according to local regulations.
Monitor Component Wear and Replace Parts When Needed
While proper resin storage protects your materials, monitoring your printer’s physical components guarantees consistent performance and prevents costly breakdowns. Your FEP sheet requires regular inspection for stretching, scratches, or cloudiness that’ll cause print failures. Replace it immediately when you notice transparency loss or visible damage.
Check these key wear indicators regularly:
- Film clarity – Clouded or scratched FEP/NFEP films reduce light transmission
- Movement resistance – Unusual noises or sticky axis movement signals lubrication needs
- Sensor accuracy – False readings from Z-axis or resin level sensors cause misalignments
- Electronic connections – Corroded wiring from resin exposure creates performance issues
Establish inspection intervals based on your usage frequency. Clean resin spills promptly to prevent mechanical buildup, and maintain detailed logs of component symptoms to identify worn parts before they cause printer failure. Monitor your build plate evenness using a straight edge and flashlight to ensure proper first layer adhesion.
Frequently Asked Questions
How Long Can I Leave Resin Sitting in the Vat Between Prints?
You can safely leave resin in the vat for 1-2 days if it’s covered and UV-protected. Under ideal dark, cool conditions, it’ll last up to two months without degrading.
What Temperature Should I Store My Resin Printer in During Winter?
You should store your resin printer between 64-82°F during winter. Avoid unheated garages or basements where temperatures drop below this range, as cold conditions affect resin viscosity and printing quality markedly.
Can I Mix Different Brands of Resin in the Same Vat?
You shouldn’t mix different brands of resin directly in your printer’s vat due to chemical incompatibility risks. Instead, mix them thoroughly in a separate container first to avoid contamination and potential equipment damage.
How Do I Know When My FEP Film Needs Replacement?
You’ll know your FEP film needs replacement when you see severe scratches, cloudiness, holes, or tension loss. Test prints showing poor quality or resin leaking underneath also indicate it’s time.
Is It Safe to Run My Resin Printer Overnight Unattended?
Running your resin printer overnight unattended isn’t recommended due to fire risks from overheating, toxic fume buildup, and potential component failures. You’ll need proper ventilation, thermal protection, and remote monitoring for safer operation.

Leave a Reply