You’ll start by soaking your SLA prints in isopropyl alcohol to dissolve uncured resin, then carefully remove support structures using flush cutters and tweezers. Next, you’ll UV cure your parts for 30 minutes to 2 hours at 405nm wavelength to complete polymerization and achieve ideal strength. Sand progressively from 220-grit to finer grits for smooth surfaces, then apply protective coatings to prevent UV damage and yellowing. This thorough workflow below covers advanced techniques for professional-grade results.
Initial Cleaning and Resin Removal Techniques
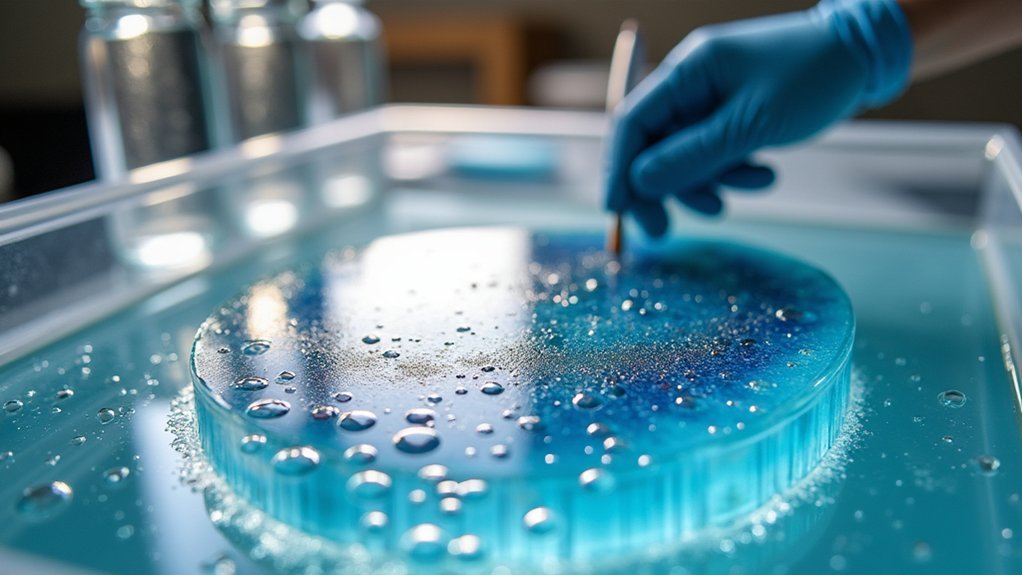
After your SLA printer finishes creating a part, you’ll face the critical task of removing uncured resin from its surface—a step that directly impacts your final part quality and safety.
You have several effective approaches at your disposal.
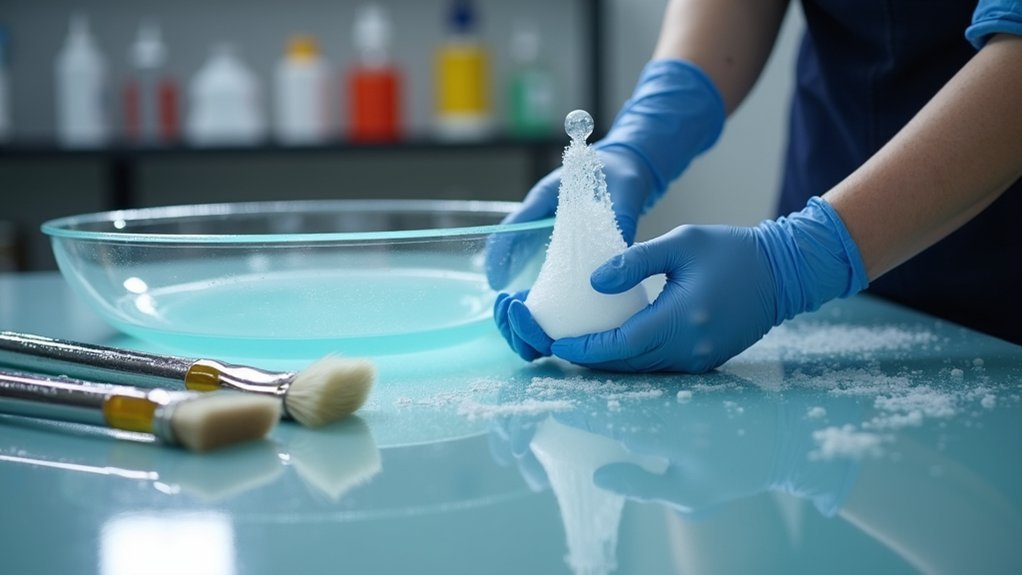
For manual cleaning, you’ll typically soak your parts in isopropyl alcohol or ether, then agitate them to dissolve excess resin. You can enhance this process using brushes or soft tools to dislodge stubborn residues.
Always wear gloves and protective equipment since uncured resin shouldn’t contact your skin.
Alternatively, you can use automated systems like PostProcess Technologies’ machines, which employ Submersed Vortex Cavitation technology. These systems complete hands-free cleaning within 5-10 minutes while reducing your exposure to chemicals and delivering consistent results. To ensure thorough cleaning, consider implementing a two-wash method where you first use a ‘dirty’ wash solution followed by a ‘clean’ wash solution.
Support Structure Removal and Surface Preparation
With your SLA parts thoroughly cleaned of uncured resin, you’ll need to tackle the equally important task of removing support structures.
Use flush cutters or scalpel blades for mechanical separation, taking care around thin walls and delicate features. Tweezers help remove small remnants without damaging surfaces.
Precision tools like flush cutters and tweezers ensure clean support removal while protecting delicate print features from damage.
You can optimize future prints by increasing Z-contact distance or adding interface layers with alternating patterns to reduce bond strength. This makes removal cleaner and easier.
After removing supports, inspect for residual nubs or tears. Sand or file contact points to restore smoothness, then clean with isopropyl alcohol to remove debris.
Work in well-lit areas and handle sharp tools carefully to prevent injury while preserving your print’s surface integrity. If you encounter persistent issues during this process, consult the knowledge base for detailed troubleshooting guides and video tutorials.
UV Post-Curing Process and Equipment
Once you’ve cleaned and removed supports from your SLA print, UV post-curing becomes essential for achieving ideal material properties.
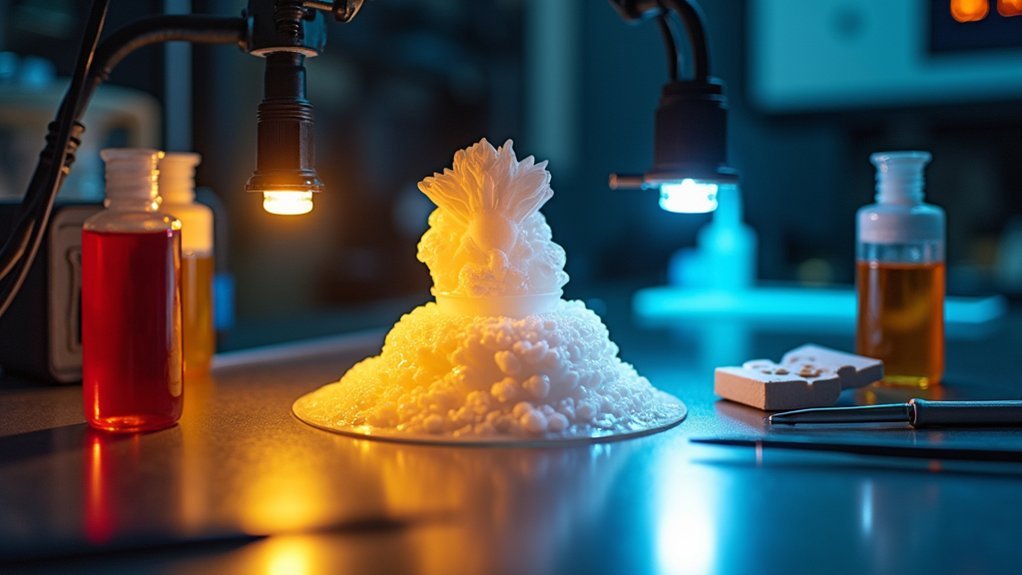
Post-curing combines heat and light to complete polymerization, activating photoinitiators that create permanent cross-links in your polymer network.
You’ll get best results using 405 nm UV wavelength, matching your printer’s laser. Curing times typically range from 30 minutes to 2 hours depending on your resin type.
Combining UV exposure with heat at 60-80°C considerably improves tensile strength and durability compared to UV alone.
Dedicated curing stations offer controlled wavelength, intensity, and temperature for consistent results. Post-curing also reduces part tackiness, making sanding and painting processes much easier to handle.
Professional units like Form Cure include rotating platforms ensuring even exposure.
While DIY setups using nail lamps exist, they risk uneven curing and incomplete polymerization.
Sanding and Surface Smoothing Methods
Transform your UV-cured SLA print’s surface quality through systematic sanding and smoothing techniques that eliminate layer lines, support marks, and surface imperfections.
Start with 220-grit sandpaper to remove support marks, then progress through 320-400 grit for medium smoothing. Use 600-800 grit to prepare surfaces for painting, finishing with 1000-2000 grit for mirror-like smoothness.
Use sanding blocks on flat surfaces and flexible tools for curved areas. Wet sanding reduces dust and improves control, especially with finer grits. Clean prints between stages to prevent scratching.
For additional smoothness, apply thin resin coats after light 400-grit sanding—the resin’s self-leveling properties fill microscopic imperfections. Consider investing in a small Dremel sander for more efficient material removal and consistent results.
Always wear protective equipment and work in ventilated areas when sanding resin prints.
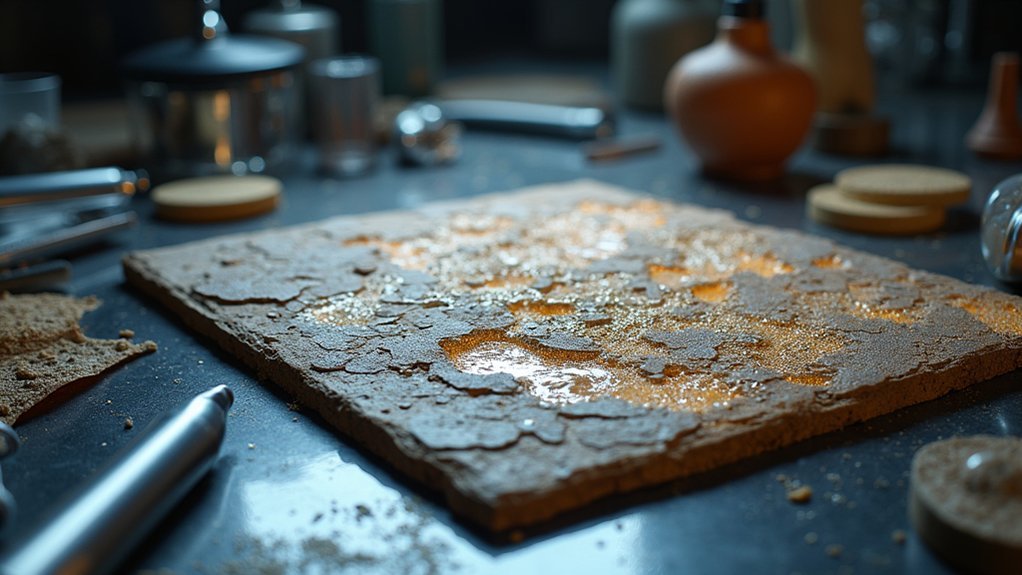
Media Blasting and Texture Enhancement
You’ll need to select the right blasting media based on your part’s delicacy and desired finish quality.
Your equipment setup requires proper pressure calibration and nozzle positioning to achieve consistent results across the entire surface.
You can control surface texture by adjusting blasting duration, air pressure, and media type to match your specific finishing requirements. Media blasting effectively removes support marks and other surface imperfections from your SLA printed parts.
Media Types and Selection
The success of your media blasting process hinges on selecting the right abrasive material for your specific SLA resin parts and desired surface finish.
You’ll need to match media hardness to your resin’s durability while considering particle size and shape for ideal results.
Here are three critical selection factors:
- Material hardness compatibility – Use glass beads for delicate parts, aluminum oxide for aggressive cleaning, and walnut shell for fragile features.
- Particle size impact – Choose smaller particles for fine textures and larger ones for increased surface roughness.
- End-use requirements – Select round beads like plastic for smooth polishing or angular media like aluminum oxide for enhanced coating adhesion.
Your part geometry also influences media choice, ensuring uniform treatment without clogging complex shapes. Media blasting effectively removes support marks that would otherwise require extensive manual finishing, particularly on curved surfaces where sanding proves challenging.
Blasting Equipment Setup
Proper equipment configuration sets the foundation for successful media blasting of your SLA resin parts.
You’ll need a sandblasting cabinet or dedicated booth to contain abrasive media and protect your workspace. Match your air compressor to deliver 20-90 psi, adjusting pressure based on your resin’s sensitivity. Choose a media blasting gun with adjustable nozzle sizes to control flow and coverage over fine print details.
Install proper ventilation or dust collection systems to manage aerosolized particulates during operation. Implement grounding and anti-static measures to prevent static buildup from resin parts or blasting media. Configure your system with automated routines to achieve consistent cleaning results and reduce manual operator intervention.
Regular maintenance keeps your equipment running efficiently—clean blast cabinets and guns prevent clogging, replace air filters for consistent pressure, and inspect nozzles for wear that degrades velocity and coverage uniformity.
Surface Texture Control
Once you’ve configured your blasting equipment correctly, achieving the desired surface texture becomes your next priority.
You’ll need to carefully control pressure, distance, and media type to avoid damaging delicate SLA parts or eroding detailed features. Glass beads produce fine, matte finishes while aluminum oxide handles rougher surfaces more aggressively.
Key steps for ideal texture control:
- Start conservatively – Begin with lower pressure and greater distance, then gradually adjust parameters based on results.
- Match media to geometry – Use finer media for intricate details and coarser options for removing support marks efficiently.
- Clean thoroughly post-blasting – Remove all residual abrasive particles to prevent contamination during subsequent finishing or painting processes.
Media blasting excels where hand sanding can’t reach, like deep crevices or internal supports. Always maintain proper ventilation when media blasting to ensure safe working conditions and avoid inhaling particles.
Coating Applications and Protective Finishes
You’ll need protective finishes to shield your SLA prints from UV damage, wear, and environmental degradation while enhancing their appearance.
Clear coatings like acrylic sprays offer excellent surface protection, while metal plating provides durability and a premium finish for functional parts. These finishes are particularly valuable for aerospace and automotive components where both protection and performance are critical.
Proper paint adhesion requires specific surface preparation techniques that guarantee your chosen coating bonds effectively without compromising dimensional accuracy.
Clear Protective Coatings
Clear protective coatings transform SLA resin prints by preserving transparency, preventing yellowing, and adding essential protection against scratches and environmental damage.
You’ll find several coating options including UV-resistant sprays, epoxy coatings, and specialized products like XTC-3D™ that smooth surfaces while sealing prints.
Application Methods:
- Brushing – Mix two-part coatings and apply thin, even layers to avoid runs that reduce clarity.
- Spraying – Use aerosol clear coats for smooth distribution on delicate translucent parts with quick drying times.
- Dipping – Submerge parts in clear resin followed by UV curing for uniform protective films.
Before coating, sand and buff surfaces to improve adhesion and optical clarity.
Apply multiple thin coats rather than one thick application to prevent cloudiness. Coating methods work effectively for concealing layer lines that are visible on 3D printed surfaces.
Consider coating compatibility with your resin type and UV stability for long-term clarity retention.
Metal Plating Options
While standard protective coatings offer surface enhancement, metal plating transforms your SLA resin prints into durable, functional components with superior strength and professional aesthetics.
You’ll have two primary techniques: electroplating, which uses electrical current to deposit metal ions onto your part’s surface, and electroless plating, which relies on chemical reduction baths without electricity.
Electroless plating works exceptionally well for non-conductive SLA parts, offering all-over coverage (40-2000 micro-inches) or selective placement (40-400 micro-inches). Common metals include copper and nickel, which enhance mechanical strength while adding minimal weight.
Proper surface preparation remains critical—you’ll need thorough cleaning, degreasing, and potentially roughening surfaces. The SLA printing process creates smooth surfaces that are particularly well-suited for achieving high-quality electroplated finishes.
Metal plating provides excellent corrosion resistance, thermal conductivity, electrical shielding, and enables secondary finishing like polishing for premium appearances.
Paint Adhesion Methods
Achieving professional paint finishes on your SLA resin prints requires meticulous surface preparation and proper application techniques.
You’ll need to remove all support structures completely, then lightly sand with 220-grit sandpaper to smooth surfaces. Clean thoroughly with IPA to eliminate dust and oils that prevent proper adhesion.
Apply primer designed for plastic-like surfaces using multiple thin spray coats in a dust-free environment. Wait for complete drying between applications to prevent bubbling or peeling. Inspect the surface after the initial primer coat to identify any remaining imperfections that may require additional sanding.
For ideal paint application:
- Use spray methods – Apply multiple thin coats with aerosol or airbrush rather than thick single applications
- Allow proper curing time – Let each coat dry completely before adding the next layer
- Light sand between coats – Gently sand to improve mechanical bonding and final smoothness
Safety Protocols and Environmental Considerations
Proper safety protocols form the foundation of successful resin SLA post-processing, protecting both you and your environment from potential hazards.
You’ll need essential PPE including nitrile gloves, safety glasses, and respirator masks to prevent skin contact, eye injuries, and inhalation of toxic fumes. Never eat, drink, or smoke in processing areas, and always use tools rather than bare hands when handling prints.
Ensure adequate ventilation through fume hoods or exhaust systems to capture hazardous vapors. Work in well-ventilated spaces and avoid confined rooms during processing.
Properly manage waste by collecting contaminated materials separately, curing leftover resin before disposal, and following local hazardous waste regulations. For complex disposal questions or challenging situations, consult customer support for guidance on proper procedures.
Keep Safety Data Sheets accessible and know emergency procedures for skin or eye contact with uncured resin.
Advanced Finishing Techniques and Heat Treatment
Transforming your cured SLA prints from functional prototypes into professional-grade parts requires mastering advanced finishing techniques that go far beyond basic cleaning and UV curing.
You’ll discover that media blasting provides an excellent starting point, gently abrading surfaces to improve both appearance and mechanical properties with minimal skill investment.
For superior durability, consider these advanced coating options:
- Ceramic coating – Enhances mechanical strength, UV resistance, and color vibrancy while requiring higher skill levels.
- Electroplating – Adds metal properties like conductivity and corrosion resistance, leveraging SLA’s smooth, watertight surface.
- Acrylic painting – Provides cost-effective color customization with improved UV and chemical protection.
Vapor smoothing techniques offer another powerful approach, using controlled solvent exposure to create glossy finishes while reducing micro-defects and layer visibility. These advanced methods require thorough reassessment using profilometry and microscopy to confirm the desired surface finish standards are achieved after processing.
Quality Control and Final Inspection Standards
While your SLA parts may look perfect fresh from advanced finishing treatments, establishing rigorous quality control standards guarantees they’ll meet both cosmetic and functional requirements.
Start with thorough surface quality assessment, checking for layer lines, support marks, and residual uncured resin that creates tackiness. Perform dimensional verification against design tolerances, typically within ±0.1mm for SLA parts.
Conduct visual inspections for discoloration, cracks, or bubbles that indicate processing issues. Test fit and assembly compatibility if parts integrate into larger systems.
Use microscopy or surface profilometry for high-precision evaluation of micro-scale features when needed. Validate post-curing effectiveness through tensile strength and hardness testing. Always wear gloves and eye protection when handling parts during quality control procedures to maintain safety standards.
Document any defects systematically to improve your process. These quality control measures guarantee consistent part performance and prevent costly failures downstream.
Frequently Asked Questions
Can I Reuse IPA Washing Solution Multiple Times Before Disposal?
Yes, you can reuse IPA washing solution multiple times before disposal. Its effectiveness gradually diminishes as resin dissolves into it. Replace it when it becomes visibly murky or fails to clean prints properly.
What’s the Shelf Life of Uncured Resin Prints Before Post-Processing?
You’ve got about 6-12 months for sealed resin bottles, but once exposed to air or light, you’re looking at just weeks. Store prints in cool, dark places to maximize shelf life.
How Do I Prevent Fingerprints During Handling Between Processing Steps?
Wear nitrile gloves and handle prints by edges or support structures only. Use clean tweezers or tools instead of direct contact. Immediately wipe any contamination with isopropyl alcohol using lint-free cloths.
Can Different Resin Types Be Post-Processed Using the Same Equipment?
You can use the same equipment for different resins only if they share compatible curing wavelengths and temperature requirements. Check your equipment’s specifications match each resin’s post-curing parameters for ideal results.
What’s the Maximum Storage Time for Washed Parts Before UV Curing?
You should cure washed resin parts immediately or within 1-2 hours maximum. Longer delays cause surface tackiness, reduced mechanical strength, and contamination risks that’ll compromise your final part quality.
Leave a Reply