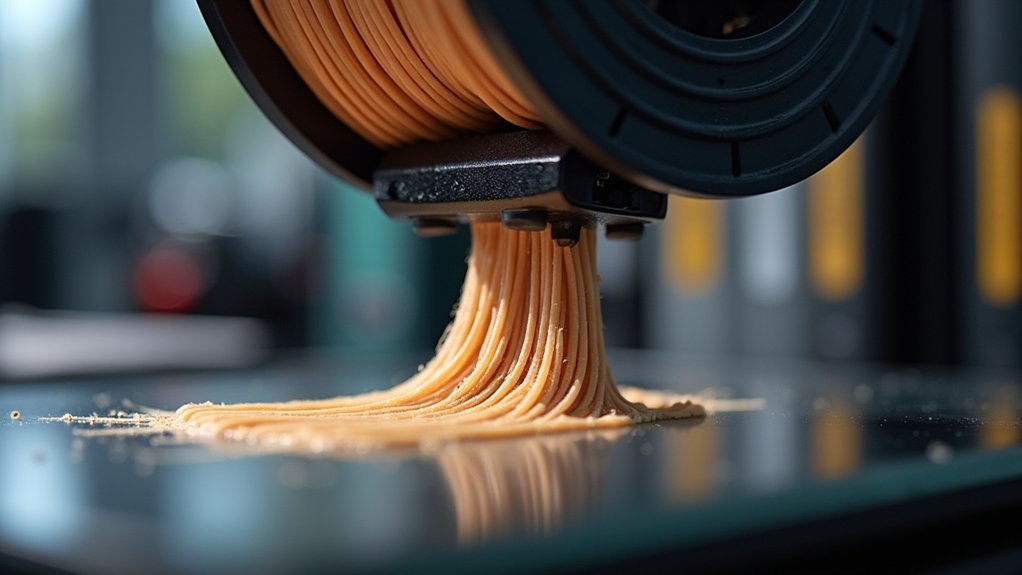
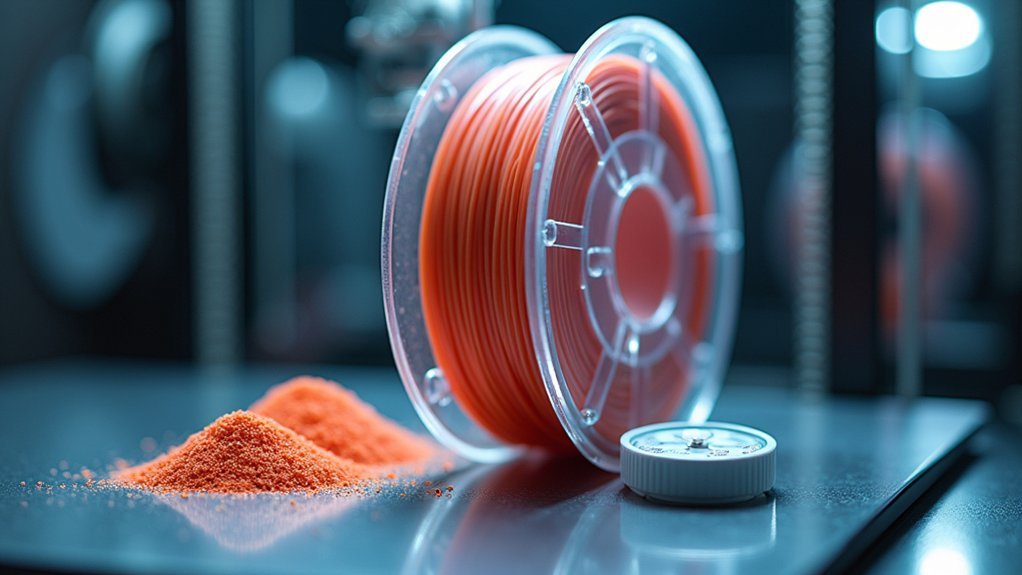
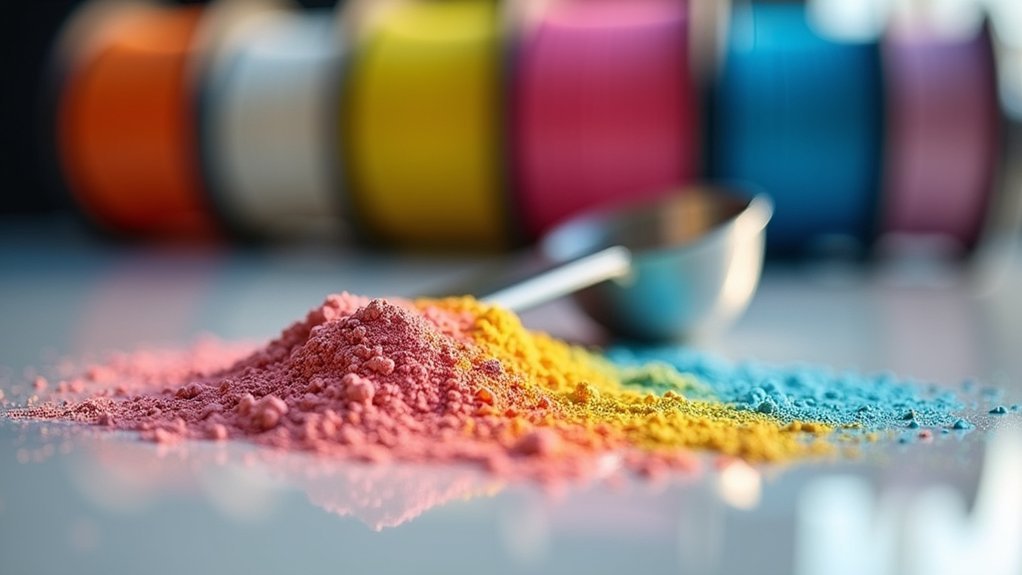
You’ll want to focus on three key areas for successful protein powder printing filament. First, maintain a 60% protein to 40% binder ratio to guarantee smooth flow and prevent extruder clogs. Second, control your extruder temperature between 160-220°C to avoid heat degradation while testing bed temperatures from 50-70°C for better adhesion. Third, store your filament in airtight containers with desiccant packs since protein filaments absorb moisture more than traditional plastics. Master these fundamentals and you’ll discover advanced techniques that transform your printing results.
Achieving Optimal Protein-to-Binder Ratios for Consistent Extrusion

When you’re formulating protein powder filament, achieving the right protein-to-binder ratio becomes your foundation for successful 3D printing.
Start with a 60% protein to 40% binder ratio as your baseline for ideal flow characteristics. This proportion guarantees your filament won’t clog your extruder while maintaining structural integrity.
The 60-40 protein-to-binder ratio serves as your starting point for preventing extruder clogs while preserving filament strength.
You’ll need to adjust this ratio based on your specific protein source and desired mechanical properties. Different proteins behave uniquely during extrusion, so don’t expect one formula to work for everything.
Test small batches first, gradually modifying the ratio until you achieve smooth, consistent flow.
Remember that your printed protein product’s final quality depends heavily on getting this balance right. Too much protein creates brittleness; too much binder compromises nutritional value and structural strength.
Temperature Control Strategies for Protein-Based Filament Processing
Since protein molecules are particularly sensitive to heat degradation, you’ll need to carefully manage your extruder temperature between 160-220°C to maintain both nutritional value and printability.
Start by experimenting with bed temperatures from 50-70°C to improve adhesion and prevent warping of your printed food creations.
Use a cooling fan to solidify the material quickly, which preserves fine details and dimensional accuracy in your protein prints.
Conduct temperature tower tests to identify ideal settings for each specific protein filament you’re working with. This guarantees consistent performance across different materials.
Regular calibration and monitoring during printing prevents common issues like clogging and uneven extrusion.
These proactive measures will help you achieve reliable, high-quality protein-based printed food products.
Moisture Management Techniques to Prevent Clogging and Improve Print Quality

Because protein-based filaments absorb moisture more readily than traditional plastics, you’ll need to implement robust storage and drying protocols to maintain consistent print quality.
Store your filament in airtight containers with desiccant packs to prevent humidity-related clogs and degradation. Watch for moisture indicators like brittleness or bubbling during extrusion—these signal immediate drying needs.
Use a dedicated filament dryer or set your oven to 50°C for several hours to remove absorbed moisture before printing. You can also invest in moisture-resistant filament materials specifically engineered for humid environments.
During printing, verify your feeding mechanism maintains consistent flow rates, as moisture exposure causes diameter fluctuations that lead to clogs and inconsistent extrusion throughout your print job.
Frequently Asked Questions
Why Is My Filament Not Printing Smoothly?
Your filament isn’t printing smoothly because you’ve got a clogged nozzle, wrong temperature settings, moisture in your filament, incorrect diameter measurements, or poor bed adhesion that’s causing uneven extrusion.
Can You 3D Print Proteins?
You can’t 3D print actual proteins directly, but you can create protein-fortified foods using 3D printing technology. Researchers are developing edible inks containing alternative proteins from insects and algae.
What Temperature Do You Print PP Filaments?
You’ll want to set your nozzle temperature between 220°C to 250°C for PP filaments. Don’t forget to heat your bed to 60°C-80°C and adjust your print speed to 40-60 mm/s for ideal results.
How to Get Stronger PETG Prints?
You’ll strengthen PETG prints by using a heated bed at 70-80°C, printing at 220-250°C, reducing speed to 30-50 mm/s, and increasing infill density to 40-60% for better layer adhesion.


Leave a Reply