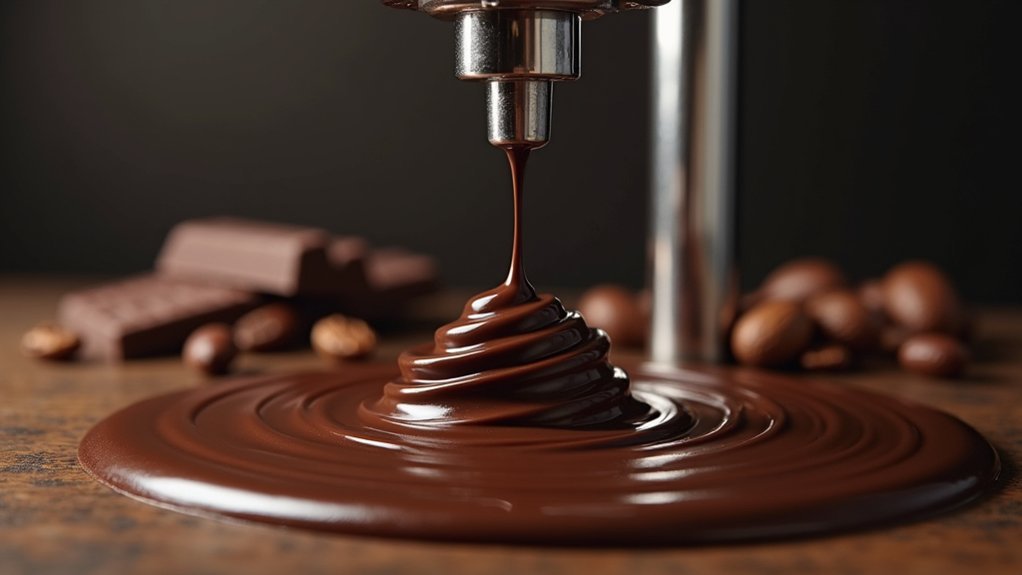
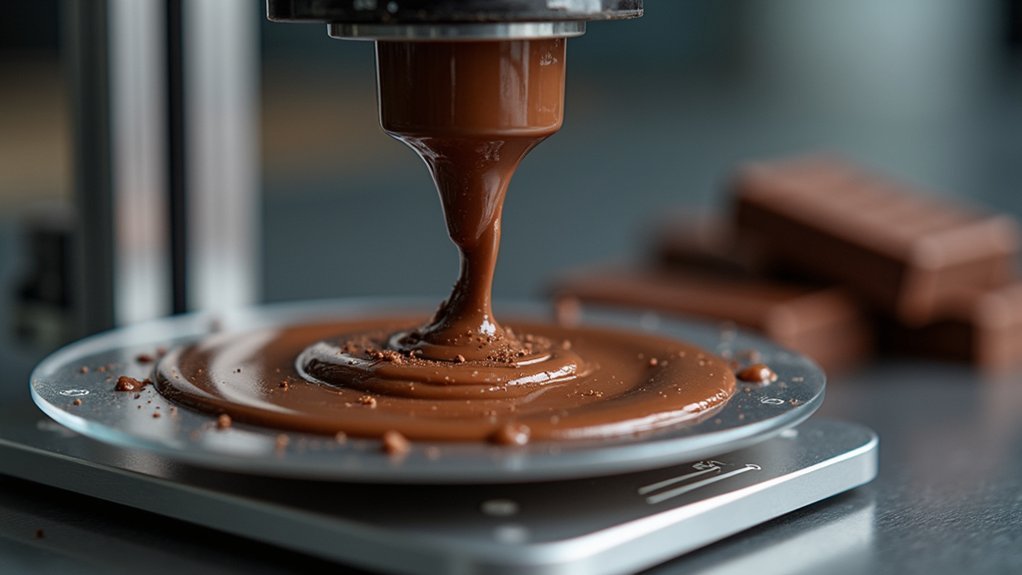
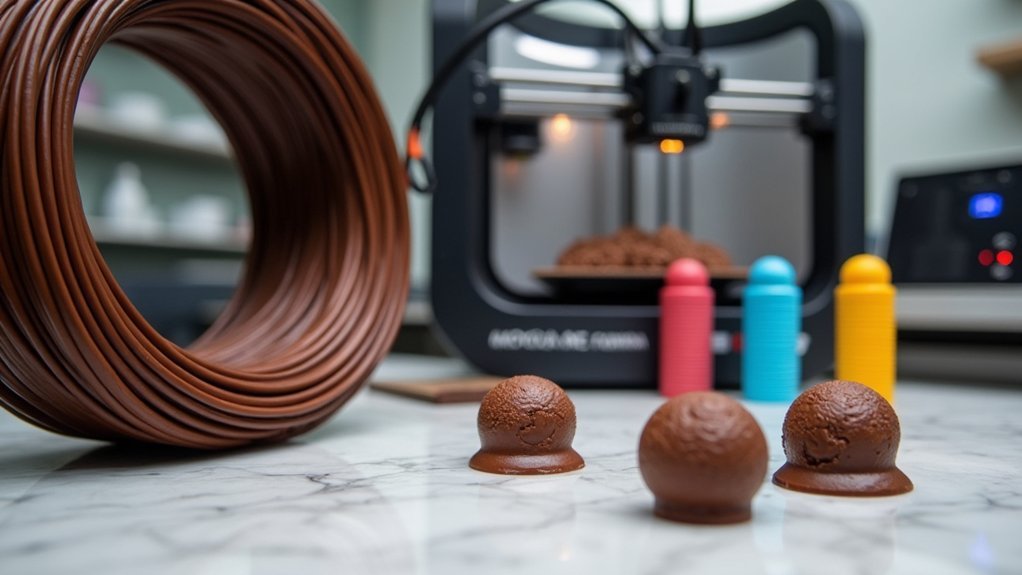
You’ll achieve professional-quality chocolate 3D prints by selecting couverture chocolate with 31-39% cocoa butter content and maintaining precise temperatures: 45-50°C for dark chocolate, 40-45°C for milk varieties. Store materials in cool, dry conditions between 15-20°C in airtight containers. Choose dark chocolate for superior structural integrity, while avoiding white chocolate’s excessive fluidity. Adjust your slicer settings for chocolate compatibility and guarantee food-grade certification. Master these fundamentals to access advanced techniques that’ll transform your edible creations.
Choose High-Quality Couverture Chocolate for Optimal Flow

When selecting chocolate for 3D printing, you’ll want to choose high-quality couverture chocolate that contains 31-39% cocoa butter content for ideal flow characteristics.
This higher cocoa butter percentage guarantees smooth extrusion and superior layer adhesion, allowing you to create intricate designs with precise detail retention.
Before printing, you should temper your couverture chocolate to maintain proper viscosity and prevent consistency issues during extrusion.
Tempering your couverture chocolate is essential for achieving optimal viscosity and preventing extrusion problems during the 3D printing process.
Look for brands that specifically indicate 3D printing compatibility, as these often feature specialized formulations designed for enhanced flow properties.
Store your couverture chocolate at controlled temperatures between 18-20°C to prevent blooming and texture problems that could compromise your printing results.
Proper storage guarantees consistent performance and maintains the chocolate’s ideal printing characteristics throughout your projects.
Temperature Control Requirements for Different Chocolate Types
Beyond selecting the right chocolate, you’ll need to master precise temperature control for each chocolate type to achieve successful 3D printing results.
Dark chocolate requires heating to 45-50°C (113-122°F), while milk and white chocolate need lower temperatures of 40-45°C (104-113°F) for proper flow. Exceeding these ranges can scorch your chocolate and ruin print quality.
- Dark chocolate melts at 45-50°C but scorches above 50°C
- Milk and white chocolate require gentler 40-45°C heating temperatures
- Post-extrusion cooling needs 30-35°C to maintain structural integrity
- Dark chocolate solidifies faster than milk varieties due to lower fat content
- Controlled cooling systems help maintain ideal temperatures throughout printing
Temperature control determines whether your chocolate maintains proper consistency for successful layer adhesion and final product quality.
Fat Content Considerations for Smooth Extrusion

Fat content directly influences your chocolate’s viscosity and flow characteristics, making it one of the most critical factors for achieving smooth extrusion in 3D printing.
You’ll want to target a fat content between 30-40% to guarantee your chocolate remains liquid enough for extrusion while maintaining structural integrity after cooling.
If you’re using couverture chocolate with higher cocoa butter content, monitor temperature closely to prevent overheating.
You can enhance flow properties by adding chocolates with vegetable fats like palm oil, which improve extrusion performance.
For complex designs requiring fine details, mix your chocolate with small amounts of cocoa butter to achieve ideal consistency.
This adjustment helps create smoother extrusion, especially when working with intricate patterns that demand precise material flow.
Selecting Food-Safe Chocolate Filaments and Cartridges
When you’re choosing chocolate materials for 3D printing, you’ll need to ascertain they carry proper food-grade certification from organizations like the USDA.
Look for chocolate cartridges that can withstand your printer’s operating temperatures without compromising their structural integrity or safety standards.
You’ll also want to confirm the cartridges are compatible with your specific 3D printer model to guarantee reliable extrusion and consistent results.
Food-Grade Material Certification
Although chocolate 3D printing opens exciting culinary possibilities, you’ll need to prioritize food-grade material certification to confirm your printed creations are safe for consumption.
Understanding proper certification confirms your materials meet rigorous food safety standards. Many manufacturers advertise “USDA food-grade” status, but this often applies only to raw materials—not the finished printed product. You must verify that regulatory bodies like the FDA have certified your specific filaments for direct food contact.
Key certification considerations include:
- FDA approval for direct food contact applications
- Temperature resistance suitable for chocolate printing requirements
- Material composition verified as non-toxic for consumption
- Sterilization capability for thorough cleaning between uses
- Post-processing requirements like food-grade sealants for porous surfaces
PETG stands out as an excellent choice since it withstands sterilization and higher temperatures essential for safe chocolate printing.
Temperature-Resistant Chocolate Cartridges
Beyond certification requirements, you’ll need to select chocolate cartridges engineered specifically for 3D printing’s demanding temperature conditions.
Maintain temperatures between 30°C and 35°C to prevent burning while ensuring proper flow through your printer’s extrusion system. Choose cartridges containing high-quality couverture chocolate rather than standard chocolate chips, as the higher cocoa butter content delivers smoother extrusions and superior flavor profiles.
Verify your chocolate cartridges are free from vegetable fats and artificial additives that can compromise taste and texture. Consider each brand’s printability characteristics—some excel at complex geometries while others work better for larger, simpler designs.
Always confirm compatibility with your specific printer model, as different extrusion mechanisms and temperature controls can’t handle every cartridge type effectively.
Dark Vs Milk Vs White Chocolate Performance Differences

Since each type of chocolate brings distinct properties to the 3D printing process, you’ll find that dark, milk, and white chocolates perform dramatically differently during fabrication.
Dark chocolate delivers superior results with its higher cocoa content providing excellent structural integrity and detail retention.
You’ll need higher extrusion temperatures around 40-45°C, but you’ll benefit from faster solidification and better layer adhesion.
Milk chocolate presents moderate challenges due to increased sugar and milk solids, creating softer consistency and less precise prints.
You’ll work with lower temperatures around 35-40°C but experience longer cooling times.
White chocolate proves most difficult, lacking cocoa solids while containing higher fat content.
This combination makes it excessively fluid, causing shape loss before proper solidification occurs.
- Dark chocolate offers best structural integrity and detail retention
- Milk chocolate requires lower printing temperatures but produces softer results
- White chocolate becomes too fluid due to high fat content
- Dark chocolate solidifies fastest, enabling quicker layer adhesion
- Temperature control varies considerably between each chocolate type
Additives That Improve Chocolate Printability
You can considerably improve your chocolate’s 3D printing performance by incorporating specific additives that enhance flow and stability.
Lecithin acts as an emulsifier to reduce viscosity and eliminate air bubbles, while adjusting cocoa butter ratios helps you achieve ideal flow characteristics during extrusion.
Temperature stabilizing agents guarantee your chocolate maintains consistent properties throughout the printing process, preventing warping and layer adhesion issues.
Lecithin for Flow Enhancement
When you’re looking to improve your chocolate’s printability, lecithin stands out as one of the most effective and widely-used additives in 3D chocolate printing.
This emulsifier reduces your chocolate’s viscosity, enabling smoother extrusion through printer nozzles while maintaining the liquid state during printing. You’ll find that lecithin enhances layer adhesion, which is essential for achieving detailed and complex designs.
- Use concentrations between 0.5% to 2% by weight for best results
- Choose food-grade soy or sunflower lecithin for broad compatibility
- Expect improved flowability without compromising chocolate flavor
- Achieve glossy finishes and enhanced texture in final products
- Benefit from cost-effective printability enhancement
Lecithin transforms challenging chocolate formulations into printer-friendly materials, making your 3D printing projects more successful and professional-looking.
Cocoa Butter Ratios
Mastering cocoa butter ratios reveals exceptional printability in your chocolate formulations, transforming difficult-to-extrude mixtures into smooth, flowing materials that respond beautifully to 3D printing demands.
Start with 5-10% cocoa butter by total chocolate weight to maintain liquid consistency without sacrificing flavor integrity. Higher cocoa butter content lowers melting points, keeping your material printable longer while preventing excessive runniness during extrusion.
You’ll notice improved flow and viscosity that creates better-defined details in complex designs. The enhanced cooling properties help your printed chocolate solidify quickly after extrusion, preserving intricate structural elements.
Remember that adjusting cocoa butter ratios requires recalibrating your printer settings—particularly temperature and extrusion speed—to optimize performance across different chocolate blends.
Temperature Stabilizing Agents
Three essential temperature stabilizing agents can transform your chocolate’s printing performance: specialized emulsifiers, lecithin, and crystallization modulators.
These additives maintain your chocolate’s liquid state at lower temperatures while preventing premature solidification during extrusion. You’ll need just 1-5% of these temperature stabilizing agents to dramatically improve your printing results.
- Prevent nozzle clogs by maintaining ideal flow consistency throughout the printing process
- Enable complex designs with enhanced structural integrity that won’t deform during cooling
- Reduce printing failures by eliminating runny chocolate that compromises layer adhesion
- Lower operating temperatures while maintaining smooth extrusion properties
- Extend working time before chocolate begins to solidify in your printer’s reservoir
Test different combinations to find your ideal formulation for consistent, high-quality prints.
Storage and Handling Best Practices for Print Materials
Since chocolate’s quality directly impacts your 3D printing success, you’ll need to store your materials in a cool, dry environment between 15°C to 20°C (59°F to 68°F).
Keep your chocolate bars or chips sealed in food grade airtight containers to protect them from moisture and odors that could compromise their performance.
Proper storage in airtight, food-grade containers shields chocolate from moisture and contaminants that ruin printing precision.
Always handle chocolate materials with clean, dry hands to prevent contamination that can spoil your printing medium.
Never expose your chocolate to direct sunlight or heat sources, as this makes the material too soft and unmanageable for precise printing applications.
Regularly check and rotate your chocolate stock to maintain freshness.
This prevents texture or flavor changes that could negatively impact your print quality and final results.
Melting Point Specifications for Reliable Layer Adhesion
You’ll need to maintain precise temperature control within a narrow range to achieve reliable layer adhesion in chocolate 3D printing.
Managing your chocolate’s viscosity through careful heating guarantees it flows smoothly during extrusion while setting quickly enough to support subsequent layers.
The timing of your cooling rates between layers directly impacts structural integrity and determines whether your printed design maintains its intended shape.
Optimal Temperature Control Range
When working with chocolate 3D printing materials, you’ll need to maintain precise temperature control within a narrow range of 30°C to 35°C (86°F to 95°F) to achieve reliable layer adhesion.
This ideal temperature control range guarantees your chocolate remains fluid for smooth extrusion while maintaining structural integrity for safe 3D printing.
Here’s your essential temperature management checklist:
- Keep chocolate at 37°C (98.6°F) during extrusion for ideal flow consistency
- Never exceed 45°C (113°F) maximum temperature to prevent composition changes
- Allow cooling to 25°C (77°F) between layers for proper solidification
- Monitor temperature fluctuations constantly to prevent print failures
- Use consistent control mechanisms to maintain quality throughout the printing process
Temperature variations outside these parameters will compromise your print quality and potentially damage your printer’s nozzle system.
Chocolate Viscosity Management
Temperature control works hand-in-hand with viscosity management to determine your chocolate 3D printing success.
You’ll need to maintain your chocolate between 30°C to 40°C for ideal flow through the extruder. Never exceed 45°C, as this burns the chocolate and ruins print quality.
Choose high-quality couverture chocolate bars with higher cocoa butter content for superior melting characteristics and better viscosity control.
These premium chocolate bars provide more predictable flow properties than standard varieties.
Adjust your print speed and layer height to complement viscosity requirements.
Slower speeds allow better layer adhesion and prevent stringing or under-extrusion issues.
Time your cooling phases carefully between layers to maintain structural integrity while ensuring proper layer bonding for complex designs.
Cooling Rate Timing
Since chocolate solidifies rapidly after extrusion, mastering cooling rate timing becomes critical for achieving reliable layer adhesion in your 3D prints.
You’ll need to balance temperature control with layer timing to prevent poor bonding or structural failures.
Effective cooling rate timing requires careful attention to your printing environment and design complexity.
Adjust your approach based on ambient conditions and the intricacy of your chocolate creation.
- Allow 10-30 seconds between layers depending on ambient temperature and design complexity
- Use calibrated blower fans to enhance solidification without cooling the nozzle excessively
- Maintain chocolate temperature at 30-32°C for ideal extrusion consistency
- Slow down layer times for complex designs to improve cooling and adhesion
- Monitor nozzle temperature to prevent clogs from overcooling
Viscosity Adjustments Using Cocoa Butter and Lecithin
Although chocolate’s natural thickness can pose challenges for 3D printing, you can effectively modify its viscosity by incorporating cocoa butter and lecithin into your material formulation.
Cocoa butter acts as a natural viscosity reducer, enabling smoother extrusion and better flow during printing. You’ll want to adjust the cocoa butter-to-chocolate ratio carefully to achieve ideal consistency for layer adhesion and detail retention.
Adding lecithin, a natural emulsifier, breaks down fat clumps and greatly improves fluidity. Just 1-2% lecithin by weight creates considerable viscosity reduction without affecting taste or structure.
You must maintain temperatures between 30-32°C (86-90°F) when adding these ingredients to prevent premature solidification. This temperature control guarantees your modified chocolate remains workable throughout the entire printing process.
Compatible Chocolate Formats for Different Printer Models
Three distinct printer categories dominate the chocolate 3D printing market, each requiring specific chocolate formats to achieve ideal results.
You’ll need to match your chocolate selection to your printer’s capabilities for successful printing outcomes.
The Cocoa Press requires melted chocolate with precise temperature control, extruding up to 65 grams per print.
Meanwhile, the Mycusini 2.0 accepts standard chocolate bars, making it exceptionally user-friendly for beginners.
If you’re using an FDM chocolate 3D printer like the ChocoL3D extruder kit with your Ender 3, you’ll need to adjust slicer settings specifically for chocolate materials.
- Cocoa Press: Melted chocolate requiring temperature precision
- Mycusini 2.0: Standard chocolate bars for convenience
- ChocoL3D kit: Custom slicer settings for FDM compatibility
- Unnatural chocolate chips: Better success rates than natural varieties
- Couverture chocolate: Suitable for molds, challenging for printing
Frequently Asked Questions
Is Chocolate a Good Material for 3D Printing?
You’ll find chocolate challenging but rewarding for 3D printing. It requires precise temperature control and careful handling, yet it creates stunning edible art with intricate details and personalized designs that traditional molding can’t achieve.
How to 3D Print in Chocolate?
You’ll need a food-safe chocolate 3D printer like Cocoa Press. Temper your chocolate properly, maintain precise temperature control during extrusion, and experiment with different chocolate types for ideal results.
What Is the 45 Degree Rule for 3D Printing?
You should keep overhangs under 45 degrees from vertical to prevent sagging and print failures. This rule minimizes support structure needs, improves print quality, and reduces post-processing work for successful prints.
What Is the Most Profitable Thing to 3D Print?
You’ll find custom chocolate designs most profitable to 3D print. Wedding favors, personalized gifts, and complex artistic pieces command premium prices while costing only around $4.90 in materials per batch.


Leave a Reply