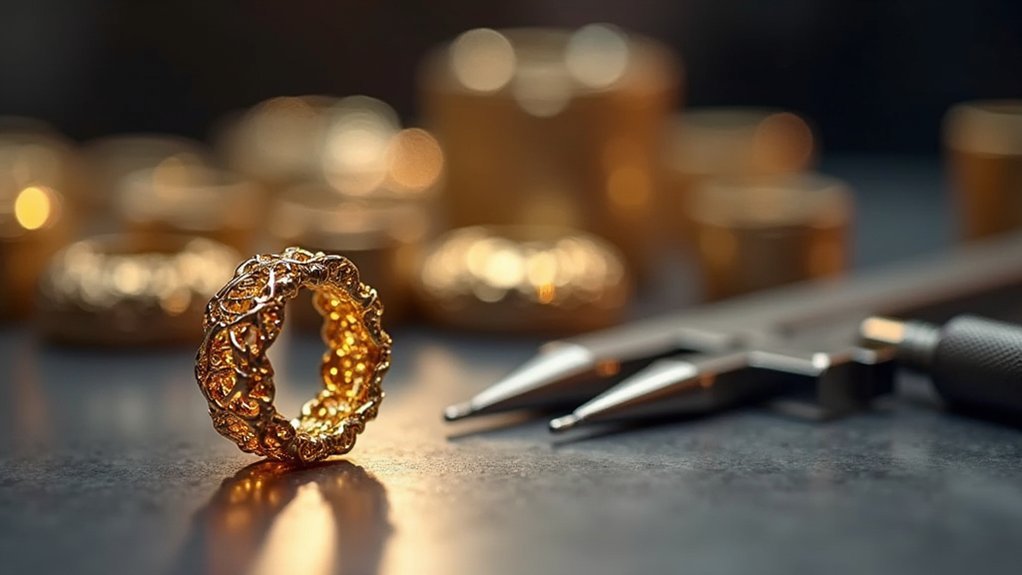
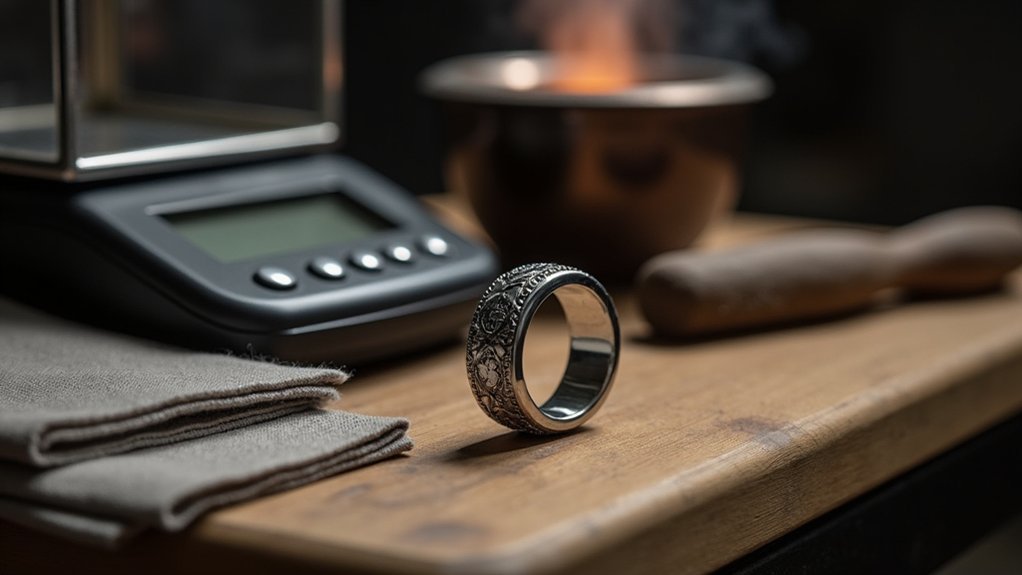
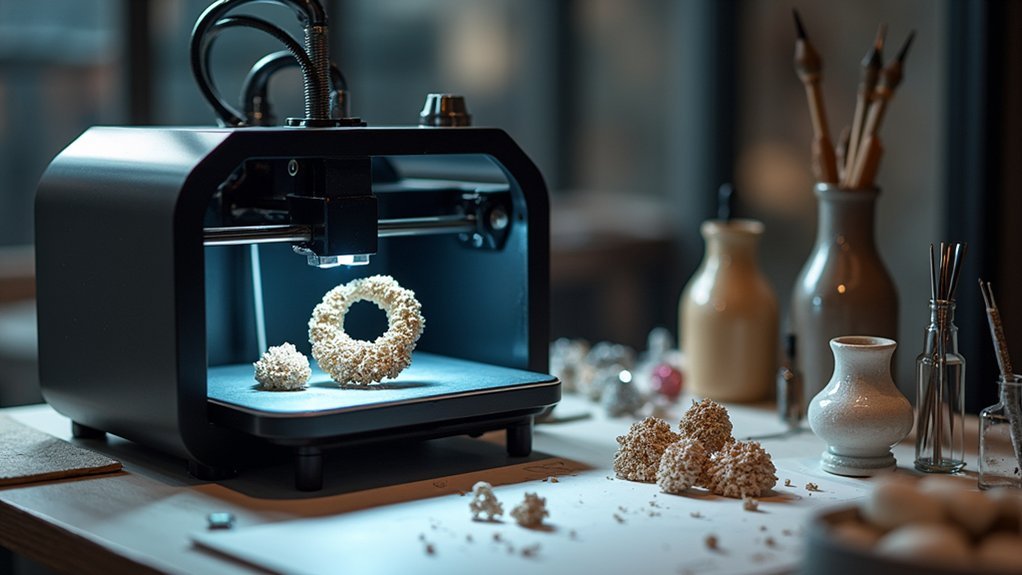
You’ll achieve consistent 3D jewelry casting success by optimizing your CAD models with 0.125mm edge radii and 0.40mm minimum wall thickness, mastering burnout cycles with precise temperature progression from 150°C to 750°C, selecting resin-compatible investments like SRS CADCAST, implementing proper sprue systems with 0.80mm minimum thickness for protruding elements, and maintaining metal pouring temperatures around 730°C while using centrifugal force for complete mold filling. These foundational techniques will transform your casting results from amateur attempts into professional-quality pieces that’ll elevate your jewelry-making skills to the next level.
Optimize Your CAD Model Design for Investment Casting

Before you even begin the casting process, your CAD model’s design will determine whether you’ll achieve professional results or face costly failures.
Start by adding at least 0.125 mm radius to all sharp edges—this prevents investment wash and guarantees smooth metal flow. Maintain minimum wall thickness of 0.40 mm for single components and 0.90 mm for multiple copies to avoid breakage during the casting process.
Keep recessed areas under 0.30 mm deep and wider than their openings for proper metal distribution. Space components at least 0.20 mm apart to prevent unwanted connections.
Export each component as separate STL files for better cleanup accuracy. These Jewelry 3D Printing guidelines help you avoid thin parts that’ll crack under casting pressure.
Master the Burnout Cycle Temperature and Timing
Your perfectly designed CAD model won’t save your casting if you mess up the burnout cycle—temperature control and timing make or break your final piece.
Start with 4.5 hours at 150°C for proper wax vaporization without damaging your investment mold. Next, raise the temperature to 600°C for one hour to eliminate residual wax completely.
Proper wax elimination begins with 4.5 hours at 150°C, followed by 600°C for complete residual removal.
The final stage requires 750°C for four hours, ensuring your mold’s ready for metal pouring while preventing investment collapse.
Consider experimenting with higher temperatures like 840°C for complete resin burnout and fewer casting defects.
Maintain precise timing throughout—rushing these phases will compromise your investment mold’s integrity and create costly mistakes in your finished jewelry pieces.
Choose the Right Investment Material for Resin Models

Investment material selection determines whether your resin model transforms into a flawless casting or becomes an expensive failure.
You’ll need resin-specific investments like SRS CADCAST to guarantee compatibility and prevent cracking during burnout. Standard investments can’t handle resin expansion during the burnout process, leading to casting failures through mold collapse or incomplete filling.
Avoid using SRS Classic investment with resin models since it’s not refined for resin properties. Instead, source investments specifically engineered to withstand resin’s unique thermal behavior.
You’ll also need to increase your sprue count when working with resin models to improve metal flow and gas escape.
Contact your resin manufacturer for tailored burnout cycle recommendations that match your specific material’s properties for peak results.
Implement Proper Sprue and Support Systems
Sprue and support systems determine whether molten metal reaches every detail of your jewelry design or leaves you with incomplete castings and broken components.
You’ll need to guarantee protruding elements on your model maintain minimum 0.80 mm thickness or add reinforcing sprues to prevent breakage.
Keep 0.20 mm spacing between non-touching components for proper metal flow and reduced investment wash risks.
When creating multiple copies, increase component thickness to 0.90 mm minimum.
Use feeder sprues strategically for designs with varying thicknesses—they facilitate ideal metal casting flow and prevent defects.
Export parts as separate STL files for streamlined cleanup.
These sustainable practices reduce material waste while delivering precise results in your final jewelry pieces.
Perfect Your Metal Pouring and Finishing Techniques

Once your mold’s properly prepared, metal pouring temperature becomes critical for casting success—you’ll want to maintain around 730°C for wax models while staying well below the 810°C threshold that causes investment collapse.
Using a centrifuge during metal pouring guarantees complete mold filling and prevents air bubbles, combining modern efficiency with traditional craftsmanship principles.
While vacuum casting offers alternative approaches, centrifugal force remains highly effective for jewelry applications.
Your finishing techniques determine the final quality:
- Quench the mold tube in cold water immediately after pouring to break plaster and ease metal removal
- Polish with sandpaper followed by jeweler’s rouge for ideal glossy results
- File away remaining support structures carefully during cleanup
Consider resin-specific investments like SRS CADCAST for improved compatibility when working with printed models.
Frequently Asked Questions
Is 3D Printed Jewelry Profitable?
You’ll find 3D printed jewelry highly profitable due to reduced production costs, faster prototyping, minimal material waste, and premium pricing for customized designs in a rapidly growing market.
What Is the Best Material for 3D Printed Jewelry?
You’ll want castable resin for 3D printed jewelry. W20 Green, W40 Orange, and Jewelry Violet are top choices because they deliver exceptional detail and precision that’s essential for professional-quality jewelry casting results.
How to Cast Jewelry With a 3D Printer?
You’ll print your jewelry model using castable resin, then create an investment mold around it. Heat the mold to burn out the resin, leaving a cavity you’ll fill with molten metal.
How Long Does It Take to 3D Print Jewelry?
You’ll typically spend 1 to 6 hours 3D printing jewelry, depending on your design’s complexity and size. Add another 1-2 hours for post-processing like cleaning and curing before you’re ready to cast.


Leave a Reply