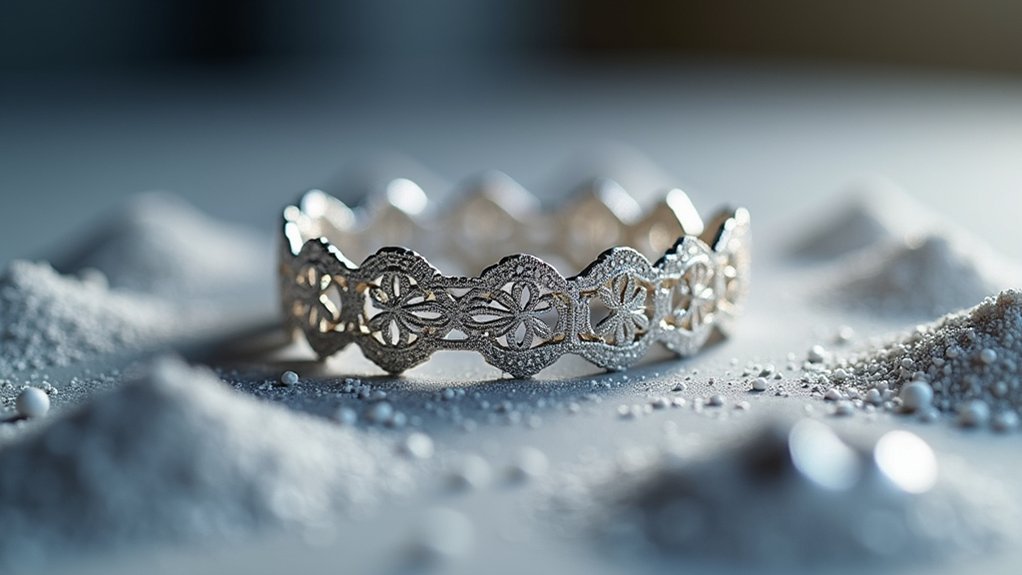
You can create silver jewelry through 3D printing by using stereolithography to produce castable resin patterns, then employing the lost wax casting process where you’ll burn out the resin and pour molten sterling silver into investment plaster molds. You’ll need specialized CAD software like Rhino or MatrixGold, maintain minimum 0.5mm wall thickness, and follow precise three-stage burnout schedules at temperatures reaching 750°C. Proper post-processing guarantees professional results that’ll reveal advanced techniques for exceptional craftsmanship.
Understanding Sterling Silver Composition for 3D Printing

Sterling silver’s unique composition makes it an ideal material for 3D printing jewelry that’s both beautiful and durable.
You’ll work with an alloy containing 92.5% pure silver and 7.5% other metals, typically copper. This composition gives you enhanced durability and tarnish resistance compared to pure silver.
When you’re designing for jewelry production, you’ll benefit from sterling silver’s skin-safe properties, making it perfect for pieces that’ll have direct contact with wearers.
The alloy’s strength allows your 3D printed designs to maintain intricate details throughout the printing and casting processes.
You’ll achieve professional results when combining 3D printing with casting techniques.
This approach increases material density and strength, allowing you to create high-quality pieces with polished finishes where printing layers aren’t visible.
Lost Wax Casting Process in Digital Jewelry Manufacturing
Three precise steps transform your digital jewelry design into a sterling silver masterpiece through the lost wax casting process.
First, you’ll create a 3D printed wax model using stereolithography, then attach it to a sprue before encasing it in plaster.
Next, you’ll heat the assembly in an oven to burn out the wax, creating a precise cavity that matches your original design.
During casting, you’ll pour molten silver into this cavity, where it takes the exact shape of your burned-out wax model.
Molten silver flows into the precise cavity, perfectly replicating every detail of your original digital design.
After cooling, you’ll break away the plaster mold to reveal your silver piece.
The final step involves manually filing and polishing to achieve your desired finish.
This lost wax technique perfectly combines digital precision with traditional craftsmanship, enabling intricate customized designs previously impossible to achieve.
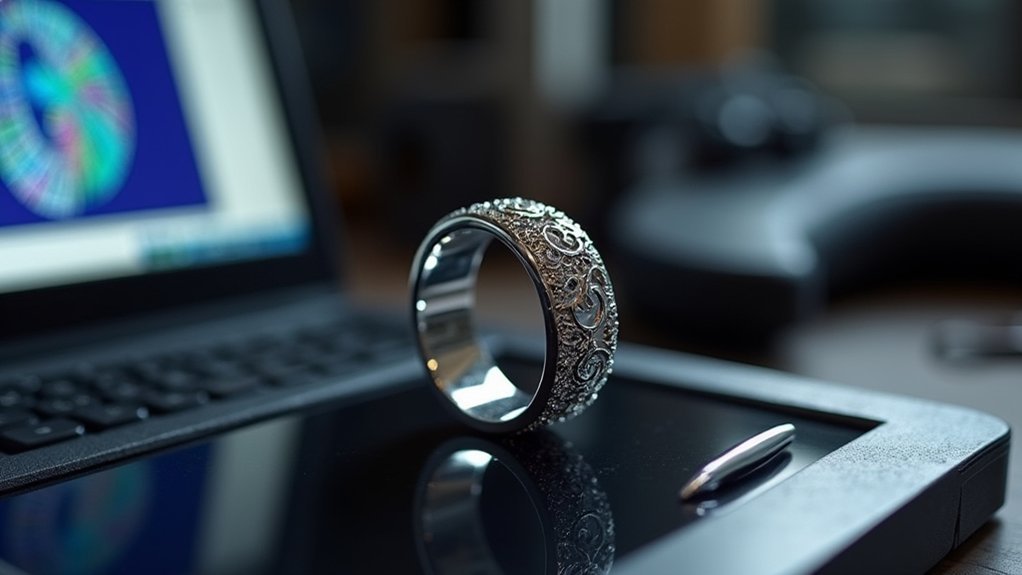
CAD Software Requirements for Silver Jewelry Design

Before you can transform your creative vision into physical silver jewelry, you’ll need specialized CAD software that handles the unique demands of jewelry design.
These programs enable you to create precise 3D models that translate seamlessly into printable formats.
When selecting CAD software for your jewelry design workflow, consider these popular options:
- Rhino – Offers powerful NURBS modeling with specialized jewelry plugins
- MatrixGold – Purpose-built for jewelry with extensive gemstone and setting tools
- SolidWorks – Provides robust parametric modeling capabilities for complex designs
Understanding 3D modeling principles becomes essential for successful 3D printing.
You’ll need to master wall thickness requirements and feature sizing to guarantee your designs print correctly and cast properly.
Many programs include component libraries that you can customize, streamlining your design process while maintaining precision throughout development.
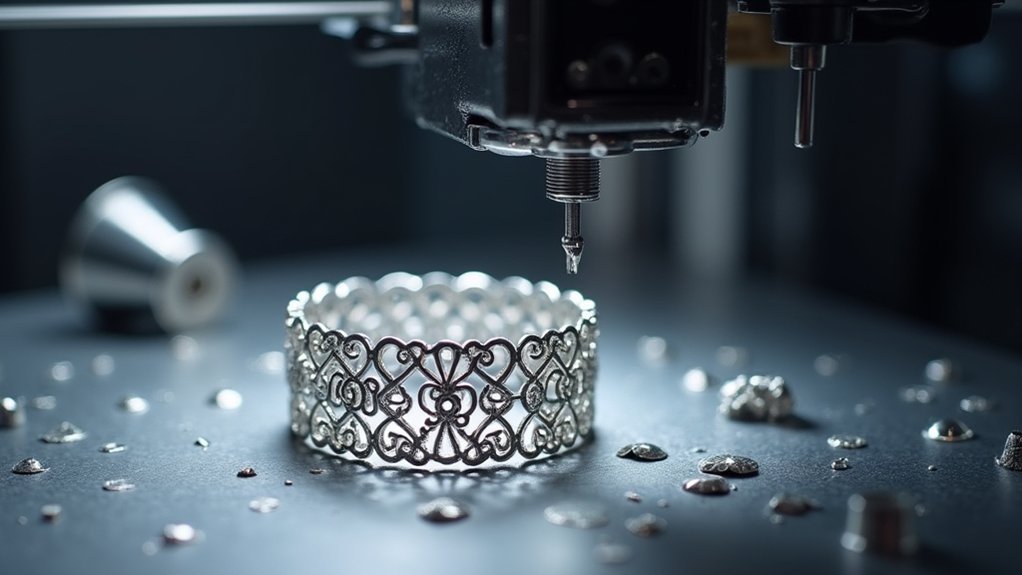
Stereolithography Technology for Wax Pattern Creation
When you’re working with stereolithography for jewelry wax patterns, you’ll need to select the right castable resin that burns out cleanly during investment casting.
Your SLA printer’s 25-micron layer resolution guarantees you’ll achieve the precise details silver jewelry demands, but you must carefully plan your support structures from the start.
Once your pattern’s printed and cleaned with isopropyl alcohol, you’ll face the critical task of removing supports without damaging delicate features like prongs or filigree work.
SLA Resin Selection
Several cutting-edge resins have revolutionized how you’ll approach silver jewelry casting through SLA 3D printing technology.
When selecting the right material for your projects, you’ll want to take into account specific properties that enhance both detail accuracy and casting performance.
Top-performing castable resins for jewelry applications include:
- W20 Green – Offers exceptional detail resolution for intricate patterns
- W40 Orange – Provides ideal strength during handling and casting processes
- Jewelry Violet – Delivers superior surface finish and dimensional accuracy
These specialized materials enable you to 3D print complex designs that traditional wax carving methods can’t achieve.
The casting-specific formulations burn out cleanly during metal pouring, leaving precise cavities for your silver pieces.
This printing technology expands your creative possibilities while maintaining the precision essential for professional jewelry production.
Wax Pattern Precision
Stereolithography technology transforms your castable resin selections into ultra-precise wax patterns that’ll define your final silver jewelry quality.
You’ll achieve remarkable precision with minimum feature sizes of 0.3 mm in diameter and 0.4 mm in height, enabling intricate designs impossible through traditional methods. The UV light cures your resin layer by layer, creating sharp details and smooth surfaces essential for professional jewelry.
Your wax model emerges with dimensional accuracy that translates directly into your final silver piece’s quality. After printing, you’ll clean the patterns with 95% isopropyl alcohol and post-cure them for maximum durability.
This precision guarantees your investment casting molds capture every detail, producing silver jewelry with exceptional definition and professional finish that meets demanding quality standards.
Support Structure Removal
After your SLA printer completes the wax pattern creation, you’ll face the critical task of removing support structures without damaging delicate jewelry features.
These structures maintain your design’s integrity during printing, but careful removal is essential for a professional finish.
You’ll need precision tools like the Sonic Saber to gently detach support structures from your wax model. This specialized equipment prevents damage to intricate details that make your jewelry unique.
- Use gentle, controlled movements when removing supports to avoid breaking thin elements
- Clean attachment points thoroughly with isopropyl alcohol after removal
- Drill necessary holes and make modifications before attaching to the wax tree
Proper support structure removal guarantees your wax pattern shifts smoothly into the investment casting process, maintaining the quality your silver jewelry demands.
Investment Plaster Application and Mold Preparation
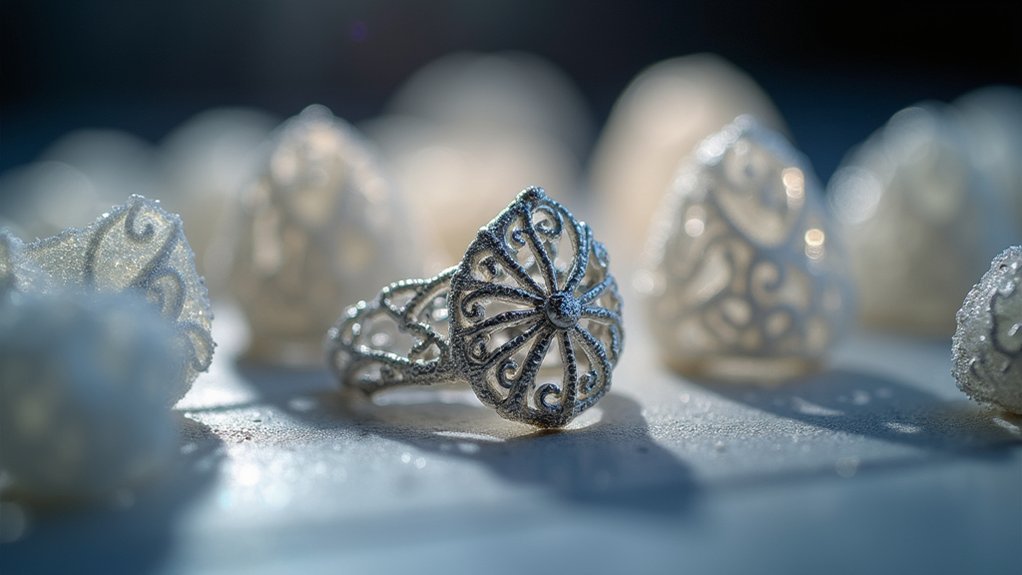
The investment plaster forms the backbone of your casting process, transforming from a simple powder-water mixture into the rigid mold that’ll hold your molten silver.
You’ll mix the plaster powder with water to create a smooth slurry, then pour it into your mold tube, guaranteeing your wax tree model gets complete coverage.
Place the filled tube under vacuum immediately to eliminate air bubbles that could compromise your final pieces.
Allow the investment plaster to dry completely for about 20 minutes. This creates the solid structure you need to withstand burnout and casting temperatures.
Don’t rush this step – proper drying guarantees your mold won’t crack under extreme heat. The quality of your plaster application directly determines your jewelry’s final finish and precision.
Burnout Schedules for Optimal Metal Casting Results

You’ll need to master precise temperature control methods to execute the three-stage burnout process that removes all wax residue from your investment mold.
Your timing optimization strategies must account for the initial 150°C baking phase, the intermediate 600°C cleaning stage, and the final 750°C preparation period.
Following these controlled schedules guarantees you’ll achieve the mold integrity necessary for flawless silver casting results.
Temperature Control Methods
When casting silver jewelry from 3D printed models, precise temperature control during burnout determines whether you’ll achieve flawless results or face costly failures.
These temperature control methods guarantee complete wax removal without compromising your mold integrity.
You’ll need to follow a three-stage approach for ideal results:
- Initial baking stage: Heat your mold to 150°C for 4.5 hours to begin wax elimination.
- Intermediate heating: Raise temperature to 600°C for 1 hour to prepare for metal pouring.
- Final burnout phase: Maintain 750°C for 4 hours to eliminate all wax residues completely.
A programmable kiln becomes your best investment for maintaining consistent temperatures throughout each phase.
Without proper temperature control methods, incomplete wax removal will create defects in your final silver pieces, wasting both time and materials.
Timing Optimization Strategies
Beyond maintaining proper temperatures, optimizing your burnout timing separates professional-quality silver casts from amateur attempts. When printing jewelry using 3D technology, you’ll follow a precise three-stage burnout schedule that eliminates wax completely and prepares your mold for flawless silver casting.
| Stage | Temperature | Duration |
|---|---|---|
| Initial Heating | 150°C | 4.5 hours |
| Intermediate Burnout | 600°C | 1 hour |
| Final Preparation | 750°C | 4 hours |
You can’t afford timing deviations during this process. Each phase serves a specific purpose: initial heating removes bulk wax, intermediate burnout eliminates residual material, and final preparation guarantees complete mold readiness. Rushing these stages compromises your mold’s integrity, resulting in poor detail reproduction and casting defects that’ll ruin your silver jewelry pieces.
Surface Finish Options for Sterling Silver Pieces
Since 3D-printed sterling silver emerges from the printer with a raw, unfinished appearance, you’ll need to choose from five distinct surface finish options to achieve your desired aesthetic.
The Gloss finish offers minimal post-processing while maintaining high detail, though it leaves an uneven surface texture.
High Gloss involves vigorous polishing that creates maximum smoothness and shine.
Satin finishes use manual wire brush treatment to produce distinctive line effects across the metal surface.
Key considerations for selecting your finish:
- Sandblasted creates an even, smooth, matted appearance through abrasive blasting.
- Antique Silver combines shiny outer surfaces with darker, unsmoothed recessed areas.
- Detail retention varies greatly between aggressive and gentle finishing methods.
Each option affects texture, appearance, and design clarity differently, so you’ll want to match your choice with your specific design intent.
Design Specifications and Wall Thickness Guidelines
You’ll need to follow specific design specifications to guarantee your silver jewelry prints successfully and maintains structural integrity.
Your wall thickness must meet minimum requirements, while feature sizes have clear limitations that affect what details you can include.
You should also consider hollowing strategies and escape hole placement to optimize material usage and casting performance.
Minimum Wall Thickness Requirements
Precision becomes paramount when establishing wall thickness requirements for 3D printed silver jewelry, as inadequate dimensions can compromise both structural integrity and production success.
You’ll need to maintain specific measurements to guarantee your pieces withstand both the printing process and everyday wear.
When designing your silver jewelry, you must adhere to these minimum wall thickness requirements:
- Standard walls: Maintain at least 0.5 mm thickness for general structural elements
- Breakable components: Use 1 mm thickness for delicate parts like thin bands or protruding elements
- Critical stress points: Apply thicker walls where your jewelry experiences the most pressure during wear
You can’t compromise on these specifications without risking print failures or fragile final products.
Thinner walls won’t support the casting process effectively, while proper thickness guarantees your silver jewelry maintains durability and professional quality throughout its lifespan.
Feature Size Limitations
Three critical dimensions govern feature size limitations in 3D printed silver jewelry: minimum diameter, height specifications, and structural clearances. You’ll need to carefully consider these constraints to guarantee your designs print successfully and maintain structural integrity during casting.
Feature size limitations directly impact your design’s printability and durability. Small details below minimum thresholds won’t render properly, while oversized features may create printing complications.
| Specification | Minimum Requirement |
|---|---|
| Feature diameter | 0.3 mm |
| Feature height | 0.4 mm |
| Wall thickness | 0.5 mm |
| Preferred wall thickness | 1.0 mm |
| Escape hole diameter | 1.5 mm |
You should round sharp corners during design to improve printability and reduce post-processing defects. These specifications aren’t just guidelines—they’re essential requirements for successful silver jewelry production.
Hollowing and Escape Holes
When designing hollow silver jewelry pieces, strategic escape holes become essential for removing uncured resin and guaranteeing proper metal flow during casting. You’ll need to incorporate multiple escape holes with a minimum diameter of 1.5 mm throughout your design.
This hollowing technique not only reduces material costs but also creates lighter pieces that are more comfortable to wear.
The escape holes serve dual purposes during production. First, they allow uncured resin to drain from hollow cavities during the printing process. Second, they guarantee molten silver flows properly through all sections during casting, preventing air pockets or incomplete fills.
- Plan escape hole placement in hidden areas to maintain aesthetic appeal
- Create multiple holes rather than relying on single large openings
- Consider gravity’s effect on resin drainage when positioning holes
Post-Processing Techniques for Professional Quality
Although your 3D printed silver jewelry emerges from the printer with impressive detail, it’ll require careful post-processing to achieve professional-quality results.
Start with manual filing and sanding to remove rough edges and support material remnants. These post-processing techniques guarantee smooth surface finishes that eliminate visible printing layers.
Polishing becomes essential for enhancing shine and bringing out intricate details. You can choose between high gloss or satin finishes depending on your desired aesthetic.
For unique effects, consider sandblasting or antiquing methods to create distinctive textures and color variations.
Remember that the time and effort you invest in post-processing directly determines your piece’s final quality.
Meticulous attention to detail during this phase transforms your printed jewelry into sleek, professional pieces that rival traditionally crafted silver jewelry.
Centrifugal Casting Methods for Silver Jewelry
While post-processing can perfect your 3D printed pieces, centrifugal casting offers an alternative approach that produces superior silver jewelry with minimal finishing requirements.
You’ll spin a mold at high speeds to distribute molten silver evenly throughout the cavity, creating denser and more uniform results than traditional 3D print finishing methods.
The process demands precise temperature control, requiring you to pour molten silver at approximately 1,200°C for optimal fluidity. This technique excels at capturing fine details since centrifugal force eliminates air pockets and improves metal flow.
Key advantages you’ll experience:
- Metal molds enable faster cooling and reduce casting defects
- Smoother surfaces require less post-processing work
- Enhanced detail reproduction surpasses standard casting methods
You’ll achieve professional-quality results with markedly reduced finishing time.
Quality Control and Polishing Standards
Since centrifugal casting delivers superior results with reduced finishing needs, you’ll still need rigorous quality control measures to confirm your silver jewelry meets professional standards.
Start by checking wall thickness—maintain a minimum of 0.5 mm, though 1 mm works better for breakable parts. During burnout, regularly monitor wax removal to prevent casting imperfections.
Proper wall thickness monitoring and careful wax burnout are essential for preventing costly casting defects in silver jewelry production.
Post-processing requires manual filing and sanding to achieve proper surface smoothness. Your polishing approach depends on the desired finish. High gloss demanding vigorous polishing creates maximum shine but reduces fine details.
Quality control doesn’t stop after polishing—conduct final assessments through visual inspection and tactile evaluation. This thorough approach confirms your finished pieces meet polishing standards and exceed customer expectations consistently.
Cost Analysis and Production Time Considerations
Understanding the financial and temporal investments in 3D printed silver jewelry production helps you make informed decisions about your manufacturing approach.
Your cost analysis should consider multiple variables that directly impact your bottom line. You’ll typically spend $50 to $300 per piece, with production spanning several days to weeks depending on design complexity.
Castable resin greatly reduces both costs and timeframes compared to traditional methods, offering rapid prototyping capabilities.
Key factors affecting your investment include:
- Post-processing requirements that add 20-50% to production time and costs
- Design intricacy determining printing technology and finishing needs
- Order volume, with bulk quantities reducing per-unit costs by 15-30%
Strategic planning around these elements guarantees you optimize both efficiency and profitability in your silver jewelry manufacturing process.
Frequently Asked Questions
How Is 3D Printing Used in Jewelry Making?
You’ll design jewelry using CAD software, then 3D print castable resin models. You’ll encase these in plaster molds, burn out the resin, and pour molten metal into cavities to create finished pieces.
Which 3D Printing Technique Is Used for Metal Printing?
You’ll use Stereolithography (SLA) for metal printing in jewelry. This technique creates detailed wax models with photopolymer resin that hardens under UV light, achieving precise 0.3mm features for intricate designs.
Can You 3D Print Metal Jewelry?
You can’t directly 3D print metal jewelry, but you’ll use SLA printing to create wax models that’re then cast in metals like sterling silver through lost wax casting methods.
What Software Is Used to 3D Print Jewelry?
You’ll use CAD software like Rhino, MatrixGold, or JewelCAD to design your jewelry models, then slicing software like Cura or PrusaSlicer to prepare files for your 3D printer.


Leave a Reply