You’ll achieve professional-quality miniatures by choosing resin printers for character details and FDM for terrain, setting layer heights between 10-15 micrometers for premium results, and balancing exposure times from 1-3 seconds for thin layers. Select pre-supported STL files from reputable sources, hollow models with 2mm wall thickness, and maintain your printer’s LCD screen and FEP film regularly. Post-process with isopropanol washing and 2-5 minute UV curing for strength. Master these fundamentals to access advanced techniques that separate amateur prints from showcase-worthy pieces.
Choose the Right Printer Technology for Gaming Miniatures

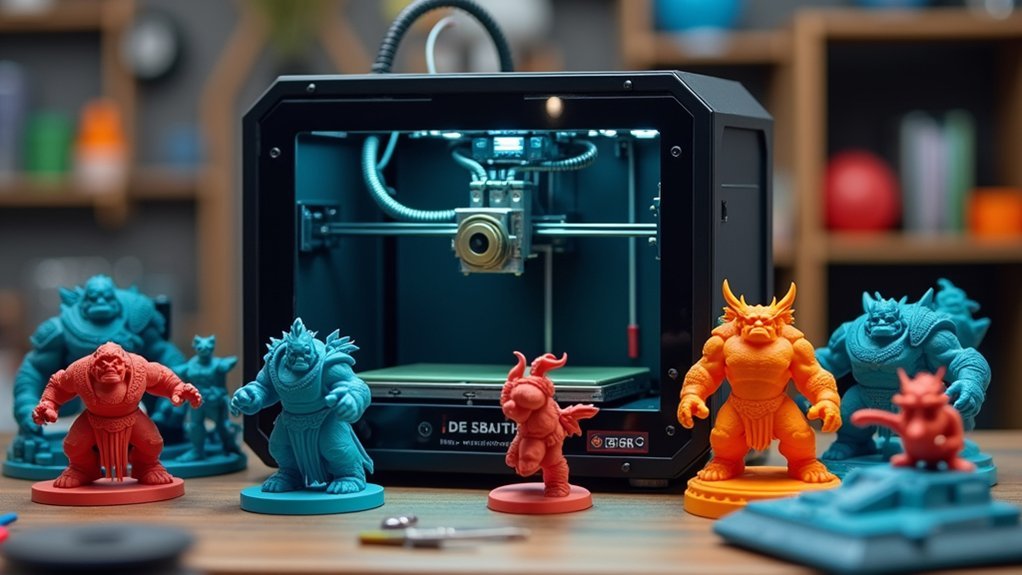
When selecting a 3D printer for gaming miniatures, you’ll face a fundamental choice between resin and FDM technology that’ll greatly impact your print quality and costs.
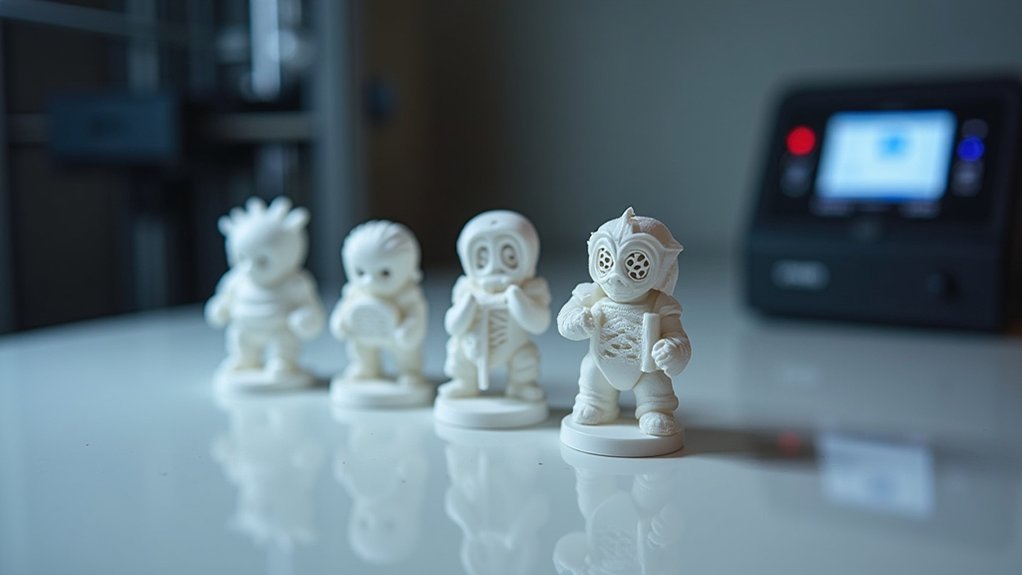
Resin printers excel at printing miniatures with exceptional high-resolution details, producing smooth finishes essential for tabletop gaming characters. You’ll achieve ideal results using layer height settings of 10-15 micrometers. However, liquid resin costs make large figures expensive to produce.
FDM printers offer affordability and can handle bulk production efficiently, but they deliver lower print quality with typical layer height ranging from 0.05mm to 0.2mm. While FDM struggles with intricate detail on small miniatures, it’s perfect for terrain and props.
Choose resin for character models requiring fine detail, and FDM for larger, less detailed pieces.
Master Layer Height Settings for Maximum Detail
You’ll achieve the finest miniature details by mastering layer height settings, which directly impact your print’s surface quality and resolution.
Resin printers excel at ultra-thin layers of 10-15 micrometers for ideal detail, while FDM printers typically can’t match this precision due to their filament-based technology.
However, you must balance detail against print time since thinner layers dramatically increase how long your miniatures take to complete.
Optimal Height Ranges
Although many 3D printer users default to standard layer heights, achieving exceptional detail in gaming miniatures requires precise calibration of your layer height settings.
For ideal detail in intricate designs, you’ll want to use 10-15 micrometers, especially when fine details matter most. Standard gaming miniatures perform well at 50 micrometers, offering balanced printing speed without sacrificing quality.
Remember to adjust your exposure time based on your chosen layer height—shorter exposures prevent over-curing at lower heights.
Before committing to final prints, test print settings using a validation matrix to fine-tune both parameters. Maintaining consistency across all your prints guarantees every miniature meets your high quality standards and delivers the exceptional detail your projects deserve.
Resin Vs FDM
While resin printers excel at capturing intricate details with layer heights as fine as 10-15 micrometers, FDM printers require different optimization strategies to achieve comparable results for gaming miniatures.
You’ll find resin printing delivers superior detail quality, with standard miniatures benefiting from 50-micrometer layer heights that balance detail and efficiency.
When using FDM printers, you must adjust your layer height between 0.05mm to 0.1mm for high-quality prints of small figures.
Your printing process optimization differs greatly between technologies.
Resin requires longer exposure times as layer height decreases, improving overall clarity.
For FDM miniatures, you’ll need to control print speed between 20-60mm/s to maintain quality of the print without compromising detail resolution or structural integrity.
Speed Balance Trade-offs
Finding the ideal layer height becomes a critical balancing act between achieving maximum detail and maintaining reasonable print times. Your layer height choice directly impacts both quality and speed, creating inevitable trade-offs in your miniatures printing workflow.
For best precision on small, detailed miniatures, you’ll want 10-15 micrometer layer heights, though this greatly extends print duration. Standard miniatures benefit from 50 micrometer settings, offering excellent detail-to-speed balance.
Remember these essential considerations:
- Lower layer heights demand longer exposure times for proper curing.
- Print speed should stay between 20-60mm/s to preserve fine details.
- Faster printing compromises intricate features and surface quality.
- Test prints help determine your specific printer’s sweet spot.
Experimenting with various combinations through test prints lets you fine-tune settings, maximizing detail while enhancing efficiency for your specific miniatures and printer setup.
Optimize Support Structures for Complex Geometries
You’ll face critical decisions when choosing between automatic support generation and manual placement for your gaming miniatures.
Strategic internal support placement becomes essential for hollowed models and complex geometries that risk structural failure during printing.
Mastering solutions for challenging overhangs will dramatically improve your success rate while minimizing post-processing cleanup work.
Manual Vs Automatic Supports
When you’re preparing to print gaming miniatures with complex geometries, the decision between manual and automatic supports can make or break your final result.
Automatic supports save time and work well for beginners handling less complex models, but they often miss ideal placement opportunities.
Manual supports give you strategic control, especially vital for highly detailed models where you need to minimize contact points and preserve surface quality.
The complexity of the miniature should guide your choice.
Here’s how to enhance your approach:
- Use automatic supports for simple models and initial drafts
- Switch to manual supports for intricate character details
- Test hollowing out miniatures to reduce resin usage
- Run small test prints to refine support configurations
Testing different approaches helps you achieve the perfect balance between print success and model detail.
Internal Support Placement Strategy
Strategic internal support placement becomes your next focus once you’ve mastered external support decisions.
When printing miniatures with complex geometries, you’ll need internal supports to prevent delicate features from collapsing, especially in hollowed models requiring added stability.
Use Lychee slicer’s automatic internal support options to generate supports that conform to your model’s shape. This creates an ideal balance between support strength and printability.
Maintain a minimum 2mm wall thickness when hollowing miniatures to preserve structural integrity while allowing internal supports to function effectively.
Adjust drainage holes’ diameter and penetration settings for easier resin removal and cleaning, which directly impacts print quality.
Regularly test various support placements during slicing to discover the most effective internal support strategy for your intricate designs.
Complex Overhang Solutions
Complex overhangs present unique challenges that require precise support enhancement to achieve clean, detailed prints. When tackling intricate geometries in high-quality miniatures, you’ll need strategic approaches that balance support structures with surface quality.
Start with these essential enhancement steps:
- Set layer height to 10-15 micrometers for complex overhangs to capture fine details while maintaining structural integrity.
- Use automated support generation in slicers like Lychee or Chitubox for enhanced print reliability.
- Adjust support density based on overhang complexity – higher density for intricate sections, larger supports for heavier areas.
- Add internal supports for hollowed miniatures to prevent collapse without visible external artifacts.
Always test print settings on smaller model versions first. This approach lets you identify effective support strategies and minimize material waste before committing to final prints.
Perfect Your Slicing Settings and Exposure Times
Precision in slicing settings and exposure times determines whether your gaming miniatures emerge as masterpieces or disappointing failures. Set your layer height between 10-15 micrometers for high resolution small miniatures, while 50 micrometers works for standard prints.
Adjust exposure times accordingly—use 1-3 seconds for thinner layers and up to 10 seconds for thicker ones to guarantee proper curing.
Use Lychee slicer to hollow out miniatures, reducing resin usage and print time. When you hollow models, place supports manually inside intricate designs to prevent collapse.
Always conduct test prints before committing to final print files—incorrect exposure leads to incomplete curing or overexposure issues. Fine-tune these settings, then transfer finished prints to your curing machine for best results.
Hollow Your Models to Save Resin and Reduce Print Time

While solid prints consume substantial resin and extend printing times, hollowing your miniatures can cut material costs by up to 70% and greatly reduce production time.
Hollowing out your models using Lychee slicer’s “Hollowing 3D” feature dramatically reduces resin usage while maintaining quality.
Lychee slicer’s Hollowing 3D feature cuts resin costs dramatically while preserving your miniature’s print quality and detail.
For best results, follow these essential guidelines:
- Set minimum wall thickness to 2mm for structural stability
- Add drainage holes for cleaning uncured resin effectively
- Adjust hole diameter and penetration settings properly
- Focus on larger models where hollowing provides maximum benefit
This technique creates lighter prints without sacrificing detail or integrity.
The drainage holes you’ll incorporate allow easier post-processing cleanup, ensuring better final quality and reducing print failures.
Larger models especially benefit from hollowing, as you’ll achieve significant material savings while maintaining the structural integrity your gaming miniatures require.
Select Quality STL Files and Model Preparation
You’ll need reliable STL file sources that offer models specifically designed for resin printing to achieve professional results.
Quality assessment becomes essential when evaluating files—look for pre-supported options from reputable platforms and confirm the models have been tested on resin printers.
Proper model optimization techniques can make the difference between a successful print and wasted material, especially when you’re working with complex gaming miniature designs.
STL File Sources
The foundation of exceptional gaming miniature prints starts with selecting high-quality STL files from reputable sources. These platforms consistently deliver models optimized for resin printing, considerably reducing printing failures and improving final results.
Consider these top-tier sources for your miniature collection:
- MyMiniFactory – Curated marketplace with tested designs
- Patreon – Direct creator support with exclusive models
- Thingiverse – Vast free library with community ratings
- Specialized miniature designers – Premium quality with detailed documentation
Pre-supported models boost print success rates for beginners, while unsupported versions offer customization options for experienced users. Always check reviews and ratings before downloading.
Once you’ve chosen your files, use slicing software like Chitubox to prepare models properly, adding supports and optimizing settings for your specific resin printer configuration.
Quality Assessment Criteria
Successful miniature printing hinges on your ability to evaluate STL files quality before committing to a print. When selecting high-quality designs for resin printing, you’ll want to prioritize files from reputable sources that feature positive reviews and proven track records. These indicators signal that other users have achieved print success with the model.
| Quality Factor | Good Signs | Red Flags |
|---|---|---|
| Reviews | 4+ stars, detailed feedback | No reviews, complaints about failures |
| File Details | Clear photos, layer height specs | Blurry images, missing information |
| Support Options | Pre-supported models available | Only unsupported files offered |
Before printing, verify your miniature matches your printer specifications. Use slicing software to customize support placement and proper orientation, ensuring best results for your specific resin printing setup.
Model Optimization Techniques
Once you’ve identified quality STL files, optimizing them for your specific printer becomes your next priority.
Model optimization guarantees you’re maximizing your resin printing capabilities while minimizing potential failures.
Start with these essential optimization steps:
- Verify high polygon counts – Confirm your STL files contain sufficient detail for fine details reproduction.
- Choose pre-supported models – These reduce setup complexity and improve success rates for beginners.
- Implement hollowing out techniques – Maintain 2mm minimum wall thickness for structural integrity while reducing printing time.
- Test resolution compatibility – Match file specifications to your printer’s capabilities.
For resin printing specifically, prioritize files designed for your technology rather than FDM-optimized models.
This targeted approach delivers superior miniature quality with fewer print failures.
Maintain Your Printer for Consistent Results
Regular maintenance separates mediocre prints from exceptional gaming miniatures that showcase every fine detail.
You’ll guarantee consistent results by establishing a systematic approach to printer care. Check and calibrate your build plate regularly—proper leveling prevents failed prints and maintains quality adhesion.
For resin printers, clean the LCD screen and replace FEP film every 1000 hours of operation. Monitor exposure times carefully, adjusting them based on your specific resin type and model complexity.
Dust and debris wreak havoc on mechanical performance, so keep internal components spotless.
Schedule routine maintenance checks that include lubricating moving parts and inspecting electrical connections.
These preventive measures assure your printer operates smoothly over time, delivering the precision gaming miniatures demand for competitive play and display.
Execute Proper Post-Processing Techniques

While your printer determines initial quality, post-processing transforms raw prints into professional gaming miniatures ready for tabletop action.
Proper post-processing techniques guarantee consistency across your printed miniatures while maintaining safety and print quality standards.
For high-quality resin prints, follow these essential steps:
- Wash thoroughly – Use isopropanol alcohol or water (for water-washable resin) to remove uncured material.
- Cure under UV light – Expose prints for 2-5 minutes to enhance strength and stability.
- Remove supports carefully – Use cutting tools or pliers to avoid damaging intricate details.
- Maintain safety protocols – Always wear nitrile gloves and facemasks during resin handling.
The wash and cure process is critical for achieving professional results.
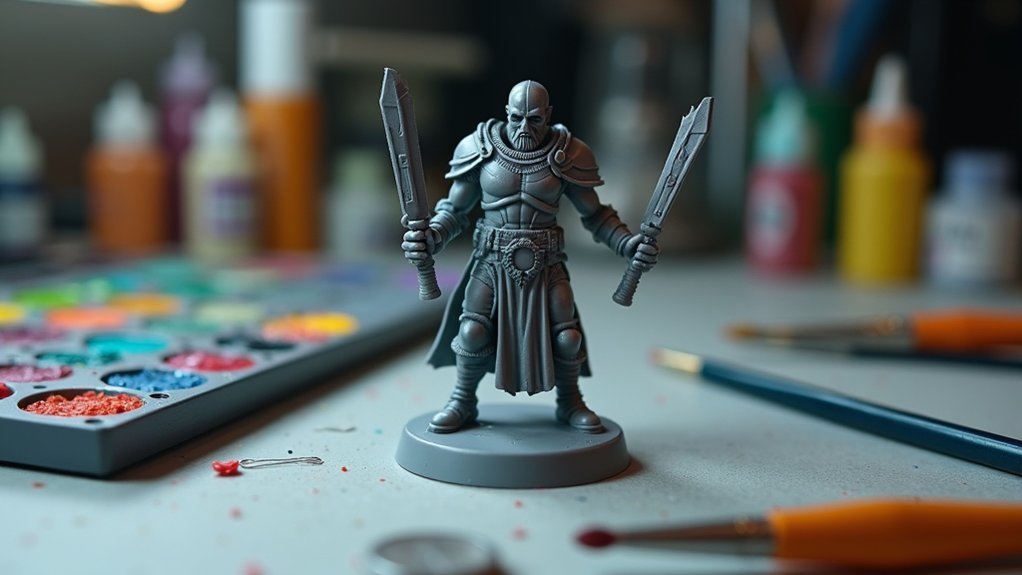
Trim filament prints’ brims with hobby knives for clean finishes ready for painting.
Troubleshoot Common Miniature Printing Failures
Even perfect post-processing can’t salvage a failed print, making troubleshooting skills your most valuable asset for consistent miniature production.
Start with building plate alignment – misaligned plates cause adhesion issues and immediate print failures.
Next, evaluate your layer exposure settings. You’ll need to adjust exposure times based on your specific resin and layer height, as incorrect timing creates underexposed details or overly rigid models.
Layer exposure timing determines whether your miniature emerges with crisp details or becomes an unusable mess of cured resin.
When using supports, verify they’re strategically placed for delicate miniature features to prevent sagging.
Don’t overlook regular maintenance of your LCD screen and FEP film, as worn components cause inconsistent quality.
Finally, monitor environmental conditions like temperature and humidity, since fluctuations directly impact resin curing and cause warping.
Scale Your Production Workflow Efficiently
Once you’ve mastered individual miniature printing, shifting to scaled production requires strategic workflow optimization that balances efficiency with quality control.
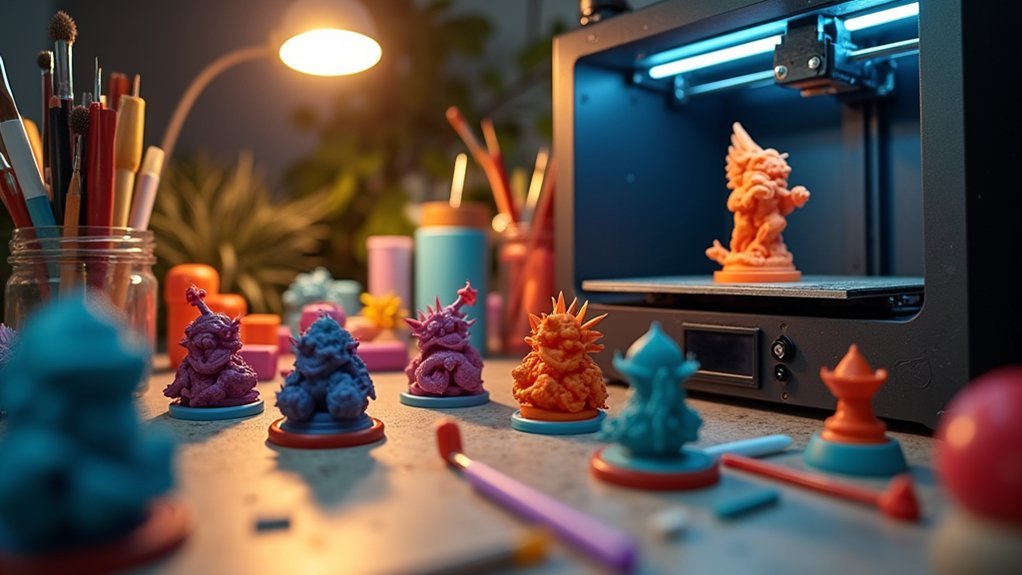
Assess your printers’ capabilities by selecting appropriate technologies—resin for detailed miniatures, FDM for terrain pieces—to maximize output quality.
Implement these automation strategies to scale efficiently:
- Automate printing schedules across multiple printers to maintain continuous production cycles
- Streamline post-processing with larger washing and curing stations for batch handling
- Establish quality checkpoints throughout your workflow to catch issues early
- Invest in automated support removal tools to reduce manual labor
Conduct thorough market research to identify competitors and adapt your production workflow accordingly.
Focus on maintaining consistent quality standards while increasing volume, ensuring your scaled operation meets market demands without compromising the precision that makes miniatures exceptional.
Frequently Asked Questions
What Is the 45 Degree Rule for 3D Printing?
You should angle overhangs and features at 45 degrees or less from the build plate. This minimizes support structures needed, reduces print failures, and improves surface quality while saving time and material.
What Is the Best Layer Height for Printing Miniatures?
You’ll want 50 micrometers for standard miniatures, balancing detail and speed. For high-detail pieces, use 10-15 micrometers but expect longer print times. Always test different heights to find what works best.
What Is the Best Angle to Print Miniatures?
You’ll achieve the best results printing miniatures at 30-45 degrees. This angle reduces layer lines, minimizes supports, improves detail fidelity, and allows better resin drainage for hollow models while preventing adhesion issues.
What Is the Most Profitable Thing to 3D Print?
You’ll find gaming miniatures are the most profitable 3D prints, especially pre-supported resin models. They command $5-50 each, target passionate hobbyists, and you can batch print multiple pieces efficiently.


Leave a Reply