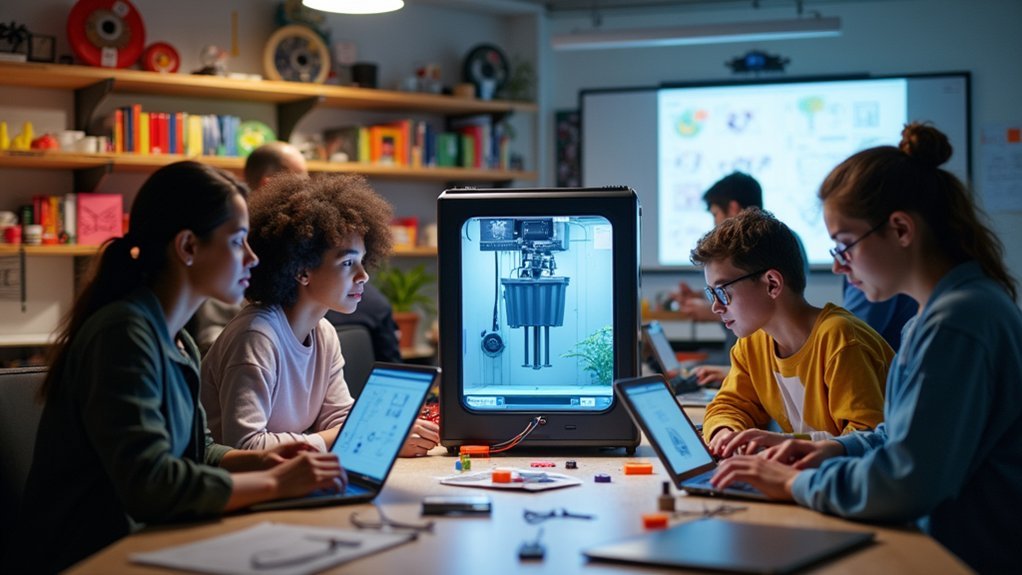
Start by organizing meetings between departments to identify shared learning objectives where 3D printing can bridge STEM, arts, and humanities. Form cross-disciplinary teaching teams and establish a centralized digital platform to coordinate projects and resources. Create integrated curriculum around real-world applications, develop resource-sharing protocols for equipment, and schedule regular inter-department planning sessions. Build community partnerships for authentic project contexts and provide faculty training in collaborative 3D design software. This foundation will facilitate deeper implementation strategies.
Identify Common Learning Objectives Across Departments

When you’re launching cross-subject 3D printing collaborations, you’ll need to start by identifying shared educational goals that span multiple departments.
Begin by organizing meetings where students and teachers from different subjects can discuss common themes. You’ll discover opportunities where STEM skills naturally integrate with design principles through hands-on 3D printing projects.
Focus on specific applications like creating historical models for social studies or engineering prototypes for science experiments.
When departments need to collaborate effectively, establish clear communication channels that promote unified project-based learning approaches.
Address real-world challenges that resonate across subjects, such as designing sustainable environmental solutions while incorporating artistic elements.
This approach guarantees you get the support you need while maximizing shared resources and expertise across all participating departments.
Establish a Shared Digital Platform for Project Management
Once you’ve aligned your departments around common learning objectives, you’ll need a centralized system to coordinate your collaborative 3D printing efforts. A shared digital platform like 3YOURMIND provides the essential infrastructure for managing complex 3D printing projects across multiple departments.
You’ll benefit from centralized part management, real-time communication through comment functionality, and streamlined collaboration workflows.
The platform’s AM Part Identifier Panel helps you make informed decisions by displaying economic and technical data for each component. You can track project progress using workflow status bars, ensuring all team members stay synchronized throughout different phases.
Track project progress and make informed decisions with real-time economic and technical data for seamless team synchronization.
Additionally, integrated resource management optimizes material usage and reduces costs. This centralized approach eliminates confusion, prevents duplicate work, and creates transparency that’s vital for successful cross-departmental collaboration in educational 3D printing initiatives.
Form Cross-Disciplinary Teaching Teams

After establishing your digital platform, you’ll need to assemble cross-disciplinary teaching teams that bring together educators from different subject areas to maximize 3D printing’s educational potential.
Start by recruiting teachers from STEM, arts, history, and technology fields who can contribute unique perspectives to projects. Make certain you establish clear objectives that align with specific learning goals across all subjects involved.
Schedule regular team meetings to discuss progress, share resources, and address challenges collaboratively. You’ll need to foster open communication among all members to guarantee successful project outcomes.
Focus on student-driven initiatives like creating historical models or scientific prototypes that demonstrate real-world applications of printing technology. This approach enhances engagement while showing students how different disciplines connect through practical, hands-on learning experiences.
Design Integrated Curriculum Around Real-World Applications
Since your cross-disciplinary teams are in place, you’ll design integrated curriculum that connects 3D printing projects to authentic, real-world challenges students encounter beyond the classroom.
Create projects like Vermont’s historic building models, where students research architectural history while developing technical skills in TinkerCad, SketchUp, and Fusion 360. These experiences combine historical research with engineering design principles, transforming abstract concepts into tangible models.
Structure assignments that require students to present their creations with detailed narratives and contextual analysis. When geometric concepts appear like a pop-up window during building reconstruction projects, students grasp complex mathematical relationships through hands-on manipulation.
Encourage modifications and iterations, allowing learners to problem-solve real architectural challenges. This approach strengthens understanding across mathematics, history, and engineering simultaneously while developing critical thinking skills through authentic applications.
Create Resource Sharing Protocols for Equipment and Materials

When multiple departments share 3D printing resources, you’ll need clear protocols that prevent equipment bottlenecks and material shortages from derailing collaborative projects.
Start by establishing a centralized inventory system that tracks equipment and materials across departments, giving everyone visibility into what’s available. Create a shared scheduling calendar for 3D printers so teams can book time slots without conflicts.
Develop a resource-sharing agreement that clearly outlines user responsibilities, maintenance expectations, and usage guidelines. This prevents disputes and guarantees equipment stays in good condition.
Implement training workshops that teach best practices for using shared resources safely and efficiently.
Use collaboration platforms to document successful strategies and solutions, creating a knowledge base that helps teams continuously improve their resource-sharing efforts.
Develop Student Assessment Rubrics for Collaborative Projects
You’ll need to establish clear assessment criteria that evaluate both the technical quality of 3D printed models and the historical accuracy of integrated narratives.
Your rubric should measure collaborative skills through specific indicators like communication effectiveness, task distribution, and conflict resolution during the project timeline.
Don’t forget to include peer evaluation components that allow students to assess each other’s contributions to teamwork and problem-solving processes.
Define Assessment Criteria
While traditional assessments often fall short in evaluating collaborative projects, well-designed rubrics can capture the multifaceted nature of cross-subject 3D printing work.
You’ll need to establish specific criteria for research quality, ensuring students demonstrate thorough understanding of historical contexts and technical requirements.
Include collaboration effectiveness measures that assess teamwork, communication, and shared responsibility.
Define presentation skills benchmarks that evaluate students’ ability to articulate their design decisions and learning connections.
Focus on technical competencies like accuracy in historical replication and proficiency with design software such as TinkerCad or SolidWorks.
Incorporate peer assessment components to foster accountability and strengthen collaborative dynamics.
Establish performance standards that emphasize cross-disciplinary connections between history, technology, and art.
Consider integrating feedback from guest judges to align your rubric with industry standards and real-world applications.
Measure Collaborative Skills
Building effective assessment criteria requires specific rubrics that measure how well students collaborate throughout their 3D printing projects.
You’ll need to develop clear criteria focusing on communication, teamwork, and problem-solving skills to help students understand expectations across different subjects.
Include specific metrics that evaluate each student’s contribution, particularly their ability to share ideas, listen actively, and integrate feedback effectively.
You should incorporate peer assessments to encourage accountability while promoting reflection on collaborative efforts.
Don’t forget to add self-assessment components that allow students to evaluate their own skills and establish personal improvement goals.
Make sure your collaborative skill assessments align with educational standards and learning objectives, creating coherence and relevance across all subject areas involved in your 3D printing initiatives.
Schedule Regular Inter-Department Planning Sessions
Since departments often work in silos, establishing regular inter-department planning sessions creates the foundation for successful 3D printing collaborations.
You’ll need to break down communication barriers and align different teams’ objectives to maximize your 3D printing initiatives’ impact.
Here’s how to structure effective planning sessions:
- Use collaborative scheduling tools that allow all departments to participate and contribute their unique perspectives.
- Create space for sharing challenges so each team can express their specific constraints and requirements.
- Document every outcome and action item to maintain accountability and track collaborative progress.
- Incorporate dedicated brainstorming time to generate innovative ideas that add value across multiple projects.
- Establish consistent meeting cadence to maintain momentum and guarantee ongoing communication between departments.
These sessions transform isolated efforts into coordinated strategies.
Build Community Partnerships for Authentic Project Contexts
When you connect your 3D printing projects to real community needs, you’ll transform abstract learning into meaningful experiences that resonate with students long after graduation.
Start by reaching out to local historical societies and museums to create authentic historical recreations that bring textbooks to life. Partner with businesses using 3D printing technology to show students real career applications and professional workflows.
Transform classroom learning by partnering with local museums and businesses to create authentic historical recreations and real-world career connections.
Collaborate with environmental organizations to develop sustainability-focused projects that address local ecological challenges. Connect with community leaders to identify pressing issues your students can tackle through innovative 3D printing solutions.
Use online platforms and social media to showcase student work and build partnerships with other schools, creating a network of collaborative learning that extends far beyond your classroom walls.
Train Faculty in Cross-Curricular 3D Design Software
You’ll need to choose the right 3D design software platforms that align with your faculty’s technical comfort levels and curriculum goals.
Start with user-friendly options like TinkerCad for beginners, then progress to more advanced tools like Fusion 360 or SolidWorks as confidence builds.
Your workshop design should prioritize hands-on learning where teachers actually create projects they can immediately implement in their classrooms.
Software Platform Selection
How can educators effectively bridge subject boundaries through 3D design when they’re unfamiliar with the necessary software tools?
You’ll need to select the right platform that matches your faculty’s skill levels and curriculum goals. The software you choose will determine how successfully your teachers can integrate 3D design across subjects.
Consider these essential platforms for cross-curricular collaboration:
- TinkerCad – Perfect for beginners with its drag-and-drop interface and browser-based accessibility
- SketchUp – Ideal for architectural and geometric projects with intuitive modeling tools
- Fusion 360 – Advanced parametric modeling for engineering and complex design challenges
- SolidWorks – Professional-grade software for technical education and precise manufacturing
- Blender – Free, open-source option with powerful sculpting and animation capabilities
Choose software that aligns with your faculty’s technical comfort level while offering growth potential for advanced projects.
Hands-On Workshop Design
Successful faculty training requires structured, hands-on workshops that transform theoretical knowledge into practical skills. Design your workshops to introduce multiple 3D design platforms, emphasizing how each tool serves different educational contexts.
| Software | Best For | Learning Curve | Subject Applications |
|---|---|---|---|
| TinkerCad | Beginners | Easy | Elementary STEM, Basic Arts |
| SketchUp | Architecture/Design | Moderate | Geography, Art, History |
| Fusion 360 | Engineering | Advanced | Physics, Advanced Manufacturing |
| SolidWorks | Professional CAD | Expert | Engineering, Technical Education |
Create collaborative projects where faculty team up across disciplines, building 3D models relevant to their curricula. Provide step-by-step integration guidance for lesson plans, demonstrate finishing techniques, and include historical context applications. Encourage continuous professional development through future workshops and online communities focused on 3D printing advancements.
Document and Share Project Outcomes for Future Iterations
Once your cross-subject 3D printing project reaches completion, you’ll need to capture and document every aspect of the collaboration to maximize its value for future initiatives.
Creating a thorough knowledge base guarantees your hard work benefits subsequent cross-disciplinary partnerships.
- Compile research findings and design iterations into detailed documentation that tracks your project’s evolution and decision-making process.
- Develop shareable outputs like brochures, posters, and Google Slides presentations to engage other departments and gather valuable feedback.
- Build digital platforms including websites or virtual tours that provide immersive insights into your methodologies and outcomes.
- Include quantifiable metrics such as cost savings and time efficiency to demonstrate tangible benefits and encourage future collaborations.
- Celebrate successes publicly to foster collaborative culture and motivate broader departmental participation.
Frequently Asked Questions
What Is the 45 Degree Rule for 3D Printing?
You should limit overhangs to 45 degrees from vertical when 3D printing. This prevents sagging and deformation, eliminates support structures, reduces material waste, and improves print quality while saving time.
What Is the Most Profitable Thing to 3D Print?
You’ll find customized prosthetics, dental implants, and jewelry most profitable since they command premium prices. Spare parts for machinery also generate high margins due to limited availability and on-demand production capabilities.
Is There Anything Illegal to 3D Print?
You can’t legally 3D print weapons, drugs, or counterfeit items. Many countries require metal components in printed firearms for detection. Always check your local laws before printing anything questionable or potentially restricted.
How Do People Combine Multiple 3D Printed Parts?
You’ll combine 3D printed parts using interlocking features, mechanical fasteners, or adhesives. Design joints in CAD software, then sand surfaces smooth and assemble pieces together for stronger, more complex final products.


Leave a Reply