You’ll need weather-resistant materials like PETG or ABS when 3D printing custom license plate frames, as standard PLA won’t withstand outdoor conditions. Design your frame to standard 12×6 inch dimensions using software like Fusion 360, ensuring you don’t obstruct any plate information to avoid state regulation violations. Print with 0.2mm layers at 20% infill, then apply automotive-grade paint for durability. The sections below cover complete specifications and professional finishing techniques.
Legal Requirements and State Regulations for License Plate Frames
Before you begin 3D printing a custom license plate frame, you must understand that state regulations vary greatly and can result in costly fines if violated.
Texas and California prohibit frames that obstruct essential information on license plates, including state names and numbers.
New York allows custom frames only if they don’t alter or obscure any portion of the plate, emphasizing visibility requirements.
Illinois enforces strict laws against frames that hinder readability or camera functionality.
Florida has increased police checks for obstructive accessories, making compliance vital.
You should regularly inspect your frames to guarantee adherence to current laws.
Review your state’s specific guidelines before purchasing or creating custom frames to avoid legal issues and maintain proper visibility standards.
Selecting the Right 3D Printing Materials for Outdoor Durability
You’ll need to choose materials that can handle constant exposure to rain, snow, and temperature fluctuations without cracking or warping.
Weather-resistant options like PETG, ABS, or specialized outdoor filaments offer superior durability compared to standard PLA for this application.
UV protection becomes critical since prolonged sun exposure will cause most plastics to fade, become brittle, and eventually fail if you don’t select materials with built-in UV stabilizers.
Weather Resistant Material Options
When creating license plate frames that’ll face constant exposure to sun, rain, and temperature fluctuations, your material choice determines whether your project lasts months or years.
Weather-resistant materials like PLA, ABS, and PETG each offer distinct advantages for outdoor applications.
PLA provides excellent rigidity and biodegradability but struggles with high heat and moisture exposure.
ABS delivers superior impact resistance and temperature tolerance, making it perfect for long-term outdoor use, though you’ll need proper ventilation during printing due to toxic fumes.
PETG stands out as the ideal compromise, combining PLA’s ease of printing with ABS’s durability while offering exceptional moisture resistance.
For maximum longevity, consider applying protective sealants or choosing materials with built-in weather-resistant coatings to further enhance your frame’s outdoor performance.
UV Protection Properties
Ultraviolet rays act like invisible hammers, gradually breaking down polymer chains in most 3D printing materials and turning your crisp license plate frame into a brittle, faded disappointment. You’ll need UV-resistant plastics to combat this deterioration.
| Material | UV Resistance | Outdoor Suitability |
|---|---|---|
| ASA | Excellent | Ideal for frames |
| PETG | Good | Solid choice |
| PLA | Poor | Avoid outdoors |
| ABS | Moderate | Needs stabilizer |
| Standard PLA | Very Poor | Indoor only |
ASA and PETG offer exceptional protection against sun damage without requiring additional treatments. While ABS provides decent resistance, you’ll need UV stabilizers for peak performance. PLA shouldn’t be considered for outdoor applications. You can also apply UV-resistant coatings as extra protection, creating a barrier that extends your frame’s lifespan considerably.
Design Software and CAD Tools for License Plate Frame Creation
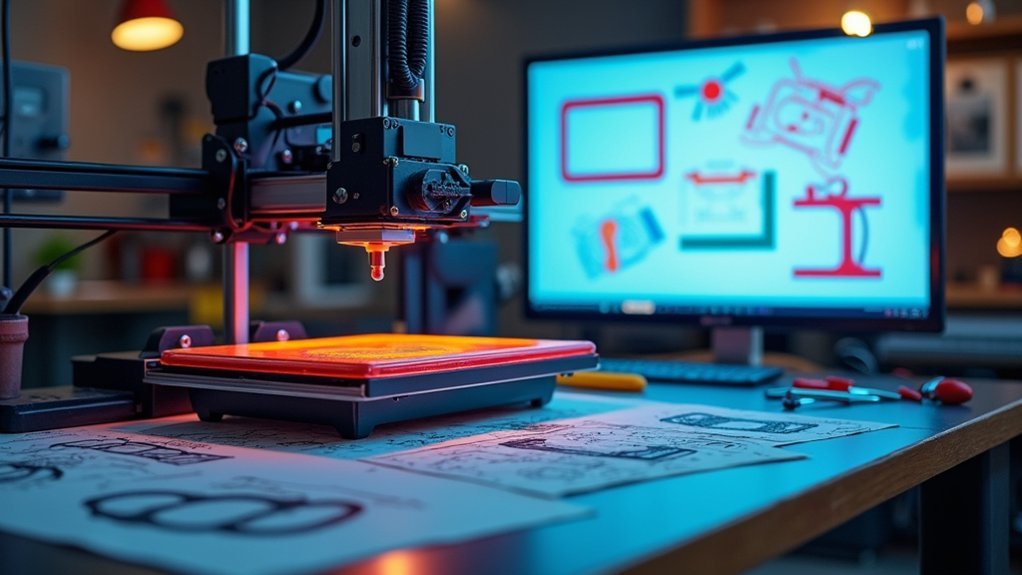
Several excellent CAD software options can help you design professional-looking license plate frames from scratch. Fusion 360 stands out as the most popular choice due to its intuitive interface and extensive YouTube tutorial resources.
You’ll benefit from the free Hobbyist license, which provides essential tools for creating dimensioned sketches and 3D models. This design software lets you export DXF files that production platforms like Send Cut Send accept for manufacturing.
If you’re seeking alternatives, consider Onshape for its collaborative features and free version, or Adobe Illustrator for 2D sketches.
While Solidworks offers powerful capabilities, it’s often overwhelming for beginners. Fusion 360 remains the most accessible option when you’re new to CAD design, making it ideal for your first license plate frame project.
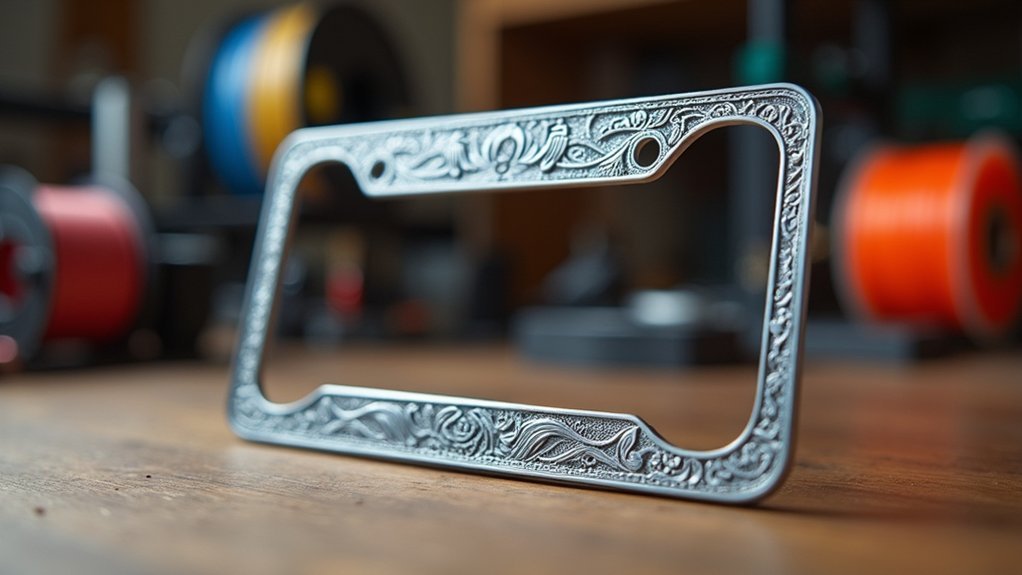
Essential Design Specifications and Dimensional Requirements
Getting your license plate frame dimensions right guarantees a perfect fit and professional appearance for your 3D printed project.
Precise dimensions ensure your 3D printed license plate frame achieves a flawless, professional fit every time.
You’ll need to design your License Plate Frame with specific measurements: 12 x 6 inches to match standard U.S. license plates. Position mounting holes 0.5 inches from the top edge and center them horizontally for secure attachment.
Set your frame thickness at approximately 0.25 inches to ensure the plate fits snugly without covering essential information.
Include ±0.1 inch tolerance allowances to account for 3D printing variations and guarantee consistent fitting across different printers.
Consider adding installation hooks to your License Plate Frame design for easier mounting and removal while maintaining structural integrity throughout the printing and installation process.
3D Printing Settings and Layer Optimization Techniques
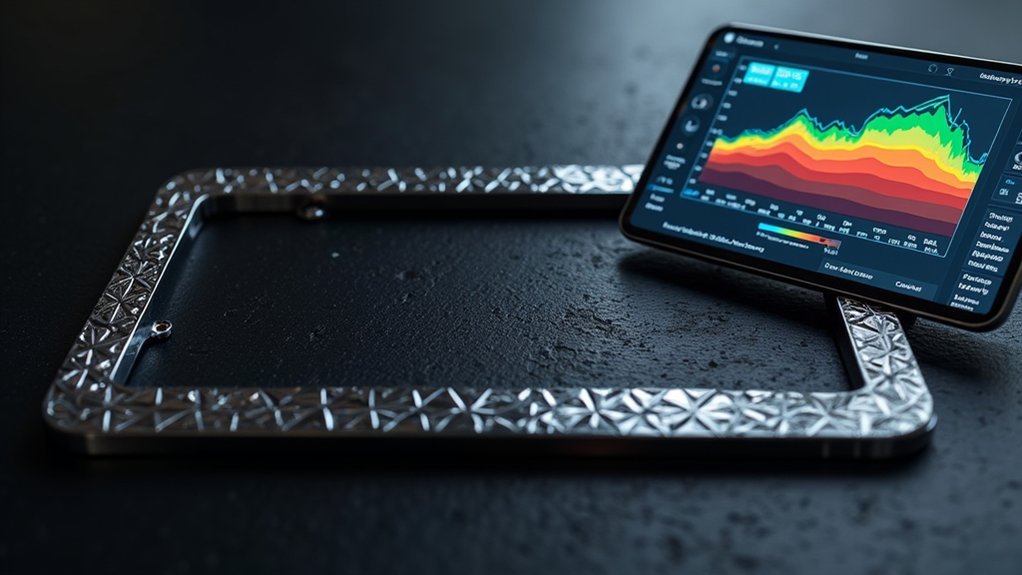
Three critical settings determine your license plate frame’s print quality: layer height, print speed, and temperature control. Set your layer height to 0.2 mm for ideal balance between detail and strength in your 3D printing project. This setting guarantees clean edges and smooth surfaces on your license plate frame.
Configure print speed between 50-60 mm/s to maintain proper adhesion and prevent defects at corners. Use 20% minimum infill density for durability, increasing to higher percentages for larger frames requiring additional strength.
Set nozzle temperature at 200-220°C for PLA filament, adjusting based on manufacturer specifications. Enable heated bed at 60°C with adhesion aids like glue stick to prevent warping.
These enhanced settings assure professional-quality license plate frames with consistent layer bonding and dimensional accuracy.
Post-Processing Methods for Professional Finishing
Once you’ve finished printing your license plate frame, you’ll need to focus on three key post-processing areas to achieve a professional result.
Surface smoothing techniques will eliminate those visible layer lines and create a sleek appearance that rivals commercially manufactured frames.
You’ll then apply paint and protective coatings before completing the hardware assembly steps that make your frame ready for installation.
Surface Smoothing Techniques
Several surface smoothing techniques can transform your 3D printed license plate frame from a clearly layered prototype into a professional-looking finished product.
You’ll want to start with mechanical methods like sanding, which works well across all materials. For ABS frames, vapor smoothing with acetone creates an exceptionally smooth finish, while a heat gun can soften surface imperfections on most thermoplastics.
Chemical smoothing agents like xylene provide excellent results but require proper ventilation and safety equipment. You can also apply primer before painting to fill layer lines and improve surface uniformity.
For maximum durability, consider epoxy resin coatings that simultaneously smooth imperfections and protect against UV damage.
Remember that surface smoothing techniques vary by material—what works for PLA differs from ABS or PETG requirements.
Paint and Coating
After achieving a smooth surface through mechanical or chemical methods, paint and coating application transforms your 3D printed license plate frame into a truly professional-looking product.
You’ll want to start with a quality primer that enhances adhesion and creates an even base for your chosen finish.
For ideal results, consider these coating options:
- Weather-resistant spray paint – Provides excellent outdoor durability and fade resistance
- Automotive-grade paints – Delivers superior protection against environmental conditions
- Powder coating – Offers the most professional, long-lasting finish available
After applying your base paint, you can add a clear coat for enhanced gloss and UV protection.
This final coating layer also helps prevent scratches and maintains your frame’s appearance over time.
Hardware Assembly Steps
The final assembly stage brings together your freshly painted frame with the essential hardware components that’ll secure it to your vehicle. Before attaching any mounting hardware, verify your plate holder has fully cured from the clear coat application. This prevents damage to your professionally finished surface.
| Component | Installation Method |
|---|---|
| Mounting screws | Hand-tighten through pre-drilled holes |
| License plate | Align with frame aperture before securing |
| Anti-theft caps | Press-fit over exposed screw heads |
Start by positioning your license plate within the frame’s opening, ensuring even spacing around all edges. Insert the mounting screws through both the plate and frame, then secure to your vehicle’s mounting points. The combination of proper post-processing and careful assembly creates a durable, professional-looking plate holder.
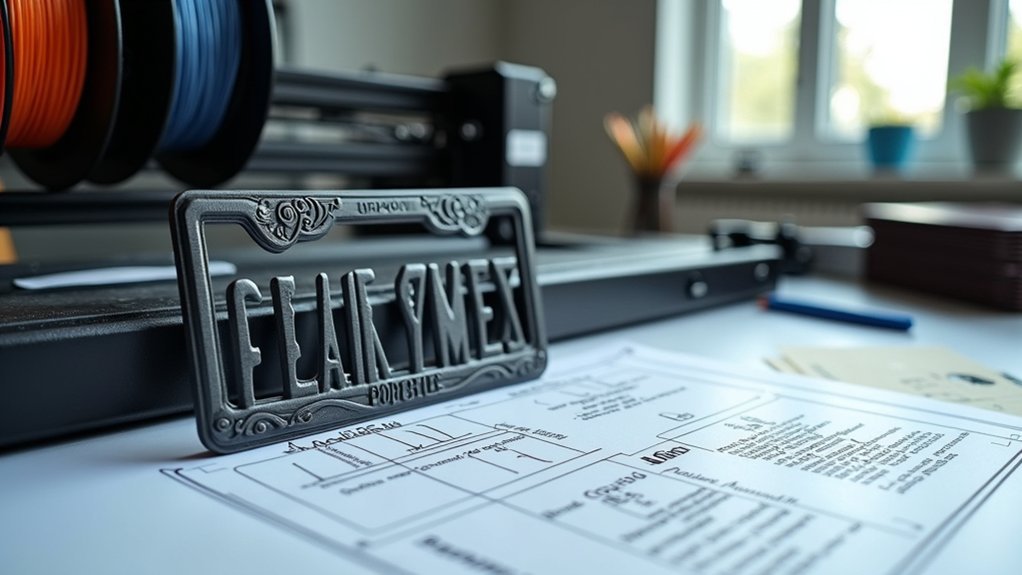
Customization Options for Logos, Text, and Branding
While standard license plate frames serve their basic function, 3D printing opens up endless possibilities for creating personalized designs that showcase your unique style or business brand.
You can transform a simple custom license plate frame into a powerful branding tool that enhances visibility wherever you drive.
The V 2.0 Customizable License Plate Frame model’s 1k downloads demonstrate the community’s enthusiasm for personalized options.
When designing your frame, you’ll have complete control over:
- Logo integration – Embed company logos or personal emblems directly into the frame structure
- Text customization – Add slogans, contact information, or personalized messages using various fonts
- Dimensional flexibility – Adjust frame thickness, borders, and overall aesthetics to match your brand identity
Using durable PLA material guarantees your custom designs withstand weather conditions while maintaining professional appearance.
Installation Process and Mounting Hardware Selection
Installing your 3D-printed license plate frame requires just two main components: the frame itself and appropriate mounting hardware.
Start by removing your existing license plate and carefully aligning the frame with the plate holes to guarantee proper fit. Use compatible screws or hooks designed for standard U.S. license plates and frames.
Choose mounting hardware based on your frame’s material – stainless steel or plastic screws prevent rusting and degradation over time.
Ascertain the frame doesn’t obstruct any necessary information on your license plate, as this can result in fines or legal complications.
After installation, regularly inspect the frame to confirm it remains securely mounted and compliant with local regulations regarding visibility and obstructions.
Frequently Asked Questions
How Much Does It Cost to 3D Print a Custom License Plate Frame?
You’ll spend $5-15 for materials like PLA or PETG filament. If you’re outsourcing, expect $20-50 depending on complexity and local pricing. Your design intricacy and chosen material greatly impact costs.
How Long Does It Take to Design and Print a License Plate Frame?
You’ll spend 1-3 hours designing your frame using CAD software, then 4-8 hours printing depending on complexity and settings. Total time’s typically 6-10 hours from concept to finished product.
Can I Sell My 3D Printed License Plate Frame Designs Commercially?
You can sell original 3D printed license plate frame designs commercially. However, you’ll need proper business licensing, must guarantee designs don’t infringe copyrights, and should verify local regulations regarding automotive accessories.
What Should I Do if My Printed Frame Cracks or Breaks?
If your printed frame cracks or breaks, you’ll need to replace it immediately for safety and legal compliance. Remove the damaged frame, inspect your car’s mounting points, then print or purchase a new replacement frame.
Are There Any Insurance Implications for Using Custom License Plate Frames?
You should check your auto insurance policy’s fine print, but custom frames typically won’t affect coverage. However, if they obstruct license plate visibility or cause accidents, you’d face liability issues.
Leave a Reply