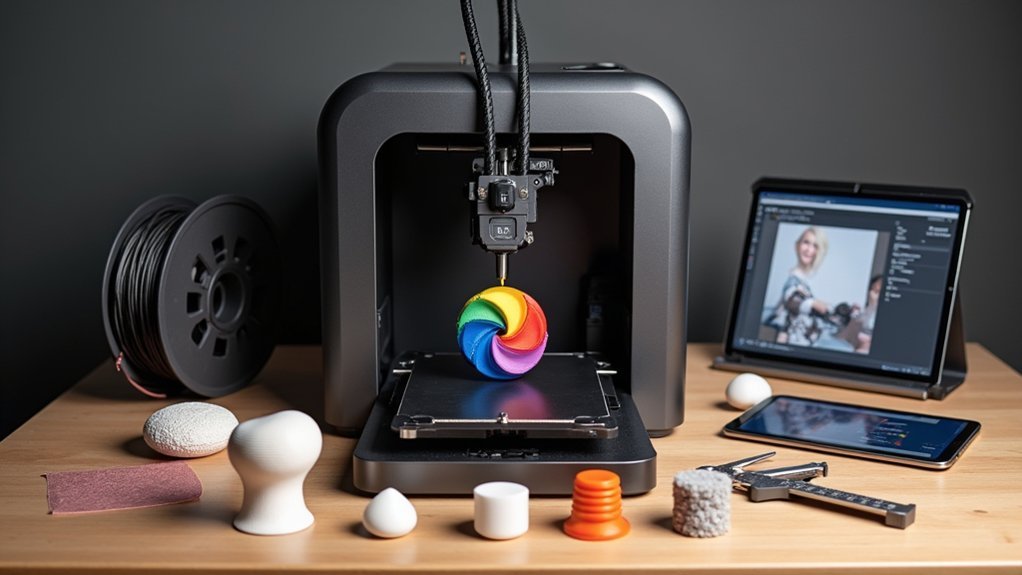
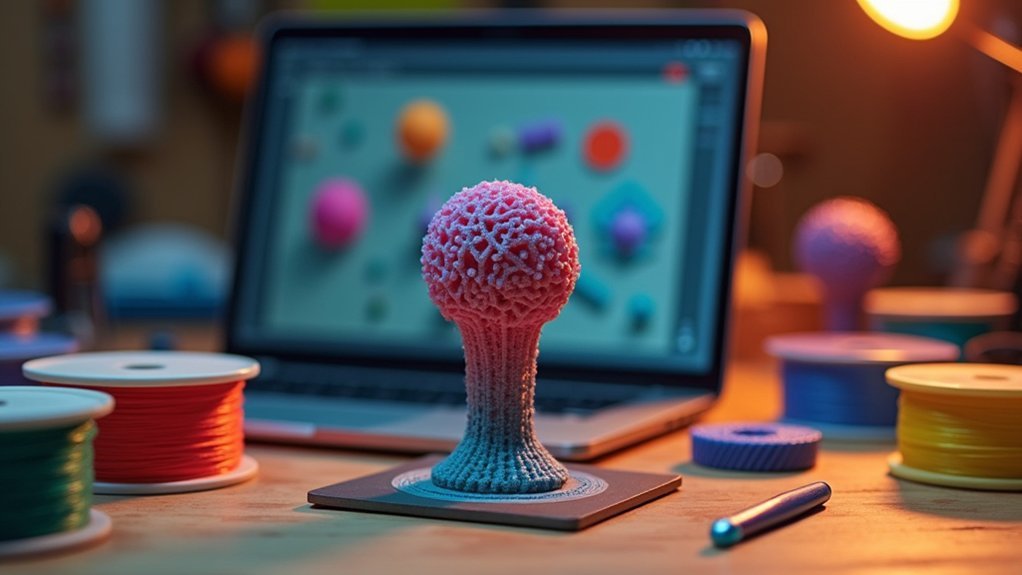
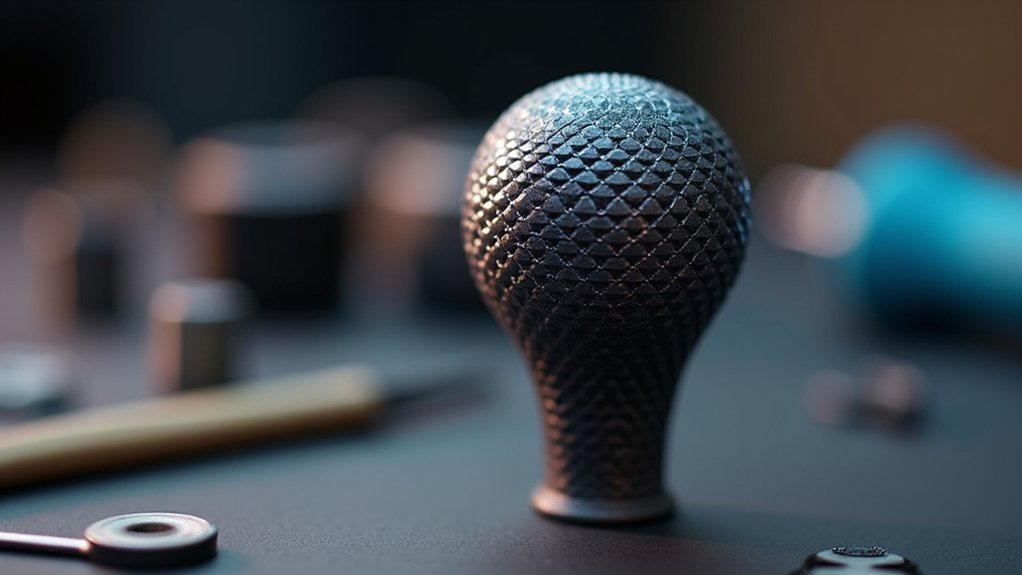
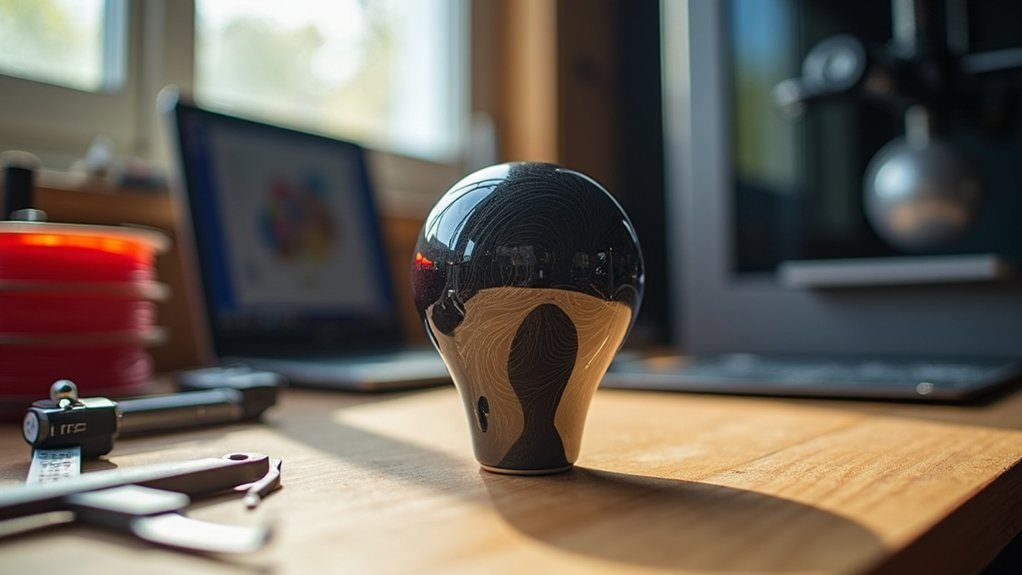
You’ll need a 3D printer, design files from Thingiverse, and materials like ABS plastic for durability. Start by downloading basic shift knob designs and customize them using free software like Tinkercad. Print with 0.1-0.2mm layer height and 60% infill for strength. Sand with P600 grit sandpaper, apply clear coat, then install by unscrewing your old knob and threading on the new one. Verify thread compatibility—most imports use 10×1.5mm threads. This guide covers everything you’ll need to create professional-quality custom shift knobs.
Required Tools and Materials for 3D Printing Shift Knobs

Before you can create your custom shift knob, you’ll need to gather the essential tools and materials for the project.
Gathering the right tools and materials upfront ensures your custom shift knob project runs smoothly from start to finish.
You’ll require access to a 3D printer or professional print service, along with a Thingiverse account for downloading design files. Choose between Laywoo-D3 filament for wood-like appearance or durable ABS plastic based on your preferences and print settings requirements.
Design software like Tinkercad enables you to customize shift knob designs effectively.
You’ll need strong adhesive such as E6000 for assembly, P600 grit sandpaper for smoothing surfaces, and clear coat for protective finishing.
Confirm your custom shift knob design includes proper screw threading—typically 10 x 1.5 for Honda vehicles—to guarantee secure attachment to your car’s shifter mechanism.
Downloading and Selecting Design Files From Thingiverse
You’ll need to create a Thingiverse account and browse their collection of shift knob designs to get started with your project.
For basic options, look for files like ShiftKnobOutside and ShiftKnobInside, which you can find at http://www.thingiverse.com/thing:109839.
If you’re interested in more unique designs, check out exotic options like the one available at http://www.thingiverse.com/thing:45584.
Finding Basic Knob Files
Where can you find the foundation files needed to start your custom shift knob project? Thingiverse.com serves as your primary resource for basic shift knob files.
Search specifically for “ShiftKnobOutside” and “ShiftKnobInside” to locate the essential components. These basic shift knob files provide the structural foundation for your custom shift knob design.
You’ll also need to download the “CustomShiftKnobCutout” file, which enables personalized modifications.
Browse existing designs on Thingiverse for inspiration and identify features you’d like to incorporate into your project. Before downloading any files, verify they’re compatible with your vehicle’s specifications, particularly ensuring the screw thread size matches the standard 10 x 1.5 requirement.
Create a Thingiverse account to save and easily access these files for future design modifications.
Selecting Custom Design Options
Once you’ve established your Thingiverse account, you can explore the extensive library of shift knob designs to find options that match your style preferences.
Browse through countless designs ranging from basic geometric shapes to exotic patterns that’ll make your custom vehicles stand out. The basic shift knob design at http://www.thingiverse.com/thing:109839 provides an excellent starting point for beginners.
For more adventurous builders, check out the exotic example at http://www.thingiverse.com/thing:45584 to see advanced possibilities.
When selecting designs for your printed shift knob project, prioritize files that include clear instructions and proper scaling.
Remember that your custom shift knob must accommodate the 10 x 1.5 threaded shaft, so choose designs with sufficient base dimensions for proper vehicle compatibility.
Customizing Designs Using Tinkercad

When you’re ready to add personal flair to your shift knob, Tinkercad offers an intuitive platform that transforms basic designs into custom masterpieces.
Start by creating your free account and importing both your basic shift knob design and the CustomShiftKnobCutout file. This guarantees proper alignment during customizing designs.
Set the CustomShiftKnobCutout file to “Hole” mode to create necessary functional cutouts. Use Tinkercad’s alignment tools to center design elements on your knob’s face, then group objects to finalize cutouts.
You’ll have creative freedom to adjust dimensions, add logos, or incorporate unique shapes using the platform’s image converter tools.
Once you’re satisfied with your modifications, download the design as an .STL file for 3D printing or uploading to printing services.
Optimal Print Settings and Material Selection
You’ll need to understand how different materials affect your shift knob’s performance before selecting your print settings.
Each filament type offers unique characteristics—PLA provides ease of use, ABS delivers flexibility, while Nylon excels in toughness for high-stress applications.
Your layer height choice directly impacts both print quality and durability, with finer settings between 0.1-0.2mm producing smoother surfaces and better detail resolution.
Material Properties Comparison
While PLA filament might be your go-to material for basic prints, ABS plastic emerges as the superior choice for shift knobs due to its enhanced strength and flexibility under stress.
This material properties comparison reveals that PLA plastic lacks the durability needed for high-stress automotive applications where constant handling occurs.
Beyond standard options, Laywoo-D3 filament offers a unique wood-like appearance for aesthetic appeal.
However, you’ll need to disable your heated build plate and avoid accelerated settings to prevent warping.
For enhanced grip and performance, consider NylonG through dual extrusion techniques.
This textured material considerably improves handling during gear changes.
Each material brings distinct advantages, but ABS remains the most reliable foundation for functional shift knobs that withstand daily automotive use.
Layer Height Settings
Three critical layer height considerations determine whether your custom shift knob achieves professional-grade quality or falls short of automotive standards.
Your layer height settings directly impact surface finish, structural integrity, and overall appearance of 3D printed shift knobs.
For professional results, you’ll want to configure these essential parameters:
- Set layer height between 0.1-0.2mm for smooth surfaces and fine detail resolution that eliminates visible layer lines.
- Use 0.4mm or smaller nozzle diameter to achieve precision detailing, especially for logos, text, and intricate geometric patterns.
- Apply 60% infill density in high-stress areas while maintaining 10% infill elsewhere for ideal strength and durability without unnecessary weight.
These settings guarantee your shift knob withstands daily automotive use while maintaining the refined finish you’re seeking.
Post-Processing and Surface Finishing Techniques

Once your shift knob emerges from the printer, the real transformation begins through careful post-processing techniques.
Start with fine P600 sandpaper to achieve a smooth surface finish that’s both aesthetically pleasing and comfortable. For superior results, employ a multi-stage sanding process using varying grit levels, including wet sanding with water for ultimate smoothness.
Apply a gloss clear coat like indoor/outdoor spar urethane to protect your shift knob while adding a polished, professional appearance.
Experiment with different materials such as NylonG for textured finishes that enhance grip and visual appeal.
Consider acetone baths for smoothing certain plastics, though exercise caution with this method.
These finishing techniques transform your raw print into a premium-quality component that rivals commercial alternatives.
Assembly Methods and Hardware Integration
Transform your beautifully finished 3D printed shift knob into a functional component by focusing on precise hardware integration and assembly techniques. Proper assembly methods guarantee your custom knob performs reliably under daily driving conditions.
For peak hardware integration, consider these essential approaches:
- Thread Integration – Tap threads directly into your printed knob using 1.25 x 8 mm specifications for Honda applications, which provides superior accuracy and prevents stripping compared to printed threads.
- Lock Nut Implementation – Source an M8 lock nut to create a secure attachment that eliminates wobbling during operation.
- Dual Extrusion Modeling – Design the base and insert together in Fusion360, maintaining tight fit tolerances for seamless hardware integration while confirming the base diameter exceeds the threaded shaft for proper fitment.
Installation Process and Thread Compatibility
With your hardware properly integrated, you’re ready to tackle the installation process that brings your custom shift knob to life.
Start by removing your old shift knob—disconnect the shift boot and unscrew it from the shaft.
Thread compatibility is essential for a secure fit; verify your custom shift knob matches your vehicle’s specifications. Many imports, including the ’06 Honda Civic, use 10 x 1.5 mm threads.
If you didn’t print threads directly, consider tapping them post-printing for better accuracy.
Align and install your new knob, then carefully reattach the shift boot without over-tightening. This prevents damage to both the knob and shifter mechanism, ensuring your installation process delivers professional results.
Testing Durability and Performance Results
After installation, you’ll need to verify your 3D printed shift knob can handle real-world driving demands through thorough durability testing.
Your custom creation must withstand daily abuse without compromising performance or safety.
Essential testing procedures include:
- Stress Testing – Apply torque and impact forces simulating aggressive shifting to guarantee your knob won’t crack or deform under pressure.
- Temperature Resistance – Expose the shift knob to extreme heat and cold, as ABS and Nylon materials can lose structural integrity in harsh conditions.
- Material Hardness Assessment – Use a durometer to measure surface hardness, with higher ratings indicating better scratch and dent resistance.
Gather user feedback during regular driving, focusing on comfort, grip quality, and attachment mechanism reliability.
Monitor for finish degradation, including chipping, fading, or peeling over extended use periods.
Frequently Asked Questions
How to Make Your Own Shift Knob?
You can craft a custom shift knob by machining aluminum or wood, molding resin, or 3D printing. Design your shape, guarantee proper threading for your vehicle, finish with sanding and coating for durability.
Is There Anything Illegal to 3D Print?
You can’t legally 3D print copyrighted items, trademarked products, firearms without licenses, counterfeit money, fake IDs, or unapproved medical devices. Always research your local laws before printing anything questionable.
Can a 3D Printer Print Moving Parts?
You can 3D print moving parts by designing proper tolerances and clearances between components. Use flexible filaments, create joints and hinges, calibrate your printer precisely, and apply post-processing like sanding for maximum functionality.
Is It Possible to 3D Print Gears?
You can definitely 3D print gears, but you’ll need engineering-grade materials like nylon or ABS for durability. Design carefully considering tooth profiles and pitch, then expect post-processing for smooth operation.


Leave a Reply