
You’ll need to lubricate rods and lead screws every 500-1,000 printing hours using appropriate grease or light oils. Clean your build surface before each print with IPA and maintain print heads weekly with brass brushes. Check belt tension regularly for 1-2mm deflection, inspect wiring for damage, and monitor cooling systems for dust buildup. Keep firmware updated, maintain calibration within 1% accuracy, and document all maintenance activities in a detailed log. These foundational practices will open up advanced optimization strategies for your industrial printer.
Essential Lubrication Practices for Moving Components
Three critical moving components in your industrial 3D printer demand regular lubrication attention: rods, lead screws, and linear rails.
Apply lubricant every 500 to 1,000 printing hours as part of your printer maintenance routine to prevent wear and extend component lifespan.
Different motion systems require specific lubricants. Use grease for lead screws while avoiding plastic leadscrew nuts, and apply oils to linear rods for peak performance.
Match your lubricant to the motion system: grease for metal lead screws, light oils for linear rods and bearings.
Choose high-quality, non-greasy products that won’t attract dust and debris.
Regularly inspect lubrication levels during maintenance checks since lubricants can dry up or get pushed out after several hundred operating hours.
Properly lubricated moving parts guarantee smooth axis operation and prevent operational issues that could compromise print quality and mechanical reliability.
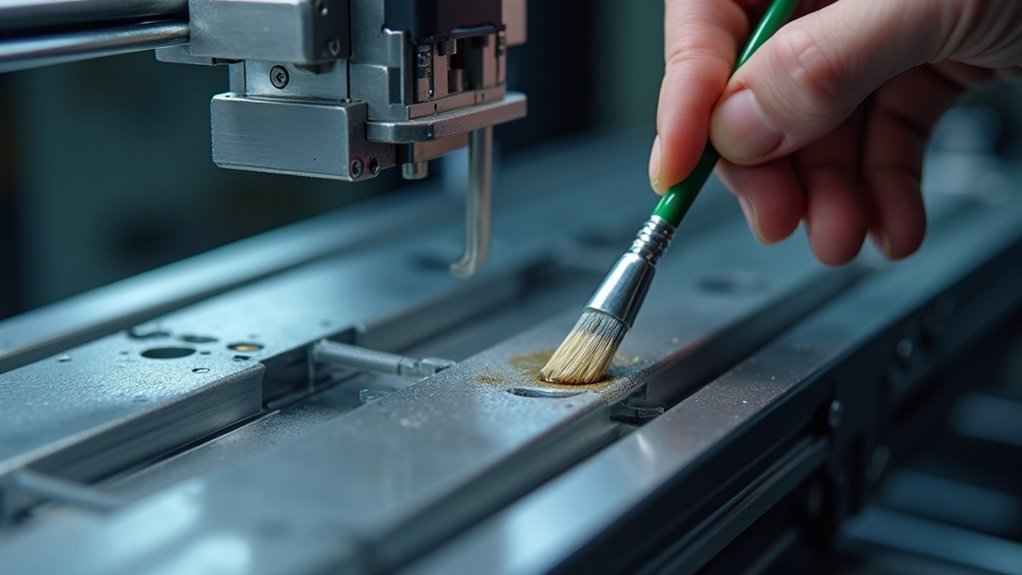
Regular Cleaning of Print Heads and Build Surfaces
While proper lubrication keeps your printer’s mechanical systems running smoothly, maintaining clean print heads and build surfaces proves equally important for consistent output quality. You’ll need to regularly check these components before each printing session to prevent material buildup that degrades filament quality and adhesion.
Use a microfiber cloth with isopropyl alcohol to wipe down your build surface, removing oils and dust. For nozzle maintenance, employ heated brass wire brushes or cold pull techniques to clear clogs.
| Component | Cleaning Frequency | Method |
|---|---|---|
| Build Surface | Before each print | IPA + microfiber cloth |
| Print Head/Nozzle | Weekly | Brass brush/cold pull |
| Deep Inspection | Monthly | Complete maintenance routine |
Establish this printer clean schedule to guarantee peak performance and extend equipment lifespan.
Belt Tension and Mechanical Component Inspection
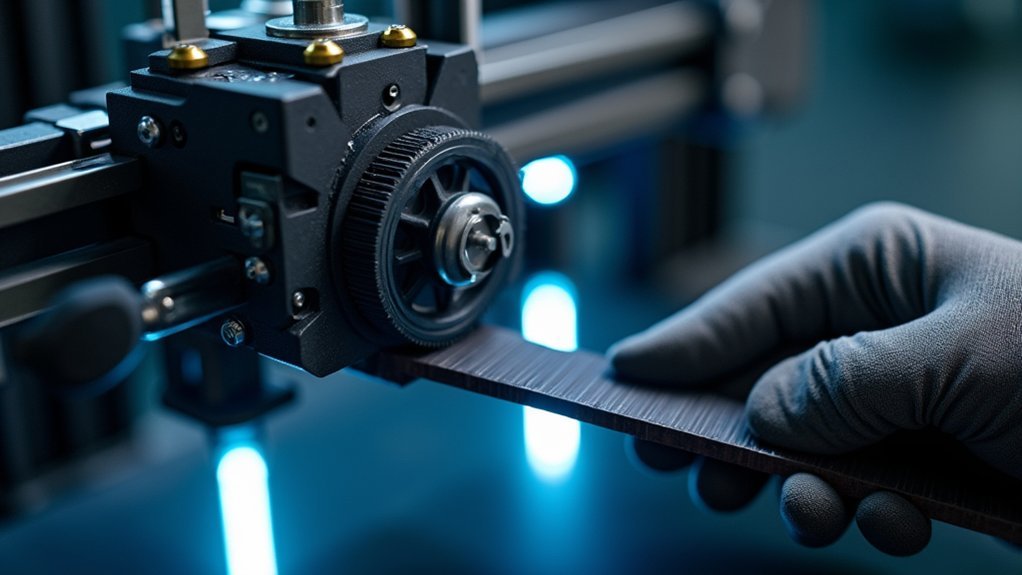
You’ll need to regularly check your printer’s belt tension to prevent print misalignment and quality issues.
Proper belt tension should allow about 1-2 mm of deflection when you press firmly at the midpoint.
Beyond belts, you must inspect all mechanical components like pulleys, lead screw couplers, and V-slot wheels for signs of wear or looseness that can develop during operation.
Belt Tension Adjustment
Maintaining proper belt tension stands as one of the most critical aspects of industrial 3D printer upkeep, directly impacting print precision and overall machine performance.
You’ll need to inspect belt tensioners regularly, as loose belts cause layer misalignment and greatly degrade print quality. Check tension by pressing the belt’s middle section—you should feel minimal deflection of only 1-2mm. Use a tension gauge or tuning fork method for accurate measurements, ensuring you don’t over-tighten components.
Inspect pulley attachment points frequently since printing vibrations can loosen screws and create slippage. Make adjustments every few weeks or after major print jobs.
Always document these adjustments in your maintenance log to track patterns and identify when belt replacement becomes necessary.
Component Wear Assessment
Regular wear assessment forms the foundation of predictive maintenance, allowing you to catch component degradation before it compromises print quality or causes costly breakdowns.
Your component wear assessment should focus on critical mechanical components that directly impact smooth operation and printing accuracy.
During your monthly inspection routine, systematically inspect these key areas:
- Bearings and pulleys – Look for signs of wear and damage, unusual noise, or rough rotation.
- Lead screws and linear rails – Check for deformation, corrosion, or binding that affects movement.
- V-slot wheels – Monitor for flat spots, cracking, or reduced performance during travel.
- Fasteners – Verify all screws and bolts remain tight, as vibrations can cause loosening.
Replace any compromised components immediately to maintain peak printing efficiency and prevent cascading mechanical failures.
Electrical System and Wiring Maintenance
Your industrial 3D printer’s electrical system requires consistent attention to prevent costly breakdowns and safety hazards.
You’ll need to establish a routine that covers three critical areas: inspecting all wiring for damage, maintaining secure connections throughout the system, and testing electrical components for proper function.
This proactive approach protects your investment while ensuring reliable operation during extended print runs.
Wiring Inspection and Safety
One critical aspect of industrial 3D printer maintenance involves thoroughly inspecting your electrical system’s wiring for potential hazards and performance issues.
Regular wiring inspection helps prevent costly breakdowns and guarantees peak printer performance.
During your inspection routine, focus on these essential areas:
- Check all wiring for frays, damage, or wear that could cause electrical failures or short circuits
- Verify electrical connections are secure and clean to prevent intermittent power issues during operation
- Look for overheating signs like discolored wires or melted insulation indicating overloaded circuits
- Install surge protectors to shield sensitive components from voltage spikes
Document every inspection and repair you make.
This maintenance log becomes invaluable for troubleshooting recurring problems and tracking your printer’s electrical health over time.
Connection Maintenance Protocol
Beyond identifying potential wiring issues, implementing a systematic connection maintenance protocol guarantees your industrial 3D printer’s electrical system operates at peak reliability.
You’ll need to confirm all electrical connections remain secure and clean, as loose or corroded connections cause erratic printer behavior and component failures. Regularly monitor electrical components for overheating signs, which indicate excessive strain or cooling inadequacies requiring immediate attention.
Update firmware consistently to maintain ideal performance and resolve compatibility issues with electrical components. Install quality surge protectors to shield sensitive electronics from damaging power surges that lead to expensive repairs.
Clean connection points monthly using appropriate contact cleaners, and verify all connections are properly tightened. This proactive approach will prevent electrical shorts and extend your printer’s operational lifespan considerably.
Electrical Component Testing
Implementing a connection maintenance protocol sets the foundation for the next critical step: systematically testing your printer’s electrical components to verify they’re functioning within specifications.
Start by inspecting all wiring for frays that could create exposed wires, then check that electrical connections remain secure and clean to prevent erratic printer operations.
Monitor components for overheating signs like discoloration or unusual odors, which signal immediate attention needs.
Here’s your testing checklist:
- Verify all connections are tight and corrosion-free
- Check for wire damage or exposed conductors
- Test components for excessive heat buildup
- Update firmware regularly for peak performance
Don’t forget surge protectors – they’re essential for protecting sensitive electronics from power fluctuations that can cause costly damage to your industrial printer’s electrical system.
Cooling System Performance and Airflow Management
Effective cooling system management forms the backbone of reliable industrial 3D printer operation, directly impacting both print quality and equipment longevity.
You’ll need to regularly inspect and clean your cooling fans and heat sinks, removing dust accumulation that impedes airflow and causes overheating. Monitor your airflow paths carefully to eliminate obstructions that disrupt consistent cooling temperatures during printing operations.
Check fan functionality routinely, as malfunctioning fans create critical temperature fluctuations affecting print quality and causing mechanical failures.
Implement temperature monitoring tools to track your cooling system’s effectiveness, enabling timely adjustments for peak performance during extended printing sessions.
Replace any failing cooling components immediately, since degraded cooling performance considerably impacts your printer’s lifespan and reliability.
Calibration Procedures for Optimal Print Quality
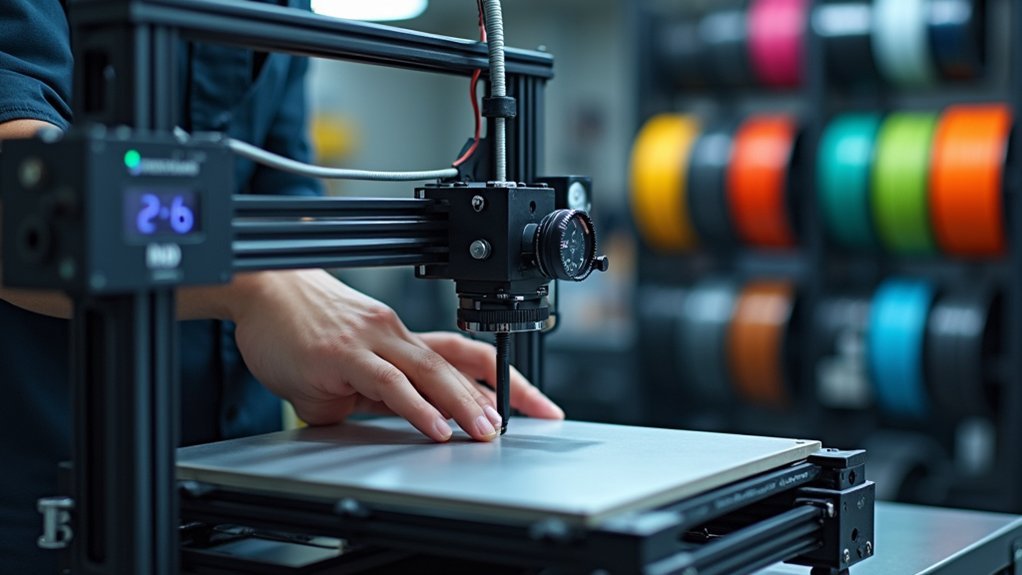
While consistent cooling maintains your printer’s mechanical stability, precise calibration guarantees every layer deposits exactly where intended for professional-grade results.
Your calibration routine should focus on these critical components:
- Print bed leveling – Check level regularly, as minor discrepancies cause adhesion failures and compromise print quality.
- Nozzle height adjustment – Maintain approximately 0.1 mm distance above the print bed for ideal filament flow.
- Extruder calibration verification – Measure actual versus expected filament output, targeting 1% accuracy for consistent extrusion.
- Axis alignment checks – Confirm X, Y, and Z axes align properly to prevent layer shifts and dimensional inaccuracies.
Use calibration prints like test cubes to assess dimensional accuracy.
These geometric shapes reveal alignment issues and help fine-tune your system’s precision for industrial-quality output.
Firmware Updates and Software Management
Beyond mechanical precision, your printer’s software foundation determines its capabilities and reliability. Regular firmware updates from your manufacturer’s website deliver essential bug fixes and enhanced features that boost improved performance.
Before installing major updates, you’ll want to backup current settings to prevent operational disruptions. Always review changelogs to understand how changes might affect your printing processes and printing materials compatibility.
Backup current settings before major updates and review changelogs to understand impacts on printing processes and material compatibility.
Software management extends beyond firmware updates to include your slicing software. Keep it current with your printer model’s latest version, as updates often introduce optimizations for better print quality.
Schedule routine maintenance tasks to verify compatibility with new technologies and materials. Your printer’s manual provides specific update procedures, so follow manufacturer guidelines carefully.
These proactive software management practices guarantee your industrial printer operates at peak efficiency while supporting evolving material requirements.
Preventive Maintenance Scheduling and Documentation
A systematic maintenance schedule forms the backbone of industrial 3D printer longevity and performance.
You’ll need to establish specific tasks with clear frequency guidelines, such as lubricating moving parts every 500-1,000 printing hours and monthly nozzle cleaning.
Document every activity in a thorough maintenance log, recording dates, completed tasks, and identified issues. This tracking reveals usage patterns and helps predict future needs.
Create a detailed checklist for each session covering:
- Belt tension and alignment inspection
- Nozzle condition and cleaning verification
- Electrical connections security check
- Moving parts lubrication status
Schedule quarterly deep maintenance reviews including software updates, thorough internal cleaning, and critical components wear inspection.
Regular schedule updates based on your documented insights guarantee your preventive maintenance adapts to your printer’s specific operational demands.
Frequently Asked Questions
How to Properly Maintain a 3D Printer?
You should regularly clean your print bed and nozzle, lubricate moving parts every 500-1,000 hours, calibrate components frequently, tighten connections, and maintain detailed logs of all maintenance activities.
What Is the 45 Degree Rule for 3D Printing?
You’ll find the 45-degree rule suggests overhangs steeper than 45 degrees from vertical need support structures. This prevents filament sagging and print failures by ensuring proper adhesion during printing.
Do I Need to Lubricate My 3D Printer?
You should lubricate your 3D printer’s moving parts every 500-1,000 printing hours. Use grease for lead screws and oil for rods to reduce friction, prevent wear, and maintain smooth operation.
How Often Do 3D Printers Need Maintenance?
You’ll need basic maintenance every 100-250 printing hours, thorough servicing every 500-1,000 hours, weekly visual inspections, monthly calibration checks, and pre-print filament and build surface preparation for ideal performance.
Leave a Reply