You can dramatically reduce multi-color purge tower waste by enabling flushing into objects infill, which redirects purge material into your print’s interior. Optimize purge volumes for each filament pair, reducing minimum volumes to 100mm³ or less. Arrange filaments from darkest to lightest colors for more efficient shifts. Print multiple copies using Ctrl+K to minimize start-end waste, use sacrificial objects for purging, adjust tower dimensions, and modify custom G-code to eliminate unnecessary operations. These strategies will transform your multi-color printing efficiency.
Enable Flushing Into Objects Infill
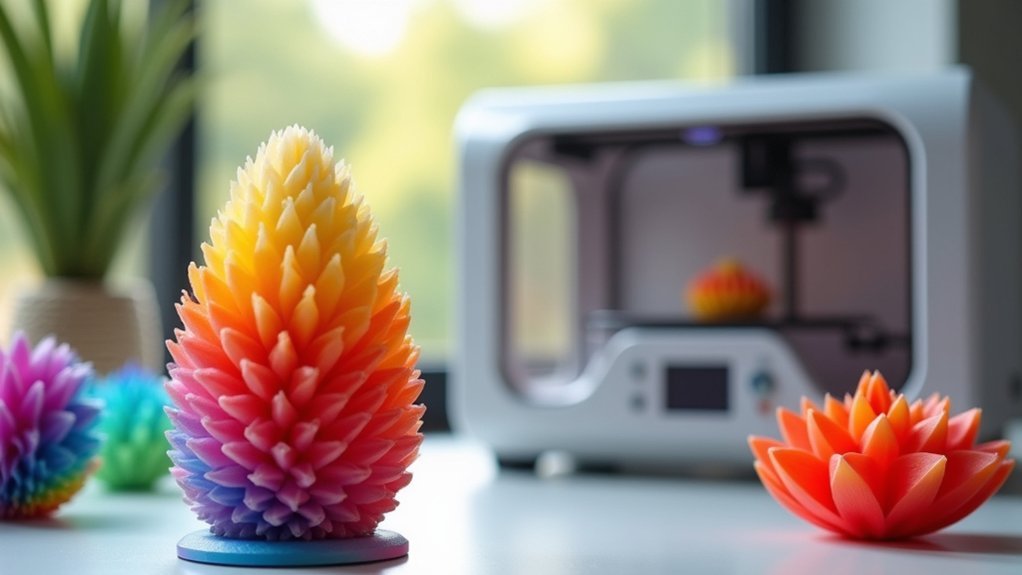
When you’re looking to minimize waste during multi-color prints, enabling the “Flushing Into Objects Infill” setting offers an elegant solution that redirects purge material directly into your print’s infill rather than creating a separate tower.
This feature requires activating the Prime Tower option under your printer’s “Other” settings menu first.
By flushing excess filament into the infill, you’ll greatly reduce purge volume while eliminating the space and time typically consumed by traditional purge towers.
Redirect purge material into infill to dramatically cut waste while saving the space and time that purge towers consume.
This technique proves especially valuable when shifting between different colors, particularly from dark to light shades, where proper purging is essential.
You’ll notice improved filament efficiency and enhanced print quality since the redirected material guarantees proper flow without the waste associated with conventional purging methods.
Optimize Purge Volume Settings for Each Filament Pair
Fine-tuning your purge volume for each specific filament combination represents one of the most effective strategies for reducing waste without compromising print quality.
You can typically reduce minimum purge volume settings to 100 mm³ or less for most color shifts. However, challenging shifts like black to white require increased volumes to prevent color bleeding.
You’ll also improve efficiency by lowering the default prime volume from 45 mm³ to around 25 mm³.
Arrange your filaments sequentially from darkest to lightest, since dark-to-light transitions need more purging than light-to-dark changes.
Test different purge volume configurations with small prints first—you’ll discover ideal settings that greatly reduce your purge tower size while maintaining excellent print quality.
Arrange Filaments From Dark to Light Colors
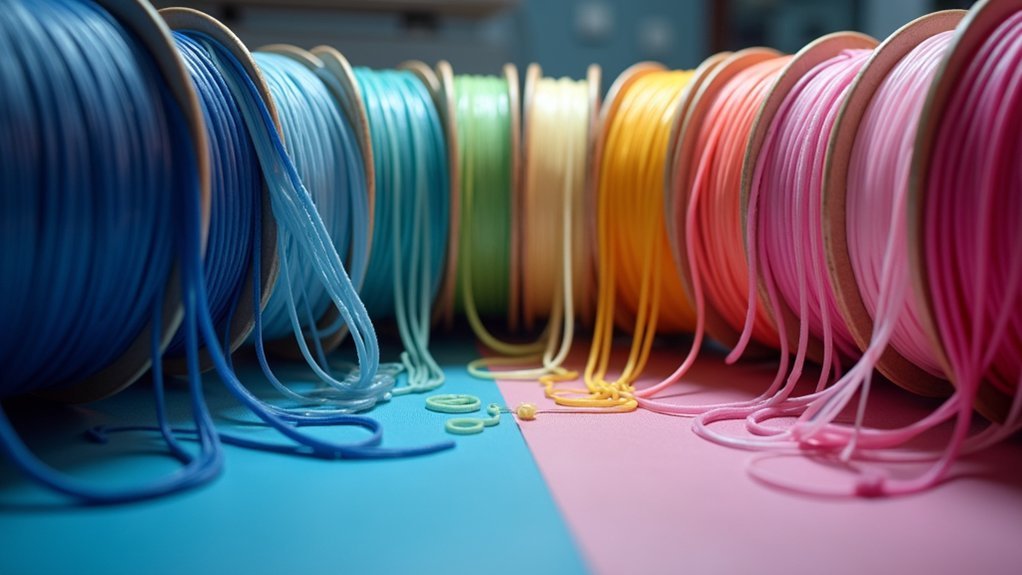
Strategic color sequencing dramatically reduces your purge tower requirements by minimizing the volume needed for each filament changeover.
You’ll achieve ideal efficiency by arranging your filaments from darkest to lightest colors across sequential inputs. This arrangement matters because shifting from dark to light colors demands greatly more purging than the reverse direction, making proper sequencing essential for waste reduction.
Consider placing intermediate shades between contrasting colors to further minimize purge volumes. For instance, sequencing black, gray, white, and black proves more efficient than randomly arranging them as black, white, gray, and black.
Strategic color sequencing with intermediate shades between contrasting colors dramatically reduces purge tower waste in multi-color prints.
The intermediate gray reduces the contrast between shifts, requiring less material to achieve clean color changes. This strategic approach considerably decreases your purge tower size while conserving filament throughout your multi-color printing projects.
Print Multiple Copies of the Same Item
When you’re printing identical items, you’ll waste less filament by duplicating your model using Ctrl + K in your slicer rather than running separate print jobs.
This approach eliminates the start-end waste that occurs with each individual print while boosting your overall production efficiency.
You’ll also reduce the frequency of nozzle purging between prints, which greatly cuts down on material waste during color shifts.
Reduces Start-End Waste
Since multi-color 3D printing generates considerable waste during startup and shutdown sequences, printing multiple copies of the same item becomes one of the most effective strategies to minimize filament loss.
When you print single items repeatedly, you’re fundamentally creating waste at each print’s beginning and end. However, duplicating objects allows continuous operation, greatly reducing this inefficiency.
You can optimize filament usage by selecting multiple copies using Ctrl + K in your slicing software. This approach minimizes purging to infill requirements and reduces purge tower frequency during color changes.
The technique proves especially valuable for commercial applications where you’re selling prints, as it maximizes output per session while streamlining multi-color processes and considerably cutting material waste.
Increases Production Efficiency
Beyond waste reduction, printing multiple copies transforms your overall production workflow into a streamlined operation.
When you select your desired item in the slicer and use Ctrl + K to duplicate it, you’re eliminating the constant setup interruptions that slow down individual prints. This continuous operation becomes particularly valuable if you’re selling printed items or producing for bulk orders.
The time savings compound quickly when you consider the reduced setup requirements per piece. Instead of initiating multiple separate print jobs, you’ll handle everything in one coordinated batch.
This approach also optimizes your multi-color printing workflow since each color change coordinates within the entire batch, allowing for strategic purge management across all copies simultaneously, maximizing your printer’s productivity.
Use Sacrificial Objects for Filament Purging

You can redirect excess filament during color changes into sacrificial objects instead of relying solely on purge towers.
To set this up, right-click your chosen object on the build plate and select “Flush Options” to enable purging into that specific print.
This approach works particularly well when switching from dark to light colors, where color bleeding poses the biggest challenge to print quality.
What Are Sacrificial Objects
Sacrificial objects represent a smart alternative to traditional purge towers in multi-color 3D printing. These designated models absorb excess filament during color changes, allowing you to minimize waste while achieving cleaner shifts between colors.
Instead of purging into a wasteful tower structure, you’re directing that excess material into something functional or decorative.
The software automatically determines color placement based on your current print, ensuring efficient purging without affecting your primary model. You can easily access these options by right-clicking any object on your build plate and selecting Flush Options.
Sacrificial objects prove especially valuable when switching between dark and light colors, helping you manage color bleeding challenges while considerably reducing the overall amount of filament wasted during multi-color printing projects.
Setting Up Flush Options
Setting up flush options transforms how your printer handles excess filament during color changes.
You’ll redirect purge material into your sacrificial object’s infill instead of wasting it entirely. Right-click on the sacrificial object on your build plate and select the “Flush Options” menu to configure this feature.
This approach proves especially valuable when switching between dark and light colors, where maintaining print quality is essential.
You can enhance efficiency further by enabling the “Prime Tower” in your settings, ensuring proper filament flow while minimizing large purge tower requirements.
Dark to Light Benefits
When shifting from dark to light filaments, sacrificial objects become your most powerful ally for reducing purge waste.
Dark to light changes typically demand substantially more purge material than other color alterations, making traditional purge towers inefficient and wasteful. By enabling flushing into sacrificial objects, you’ll capture this excess material directly within your print rather than creating massive towers.
Strategic placement of these objects in your print layout guarantees purged filament gets redirected effectively.
You’ll dramatically reduce both tower size and weight while maintaining clean color changes. Access these flushing options through your slicing software to streamline the entire process.
This approach optimizes print time and material usage simultaneously, making dark to light modifications far more economical and environmentally friendly.
Adjust Purge Tower Width and Volume Values
Although Bambu Studio’s default purge tower dimensions often exceed what’s actually needed for your print, you can greatly reduce material waste by adjusting the width and volume settings.
The default configurations can be considerably larger than necessary, leading to excessive filament consumption and extended print times.
To optimize your purge tower efficiency:
- Set both width and volume parameters to 10 in Bambu Studio for better space utilization
- Reduce purge volume from default settings to 100 mm³ or less for most color changes
- Test different settings to find the minimum effective purge volume for your specific filaments
- Monitor print quality to confirm no color bleeding occurs with reduced settings
These adjustments will minimize material waste while enhancing print efficiency and maintaining excellent multi-color print quality.
Modify Custom G-code to Minimize Waste
Beyond adjusting tower dimensions, you can dramatically reduce waste by customizing your machine’s G-code to eliminate unnecessary purging operations.
Start by modifying your printer’s start G-code to reduce excessive nozzle wipes and initial purging sequences that waste filament without improving quality.
Create custom profiles with shorter purge sequences during color shifts. You can disable purge towers entirely or considerably reduce their size through G-code adjustments for substantial material savings during multi-color prints.
Implement specific purge volumes for each filament pair to prevent color banding while minimizing waste between shifts. Fine-tuning these values guarantees clean color changes without over-purging.
Share your custom G-code modifications with the community to collaborate on more efficient printing practices and achieve better multi-color results.
Frequently Asked Questions
How to Reduce a Purge Tower?
Reduce your prime volume from 45mm³ to 25mm³, enable infill purging, set tower diameter to 10, arrange colors dark-to-light, and experiment with purge volumes to cut tower weight considerably.
How to Reduce Purge Waste in Bambu?
You can reduce purge waste in Bambu by lowering prime volume to 25mm³, enabling “Flush Into Object’s Infill,” arranging colors dark-to-light, and adjusting purge volumes between 60-100mm³ per change.
How Do I Get My Printer to Print in the Correct Color?
You’ll need to calibrate your printer’s color profile settings and guarantee proper nozzle temperature for each filament type. Clean the nozzle between colors and adjust flow rates to match your specific filament brands.
What Does a Purge Block Do?
A purge block cleans your nozzle between color changes during multi-color printing. It deposits excess filament into a separate tower structure, preventing color contamination and ensuring you’ll get clean, accurate colors in your actual print.

Leave a Reply