
You’ll optimize your 3D printer’s retraction settings using five proven methods: understanding retraction tower purposes for diagnosing stringy prints, setting up OrcaSlicer with proper calibration configurations, conducting systematic distance and speed parameter testing from 0.2-6mm with varying speeds, implementing temperature-based calibration across different heat ranges, and performing multi-tower comparative analysis for direct performance comparison. These methods help you identify ideal settings for specific filaments while fine-tuning parameters like retraction speed and restart length for professional-quality results that await your exploration.
Understanding Retraction Towers and Their Purpose in 3D Printing
When you’re struggling with stringy prints and imperfect surface quality, retraction towers serve as your diagnostic tool to pinpoint exactly what’s going wrong with your 3D printer’s retraction settings.
These specialized test prints feature multiple segments, each printed with different retraction distance values, creating a visual progression that shows where stringing issues begin and end.
You’ll observe how varying retraction distances directly impact print quality, helping you identify the ideal settings for your specific filament type.
Through retraction calibration using these towers, you can fine-tune parameters like retraction speed and extra restart length.
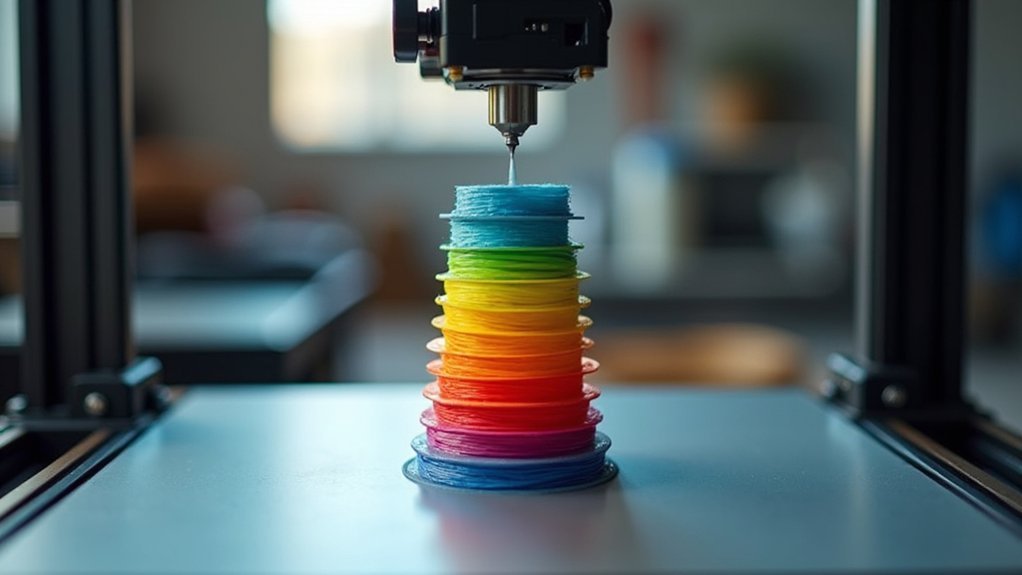
This systematic approach works effectively across different materials, as PLA and PETG often require distinct retraction configurations.
Setting Up Your Slicer for Optimal Retraction Testing
Before you can achieve ideal retraction results, you’ll need to configure your slicer with the right settings and tools for accurate testing.
Download and install OrcaSlicer from GitHub, selecting your specific printer and filament configurations. Navigate to the Calibration menu to access the retraction test feature, where you’ll configure retraction length based on your extruder type and filament specifications.
The built-in calibration tool generates custom G-code for printing a retraction tower that’ll help you test different settings.
Adjust key printer settings including retraction length, speed, and Z hop options to avoid stringing effectively. Consider filament variations like PLA or ABS when establishing your baseline parameters.
After printing, analyze the tower results to identify best settings and note any stringing patterns for implementing your new retraction configuration.
Systematic Distance and Speed Parameter Testing
Although retraction settings vary considerably between printer setups, you’ll achieve the most accurate results by methodically testing distance and speed parameters through a structured tower approach.
Start your retraction test by creating towers with varying retraction distances from 0.2mm to 6mm, adjusting in small increments. For direct drive systems, you’ll typically need shorter distances compared to Bowden setups.
Direct drive extruders require significantly shorter retraction distances than Bowden systems when calibrating optimal print quality settings.
Test retraction speed systematically by adjusting in 10mm/s increments between 30-70mm/s. Higher speeds often improve results but can cause extruder skipping if excessive.
- Print towers at multiple temperatures (195-215°C for PLA) to optimize filament settings
- Count stringing rings on each section for objective quality assessment
- Document all parameter combinations and their corresponding results
- Test one variable at a time for accurate correlation analysis
Temperature-Based Retraction Calibration Method
Since temperature directly affects filament viscosity and flow characteristics, you’ll need to calibrate retraction settings across different temperature ranges to achieve best results.
Start your temperature-based retraction calibration by printing at 10°C above your standard temperature to guarantee proper layer adhesion during testing. Print multiple retraction towers at varying temperatures like 215°C, 205°C, and lower to observe how temperature influences stringing and print quality.
Begin with a 2mm retraction distance for PLA, then adjust between 2-6mm based on your results. Document everything meticulously, noting temperature settings, retraction distance, and stringing levels observed.
Set your retraction speed around 55mm/s for PLA, though you may need further tuning. This systematic calibration approach dramatically improves your final print quality.
Multi-Tower Comparative Analysis Approach

When you’re fine-tuning retraction settings, printing multiple towers simultaneously creates a powerful comparison framework that eliminates variables and accelerates your calibration process.
You’ll print several towers with varying retraction lengths on the same build plate, allowing direct evaluation of different settings under identical conditions.
Arrange your towers strategically for ideal multi-tower calibration:
- Position towers from highest to lowest temperature to prevent collisions and organize your stringing evaluation
- Include identifiable markers on each tower segment corresponding to specific retraction settings
- Use consistent step values between towers for precise calculations when counting rings
- Document each tower’s performance by recording stringing and oozing observations for future adjustments
This comparative approach eliminates guesswork and delivers reliable calibration data efficiently.
Frequently Asked Questions
What Is the Best Retraction Setting?
You’ll need different retraction distances depending on your setup: 0.2-0.4mm for direct drive PLA, 1-3mm for Bowden systems. Set retraction speed between 30-50mm/s and add 0.2-0.3mm Z hop.
What Is the Best Method of Calibration for Pressure Advance?
You’ll print test models with incremental pressure advance values from 0.0 to 0.5, observe stringing reduction and extrusion consistency, then select the ideal setting that minimizes artifacts.
How to Do Retraction Calibration?
You’ll download a retraction tower test model, set baseline settings like 2mm distance and 55mm/s speed, print multiple towers with varying distances, then adjust based on stringing results.
Should Retraction and Deretraction Speed Be the Same?
You shouldn’t set retraction and deretraction speeds the same. Use higher retraction speed (40-60 mm/s) to prevent oozing and slower deretraction speed (20-30 mm/s) for smoother filament re-engagement.

Leave a Reply