Infill density dramatically affects your print speed because it controls how much material your extruder must deposit and how far your print head travels. When you increase density from 20% to 80%, you’re fundamentally doubling the amount of plastic that needs to be extruded in each layer, which can increase print time by 20-50%. Higher densities also create more complex toolpaths with frequent direction changes, forcing your nozzle to slow down for proper material flow and creating heat buildup that requires careful temperature management to prevent quality issues.
Understanding the Relationship Between Infill Density and Print Time
When you increase your 3D printer’s infill density, you’re directly affecting how long your print will take to complete. Higher infill density requires depositing more material inside your object, forcing the printer to spend additional time filling the internal structure.
This relationship becomes particularly noticeable once you exceed 20% density, where infill can consume 30% or more of your total print time.
If you adjust your settings from 10% to 50% density, expect a 20-50% increase in duration. Your material usage will also rise proportionally since denser infill means more filament consumption.
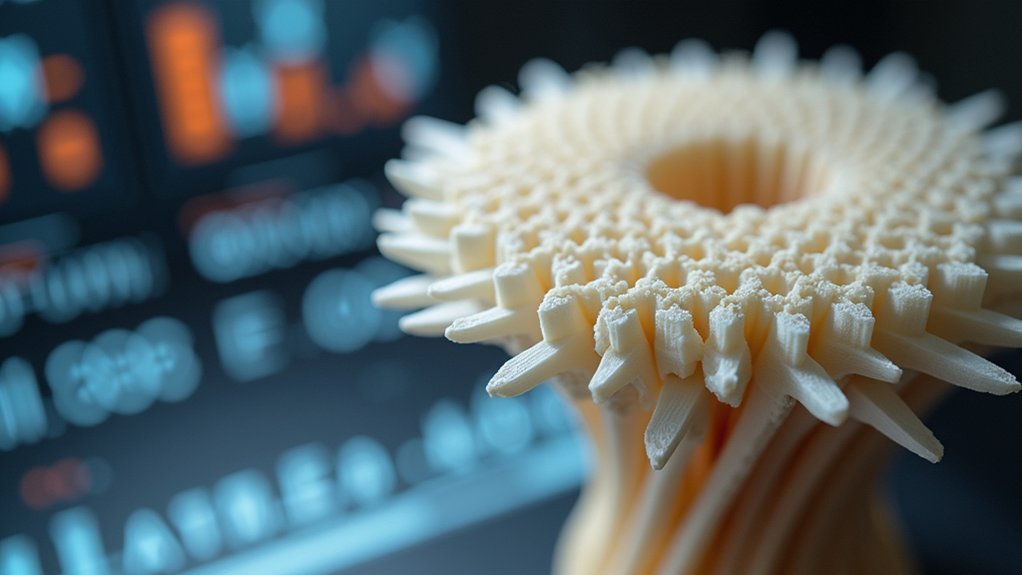
The pattern you choose compounds this effect – complex designs like honeycomb take longer than simple grid patterns, further extending your print time while increasing costs.
How Material Deposition Affects Printing Speed
As your printer’s infill density increases, the material deposition process becomes the primary bottleneck that determines your printing speed.
Higher infill density creates a material deposition bottleneck that directly limits your 3D printer’s maximum achievable printing speed.
You’ll notice that going from 10% to 50% infill density creates a proportional increase in print time because your printer must extrude considerably more material through additional layers.
Your printer’s flow rate settings need adjustment to handle higher densities effectively.
If you don’t fine-tune these settings, you’ll experience reduced print speed as the extruder struggles to maintain proper material flow.
The infill pattern you choose also impacts deposition speed—complex patterns like honeycomb require more intricate toolpath movements compared to simple grid patterns.
This material deposition challenge means you’ll need to balance your desired infill density against acceptable print speed for ideal results.
The Role of Extruder Movement in Density-Related Speed Changes
When you increase infill density, your extruder’s travel path becomes markedly more complex as it navigates intricate internal patterns that require precise positioning and frequent direction changes.
You’ll need to adjust your nozzle speed throughout the printing process because dense infill sections demand slower, more controlled movements to guarantee proper material flow and adhesion.
Your printer’s ability to maintain consistent speed variations directly impacts the structural integrity of your print, making extruder movement optimization essential for high-density infill success.
Extruder Travel Path Complexity
Because your printer’s extruder must maneuver increasingly intricate pathways to deposit material at higher infill densities, the complexity of travel movements directly impacts your print speed.
When you increase infill density, your extruder travel path becomes markedly more complex as it fills additional internal space with intricate patterns like honeycomb or grid structures.
These denser patterns force your extruder through tighter geometries and require more frequent direction changes, slowing down the printing process considerably compared to simpler, lower-density options.
The additional complexity also increases retraction frequency, as your extruder must pull back and push filament more often while maneuvering these elaborate internal structures.
This trade-off between strength and speed means you’ll experience longer print durations with higher densities.
Nozzle Speed Variation Requirements
Higher infill densities demand precise nozzle speed adjustments to accommodate the increased material flow requirements and complex extruder movements.
When you’re printing with denser patterns, you’ll need to reduce your nozzle speed to guarantee consistent material deposition and prevent under-extrusion issues that compromise print quality.
Understanding these speed variation requirements helps you optimize your prints:
- Flow Rate Balance – You must synchronize nozzle speed with material flow to maintain proper layer adhesion and prevent gaps in dense infill patterns.
- Pattern Complexity Adaptation – Intricate patterns like gyroid require slower speeds to navigate complex geometries accurately without sacrificing precision.
- Thermal Management – Controlled speeds prevent overheating and nozzle clogging while guaranteeing adequate material flow through the extruder system.
Layer Build Time Variations With Different Infill Percentages
One of the most notable factors affecting your print’s completion time is how infill density directly impacts layer build duration.
When you increase infill density from 10% to 50%, you’re adding substantially more material that needs depositing within each layer. This translates to longer layer build time as your printer must trace additional internal structures.
The relationship between infill density and print time isn’t linear. Higher densities create more complex internal geometries, requiring your nozzle to travel longer distances and make more directional changes.
You’ll notice dramatic differences when comparing sparse infills to dense ones. A 20% infill might complete layers quickly, but jumping to 80% can nearly double your layer processing time, markedly extending overall print duration.
Toolpath Complexity and Its Impact on Print Duration
When your slicer software generates toolpaths for denser infills, it creates increasingly intricate movement patterns that greatly slow your print’s completion. Higher infill density requires your print head to make countless additional passes and direction changes, transforming simple internal structures into complex mazes of movements.
The relationship between toolpath complexity and print duration becomes evident when comparing different scenarios:
- 10% infill – Simple grid patterns with minimal passes, completing in approximately 1 hour
- 50% infill – Dense honeycomb or gyroid patterns requiring extensive movements, extending duration to 2+ hours
- Complex patterns – Intricate designs like gyroid demand more processing time than basic grid layouts
Your chosen infill pattern directly impacts toolpath complexity, with sophisticated patterns requiring considerably more execution time than simpler alternatives, regardless of infill density percentage.
Temperature Management During High-Density Infill Printing
When you’re printing with high-density infill, you’ll face significant heat buildup challenges as your printer deposits more material in concentrated areas.
The increased material flow can cause your filament to overheat, leading to clogs and poor print quality that’ll slow down your entire process.
You’ll need to optimize your cooling system settings to manage these thermal issues while maintaining proper layer adhesion throughout the print.
Heat Buildup Challenges
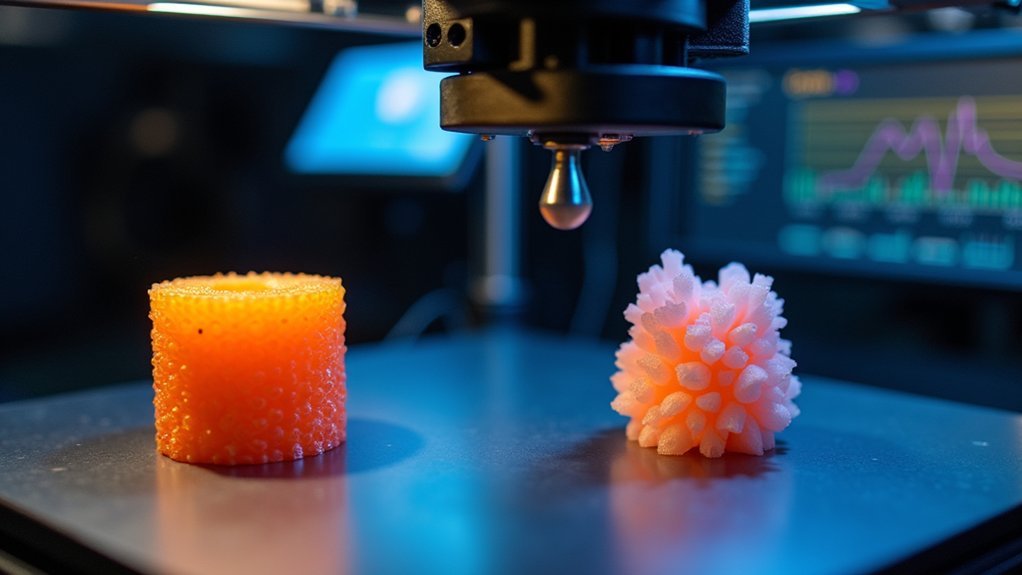
Several heat-related challenges emerge when you’re printing with high-density infill settings. Heat buildup becomes problematic as your nozzle spends extended time in concentrated areas, causing localized overheating that affects print quality.
At high infill densities, you’ll face these primary challenges:
- Warping and deformation – Excessive heat accumulation causes layers to distort.
- Poor layer adhesion – Temperature fluctuations prevent proper bonding between layers.
- Inconsistent extrusion – Overheated filament creates uneven material flow.
Effective temperature management requires careful monitoring of your nozzle and bed temperatures.
You’ll need to adjust cooling fan speeds or add supplemental airflow to combat heat retention. Many slicer programs offer dynamic temperature controls that automatically modify settings during dense infill sections, helping you maintain ideal printing conditions throughout the process.
Cooling System Optimization
Proper cooling system adjustment becomes your primary defense against the heat-related issues that plague high-density infill printing.
You’ll need to adjust fan speeds strategically to maintain appropriate temperatures as increased material density retains heat longer. This enhanced cooling prevents overheating and warping while ensuring proper layer adhesion without compromising print quality.
Your temperature management strategy should account for the dense patterns like honeycomb or grid that characterize high-density infill. Higher temperatures during these prints can cause filament oozing and inconsistent extrusion.
You can implement cooling pauses after the first few layers, allowing adequate heat dissipation before adding subsequent layers. This approach enhances adhesion and prevents defects while maintaining the structural integrity your high-density infill requires for peak performance.
Mechanical Stress on Print Components at Various Densities
The relentless demands of high-density infill printing place significant mechanical stress on your printer’s components.
When you increase infill density, you’re fundamentally altering the mechanical properties your machine must handle, directly impacting print speed capabilities.
Your printer’s motors work harder to move heavier parts as material accumulates. The extruder experiences increased resistance pushing more filament through the hotend. Higher infill density creates additional load on stepper motors and drive belts, potentially causing premature wear if you don’t calibrate properly.
Consider these critical stress factors:
- Motor Load – Heavier prints require more torque, straining drive systems
- Frame Vibration – Increased mass creates resonance that affects precision
- Belt Tension – Additional weight stretches timing belts, reducing accuracy
Balancing infill density with your printer’s mechanical limits guarantees ideal performance.
Acceleration and Deceleration Factors in Dense Infill Areas
When you’re printing dense infill areas, your printer’s extruder must constantly accelerate and decelerate through frequent direction changes, creating a stop-and-go motion that greatly impacts print speed.
You’ll notice the nozzle speed varies dramatically as it navigates complex infill patterns, requiring precise timing to maintain consistent material flow.
These rapid speed changes place substantial motor load dynamics on your printer’s stepper motors, forcing them to work harder and potentially limiting the maximum achievable print speeds.
Frequent Direction Changes
As infill density increases, your 3D printer’s nozzle must navigate increasingly complex path geometries that demand constant acceleration and deceleration adjustments.
These frequent direction changes greatly impact print speed because your printer can’t maintain consistent velocities through dense infill patterns.
When infill density rises, your printer encounters three critical challenges:
- Rapid directional shifts that force the nozzle to slow down before changing course
- Complex infill geometries requiring precise movement coordination between motors
- Increased path changes that multiply the number of start-stop sequences
Your printer’s firmware automatically reduces speeds during these intricate maneuvers to maintain print quality.
Each direction change creates a deceleration-acceleration cycle, accumulating considerable time delays throughout the printing process.
Lower infill densities minimize these disruptions, allowing your printer to maintain higher sustained speeds.
Nozzle Speed Variations
Dense infill patterns force your printer’s nozzle to constantly vary its speed through rapid acceleration and deceleration cycles that extend far beyond simple direction changes.
When you’re printing high infill density sections, your nozzle can’t maintain consistent speeds because it must slow down to guarantee proper material flow and prevent oozing. Your printer’s acceleration settings become critical factors, as the nozzle frequently starts and stops between dense pattern segments.
You’ll notice that dense honeycomb or grid patterns require multiple nozzle passes, each demanding precise speed control.
Your extruder needs time to match the required flow rate, forcing nozzle speed reductions that directly impact print speed. By optimizing your infill speed settings specifically for dense areas, you can minimize these delays while maintaining quality layer adhesion and overall print integrity.
Motor Load Dynamics
Your printer’s motors face considerably higher resistance during dense infill printing, creating substantial load dynamics that directly affect acceleration and deceleration performance.
When infill density increases, your motors must work harder to extrude material and overcome mechanical resistance, preventing them from reaching ideal speeds quickly.
The relationship between infill density and motor load dynamics impacts print speed through several key mechanisms:
- Increased material extrusion requires more motor torque, extending acceleration time to target speeds.
- Higher mechanical resistance forces motors to reduce maximum speeds to prevent skipped steps and misalignment.
- Greater print head inertia from denser material makes direction changes slower, affecting deceleration efficiency.
Your slicer software typically compensates by automatically adjusting acceleration rates based on infill density, fine-tuning the balance between speed and quality.
Nozzle Flow Rate Considerations for Different Density Settings
When you’re adjusting infill density settings, your nozzle’s flow rate becomes a critical factor that directly impacts both print quality and speed. Higher infill density demands more material deposition, requiring increased flow rates that extend print times due to additional filament volume.
Higher infill density requires increased flow rates and more filament volume, directly extending your print times while demanding greater material deposition.
You’ll typically need to boost flow rates by 5-10% for high-density settings to prevent under-extrusion issues while maintaining consistent material output.
Complex infill patterns compound this challenge, forcing your nozzle through intricate paths that further reduce overall print speed.
Conversely, lower density settings offer significant advantages—you can achieve faster print speeds with reduced material requirements, allowing your nozzle to move more quickly with less resistance.
Understanding this relationship helps you optimize the balance between structural integrity and printing efficiency for your specific project needs.
Processing Power Requirements for Complex Infill Calculations
When you’re running complex infill calculations, your slicer’s algorithms face significant computational challenges that can bottleneck your entire workflow.
You’ll notice memory usage spikes dramatically as the software processes intricate geometric patterns like gyroid or honeycomb structures, especially at higher densities.
Your system must handle real-time calculations for layer interactions, infill directions, and wall overlaps, which directly impacts how quickly you can move from design to actual printing.
Algorithm Complexity Challenges
As infill patterns become more sophisticated, your slicing software faces increasingly demanding computational challenges that can greatly impact your printing workflow.
Algorithm complexity increases exponentially when you select intricate patterns like gyroid or honeycomb structures. Your slicer must perform detailed calculations to accurately map the internal framework, considering multiple variables simultaneously.
High infill densities compound these challenges by requiring extensive material distribution calculations. Processing time extends considerably as algorithms work through complex geometric relationships and optimize tool paths.
The computational load can strain your hardware capabilities, creating bottlenecks that affect efficiency.
Key factors affecting algorithm performance include:
- Infill density percentage – Higher densities require more computational resources
- Pattern complexity – Intricate designs demand sophisticated mathematical calculations
- Direction variations – Multiple angles increase processing requirements notably
Memory Usage Impact
Beyond algorithm complexity, your slicer’s memory consumption escalates dramatically with higher infill density and intricate patterns. When you select dense gyroid or honeycomb structures, your software must allocate considerably more memory to handle complex internal geometry calculations.
This increased memory usage directly impacts printing speed, as your slicer requires additional processing time to prepare these data-heavy files.
If you’re running lower-end hardware, you’ll notice slower slicing times and potential performance bottlenecks when working with high infill density settings.
Your printer’s firmware also struggles with the increased number of internal paths and movements, creating processing strain that extends overall print preparation time.
The higher resolution calculations needed for dense infill patterns demand substantial memory resources, ultimately affecting your entire workflow efficiency.
Real-Time Calculation Demands
Complex infill patterns push your processor to its limits during real-time slicing calculations. When you select intricate patterns like gyroid or honeycomb, your slicer performs demanding geometric computations that greatly impact processing speed.
Higher infill density compounds this challenge by requiring more detailed path calculations and material distribution analysis. Your print preparation time increases as the software struggles with these computational demands:
- Pattern Complexity: Gyroid and honeycomb patterns require exponentially more calculations than simple linear infill.
- Density Processing: Higher infill density creates additional paths that must be individually calculated and optimized.
- Overlap Management: Real-time calculations must account for infill interactions with walls and adjacent lines.
These processing requirements directly affect your overall print speed by extending the time between design completion and actual printing initiation.
Material Cooling Time Between Layers at Higher Densities
When you increase infill density, you’re depositing more material within each layer, which directly extends the cooling time required before the next layer can be applied. This additional material retains more heat, creating thermal buildup that can compromise your print quality if you don’t adjust accordingly.
| Infill Density | Material Cooling Time | Recommended Print Speed |
|---|---|---|
| 20% | Standard | 100% speed |
| 50% | +30% longer | 85% speed |
| 80% | +60% longer | 70% speed |
Your material’s thermal conductivity determines how quickly heat dissipates from denser infill sections. Without adequate cooling time, you’ll encounter warping, poor layer adhesion, and structural failures. Modern slicing software automatically reduces print speed as infill density increases, ensuring each layer cools sufficiently before the next application.
Print Head Travel Distance Optimization Based on Infill Amount
As you increase infill density, your print head must travel considerably greater distances to complete the more complex internal structures required for denser fills. This relationship directly impacts print speed since your printer needs more time to navigate intricate patterns.
You can optimize travel distance by strategically managing infill density:
- Reduce density to 10-20% for non-structural parts, potentially cutting travel distances by up to 50%.
- Choose simpler patterns like grid over complex ones like honeycomb to minimize unnecessary movements.
- Balance density requirements with time constraints based on your model’s intended use.
Lower infill density results in fewer internal lines, dramatically reducing your print head’s movement requirements.
Fewer internal lines mean less print head travel, significantly reducing movement requirements and cutting overall printing time.
This optimization not only accelerates print speed but also maintains consistent filament flow, improving overall quality while saving valuable printing time.
Speed Limitations Imposed by Structural Integrity Requirements
Beyond travel distance considerations, your printer’s speed becomes constrained by the fundamental need to maintain structural integrity when working with higher infill densities. You can’t simply push maximum speeds when depositing denser patterns because proper layer adhesion requires controlled deposition rates. Your printer’s motion system faces additional strain as infill density increases, forcing you to reduce speeds to prevent mechanical failures and warping.
| Infill Density | Max Safe Speed | Quality Risk |
|---|---|---|
| 20% | 80 mm/s | Low |
| 50% | 60 mm/s | Medium |
| 80% | 40 mm/s | High |
| 100% | 25 mm/s | Critical |
This trade-off means you’ll sacrifice print speed for structural integrity, especially with intricate honeycomb or grid patterns that demand precise execution.
Balancing Quality Versus Speed in Infill Density Selection
While higher infill densities deliver superior strength and durability, you’ll face an inevitable trade-off between print quality and manufacturing efficiency that demands careful consideration of your project’s specific requirements.
Understanding how infill density affects speed helps you make informed decisions. Increasing from 10% to 50% infill dramatically extends print times as your printer fills substantially more internal structure.
Higher infill percentages significantly increase print times as your 3D printer creates more dense internal structures throughout the object.
However, you can optimize this balance through strategic planning:
- Target 20-30% density for general parts to achieve adequate strength without excessive time penalties
- Choose simpler infill patterns like grid over complex honeycomb designs for faster printing
- Evaluate mechanical requirements against deadlines to determine if higher density truly benefits your application
You’ll discover that finding this sweet spot between speed and strength maximizes both structural integrity and print efficiency.
Frequently Asked Questions
How Does Infill Density Affect Print Time?
Higher infill density increases your print time because you’re depositing more material inside the object. You’ll see up to 50% longer prints when increasing from 20% to 100% infill density.
What Is the Best Infill for Speed Printing?
You’ll achieve fastest results using 10-20% infill density with simple patterns like grid or lines. These straightforward geometries print quicker than complex honeycomb or gyroid patterns while maintaining adequate strength.
What Is the Effect of Infill Density?
Infill density affects your print’s strength, weight, and material usage. You’ll get stronger parts with higher density but they’ll weigh more and use more filament, while lower density creates lighter, weaker prints.
Is Higher Infill Density Better?
You’ll find higher infill density isn’t always better. While it increases strength and durability, you’re trading off speed, material costs, and print time. Choose density based on your project’s specific strength requirements.
Leave a Reply