You’ll optimize adaptive layer infill in Cura by setting base layer height at 2-3 times your desired top surface thickness, configuring maximum layer heights between 1.5-2 times minimum values, and balancing threshold values for geometry detection. Start with 0.1mm minimum heights, multiply top thickness settings by 2-3 times to compensate for engine limitations, and use visual preview to assess layer shifts. Manual calculations dividing target thickness by layer height guarantee consistent results across varying geometry complexity.
Optimizing Base Layer Height for Material Thickness Control
When you’re configuring adaptive layer settings in Cura, the base layer height becomes your primary control mechanism for managing material thickness throughout your print.
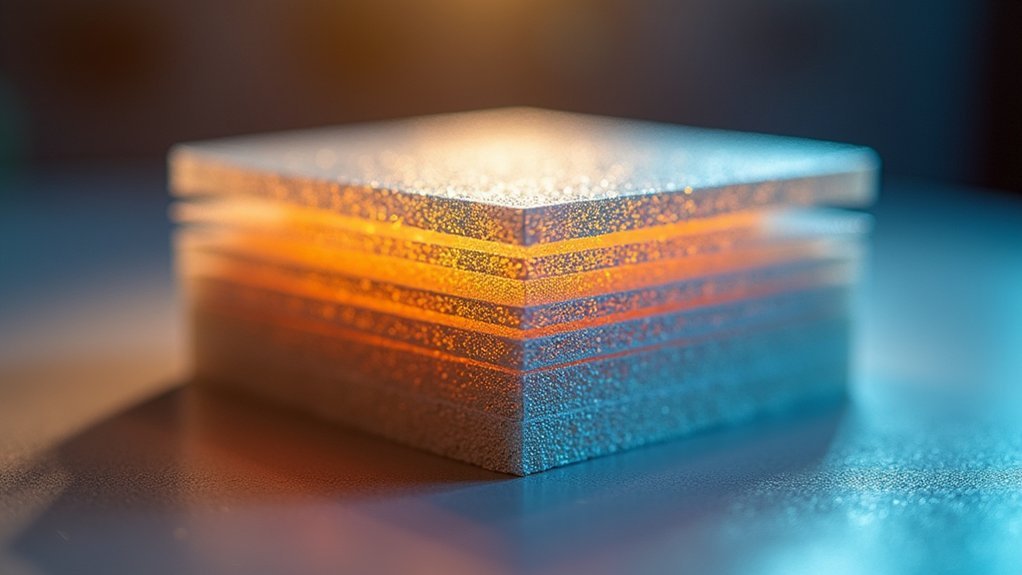
Lower base heights create thinner top layers, while increasing the base height produces thicker layers that enhance overall print robustness. To achieve ideal results, multiply your desired top surface thickness by 2 or 3 when setting the base layer height. This calculation helps you determine the layer heights to achieve your target material distribution.
For optimal adaptive layer results, set your base layer height at 2-3 times your desired top surface thickness.
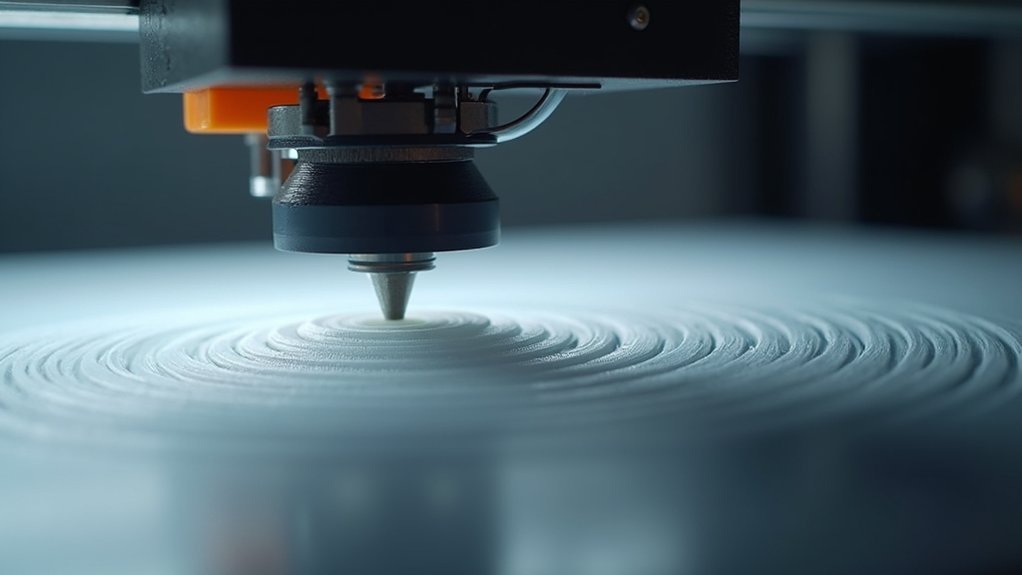
Use Cura’s visual preview feature to assess how your base height adjustments affect layer thickness before printing.
Regular testing with different STL files while modifying base heights helps identify settings that deliver superior surface finishes and print quality with adaptive layers.
Adjusting Top Thickness Settings to Prevent Surface Defects
When you’re using adaptive layers in Cura, you’ll quickly discover that your top thickness settings don’t deliver the surface quality you expect.
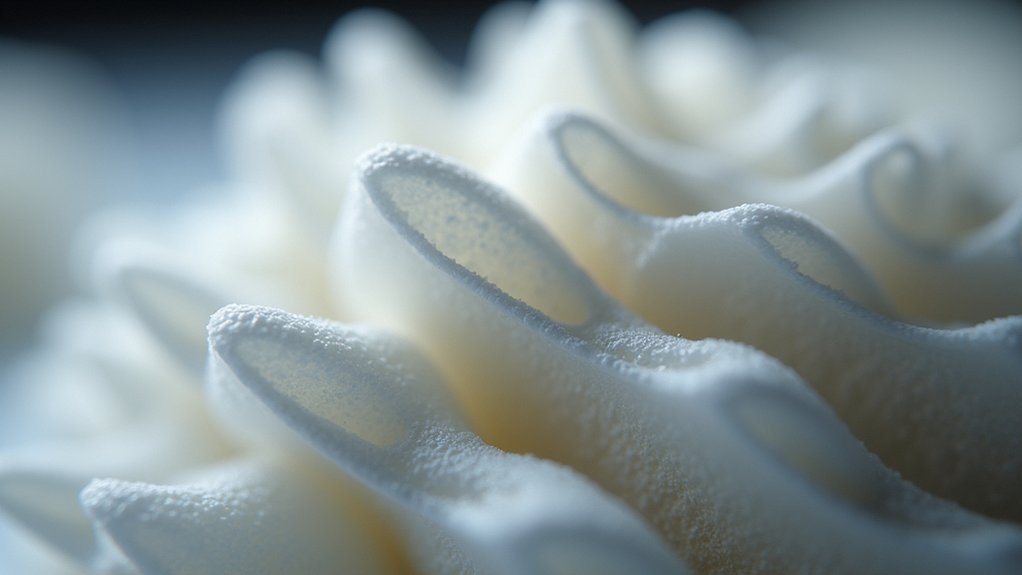
The adaptive layer algorithm often produces surfaces considerably thinner than your specified settings—a 1mm top thickness can shrink to just 0.35mm in practice.
You’ll need to compensate by multiplying your desired thickness by 2 or 3, or calculate manually by dividing your target thickness by the base layer height for more precise control.
Compensating Thin Top Layers
One of the most frustrating issues you’ll encounter with adaptive layer settings in Cura is how the software consistently produces thinner top surfaces than your specified thickness values.
When you set a 1mm top thickness, you might end up with surfaces as thin as 0.35mm. This happens because Cura’s engine doesn’t properly account for absolute thickness when calculating adaptive layers, compromising your top layers’ quality and potentially increasing print time due to reprints.
To compensate for this flaw, you’ll need to multiply your desired thickness by 2-3 times the original value.
Calculate your compensation by dividing your target thickness by the selected layer height. This manual adjustment guarantees you achieve acceptable surface quality despite Cura’s calculation limitations with adaptive layers.
Manual Thickness Calculation Methods
The most effective approach to prevent surface defects involves calculating your top thickness settings manually rather than relying on Cura’s default adaptive layer calculations. You’ll need to multiply your desired thickness by the reciprocal of your layer height to achieve proper surface coverage.
| Layer Height (mm) | Desired Top Thickness (mm) | Required Setting (mm) |
|---|---|---|
| 0.10 | 1.0 | 10.0 |
| 0.15 | 1.0 | 6.67 |
| 0.20 | 1.0 | 5.0 |
| 0.25 | 1.0 | 4.0 |
| 0.30 | 1.0 | 3.33 |
Since Cura’s engine often doesn’t respect top thickness settings with adaptive layers enabled, you’ll want to overcompensate these calculations. Document your successful settings and share STL files in community forums to help others refine their manual calculations.
Configuring Adaptive Layer Threshold Values for Geometry Detection

Although Cura’s adaptive layer feature automatically analyzes your model’s geometry, you’ll need to fine-tune the threshold values to achieve perfect results.
Start by setting your maximum layer height based on your printer’s capabilities and desired quality. For complex geometries with intricate details, configure lower threshold values to trigger finer layer heights and capture precise features. Conversely, use higher thresholds for simpler areas to maintain printing speed without sacrificing quality.
The key is balancing detail preservation with print efficiency. Experiment with different threshold combinations since each model demands unique settings.
Lower thresholds increase detail but extend print times, while higher values prioritize speed over precision. Test these configurations on sample prints to determine best settings for your specific models and quality requirements.
Balancing Maximum and Minimum Layer Height Variations
Setting your maximum and minimum layer heights requires careful consideration of how these values interact with each other throughout your print.
Layer height optimization demands thoughtful balance between your minimum and maximum values to ensure quality and efficiency work together seamlessly.
You’ll want to establish your maximum layer height at 1.5 to 2 times your minimum value to achieve ideal balance between detail preservation and printing efficiency. Start with a minimum of 0.1 mm for intricate areas and experiment up to 0.3 mm maximum for less detailed regions.
Setting your maximum too high will sacrifice fine details, while an unnecessarily low minimum extends print times without meaningful quality gains.
Configure adaptive settings to gradually increase layer height in simpler geometry areas, reducing overall print duration.
Always use Cura’s visual preview to assess how your height variations affect the model before printing, allowing you to fine-tune settings for ideal results.
Setting Proper Skin Layer Count for Consistent Wall Thickness
When adaptive layer heights vary throughout your print, maintaining consistent wall thickness becomes critical for structural integrity and surface quality.
You’ll need to adjust your skin layer count to compensate for these variations. Since adaptive layers can produce thinner top layers than specified, multiply your desired top thickness by 2 or 3 to achieve proper coverage.
Your skin layer count must align with your base layer height—a 0.15 mm base layer requires specific adjustments to prevent thickness inconsistencies.
Use Cura’s preview feature to visualize how your skin layer changes affect the final print before starting.
Experimentation is essential when combining skin layer counts with adaptive settings, as varying layer heights can produce unexpected results if you don’t manage them properly.
Fine-Tuning Layer Transition Smoothness Parameters
Fine-tuning your layer shift smoothness parameters guarantees your adaptive layer changes appear seamless rather than creating visible stepping effects on your print’s surface.
You’ll need to adjust Cura’s “Adaptive Layer Height” settings to control maximum layer height differences between adjacent layers. Set lower values for “Max Layer Change” to create more gradual shifts, which dramatically improves detailed areas while barely affecting print speed.
Don’t forget to configure your “Min Layer Height” parameter properly—this prevents excessively thin layers that could compromise structural integrity while maintaining smooth shifts.
Use Cura’s visual preview feature to assess how your smoothness adjustments affect layer shifts before printing. This preview lets you make informed decisions and fine-tune parameters until you achieve the perfect balance between surface quality and print efficiency.
Compensating for Engine Limitations With Manual Thickness Calculations
You’ll encounter thickness calculation issues when Cura’s adaptive layer engine doesn’t respect your top thickness settings, often producing surfaces thinner than expected.
You can work around this limitation by manually multiplying your desired top thickness by 2 or 3 to achieve acceptable results.
The community’s discovered that dividing your target thickness by layer height helps determine the right settings to compensate for these engine shortcomings.
Engine Thickness Calculation Issues
Although Cura’s adaptive layer feature promises intelligent thickness management, its calculation engine often produces thinner top layers than your specified settings would suggest. This occurs because the engine’s algorithms don’t always respect your configured thickness values, leading to compromised surface quality on your prints’ top surfaces.
The calculation process ties directly to your base layer height, creating a proportional relationship that often works against your intended settings. When you set a lower base height, the adaptive system proportionally reduces top layer thickness, even when that’s not what you want.
To combat this limitation, you’ll need to manually compensate by multiplying your desired top thickness by 2 or 3. Additionally, try dividing your target thickness by the base layer height to determine more accurate manual adjustments.
Manual Layer Height Adjustments
Three mathematical approaches can help you overcome Cura’s adaptive layer calculation limitations and achieve your intended top layer thickness.
First, divide your desired thickness by your selected layer height to determine the correct input value. For instance, if you want 1mm top thickness using 0.15mm layers, set Cura to 6.67 layers (1÷0.15=6.67).
Second, multiply your intended thickness by 2-3 times the original value, as adaptive settings consistently produce thinner outputs than specified.
Third, guarantee your base layer height isn’t too small, which worsens the thinning effect.
You’ll need to test these calculations with your specific STL files and document results, creating a personalized reference for future prints.
Community Workaround Solutions
Since Cura’s adaptive layer engine consistently fails to deliver the top thickness you specify, experienced users have developed practical workarounds that compensate for these calculation errors.
You’ll find community members routinely multiplying their desired thickness by 2 or 3 to achieve acceptable results. They’ve discovered that dividing your target thickness by layer height determines the proper number of layers to set in Cura’s interface.
Key community solutions include:
- Manual thickness multiplication: Apply 2x or 3x multipliers to compensate for engine miscalculations
- Layer count calculations: Divide desired thickness by layer height for accurate layer number settings
- Alternative software exploration: Consider Slic3r for variable layer control when Cura consistently underperforms
Community members emphasize sharing detailed settings and STL files to help diagnose thickness issues effectively.
Frequently Asked Questions
What Is the Adaptive Layer Height Setting?
You’ll find adaptive layer height automatically adjusts your print’s layer thickness based on model geometry. It uses thicker layers for simple areas and thinner layers where you need fine details, optimizing quality and efficiency.
What Infill Percentage Settings Work Best for Most Prints?
You’ll find 20% to 30% infill works best for most prints, balancing strength with material usage. Use 10-15% for decorative items or 40%+ for functional parts needing extra durability.
Is Adaptive Layer Height Worth It?
You’ll find adaptive layer height worthwhile for complex models with varying detail levels. It reduces print time while maintaining quality, though you’ll need to experiment with settings since not all prints benefit equally.
Is 0.1 Layer Height Good?
You’ll get excellent detail and smooth finishes with 0.1mm layer height, but you’re trading speed for quality. It’s perfect for intricate models, though you’ll need longer print times.
Leave a Reply