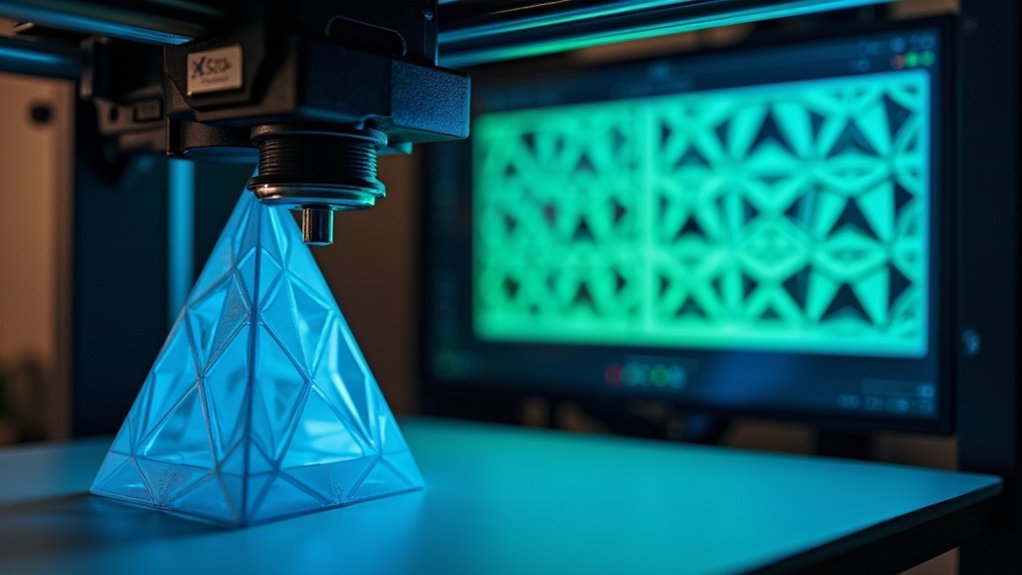
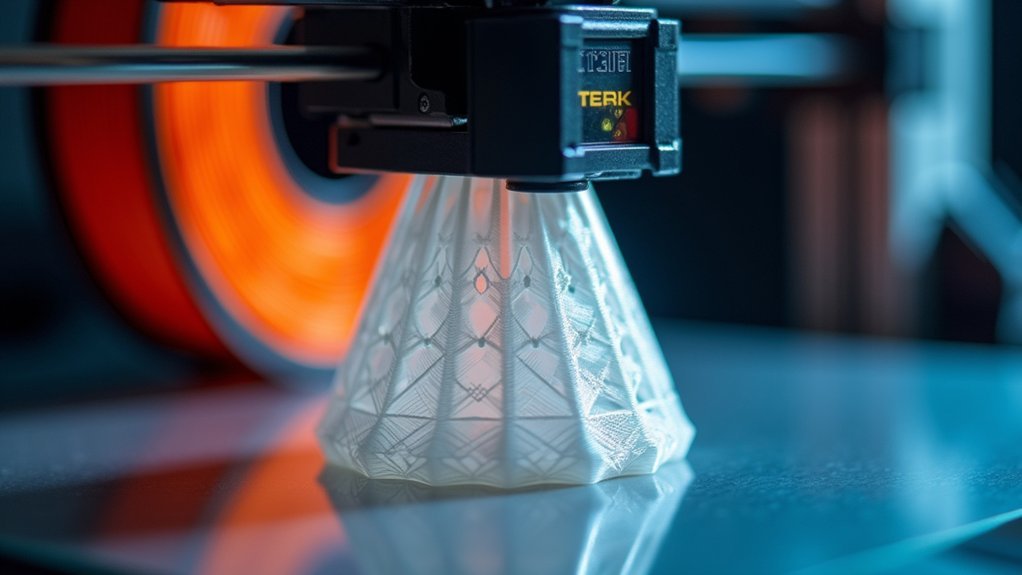
You’ll set up triangular infill by maneuvering to your slicer’s infill settings and selecting “Triangular” as the pattern type. Configure the density between 30-50% for ideal strength-to-weight ratios, though you can adjust from 10-20% for lightweight prototypes to 70-100% for load-bearing applications. This pattern creates interlocking equilateral triangles that distribute stress evenly while reducing print times through fewer directional changes. The following guide explores advanced configuration techniques and troubleshooting strategies.
Understanding Triangular Infill Pattern Structure

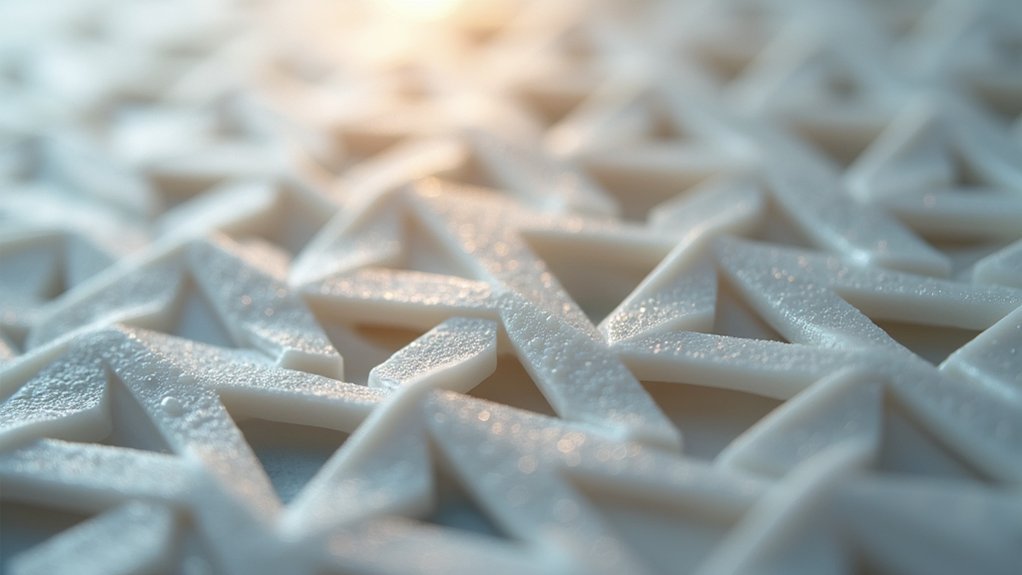
Geometry plays an essential role in 3D printing’s structural success, and triangular infill exemplifies this principle through its network of interlocking equilateral triangles. When you select triangle infill, you’re choosing one of the most efficient infill patterns available for creating robust internal structures.
The equilateral triangles interlock seamlessly, forming a honeycomb-like matrix that distributes forces evenly throughout your printed object. This geometric arrangement eliminates weak points that plague other patterns, markedly enhancing parts strength.
Interlocking triangular geometry eliminates structural vulnerabilities while distributing stress evenly, creating superior strength compared to conventional infill patterns.
You’ll notice the triangular structure creates multiple load paths, meaning stress spreads across various points rather than concentrating in vulnerable areas.
The pattern’s efficiency shines in its ability to provide maximum structural support while using minimal material. This smart geometry delivers exceptional strength-to-weight ratios for your projects.
Advantages of Triangular Infill Over Other Patterns
Beyond its impressive structural design, triangular infill outperforms competing patterns in several key areas that directly impact your printing success.
You’ll achieve superior structural strength because triangular infill distributes stress evenly throughout your print, preventing deformation under heavy loads. This infill pattern maximizes your strength-to-weight ratio while using less material than grid or rectilinear alternatives.
You’ll also experience faster print times since triangular infill requires fewer directional changes compared to complex patterns like honeycomb.
Your top surfaces won’t sag thanks to excellent support, ensuring dimensional accuracy in functional parts. Additionally, you’ll encounter fewer nozzle clogs due to the pattern’s straightforward geometry, reducing maintenance downtime and creating smoother printing processes overall.
Setting Up Triangular Infill in Slicer Software

When you’re ready to implement triangular infill, you’ll find the setup process straightforward in most slicer software. Navigate to your infill settings and select “Triangular” as your infill type from the available pattern list.
Set your infill density between 30-50% for ideal strength and material efficiency, as this strongest infill pattern delivers excellent durability without wasting filament.
Use your slicer’s preview feature to visualize the triangular pattern within your model before printing. Consider adjusting layer height settings—thinner layers enhance precision while maintaining consistent strength.
For maximum tensile strength, combine triangular infill with additional perimeter shells. This combination strengthens planes parallel to your print bed, making your parts more robust for demanding applications.
Optimal Density Percentages for Triangular Infill
You’ll need to match your triangular infill density to your project’s specific requirements and performance goals.
Low-density settings work perfectly for decorative items and prototypes, while medium densities offer the sweet spot for most functional prints.
High-density configurations become essential when you’re creating parts that must withstand significant stress or support flat surfaces without sagging.
Low Density Applications
Although triangular infill excels across various applications, its true efficiency shines in low-density scenarios where you’re balancing material conservation with adequate structural support.
When your project doesn’t require heavy load-bearing capacity, triangular infill at 10-20% density delivers exceptional results for lightweight prototypes and decorative models.
You’ll find this infill pattern particularly valuable for applications with low structural strength requirements:
- Prototyping components that prioritize speed over durability
- Decorative items where aesthetics matter more than strength
- Educational models requiring minimal material usage
- Conceptual designs for testing form and fit
- Display pieces that won’t experience mechanical stress
Adjusting your density to around 15% optimizes print speed while reducing filament costs, and the triangular pattern prevents top-layer sagging through even surface support distribution.
Medium Density Balance
Moving beyond lightweight applications, triangular infill demonstrates its versatility in medium-density configurations where you need balanced performance.
You’ll find the sweet spot between 30% and 50% infill percentage, where triangular patterns deliver ideal results for most functional parts.
At 30% density, you’re achieving adequate structural support while maintaining reasonable material consumption. This setting works well for prototypes requiring moderate durability without excessive weight.
When you increase to 50%, you’re greatly enhancing your part’s resilience to stress and deformation.
Triangular infill excels at distributing loads evenly throughout your print, creating uniform strength across the entire structure.
You’ll notice how this geometry minimizes weak points that plague other infill patterns.
The trade-off involves longer print times as density increases, but you’re gaining considerable durability improvements that justify the additional material consumption.
High Density Requirements
When your projects demand maximum structural integrity, triangular infill at high densities transforms into a powerhouse of mechanical performance.
You’ll need densities between 70% and 100% for applications requiring significant load-bearing capacity, ensuring maximum strength and durability for your printed parts.
The triangular pattern’s geometry excels at distributing stress evenly throughout the structure, making it particularly effective for components subjected to bending forces.
This material distribution becomes increasingly important as density increases, providing superior mechanical properties compared to other infill patterns.
For high-density requirements, consider these guidelines:
- Use 70-80% density for moderate load-bearing applications
- Apply 85-95% density for critical structural components
- Reserve 100% density for maximum strength requirements
- Account for increased print time and material usage
- Verify your printer can handle dense infill patterns reliably
Print Speed and Material Considerations
When you’re selecting triangular infill for your 3D prints, you’ll notice significant improvements in both print speed and material efficiency compared to other infill patterns.
The triangular geometry requires fewer direction changes during printing, which reduces print time while using less filament to achieve the same structural strength.
You can optimize these benefits by adjusting your infill density between 30-50%, allowing you to balance speed, material consumption, and part durability based on your specific project requirements.
Optimizing Print Speed
Since triangular infill’s efficient geometry minimizes retractions and travel moves, you’ll achieve faster print times compared to more complex infill patterns.
To maximize your printing speed with triangular infill, you can adjust several key settings while maintaining the balance between strength and printing efficiency.
Consider these enhancement strategies:
- Increase layer height to 0.2-0.3mm for faster deposition
- Set print speed between 50-80 mm/s for ideal results
- Reduce infill percentage to 10-20% for non-structural parts
- Enable “avoid crossing perimeters” to minimize travel time
- Use higher nozzle temperatures to improve flow rates
Triangular infill’s stress distribution properties allow you to push these speed settings without sacrificing structural integrity.
You’ll find this pattern particularly effective for prototypes and functional parts where quick turnaround matters more than maximum strength.
Material Usage Efficiency
Beyond speed advantages, triangular infill delivers exceptional material usage efficiency by maximizing structural performance per gram of filament used.
You’ll find that equilateral triangles distribute forces evenly throughout your print, creating high structural integrity while using minimal material. This geometry optimizes the strength-to-weight ratio, allowing you to achieve durable functional parts without excess filament consumption.
When you’re printing infill at 30-50% density, triangular patterns balance mechanical properties with material conservation effectively.
You’ll notice reduced warping risks and improved surface finishes, which minimize reprints and waste. The efficient force distribution means you can often use lower infill percentages than other patterns while maintaining equivalent strength, directly translating to material savings and faster completion times for your projects.
Structural Strength Properties of Triangular Infill

The geometric precision of triangular infill creates exceptional structural support properties that make it a top choice for demanding 3D printing applications.
When you’re designing parts that need robust performance, triangular patterns deliver an outstanding high strength-to-weight ratio while optimizing material usage. The inherent stability of triangular geometry distributes loads evenly across your printed surface, greatly reducing deformation risks under stress.
Key structural advantages you’ll experience include:
- Enhanced rigidity through superior load distribution
- Improved resistance to shear forces and lateral loads
- Reduced deformation compared to grid or honeycomb patterns
- Faster printing times with maintained structural integrity
- Efficient filament deposition with minimal retractions
This geometric stability makes triangular infill particularly effective for components experiencing dynamic forces during operation.
Best Applications for Triangular Infill Pattern
When you’re selecting infill patterns for mechanical components and functional prototypes, triangular infill emerges as the ideal choice for applications demanding maximum structural performance.
You’ll find this pattern excels in flat surface prints where load-bearing capacity is critical, such as brackets, mounting plates, and structural housings. The triangular geometry provides exceptional rigidity for functional part manufacturing, making it perfect for tools, fixtures, and replacement components that’ll face regular stress.
You’ll appreciate its weight reduction benefits in aerospace and automotive prototypes where strength-to-weight ratios matter most. Choose triangular infill when you’re printing gears, levers, or mechanical assemblies requiring durability without warping.
Its quick print time makes it efficient for production runs while maintaining the structural integrity your applications demand.
Troubleshooting Common Triangular Infill Issues
Although triangular infill offers superior structural integrity, you’ll encounter specific printing challenges that can compromise your part’s quality and strength. Understanding these common issues helps you maintain the geometric stability that makes this infill pattern so effective.
Key troubleshooting steps for triangular infill problems:
- Prevent nozzle clogs by avoiding low layer heights and excessive print speeds
- Calibrate extrusion settings properly to eliminate under-extrusion and weak spots
- Set appropriate nozzle temperatures for your filament to prevent material jamming
- Increase infill density or adjust print speed when experiencing poor layer adhesion
- Clean nozzle regularly and check for wear to maintain consistent infill quality
These preventive measures guarantee your printed parts achieve maximum strength while avoiding the inconsistencies that can undermine triangular infill’s structural advantages.
Comparing Performance With Alternative Infill Patterns
Once you’ve mastered troubleshooting triangular infill, you’ll want to understand how it stacks up against other popular patterns.
Triangular infill delivers superior structural strength compared to rectilinear and grid infill by distributing forces evenly throughout its geometry. Unlike grid infill, which creates vulnerable intersection points, triangular patterns maintain consistent load-bearing capacity.
Triangular infill’s even force distribution eliminates the weak intersection points found in grid patterns, delivering superior structural integrity.
When comparing speed, triangular infill outpaces honeycomb infill thanks to its simpler geometric design, making it ideal for rapid prototyping projects.
You’ll also find it uses less material than denser cubic patterns while maintaining adequate strength for most applications.
For load-bearing capacity, triangular infill consistently outperforms zig-zag patterns in structural integrity.
This makes it your best choice when printing functional parts that need durability without sacrificing print speed or material efficiency.
Frequently Asked Questions
What Is Triangle Infill Good For?
You’ll find triangular infill excellent for functional parts needing strength and durability. It provides superior structural integrity, resists deformation under stress, prevents sagging on flat surfaces, and balances material efficiency with robust performance.
Does Triangle Infill Cross Itself?
You’ll find triangular infill doesn’t cross itself during printing. It’s designed with interlocking triangles printed in single directions per layer, preventing overlapping lines that’d cause material flow issues or nozzle clogs.
Is 40% Infill Too Much?
You’ll find 40% infill isn’t too much for functional parts needing strength, but it’s excessive for decorative models. Consider your part’s purpose—you can reduce infill for prototypes to save time and material.
Is 5% Infill Too Little?
You’ll find 5% infill too little for most functional parts since it lacks structural integrity and strength. It’s only suitable for prototypes or decorative items that won’t bear loads.


Leave a Reply