
You’ll need the right tape like 3M Scotch #2090 Original Multi-Surface for ideal adhesion. Clean your build plate thoroughly with rubbing alcohol, then apply tape diagonally to prevent corner lifting. Adjust your Live-Z height by 0.1-0.2mm to accommodate tape thickness, and set first layer temperature at 60-70°C for PLA. Remove prints gently by hand when possible, and replace tape after 10-20 prints when adhesion declines. These techniques will transform your printing success rate and reveal advanced strategies for consistent results.
Choose the Right Type of Blue Painter’s Tape for 3D Printing
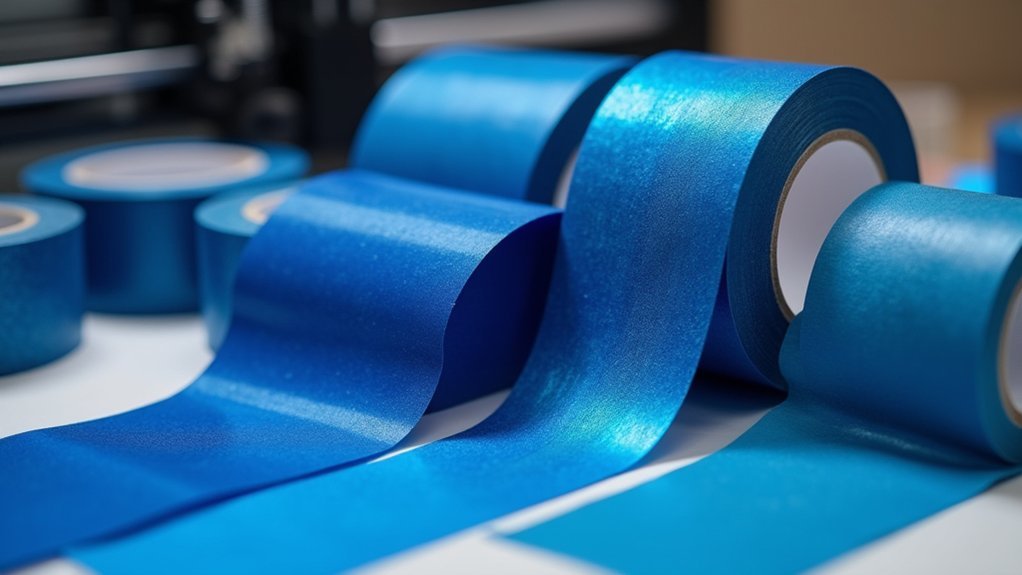
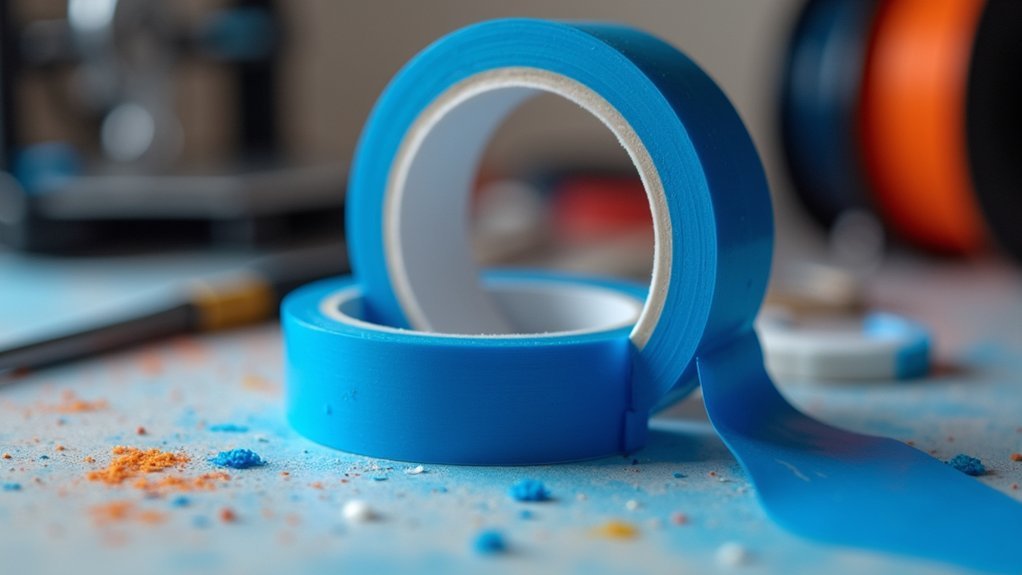
While countless blue painter’s tapes line the hardware store shelves, you’ll want to reach for 3M Scotch-brand #2090 Original Multi-Surface painter’s tape for your 3D printing projects. This specific tape delivers superior adhesion characteristics that prevent common adhesion problems plaguing many 3D prints.
Unlike alternatives such as #2097 Exterior tape, which performs poorly, the #2090 provides reliable results across various materials.
Before applying any blue painters tape, always clean the bed surface thoroughly to remove residue and guarantee maximum bonding. While PEI sheets offer excellent adhesion, blue painter’s tape remains a cost-effective solution for beginners.
Proper bed preparation ensures optimal tape adhesion, while blue painter’s tape offers beginners an affordable alternative to premium PEI surfaces.
Choose 49mm width when possible, as it covers more surface area with fewer seams, creating a smoother printing foundation for consistent results.
Properly Clean and Prepare Your Build Plate Surface
You’ll need to remove all old residue from your build plate before applying fresh blue painter’s tape.
Clean the surface thoroughly with rubbing alcohol or acetone to eliminate any leftover adhesive, oils, or debris that could interfere with tape adhesion.
Let the build plate dry completely before proceeding with tape application to guarantee ideal sticking power.
Remove All Old Residue
Before you can achieve ideal adhesion with blue painter’s tape, you must thoroughly clean your build plate to remove any lingering residue from previous prints.
Old filament remnants and adhesive buildup interfere with your blue tape’s effectiveness, creating weak spots that lead to print failures.
Use rubbing alcohol or acetone as your cleaning solution, thoroughly wiping the entire surface.
Pay special attention to areas where previous tape was applied, as adhesive remnants can prevent proper bonding.
If you’re applying blue tape over PEI or other specialized surfaces, verify you’ve eliminated all traces of old adhesive to avoid damaging the underlying material.
Allow your cleaning solution to evaporate completely before proceeding.
Moisture trapped beneath the tape will compromise adhesion and cause lifting during printing.
Use Alcohol or Acetone
Two cleaning agents stand out for preparing your build plate: 70% isopropyl alcohol and acetone. When you use alcohol or acetone, you’ll remove residue that prevents proper tape adhesion.
Cleaning the build plate with these solvents creates an ideal surface for blue painter’s tape application. These cleaning agents enhance the stickiness of your tape by eliminating oils, dust, and previous adhesive remnants.
Apply the solvent with a lint-free cloth, wiping in smooth, overlapping motions across the entire surface. Let the build plate dry completely before applying new tape.
Regular cleaning maintains consistent performance throughout multiple print sessions. Without proper preparation, you’ll experience lifting, misalignment, and poor first-layer adhesion that compromises your prints.
Ensure Complete Surface Dryness
Three critical minutes of drying time can make the difference between a successful print and a failed one.
After cleaning your build plate with rubbing alcohol or acetone, you must wait for complete surface dryness before applying blue painter’s tape. Even microscopic moisture residue will compromise the tape’s adhesion to your build plate, creating weak spots that’ll cause print failures.
Don’t rush this step. Allow the clean surface to air dry completely, or use a lint-free cloth to speed up the process.
Any remaining moisture creates a barrier between the tape and build plate, preventing proper bonding. Test the surface with your finger – it should feel completely dry and smooth.
This patience guarantees your tape adheres properly and provides the reliable foundation your prints need.
Apply Tape Diagonally to Prevent Corner Lifting
While most 3D printing enthusiasts apply blue painter’s tape in straight, parallel strips, you’ll achieve better results by laying it diagonally across your build plate.
When you apply tape diagonally, you’re distributing stress more evenly during the cooling process, which effectively prevents corner lifting that can ruin your prints.
This diagonal technique creates a tighter fit against your build plate, eliminating gaps and overlaps that typically cause adhesion problems.
You’ll notice improved first layer adhesion and a consistently smooth surface for printing.
Start from one corner and smooth the tape down with a scraper to remove air bubbles.
This method not only enhances your blue painters tape’s performance but also extends its lifespan by preventing edge curling and premature wear.
Adjust Your Live-Z Height for Tape Thickness

After perfecting your tape application technique, you’ll need to compensate for the added thickness by adjusting your Live-Z height setting.
Blue painters tape typically requires increasing your Live-Z by 0.1-0.2 mm to maintain proper first layer adhesion. Before applying tape, record your current Live-Z value for future reference.
Since tape thickness varies between brands, measure your specific tape or check manufacturer datasheets for precise adjustments. Start your print and fine-tune the Live-Z during the first layer if needed.
Proper adjustment guarantees ideal filament squish without damaging the tape surface. Too low creates excessive bed adhesion, making print removal difficult, while too high results in poor first layer bonding and potential print failure.
Optimize First Layer Temperature and Nozzle Distance
You’ll need to set your first layer temperature at the glass change point of your filament—around 60-70°C for PLA—to achieve proper adhesion on blue painter’s tape.
Your nozzle distance requires precise calibration, aiming for 0.1-0.2 mm above the tape surface to avoid excessive squish or poor bonding.
The bed temperature you choose directly impacts how well your filament settles and bonds to the tape during those critical first moments of printing.
Glass Transition Temperature Settings
When you’re dialing in your first layer temperature settings for blue painter’s tape, the glass phase change temperature becomes your best friend for achieving rock-solid adhesion. Set your first layer temperature at or just above the glass phase shift point—60-65°C for PLA and 70-75°C for PETG. This guarantees peak adhesion without compromising print quality.
| Filament Type | Glass Transition Temp | Recommended First Layer Temp | Bed Temperature |
|---|---|---|---|
| PLA | 60°C | 60-65°C | 50-60°C |
| PETG | 70°C | 70-75°C | 70-80°C |
| ABS | 105°C | 220-250°C | 90-100°C |
| TPU | 50°C | 210-230°C | 40-50°C |
You’ll also need to adjust your Live-Z setting upward by 0.1-0.2mm to accommodate the tape’s thickness while maintaining proper filament contact.
Nozzle Height Calibration Method
Perfect temperature settings mean nothing if your nozzle sits at the wrong height above the blue tape surface. Proper nozzle height calibration is essential for achieving excellent first layer adhesion on blue painters tape.
Start by adjusting your Live-Z value 0.1-0.2 mm higher than your previous setting to accommodate the tape’s thickness. This calibration guarantees your first layer lines make full contact with the tape without excessive flattening.
Run test prints to fine-tune your nozzle height settings. Watch for lines that are adjacent and properly bonded to the blue painters tape surface. If lines don’t stick or appear too thin, lower the nozzle slightly. If they’re too flat or squished, raise it incrementally.
Regular calibration maintains consistent adhesion quality.
Bed Temperature Impact
Although many 3D printing enthusiasts overlook bed temperature’s significance, this setting directly determines whether your first layer bonds properly to blue painter’s tape.
Setting your bed temperature at your filament’s glass softening point creates ideal conditions for first layer adhesion. For PLA, you’ll want temperatures around 60-70°C to achieve superior adhesion quality with blue painters tape.
Here are four critical bed temperature considerations:
- Heat the bed to your material’s glass softening point for maximum bonding strength
- Raise your nozzle distance by 0.1-0.2mm to compensate for tape thickness
- Ensure first layer lines make complete contact with the tape surface
- Disable cooling fans during first layer to prevent premature cooling and adhesion failures
These adjustments prevent warping and create reliable bonds between your filament and tape surface.
Remove Prints Without Damaging the Tape Surface
Since blue painter’s tape can be reused multiple times with proper care, you’ll want to master gentle removal techniques that preserve the tape’s surface integrity. Start by gently wrenching the part loose by hand—this prevents damage to your strip of tape while maintaining adhesion for future prints. When using blue painters tape, avoid excessive force that causes prints to stick permanently or makes them hard to remove.
| Removal Method | When to Use | Tape Preservation |
|---|---|---|
| Hand removal | First attempt | Highest |
| Putty knife/spatula | Stubborn prints | Moderate |
| Isopropyl alcohol | Extremely stuck prints | Good |
If hand removal fails, use a putty knife carefully. For particularly stubborn prints, apply isopropyl alcohol around edges to loosen the bond. Always assess your tape’s condition and remove the tape when it shows wear.
Know When to Replace Your Blue Tape
While blue painter’s tape offers excellent reusability, recognizing when it’s reached the end of its useful life is essential for maintaining consistent print quality.
Here are four key indicators it’s time to replace your blue tape:
- Declining adhesion – When you notice reduced stickiness or need to frequently apply isopropyl alcohol to enhance bed adhesion, the tape has lost its effectiveness.
- Physical deterioration – Replace tape showing signs of fraying, tearing, or visible wear that can compromise print quality.
- Print count exceeded – Blue tape typically lasts 10-20 prints, so consider replacement if you’ve exceeded this range or print frequently.
- Poor bottom layer quality – If prints develop rough textures on the first layer or tape residue sticks to prints, it’s time for fresh tape.
Frequently Asked Questions
Is Painters Tape Good for 3D Printing?
Yes, painter’s tape works excellently for 3D printing. You’ll get strong adhesion with PLA and PETG at low cost. It provides good surface finish and easy print removal when you apply it properly.
Does PLA Stick to Painters Tape?
Yes, PLA sticks well to painter’s tape. You’ll find it creates excellent bed adhesion, especially on unheated beds. The tape’s surface bonds naturally with PLA’s properties, giving you reliable first layers.
What Is the Best Tape for 3D Printing Paint?
You’ll want 3M Scotch-brand #2090 Original Multi-Surface painter’s tape for 3D printing. It’s affordable, widely available, and provides excellent adhesion for PLA and PETG materials on your build plate.
Does PETG Stick to Blue Tape?
Yes, PETG sticks well to blue tape. You’ll get reliable adhesion without warping. Use medium-tack tape with bed temperatures around 70-80°C. You won’t need additional adhesives like with ABS.

Leave a Reply