
You’ll achieve better bridging and overhang quality by first testing your printer’s bridging capabilities with 50-150mm test prints. Set your fan speed to 100% for maximum cooling and reduce layer height to 0.1-0.15mm for smoother finishes. Decrease print speed to 30-50 mm/s and lower flow rate to 80-90% to prevent over-extrusion. Adjust your print order to interior walls first, follow the 45° rule for orientation, and add supports when necessary. Master these techniques to unveil professional-grade results.
Test Your Printer’s Bridging Capabilities
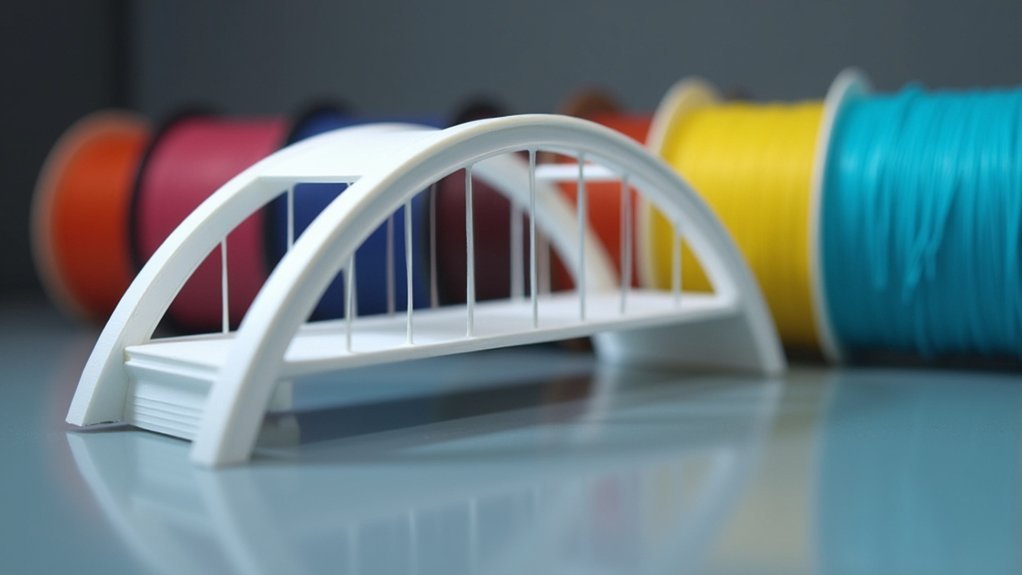
Before diving into complex bridging projects, you’ll want to establish your printer’s baseline capabilities through systematic testing.
Create a single test print featuring bridge lengths from 50mm to 150mm to evaluate multiple distances simultaneously. This approach saves time while identifying your printer’s best bridging range.
Set your fan speed to 100% during these tests to maximize cooling effectiveness.
Maximum fan speed is crucial for bridging tests as it rapidly cools extruded filament, preventing sagging and improving span quality.
Monitor each printing bridge carefully, noting where sagging or drooping begins to occur. Don’t get discouraged by initial poor results—they’re valuable data points for adjusting temperature and flow rate settings.
Document everything meticulously. Record which bridge lengths succeeded, your exact settings, and environmental conditions.
This documentation becomes your reference guide for future projects, helping you consistently achieve quality bridging results across different print scenarios.
Optimize Cooling Settings for Better Results
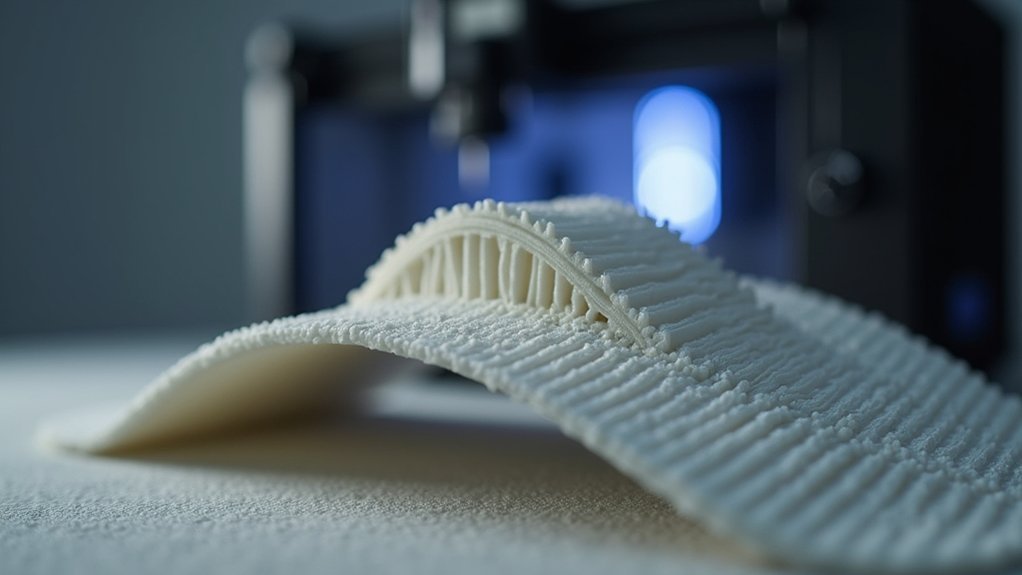
Since cooling directly determines whether your extruded filament maintains its shape or sags into the void below, mastering fan settings becomes essential for bridging success.
Increase your layer fan speed to 100% during bridging to enhance cooling and prevent sagging as filament is extruded over gaps. This improved rigidity particularly benefits longer bridge lengths spanning 50-150 mm.
However, monitor for potential delaminations since excessive cooling can negatively impact layer adhesion. Experiment with cooling settings in 5% increments to find the ideal balance that prevents molten filament while ensuring proper solidification.
You’ll need to coordinate these adjustments with your print speed for best results.
Ensure your cooling system stays clean and operational, as blockages or insufficient airflow will compromise bridging quality regardless of your settings.
Reduce Layer Height for Improved Quality
While cooling settings form the foundation of successful bridging, layer height adjustments offer another powerful lever for improving print quality. Reducing your layer height creates smaller volumes of extruded material per layer, allowing filament to solidify faster and maintain better structural integrity during bridging.
This technique minimizes the ladder effect that causes rough surfaces on overhangs, resulting in smoother finishes overall. Lower layer heights also enhance adhesion between successive layers, which is critical for maintaining strength in challenging geometries.
The improved cooling management prevents sagging and distortion that often plague bridges printed with thicker layers. For ideal results, you’ll want to target layer heights between 0.1mm and 0.15mm, adjusting based on your specific filament properties and printer capabilities.
Decrease Print Speed and Flow Rate
Although layer height adjustments provide significant improvements, you’ll achieve even better bridging results by fine-tuning your printer’s speed and extrusion settings.
When you decrease print speed to 30-50 mm/s, you’re giving the extruded material essential time to cool and solidify during bridging. This enhanced cooling prevents sagging and maintains structural integrity.
- Reduce print speed to 30-50 mm/s for ideal cooling time
- Lower your flow rate to 80-90% to prevent over-extrusion
- Fine-tune settings in 5 mm/s and 5% increments for precision
- Allow better layer adhesion through slower printing speeds
- Guarantee precise filament deposition with adjusted flow rates
These adjustments work together to create stronger bridges. The slower speed promotes proper cooling while the reduced flow rate eliminates excess material that causes drooping.
Lower Printing Temperature
Temperature control represents your third critical adjustment for superior bridging performance. By reducing your printing temperature, you’ll enhance filament solidification speed, preventing sagging between support points. Lower printing temperature allows the material to cool quickly, maintaining taut structures across gaps.
Adjust your settings in 5°C increments to find the best range without dropping below your filament’s minimum requirements. PLA particularly benefits from this approach, as rapid cooling improves bridging outcomes considerably.
| Material | Standard Temp (°C) | Bridge Temp (°C) | Temp Reduction |
|---|---|---|---|
| PLA | 210 | 195-200 | 10-15°C |
| PETG | 240 | 225-230 | 10-15°C |
| ABS | 250 | 235-240 | 10-15°C |
| TPU | 220 | 210-215 | 5-10°C |
Consider running temperature tower tests to determine your filament’s ideal bridging range, ensuring clean, stable results.
Adjust Print Order and Orientation
You can greatly improve your overhang quality by adjusting your print order to prioritize interior walls before exterior ones, giving the outer perimeters better support.
Enabling infill-first printing creates a solid foundation that helps prevent sagging on challenging overhangs.
Strategic model positioning following the 45° rule minimizes problematic angles and reduces your reliance on support structures.
Interior Before Exterior Walls
When you adjust your slicer settings to print interior walls before exterior walls, you’re establishing a solid foundation that dramatically improves bridging and overhang performance.
This strategic printing sequence creates internal support structures before your printer attempts exterior features.
- Enable “Infill before walls” to provide a solid base for exterior layers to adhere to
- Reduce sagging risk by allowing material to build upon previously printed interior layers
- Achieve smoother surface finishes as inner structures support subsequent exterior walls
- Minimize delamination since exterior walls aren’t subjected to bending until internal structure completes
- Improve dimensional accuracy especially in models with intricate details and challenging overhangs
This printing approach transforms how your layers interact, creating stability that translates into superior overhang quality.
Infill First Strategy
Building on this foundation-focused approach, the infill first strategy takes print sequencing optimization a step further by fundamentally restructuring how your printer deposits material.
By activating the “Infill before walls” option, you’ll allow material deposition on previously printed layers, creating better support for overhangs and improving overall print stability. This infill first strategy guarantees external walls build on solid foundations, reducing sagging risks during printing.
When you prioritize infill in your print order, you’ll enhance layer adhesion—particularly vital for structures with significant overhangs.
This sequencing change reduces sagging amounts and improves overhang quality by guaranteeing adequate support during material deposition. You’ll also achieve smoother exterior wall surface finishes by minimizing deformation chances caused by unsupported overhangs.
Optimal Model Positioning
While infill sequencing provides essential foundational support, strategic model positioning and orientation decisions can dramatically reduce bridging challenges before they occur.
Ideal model positioning involves analyzing your design’s geometry and making smart orientation choices that minimize problematic overhangs and excessive bridging distances.
The 45° rule serves as your primary guideline for determining when supports become necessary. Beyond this threshold, you’ll likely encounter print quality issues without additional support structures.
- Orient parts to minimize overhang angles exceeding 45°
- Position longest bridges perpendicular to print direction when possible
- Rotate models to reduce unsupported span distances
- Place critical surfaces facing upward to avoid support marks
- Consider splitting complex geometries into multiple printable orientations
Smart ideal model positioning transforms challenging prints into manageable ones.
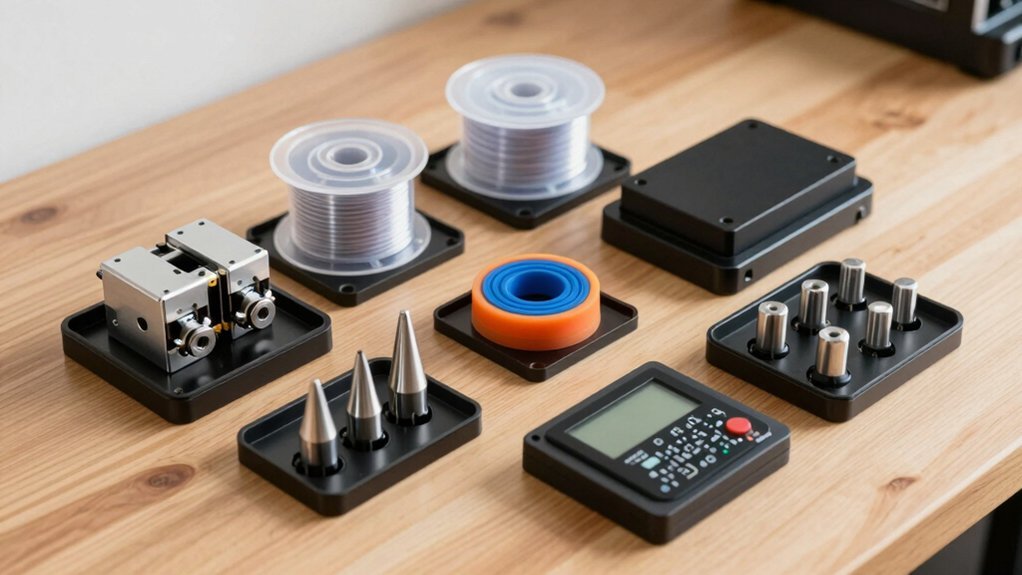
Add Supports When Necessary
Although 3D printers excel at creating vertical walls and gradual slopes, they struggle with steep overhangs and unsupported bridges that exceed 45° angles.
You’ll need to add supports when necessary to prevent sagging and failed prints during printing complex geometries.
Design supports with minimal contact areas to ease removal while maintaining stability. Tree or grid supports reduce material usage and minimize aesthetic marks on your model’s surface.
Enable support structures in your slicer software for complex designs, ensuring each layer has proper foundation for correct adhesion.
After printing, you can enhance areas where supports were attached through post-processing techniques like sanding or heat treatment.
These methods help achieve cleaner finishes and improve your model’s overall appearance.
Frequently Asked Questions
How Can I Improve My Bridging?
You’ll improve bridging by setting fan speed to 100%, reducing flow rate to prevent over-extrusion, lowering print temperature, optimizing model orientation, and designing gradual slopes with appropriate thickness.
How to Make Overhangs Look Better?
You’ll improve overhang appearance by reducing layer height, slowing print speed, using higher cooling fan speeds, printing infill before walls, and choosing filaments like PLA with better bridging capabilities.
What Is the Best Speed for Bridging PLA?
You’ll get the best PLA bridging results at 40-60 mm/s. Start testing at 50 mm/s, then adjust based on your printer’s performance. Speeds above 60 mm/s typically cause adhesion problems and reduced quality.
Should Bridging Be Fast or Slow?
You should bridge fast, typically around 60 mm/s. Faster speeds help the filament cool quickly before sagging occurs, reducing drooping and creating cleaner bridges with better structural integrity.
Leave a Reply