You’ll improve miniature print bed adhesion by properly leveling your build plate and adjusting Z-offset for perfect first layer contact. Clean your print surface thoroughly with isopropyl alcohol, then optimize bed temperatures (60°C for PLA, 90-110°C for ABS) and nozzle settings. Apply adhesive solutions like glue sticks or Magigoo for extra grip, reduce first layer speed to 20-30 mm/s, and use brims or rafts for small contact areas. These foundational techniques reveal even more advanced strategies for flawless miniature printing.
Level Your Build Plate for Miniature Success

One critical factor determines whether your miniature will stick to the bed or curl up in frustration—proper bed leveling. When you level the bed correctly, you create consistent nozzle-to-build surface distance that’s essential for achieving ideal first layer adhesion.
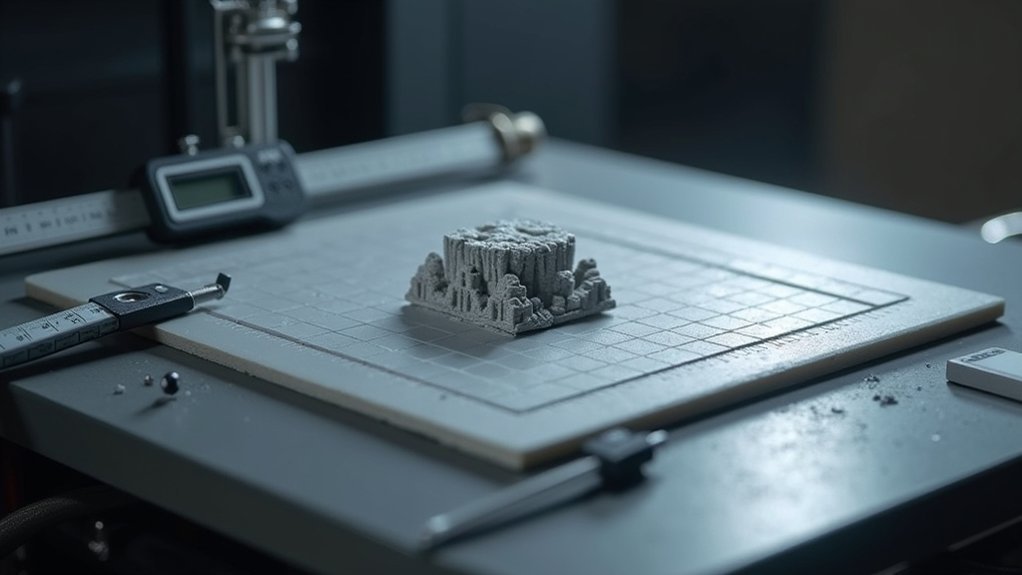
Use a piece of paper to test your print bed adhesion setup. You should feel slight, consistent resistance when sliding the paper between the nozzle and build surface across all corners and center points. This guarantees your proper bed configuration delivers even filament squish.
Recheck leveling before each print, especially when switching filaments or after temperature changes. Print a skirt first to identify any leveling issues before starting your main miniature.
Well-leveled beds prevent warping and detachment that commonly plague delicate miniature features requiring precise first layer bonding.
Adjust Z-Offset for Perfect First Layer Contact
You’ve leveled your build plate, but achieving perfect first layer contact requires mastering Z-offset adjustment.
Understanding Z-offset basics will help you control the precise distance between your nozzle and bed surface.
You’ll need proper calibration methods and tools to fine-tune this critical layer height setting for ideal miniature adhesion.
Understanding Z-Offset Basics
The Z-offset controls how close your nozzle sits to the build plate, making it the single most critical setting for first layer success. When you set this distance correctly, you’ll achieve perfect adhesion that forms the foundation for exceptional print quality throughout your entire miniature.
If your Z-offset’s too low, you’ll squish filament excessively, creating poor adhesion and potentially clogging your nozzle. Set it too high, and your first layer won’t bond properly to the bed.
You’ll want to make small adjustments of 0.05 mm increments while carefully observing how your first layer looks. Run test prints or use a skirt to evaluate your adjustments.
A properly calibrated Z-offset produces smooth, even layers that prevent warping, curling, and dimensional inaccuracies in your finished miniatures.
Calibration Methods and Tools
While proper Z-offset theory sets the foundation, achieving perfect first layer contact requires hands-on calibration using proven methods and tools.
You’ll need a piece of paper as your primary calibration tool – slide it between the nozzle and bed during bed leveling. The nozzle should create slight resistance when you pull the paper, indicating ideal Z-offset distance.
Most slicers offer incremental Z-offset adjustments in your print settings, allowing fine-tuning for different filaments.
Test your calibration by printing a simple skirt that provides visual feedback on first layer adhesion quality. Make small 0.1mm adjustments and monitor results carefully.
Remember that proper Z-offset calibration directly impacts adhesion success, so take time to perfect this essential step before printing miniatures.
Fine-Tuning Layer Height
Once you’ve established basic calibration, fine-tuning your Z-offset becomes critical for achieving that perfect first layer contact that separates successful miniature prints from failures.
You’ll need different Z-offset settings for different materials—PLA typically works best with slightly negative values around -0.1 to -0.2 mm for proper squishing, while PETG requires higher values to prevent excessive sticking to your build surface.
Test frequently with small prints to dial in each filament’s sweet spot. Consider using a thicker initial layer height at 1.2 times your standard setting to increase contact area and improve adhesion.
Remember to recalibrate your Z-offset whenever you level your bed or change surfaces, as consistent first layers depend on maintaining these precise adjustments.
Clean Your Print Surface Thoroughly
You’ll achieve better bed adhesion by maintaining a spotless print surface that’s free from contaminants.
Start by removing dust and debris with a dry scraper or cloth, then apply the right cleaning solution for your bed material—isopropyl alcohol works well for glass beds, while PEI surfaces need mild soap or IPA.
Make cleaning between print jobs a standard practice to prevent buildup that can sabotage your next miniature’s first layer.
Remove Dust and Debris
Before your miniature begins printing, ensuring your print bed is spotless will make the difference between a successful print and a frustrating failure.
You’ll need to clean the print bed surface thoroughly to remove any dust and debris that can compromise filament stickiness. Even tiny particles will disrupt the adhesion process, causing warping or complete print failures.
Use isopropyl alcohol or soapy water to eliminate oils, adhesive residue, and contaminants that prevent proper bonding. A lint-free cloth works best for this task, ensuring you won’t scratch the bed surface or leave behind fibers.
Regular inspection and cleaning of your print bed is essential, as maintaining a pristine surface allows ideal contact between your first layer and the bed.
Use Proper Cleaning Solutions
When selecting cleaning solutions for your print surface, the type of bed material determines which products will work most effectively without causing damage.
Different build surface materials require specific approaches to maintain ideal filament adhesion while preserving the surface integrity.
Here are the most effective cleaning solutions for common print surfaces:
- Glass beds – Use isopropyl alcohol (IPA) or soapy water to remove grease and residues that interfere with adhesion.
- PEI sheets – Clean with gentle soap or IPA, avoiding harsh chemicals like acetone that degrade the surface.
- General maintenance – Apply cleaning solutions after removing debris with a dry scraper for maximum effectiveness.
Proper cleaning solutions guarantee your build surface maintains consistent adhesion properties, preventing print failures and improving overall quality.
Clean Between Print Jobs
The success of your miniature prints depends heavily on maintaining a pristine build surface between each job.
You’ll need to establish a routine cleaning process that removes contaminants like oils, dust, and residual filament particles that accumulate during printing.
Clean your print surface thoroughly after every print session using isopropyl alcohol or soapy water.
These solutions effectively eliminate the buildup without damaging glass or PEI surfaces.
Don’t skip this step even when switching between similar materials, as invisible residues can compromise adhesion.
Make cleaning part of your standard workflow.
Wipe down the entire surface with a lint-free cloth, ensuring you’ve removed all traces of previous prints.
This consistent approach prevents adhesion failures and maintains ideal surface conditions for your next miniature project.
Optimize Bed and Nozzle Temperatures
How can you achieve perfect first-layer adhesion for your miniatures? Start by refining your bed temperature and nozzle temperature settings. Your heated bed keeps the first layers warm and pliable, preventing rapid cooling that causes warping.
PLA typically needs around 60°C bed temperature, while ABS requires 90°C to 110°C for proper adhesion.
Your printing temperature directly affects material flow and bonding. Set PLA between 190°C-220°C and PETG at 230°C-250°C for best results.
- Test temperature combinations – Experiment with different bed and nozzle settings to find your sweet spot.
- Calibrate regularly – Adjust temperatures based on each filament type you use.
- Monitor first layers – Watch initial deposition to confirm proper adhesion without stringing.
Apply Adhesive Solutions for Extra Grip

Even with properly calibrated temperatures, you’ll often need extra help to guarantee your miniatures stick perfectly to the build surface.
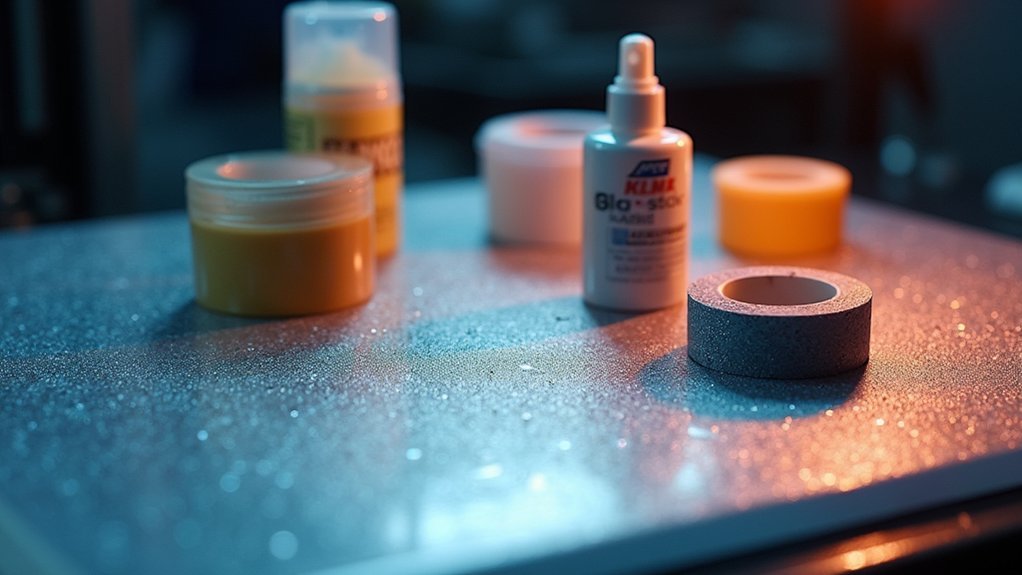
When you apply adhesive solutions like glue sticks, hairspray, or specialized products such as Magigoo, you’ll greatly improve bed adhesion for challenging materials like ABS and PETG.
Start by cleaning the print bed thoroughly to prevent contamination from previous prints.
Apply a thin layer of your chosen adhesive evenly across the surface—too much creates a slippery coating that actually reduces bonding.
Test different adhesive options with small prints to find what works best for your specific filament and conditions.
Remember to reapply adhesives regularly after multiple prints to maintain consistent adhesion quality throughout your miniature printing sessions.
Fine-Tune Print Speed and Flow Settings
Once you’ve addressed bed preparation and adhesives, adjusting your print speed and flow settings becomes crucial for achieving rock-solid first layer adhesion.
These parameters directly impact how well your filament bonds to the build surface.
Your slicer software offers precise control over these critical settings:
- Reduce first layer print speed to 20-30 mm/s – This slower pace allows filament to properly settle and bond with the bed surface.
- Set flow rate between 95-100% – Guarantees even filament extrusion without over-squishing or under-extruding material.
- Increase initial layer thickness – Creates more surface contact area, improving overall adhesion strength.
Experiment with different combinations since each filament and printer requires unique optimization.
The slower speed combined with proper flow rate creates smoother deposition, dramatically reducing detachment risks.
Use Brims and Rafts for Small Miniatures

While optimizing speed and flow settings tackles the printing mechanics, small miniatures often need additional structural support to maintain bed contact throughout the entire print.
Brims and rafts provide essential adhesion solutions for these challenging models.
Brims increase surface area around your miniatures, giving them extra grip on the print bed. You’ll want a 3-5 mm width for ideal stability, especially for models with limited contact points. This simple addition greatly enhances sticking ability during those critical early layers.
Rafts create a dedicated base layer beneath your miniature, preventing warping and improving success rates for intricate designs. They also simplify removal by providing a manageable detachment surface.
While both options increase print time and filament usage, they’re invaluable for avoiding print failures and ensuring reliable adhesion.
Choose the Right Build Surface Material
Since bed adhesion problems often stem from incompatible surface materials, selecting the right build platform becomes essential for miniature printing success.
Different build surfaces offer varying adhesion characteristics that directly impact your print quality and success rates.
Glass provides smooth surfaces that work excellently with PLA and PETG, though materials like ABS may require additional adhesives.
You’ll find glass easy to clean and maintain between prints.
PEI sheets deliver superior adhesion across multiple filament types, including challenging materials like nylon and TPU, without needing extra adhesives.
Consider these top build surface options:
- Glass – Smooth finish, ideal for PLA/PETG
- PEI sheets – Versatile adhesion for all materials
- BuildTak – Textured surface for high-temperature filaments
Experimenting with different materials helps identify ideal combinations for your specific miniatures.
Frequently Asked Questions
How Do You Increase Adhesion in a Print Bed?
You’ll increase print bed adhesion by leveling your bed properly, cleaning it with isopropyl alcohol, adjusting your Z-offset correctly, heating the bed to appropriate temperatures, and applying adhesive solutions when needed.
Which Feature Helps to Improve Print Adhesion?
You’ll find proper bed leveling most effectively improves print adhesion. It guarantees your nozzle maintains consistent distance from the bed, creating even filament squishing across the entire first layer for ideal bonding.
Does a Hotter Print Bed Help With Adhesion?
Yes, you’ll find a hotter print bed dramatically improves adhesion by keeping your filament’s first layer pliable longer, reducing warping and preventing detachment during printing for better success rates.
How to Make Filament Stick to Bed Better?
You’ll improve filament adhesion by leveling your bed properly, cleaning the surface with isopropyl alcohol, adjusting your Z-offset lower, using appropriate bed temperature, and applying adhesives like glue sticks when needed.


Leave a Reply