You’ll achieve jewelry post-processing excellence by mastering essential software like Blender and Photoshop, implementing systematic batch processing workflows, and perfecting surface smoothing techniques using progressive grit wheels and specialized compounds. Focus on accurate color correction with calibrated monitors, remove print lines through healing brushes and layer masks, and employ focus stacking for razor-sharp details. Don’t forget lighting adjustments using curves and levels, professional background removal, and consistent export settings. These foundational techniques will reveal advanced commercial-quality finishing methods.
Essential Software Tools for 3D Printed Jewelry Enhancement

When you’re working with 3D printed jewelry, selecting the right software tools can dramatically transform your final results from ordinary to extraordinary.
Blender stands out as a powerful 3D modeling program, enabling intricate design modifications and high-quality rendering capabilities.
Blender’s advanced 3D modeling capabilities allow jewelry designers to create intricate modifications and produce stunning, professional-quality rendered visualizations.
For post-processing your jewelry images, Adobe Photoshop offers exceptional retouching tools that enhance details and correct colors accurately.
Capture One Pro excels in advanced color grading and batch processing, ensuring consistency across multiple pieces in your collection.
Don’t overlook focus stacking techniques using Helicon Focus, which merges images taken at different focal points.
This essential software tools combination creates sharp, detailed photographs showcasing every intricate element of your 3D printed jewelry designs professionally.
Surface Smoothing and Texture Refinement Techniques
You’ll need to master surface smoothing techniques to transform your 3D printed jewelry from rough prototypes into polished, professional pieces.
Metal surface polishing requires careful attention to maintaining the jewelry’s natural texture while eliminating printing artifacts and layer lines.
Gemstone clarity enhancement demands a different approach, focusing on bringing out brilliance and transparency without over-processing delicate faceted surfaces.
Metal Surface Polishing
While achieving professional-quality jewelry photographs depends on numerous factors, metal surface polishing stands as one of the most critical steps that’ll dramatically impact your final results.
You’ll want to start with coarse-grit polishing wheels, progressively moving to finer grits to eliminate scratches and imperfections from your metal band. Utilize specialized polishing compounds like rouge or tripoli to create stunning reflective surfaces that produce high-quality images.
For intricate designs, you’ll need a rotary tool with buffing attachments to reach tight spaces effectively.
Clean regularly with lint-free cloths to prevent residue buildup, keeping surfaces pristine throughout the process. Your final inspection under bright lighting guarantees you’ve enhanced the visual appeal and eliminated any remaining flaws before photography.
Gemstone Clarity Enhancement
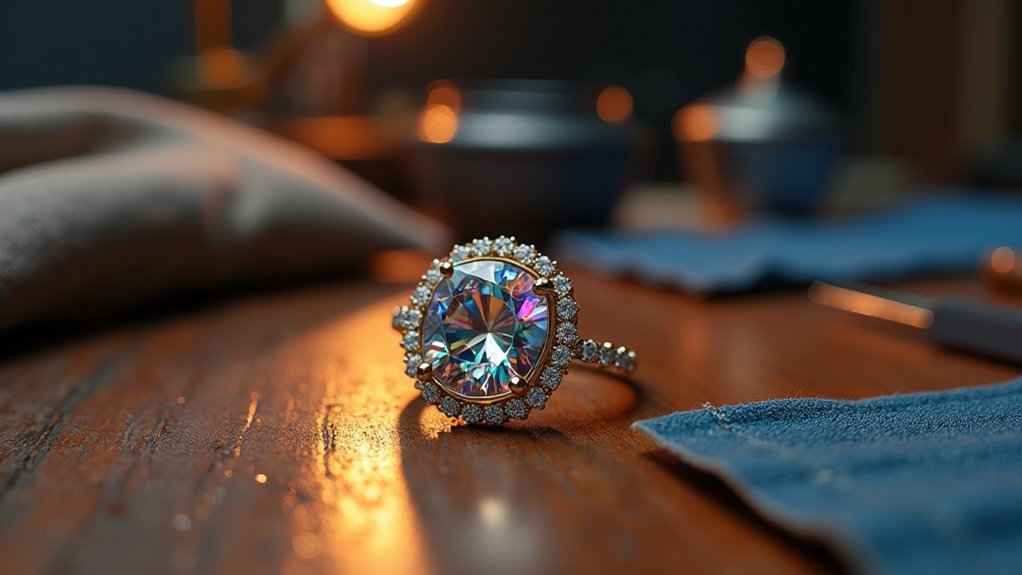
Although gemstone clarity enhancement requires a delicate balance between correction and preservation, mastering surface smoothing and texture refinement techniques will transform your jewelry photographs from amateur snapshots into professional-grade images.
Start with high-resolution images of 20 megapixels or more for precise adjustments. Use frequency separation in Photoshop to remove minor imperfections while maintaining underlying texture integrity.
The clarity slider in Lightroom excels at texture refinement, accentuating natural features while minimizing distractions. Apply color correction tools to enhance vibrancy and eliminate unwanted casts that compromise gemstone clarity.
For selective sharpening, create a high pass filter on duplicate layers to boost perceived sharpness without degrading overall quality. These editing skills guarantee professional results.
Color Correction for Accurate Metal and Gemstone Representation
You’ll need to master white balance precision to guarantee metals display their true colors and avoid misleading potential buyers.
Start by using the eyedropper tool on neutral areas in your image, allowing your editing software to automatically correct any unwanted color casts.
When enhancing gemstone colors, you’ll want to selectively boost saturation and vibrancy to showcase their natural brilliance without crossing into unrealistic oversaturation.
White Balance Precision
When photographing jewelry, achieving precise white balance becomes the foundation for truthful color representation that directly impacts your customers’ buying confidence.
Metals and gemstones demand accuracy to accurately represent their inherent beauty and value.
Here’s your essential white balance workflow:
- Capture Setup: Use a gray card or custom white balance setting under your specific lighting conditions to establish proper color temperature from the start.
- Post-Processing Software: Leverage Adobe Lightroom or Capture One for color correction, eliminating unwanted color casts that distort natural hues.
- Color Consistency: Implement a color checker as your reference point for uniform jewelry images across your entire collection.
- Monitor Standards: Maintain accuracy by regularly calibrating monitor displays, ensuring your post-processing adjustments translate correctly to final output.
Gemstone Color Enhancement
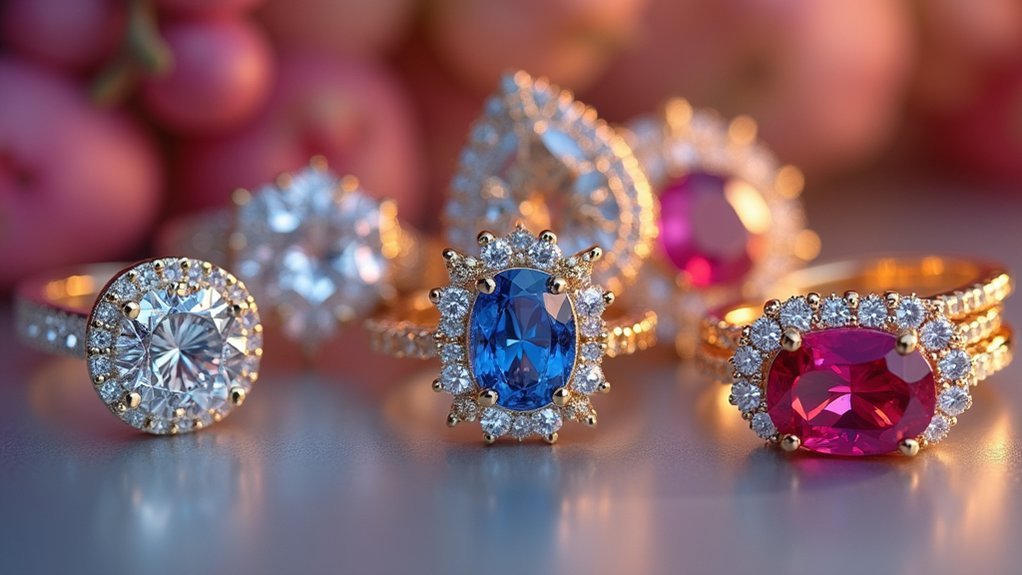
While proper white balance establishes your foundation, gemstone color enhancement requires targeted precision to showcase each stone’s unique characteristics without compromising authenticity. You’ll need accurate color correction techniques through selective color adjustments that enhance specific gemstones without affecting surrounding metals. Start by fine-tuning your white balance settings to eliminate color casts that distort natural hues. Use photo editing tools like Color Editor to maintain vibrancy while preserving realistic image quality.
| Gemstone Type | Common Color Cast | Correction Method |
|---|---|---|
| Sapphires | Blue oversaturation | Reduce luminance in blues |
| Emeralds | Green muddiness | Increase clarity, adjust hue |
| Diamonds | Yellow tinting | Cool temperature adjustment |
| Rubies | Red clipping | Lower red saturation selectively |
Always compare your edited results against the actual piece to guarantee gemstone colors remain truthful to their natural beauty.
Removing Print Lines and Layer Artifacts
Print lines and layer artifacts represent the most common challenges you’ll face when post-processing jewelry photography, appearing as subtle horizontal streaks or stepped edges that can diminish your piece’s visual appeal.
Removing print lines requires strategic use of editing software with advanced retouching tools to achieve seamless corrections.
Strategic deployment of advanced retouching tools ensures seamless print line removal while preserving jewelry’s intricate details and textures.
- Zoom to 100% or higher to identify subtle artifacts invisible at lower magnifications, ensuring thorough cleanup of your jewelry images.
- Deploy the healing brush and clone stamp for precise artifact removal while maintaining the jewelry’s original textures and details.
- Apply layer masks for non-destructive editing, allowing selective corrections without compromising your original image data.
- Implement batch processing techniques across multiple images to maintain consistency and dramatically reduce your editing workflow time.
Focus Stacking for Maximum Detail Clarity
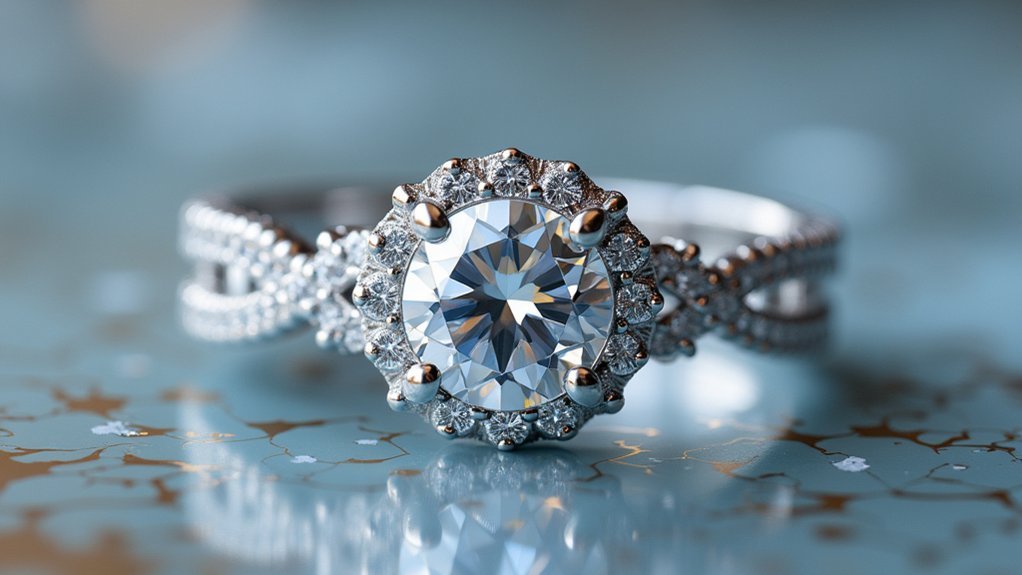
Once you’ve mastered artifact removal, achieving crystal-clear sharpness across every facet and detail of your jewelry becomes your next priority through focus stacking techniques.
This method involves capturing multiple images at different focus points using your macro lens, then merging them for thorough sharp focus throughout the entire piece. You’ll need a sturdy tripod to prevent camera shake between shots, making small incremental focus adjustments for each capture.
Use a remote shutter release or self-timer to maintain consistency across all images. Finally, specialized software like Helicon Focus Pro merges your shots seamlessly, creating high-resolution photographs that showcase every intricate detail of your jewelry with remarkable clarity and precision.
Batch Processing Workflows for Efficiency
After capturing dozens of jewelry pieces in a single session, you’ll need an efficient post-processing strategy that maintains consistency across your entire collection.
Batch processing in Adobe Lightroom or Capture One transforms your product photography workflow by applying consistent edits simultaneously across multiple jewelry images.
Here’s your systematic approach:
- Organize images into collections or folders based on jewelry styles before editing.
- Create custom presets for exposure, white balance, and color correction specific to each collection.
- Apply automated tasks like cropping and sharpening to eliminate repetitive manual work.
- Establish workflow steps starting with global adjustments, then fine-tuning individual pieces.
Professional editing services often use these techniques to maintain uniformity while drastically reducing processing time.
You’ll achieve cohesive presentation across your entire jewelry catalog.
Professional Retouching for Commercial Standards
When you’re preparing jewelry images for commercial use, you’ll need to meet strict color accuracy standards that showcase metals and gemstones as they truly appear.
Professional retouching requires mastering detail enhancement techniques that highlight intricate craftsmanship while maintaining the piece’s authentic texture and finish.
You can’t afford to compromise on these standards since potential buyers rely on accurate visual representation to make purchasing decisions.
Color Accuracy Standards
While stunning gemstones and precious metals capture attention in photographs, achieving true color accuracy separates amateur jewelry photography from professional commercial standards.
You’ll need systematic approaches to guarantee your edited images meet commercial use requirements.
Essential color accuracy standards include:
- Consistent sRGB color space usage – Maintain uniform online color representation across all platforms.
- Monitor color calibration tools – Implement precise visual assessments during your editing workflow.
- Advanced software utilization – Use Adobe Lightroom or Capture One for precise adjustments to hue, saturation, and luminance.
- Controlled lighting environment maintenance – Eliminate color casts during photography and post-processing.
Regular physical sample comparisons validate your digital work meets professional standards.
This systematic approach builds buyer trust and guarantees your jewelry photography consistently delivers commercial-quality results.
Detail Enhancement Techniques
Every imperfection in jewelry photography becomes magnified under commercial scrutiny, making professional retouching techniques essential for showcasing your pieces’ true brilliance.
Detail enhancement techniques using Adobe Photoshop or Capture One give you precise control over critical adjustments. Apply targeted sharpening to gemstone facets and metal surfaces to maximize clarity without creating artifacts.
Focus stacking combines multiple exposures at different focal points, ensuring every detail remains razor-sharp throughout your piece. Color correction maintains accurate gemstone hues that customers expect.
Consistent application of these techniques across your jewelry collection creates a professional appearance that reinforces your brand identity.
These methods transform raw captures into commercial-quality images that meet industry standards and drive sales.
Lighting Adjustment and Shadow Enhancement
Although jewelry photography captures stunning pieces, you’ll often find that raw images need careful lighting adjustments to truly showcase each piece’s beauty.
Post-processing tools give you precise control over brightness and contrast, allowing you to enhance metal luster and gemstone brilliance without creating harsh shadows or unwanted glare.
Effective shadow enhancement techniques will transform your jewelry images:
Master these shadow enhancement techniques to elevate your jewelry photography from amateur snapshots to professional-grade images that captivate buyers.
- Use curves and levels in Photoshop to refine brightness while maintaining color accuracy.
- Apply “Multiply” blend mode to create dimensional depth without losing essential details.
- Employ Dodge and Burn techniques to sculpt shadows while preserving natural hues.
- Utilize batch processing in Lightroom for consistent lighting across entire product collections.
These adjustments guarantee your jewelry’s intricate details remain visible while creating the professional, three-dimensional appearance that makes pieces irresistible to potential buyers.
Background Removal and Replacement Methods
Once you’ve perfected your lighting adjustments, removing and replacing backgrounds becomes your next crucial step for creating professional jewelry images that captivate customers.
You’ll achieve precise results using Adobe Photoshop’s Quick Selection Tool or implementing a clipping path method for intricate designs and gemstones. This guarantees clean edges around delicate details that define quality jewelry photographs.
Replace existing backgrounds with a solid white backdrop to enhance color accuracy and maintain focus on your pieces. You’ll create cohesive product listings that strengthen brand identity across your entire collection.
Don’t overlook batch processing capabilities in editing software – this technique streamlines your workflow while maintaining consistent quality standards.
These methods transform ordinary product shots into compelling images that drive sales and showcase your jewelry’s true beauty.
Export Settings for Web and Print Applications
When you’re ready to showcase your jewelry images, selecting proper export settings determines whether your photographs maintain their professional quality across digital platforms and physical prints.
Proper export settings are the difference between amateur snapshots and professional jewelry photography that sells.
For web applications, you’ll want to export in the sRGB color space to guarantee consistent rendering across devices and browsers. Set your resolution to 72 DPI for best loading speeds while maintaining visual quality online.
When preparing for print applications, follow these essential guidelines:
- Use at least 300 DPI resolution for sharp, detailed physical copies.
- Export as TIFF or PNG formats to preserve maximum image quality.
- Save as JPEG for web use, balancing file size with quality.
- Crop images to exact dimensions before exporting to prevent detail loss.
These export settings guarantee your jewelry photography looks stunning everywhere.
Frequently Asked Questions
What File Formats Should I Shoot in for Best Jewelry Post-Processing Results?
You’ll want to shoot in RAW format for maximum flexibility and detail retention. RAW files preserve all image data, allowing extensive color correction, exposure adjustments, and highlight recovery that’s essential for jewelry’s reflective surfaces.
How Do I Maintain Consistent White Balance Across Different Shooting Sessions?
You’ll need standardized lighting setups and custom white balance settings. Use a gray card for each session, shoot test frames first, and create camera presets. This guarantees color consistency across multiple jewelry photography sessions.
What Monitor Calibration Settings Work Best for Accurate Jewelry Color Representation?
You’ll want to calibrate your monitor to sRGB color space with 6500K white point, 2.2 gamma, and 120 cd/m² brightness. Use a hardware colorimeter for accurate results when editing jewelry photos.
Should I Use RAW or JPEG When Shooting Jewelry for E-Commerce Websites?
You should always shoot RAW for jewelry e-commerce. RAW files capture maximum color data and detail, letting you perfectly adjust white balance, exposure, and highlights during post-processing for accurate product representation.
How Do I Prevent Color Banding When Editing High-Contrast Jewelry Images?
You’ll prevent color banding by editing in 16-bit mode, using gradual adjustment layers instead of heavy corrections, applying dithering when converting to 8-bit, and avoiding extreme contrast adjustments that create harsh shifts.

Leave a Reply