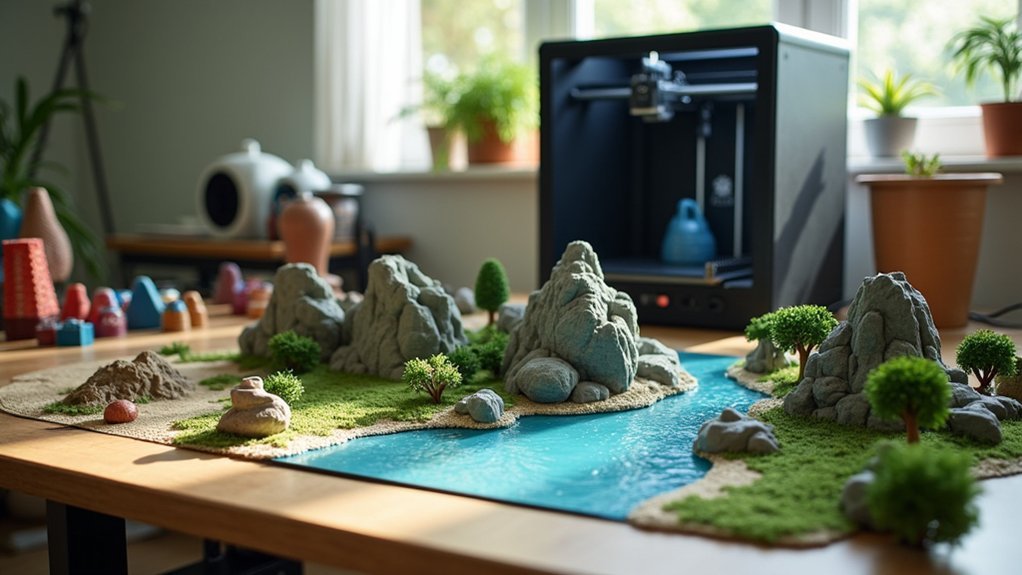
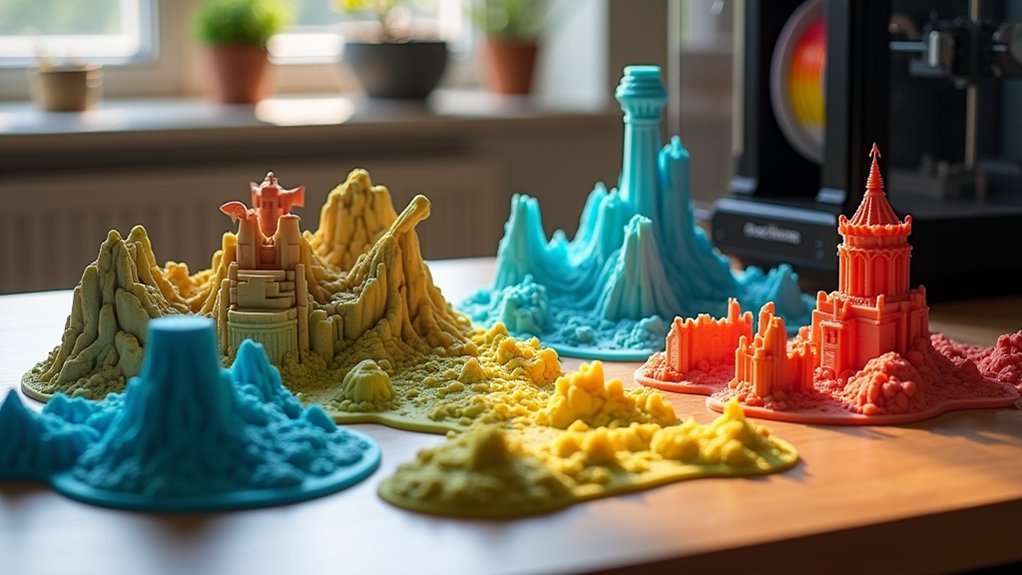
You’ll need an entry-level filament printer like the Ender 3 Pro and PLA filament to start printing tabletop terrain. Begin by assembling and calibrating your printer, focusing on bed leveling and temperature settings. Download STL files from sites like Thingiverse, then use slicer software to prepare your models. After printing, remove supports carefully and apply primer before painting with thin acrylic layers. Proper storage and calibration guarantee consistent results that’ll elevate your gaming sessions beyond expectations.
Choosing Your First 3D Printer for Gaming Terrain

When you’re starting your 3D printing journey for tabletop gaming, choosing the right printer can make or break your experience. For newcomers, you’ll want to go with a filament printer since they’re easier to use than resin printers. The Ender 3 Pro stands out as an excellent entry-level choice at around $200, making it budget-friendly for tabletop gamers.
Pay attention to the build plate size to guarantee it accommodates your desired terrain pieces.
You’ll also want a printer with strong community support, which provides invaluable resources and troubleshooting help when you’re learning.
Finally, verify the printer’s compatibility with common filaments like PLA, as this material delivers peak results for printing gaming terrain and accessories.
Essential Materials and Filament Selection
You’ll need to select the right filament type, store it properly, and choose colors strategically for your terrain projects.
PLA or PLA+ works best for beginners since it’s forgiving and prints easily on most machines.
Pick filament colors that contrast with your intended primer so you can spot any missed areas when painting your finished pieces.
Choosing the Right Filament
Since filament selection directly impacts your print quality and ease of use, PLA or PLA+ represents the best starting point for beginners tackling tabletop terrain projects. These materials offer user-friendly properties that make them ideal for various terrain applications.
When selecting colors, choose shades that contrast with your intended primer color to enhance visibility during printing and post-processing. You’ll find excellent filament options at retailers like MicroCenter or Amazon.
| Storage Location | Temperature | Humidity Control |
|---|---|---|
| Cool area | Below 70°F | Low moisture |
| Dry space | Consistent | Sealed container |
| Indoor location | Room temp | Avoid basements |
Store your filament in cool, dry places to prevent moisture absorption, which affects print quality. Consider purchasing multiple rolls for experimentation with different colors and types.
Proper Storage Methods
Three key factors determine successful filament storage: temperature control, humidity prevention, and container selection.
You’ll need to store your filament in a cool, dry place since moisture absorption directly impacts print quality and filament integrity. Proper storage methods protect your investment and guarantee consistent printing results.
Consider investing in airtight containers with desiccant packets to maintain ideal conditions. Vacuum-sealed bags work well for long-term storage, especially if you’ve purchased multiple rolls from retailers like MicroCenter or Amazon.
Keep your storage area away from direct sunlight and heat sources.
Monitor your storage environment regularly. If you notice stringing or popping sounds during printing, your filament may have absorbed moisture and requires drying before use.
Color Selection Strategy
Strategic color choices can make or break your terrain painting workflow. Your color selection strategy directly impacts how well you’ll see details during priming and painting.
Choose filament colors that contrast sharply with your intended primer – if you’re using black primer, print in light colors like white or gray.
Store your filament properly in cool, dry conditions to maintain consistent color quality and prevent moisture-related printing issues.
Consider your final aesthetic goals when building your filament collection.
Vital Color Selection Strategy Tips:
- Light filament reveals every imperfection – making your painting process more rewarding
- Dark base colors hide significant surface details – frustrating your creative vision
- Multiple color options spark endless creativity – expanding your terrain possibilities
- Theme-appropriate hues elevate your gaming experience – immersing players completely
Setting Up and Calibrating Your 3D Printer
Before you start printing your first terrain piece, you’ll need to properly set up and calibrate your 3D printer to guarantee quality results.
Place your printer on a stable, level surface and access the calibration menu through your printer’s control interface.
The two most critical steps you’ll tackle are getting your initial printer setup correct and performing accurate bed leveling calibration.
Initial Printer Setup
Setting up your 3D printer correctly forms the foundation for successful terrain printing, so you’ll want to start by carefully assembling your printer according to the manufacturer’s instructions.
Verify all connections are secure and components align properly during this initial printer setup phase.
Your calibration process should include:
- Level that print bed – This critical step determines whether your terrain pieces will stick properly or fail miserably.
- Set accurate temperatures – Wrong settings will turn your masterpiece into a melted disaster.
- Configure layer height – Poor settings create rough, unusable surfaces that ruin immersion.
- Test with simple models – Skipping this step wastes expensive filament on complex failures.
Both FDM and resin printers require specific temperature adjustments based on your filament type, with PLA typically needing 200°C nozzle temperatures.
Bed Leveling Calibration
Perfect bed leveling separates successful terrain prints from frustrating failures that waste your time and filament.
Your bed leveling calibration process starts with heating your nozzle and bed to printing temperatures. Place a piece of paper between the nozzle and bed, then adjust each corner until you feel slight resistance when sliding the paper. Check multiple points across the bed surface, making fine adjustments as needed.
If you’re using an Ender 3 Pro or similar manual system, repeat this process at each leveling knob. Newer printers with automatic bed leveling still benefit from manual verification.
You’ll need to recalibrate after moving your printer or changing print surfaces. Consider using bed leveling software to guide you through the process systematically for consistently perfect first layers.
Finding Quality STL Files for Tabletop Gaming

When you’re ready to start printing terrain, you’ll need high-quality STL files that match your gaming needs. Several specialized websites cater specifically to tabletop gamers seeking terrain pieces.
Thingiverse and Corvus Terrain offer extensive collections of STL files covering different gaming styles and themes. Fat Dragon Games stands out for premium Dungeons and Dragons terrain pieces that deliver exceptional detail and quality.
Here’s how to find the best STL files:
- Check user reviews and ratings – You’ll avoid disappointing prints and wasted filament.
- Look for included Cura profiles – You’ll save hours of frustrating setup time.
- Be persistent when browsing – You’ll discover hidden gems despite navigation challenges.
- Focus on your specific game system – You’ll build cohesive, immersive gaming environments.
Using Slicer Software to Prepare Your Prints
Once you’ve downloaded your STL files, slicer software becomes your essential bridge between digital models and physical prints. Programs like Cura convert your 3D models into .gcode files that your printer understands and executes.
You’ll need to adjust critical settings based on your terrain requirements. Set layer height for detail level, print speed for quality versus time, and infill density for strength and material efficiency.
Most slicer software includes a layer preview feature that reveals potential printing issues before you start.
Select the correct printer profile matching your machine’s nozzle diameter and build volume. After slicing your model, transfer the generated .gcode file to a micro SD card for seamless printing access.
Creating Custom Terrain With Battlefield Builder

While downloading pre-made models offers convenience, Battlefield Builder empowers you to design terrain that perfectly matches your gaming vision.
This intuitive software lets you set custom grid sizes and create structures using the ruins tool. You’ll find navigation seamless with built-in selection controls, while the W and S keys adjust wall heights effortlessly.
The terrain generation process includes these exciting features:
- Texture generation – Transform basic walls into detailed surfaces with a simple tick option
- Building grouping – Combine multiple structures into cohesive, printable units
- Multicolor customization – Add vibrant colors to bring your designs to life
- Faction reskinning – Create thematic terrain that matches your army’s aesthetic
Make sure you’re patient during texture generation, as the detailed processing requires time to complete properly.
Building Complex Structures and Multi-Level Designs
As your terrain designs grow more ambitious, you’ll need to master the art of building complex, multi-level structures that can handle both intricate details and practical printing constraints.
Start by segmenting your designs into multiple pieces that’ll print easier and assemble more efficiently. Use your software’s grouping feature to organize different elements and streamline future modifications.
Master height adjustments using tools like W and S keys in Battlefield Builder to create distinct elevation levels. Add railings and pipes to upper floors for enhanced detail and immersion.
During the design phase, incorporate slots for magnets or pegs to guarantee your structures remain stable when assembled. This approach lets you create sophisticated terrain that’s both printable and durable for gaming sessions.
Grouping and Organizing Models for Efficient Printing
You’ll maximize your 3D printer’s efficiency by strategically grouping models based on similar print settings, size, or function before sending them to the build plate.
Smart organization lets you pack more terrain pieces into each print session while reducing the total number of separate prints you’ll need to complete your project.
This approach saves both time and filament by minimizing printer downtime and optimizing your print bed’s available space.
Strategic Model Grouping
Three key principles define effective strategic model grouping: compatibility, efficiency, and purpose.
You’ll maximize your printing potential by organizing models that share similar characteristics and print requirements. Strategic model grouping works well when you consider print orientation, material usage, and assembly needs simultaneously.
Apply these grouping strategies to transform your printing workflow:
- Combine terrain pieces by scale and theme – watching identical castle walls emerge together creates satisfying uniformity.
- Group accessories with their parent models – doors, windows, and details printed alongside main structures eliminate frustrating searches later.
- Batch similar-sized models together – filling your print bed completely feels incredibly rewarding.
- Organize faction-specific pieces in dedicated groups – seeing your army’s terrain collection grow systematically builds genuine excitement for upcoming campaigns.
Print Bed Optimization
When you arrange models strategically across your print bed, you’ll squeeze every millimeter of available space into productive use.
Print bed optimization starts with grouping models by size and shape, preventing wasted gaps that reduce efficiency. Use Cura or similar slicer software to position models carefully, adjusting orientation to minimize support requirements while maximizing adhesion.
Consider height and width relationships when grouping—taller models shouldn’t overshadow shorter ones, as this creates printing errors and uneven cooling.
Segment larger buildings into manageable sections that fit together efficiently on your bed. This approach simplifies support removal and finishing work later.
Build modularity into your grouped models by incorporating magnet slots or peg systems. You’ll create terrain pieces that assemble easily while maintaining the printing efficiency that smart bed arrangement provides.
Post-Processing Techniques for Professional Results
Several critical steps separate a fresh 3D print from a professional-looking terrain piece that’ll enhance your tabletop games.
These post-processing techniques take a bit of effort, but they’ll transform your prints dramatically.
A little extra work during post-processing will completely transform your 3D printed terrain from amateur to professional quality.
Start by inspecting for imperfections like stringing or layer misalignment.
Research specific methods like sanding or filling to address these issues effectively.
- Carefully remove supports using pliers or hobby knives without damaging delicate details.
- Apply spray primer designed for plastics to create an even base coat for better paint adhesion.
- Use acrylic paints in multiple thin layers rather than one thick application for professional results.
- Add weathering effects through dry brushing or washes to enhance visual depth and stunning realism.
These steps guarantee your terrain pieces look store-bought quality.
Painting and Finishing Your Printed Terrain
Once you’ve completed the initial post-processing steps, the real transformation begins with painting and finishing your terrain pieces.
Start by priming your models with a suitable primer that matches your intended color scheme to enhance paint adhesion and vibrancy. Use acrylic paints for their quick drying time and ease of application, applying multiple thin layers for even coverage and better detail retention.
For professional-looking results, employ advanced techniques like dry brushing to highlight raised surfaces and washing to emphasize recesses and textures.
These finishing methods add depth and realism to your terrain, making features pop visually. Take your time with each layer, allowing proper drying between coats to achieve that polished, tabletop-ready appearance that’ll enhance your gaming sessions.
Troubleshooting Common 3D Printing Issues
Even with careful preparation and settings, you’ll likely encounter printing problems that can frustrate beginners and experienced makers alike.
When printing large-scale terrain, these issues become particularly challenging since failed prints waste significant time and filament. Understanding common problems and their solutions will save you countless hours of frustration.
Here are four critical troubleshooting areas to master:
- Poor bed adhesion – Level your bed properly and apply suitable adhesive treatments to prevent warping on large terrain pieces.
- Stringing between details – Adjust retraction settings to eliminate unwanted filament strands on intricate terrain features.
- Layer misalignment – Tighten belts and recalibrate your printer to maintain structural integrity.
- Under-extrusion – Check for filament tangles and clean nozzles regularly to guarantee consistent material flow.
Frequently Asked Questions
How Much Does It Typically Cost to Print a Complete Tabletop Gaming Set?
You’ll spend $20-100 for a basic set, depending on complexity and material quality. Detailed dungeons cost more than simple pieces. Factor in filament costs, printer wear, and electricity. Large campaigns can reach $200+ for extensive terrain collections.
What’s the Average Printing Time for Standard Terrain Pieces Like Hills or Buildings?
You’ll spend 2-8 hours printing standard terrain pieces. Simple hills take 2-4 hours, while detailed buildings need 4-8 hours. Print time depends on size, complexity, infill percentage, and your printer’s speed settings.
Can I Sell Terrain Pieces I’ve Printed From Downloaded STL Files?
You’ll need to check each STL file’s license terms first. Many designers allow personal use only, while others permit commercial sales. Some require attribution or profit-sharing, so always read licensing agreements carefully.
How Do I Store and Organize My Printed Terrain Collection Long-Term?
You’ll want stackable clear bins with labels for different terrain types. Use foam padding or bubble wrap between delicate pieces. Create an inventory system tracking what’s stored where, and keep frequently used items easily accessible.
What Safety Precautions Should I Take When 3D Printing in My Home?
You’ll need proper ventilation since printers emit fumes. Don’t leave them unattended during long prints. Keep your workspace clean, check electrical connections regularly, and store filaments safely away from heat sources and children.


Leave a Reply