
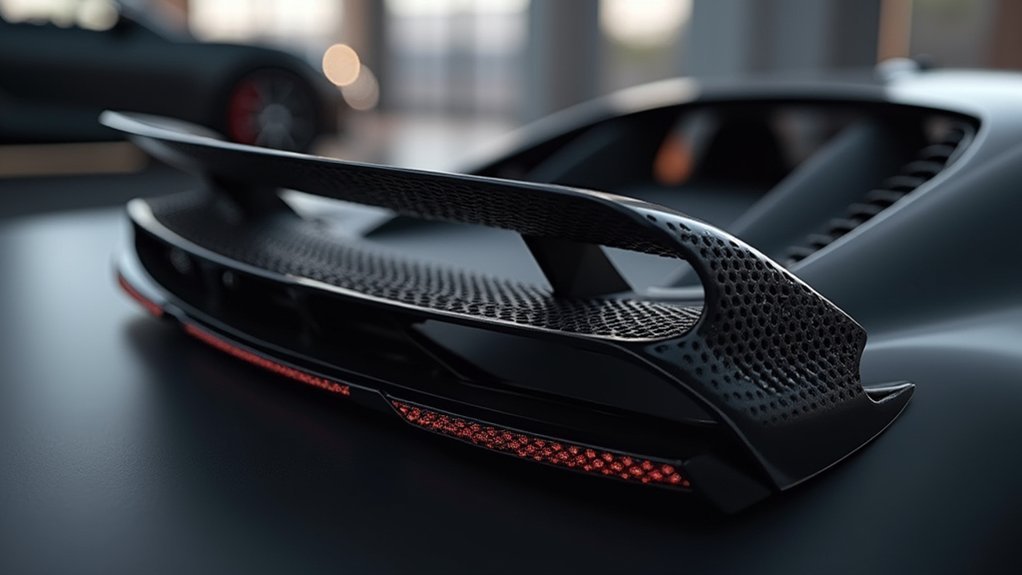
You’ll need titanium alloys or carbon fiber reinforced plastics for ideal strength-to-weight ratios in your spoiler brackets. Position mounting points strategically using FEA analysis to distribute forces evenly, and incorporate fillets with rounded edges to reduce stress concentrations by up to 30%. Use threaded inserts for secure hardware attachment and prototype with photogrammetry for accurate fitment. Apply proper post-processing including sanding, epoxy coatings, and UV-resistant finishes to meet automotive standards while considering aerodynamic properties that complement your spoiler’s downforce function—these fundamentals will guide you toward professional results.
Choose the Right Material for Strength and Weight Balance
Material selection forms the foundation of any successful 3D printed spoiler bracket project.
You’ll want to prioritize materials that deliver a prime strength-to-weight ratio for maximum performance gains.
Titanium alloys stand out as premium choices, offering exceptional structural integrity while dramatically reducing overall weight.
For enhanced stiffness without the metal weight penalty, carbon fiber reinforced plastics provide superior performance characteristics that traditional materials can’t match.
Aluminum alloys like AlSi10Mg represent practical middle-ground options, delivering reliable tensile strengths around 400-500 MPa with lightweight benefits.
When your application demands flexibility and impact resistance, nylon-based filaments offer durability without excessive weight.
Don’t overlook environmental factors.
You’ll need materials with UV and corrosion resistance to guarantee your brackets maintain performance over time.
Design Strategic Mounting Points for Maximum Stability
You’ll need to analyze how forces distribute across your spoiler bracket to identify the ideal mounting locations that prevent stress concentrations.
Plan your hardware integration carefully by incorporating reinforced bosses or threaded inserts at these strategic points to handle the dynamic loads during high-speed driving.
Consider the spoiler’s angle and aerodynamic forces when positioning mounting points, ensuring they counteract lift forces while maintaining structural integrity.
Force Distribution Analysis
Three critical forces act on every spoiler bracket during operation: downforce from aerodynamic pressure, lateral forces from crosswinds, and vibrational loads from road conditions.
You’ll need to analyze how these forces distribute across your bracket design to guarantee your final part can withstand extreme conditions. Use FEA software to simulate stress patterns and identify weak points before printing.
Position your mounting points at the spoiler’s center of pressure to minimize torque and distribute loads evenly. Add reinforcement ribs or gussets where stress concentrations occur.
When designing parts together, consider how forces transfer between components. Test your brackets under varying speeds and angles to validate your analysis, then iterate based on real-world performance data for ideal durability.
Hardware Integration Planning
Since your force distribution analysis has identified critical stress points, strategic mounting point placement becomes the foundation for bracket durability and spoiler stability.
You’ll need to position mounting points where loads can distribute evenly across your printed parts, avoiding stress concentrations that cause failures during high-speed conditions.
Your hardware integration strategy should focus on these critical elements:
- Threaded inserts or captive nuts – Integrate these directly into your bracket design for secure spoiler attachment and simplified installation
- Reinforcement ribs and gussets – Add structural support around mounting points, especially for heavier spoilers
- Corrosion-resistant hardware – Select bolts and washers that withstand automotive environmental factors like vibration and moisture
Optimize your mounting geometry through finite element analysis to identify potential failure modes and maximize your parts’ durability under real-world conditions.
Incorporate Fillets and Rounded Edges for Stress Distribution
When designing 3D printed car spoiler brackets, incorporating fillets and rounded edges changes sharp corners into stress-distributing features that can increase your component’s fatigue life by up to 30%. This technique eliminates dangerous stress concentration points that cause structural failure under dynamic loading conditions.
You’ll find fillets are a popular choice for high-stress automotive applications because they distribute forces evenly throughout the bracket. The shift radius you choose depends on your material properties – brittle materials need larger radii for peak performance.
A wide range of fillet sizes can accommodate different design requirements while maintaining structural integrity.
Beyond mechanical benefits, rounded edges enhance your bracket’s aesthetic appeal, creating cleaner lines that align with modern automotive styling trends while ensuring superior durability.
Use Threaded Inserts for Secure Hardware Attachment
Hardware reliability becomes critical when your 3D printed spoiler bracket faces high-speed aerodynamic forces, making threaded inserts your best defense against catastrophic failure.
These metal anchors transform weak plastic threads into robust mounting points that won’t strip under stress.
You’ll want to choose brass or stainless steel inserts for their exceptional strength and corrosion resistance. They’ll handle environmental extremes while maintaining structural integrity through countless installation cycles.
Key benefits you’ll gain include:
- Enhanced load distribution across high-stress mounting areas
- Easy hardware replacement without damaging your printed bracket
- Precise spoiler alignment for ideal aerodynamic performance
Install your threaded inserts during the printing process or heat-press them afterward. This approach extends your bracket’s lifespan while ensuring your spoiler stays securely attached at speed.
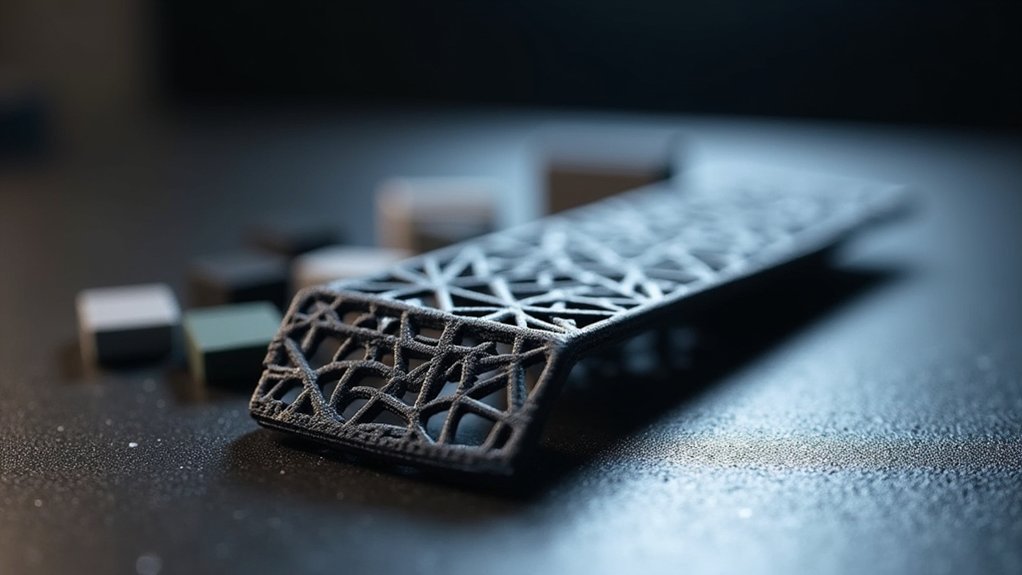
Apply Topology Optimization for Performance Enhancement
Beyond securing your hardware with threaded inserts, you’ll maximize your spoiler bracket’s performance by leveraging topology optimization during the design phase. This computational method analyzes load paths and stress distributions to reduce material usage while maintaining structural integrity.
You can achieve up to 44% weight reduction, as demonstrated in BMW’s i8 Roadster design, while simultaneously increasing stiffness by up to 10 times compared to conventional designs.
Topology optimization enables complex geometries impossible with traditional manufacturing, enhancing both performance and aesthetics. You’ll create lighter, more efficient components that improve your vehicle’s overall performance.
Additionally, this process reduces post-processing requirements and minimizes material waste, streamlining production while lowering costs through optimized material distribution.
Create Accurate 3D Models Using Photogrammetry Techniques
Precision in spoiler bracket manufacturing starts with creating an accurate 3D model of your vehicle using photogrammetry techniques.
You’ll capture multiple photographs from various angles, focusing on overlapping points between images to generate detailed 3D representations. Pay special attention to specific attachment areas where your brackets will mount.
To achieve the best results:
- Use high-resolution cameras with tripods – This stabilizes your shots and enhances model quality and detail
- Maintain consistent lighting conditions – Avoid reflections on car surfaces that can compromise model accuracy
- Leverage free photogrammetry software – Tools like Meshroom or Agisoft Metashape streamline the 3D generation process
Accurate mount points are essential for proper fitting, so verify you’re capturing thorough images of attachment zones for peak bracket fabrication.
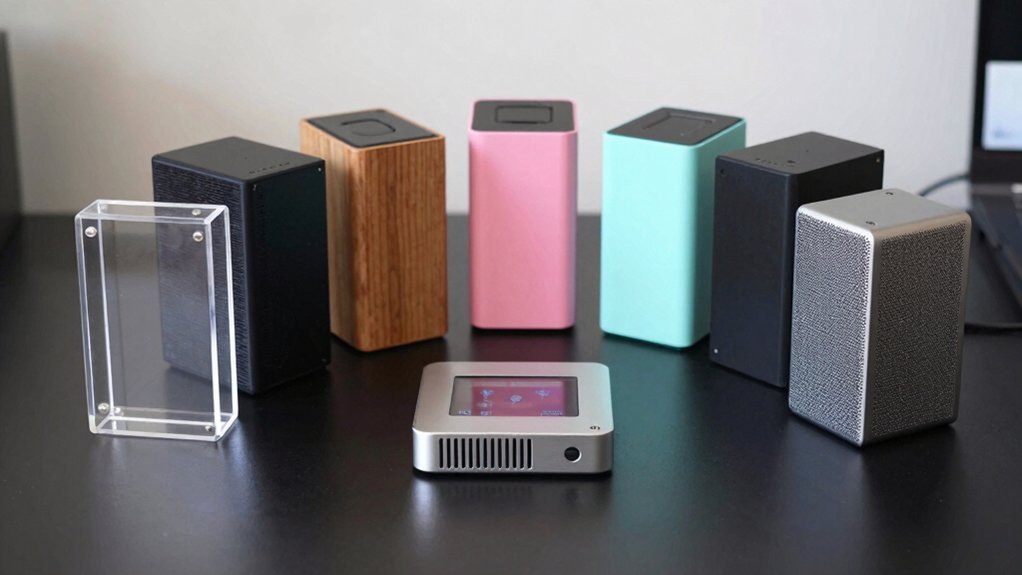
Build Prototypes for Fit Testing Before Final Production
Once you’ve captured your vehicle’s dimensions through photogrammetry, you’ll want to print test versions of your spoiler brackets before committing to final production.
3D printing prototypes lets you rapidly iterate designs without considerable financial investment, unlike traditional manufacturing methods that cost considerably more for each revision.
Test your prototypes under real-world conditions to assess performance and durability.
Check how well the brackets align with your spoiler and car structure, ensuring perfect fitment before final production.
Use feedback from testing to refine weight distribution and mounting stability, meeting safety standards.
This design feedback loop helps you improve both aesthetic appeal and functional performance, creating brackets that enhance your vehicle’s overall appearance while maintaining structural integrity.
Implement Proper Post-Processing for Surface Quality
After prototyping confirms your bracket design meets fitment requirements, you’ll need to focus on post-processing to achieve professional surface quality.
Raw 3D prints often lack the smooth finish necessary for automotive applications, where both aesthetics and aerodynamic performance matter.
Raw 3D printed parts require professional finishing to meet automotive standards for both visual appeal and aerodynamic efficiency.
Sanding serves as your primary subtractive method, removing layer lines and surface imperfections to create acceptable roughness levels.
Following sanding, apply epoxy coatings to establish a protective barrier that improves durability and waterproofing while enhancing the finish.
Consider implementing these sequential treatment methods:
- Fill and sand imperfections systematically
- Apply property-changing treatments to increase strength without added weight
- Seal with UV-resistant coatings for long-term protection
This combination approach guarantees your brackets won’t just fit perfectly but also withstand real-world automotive conditions.
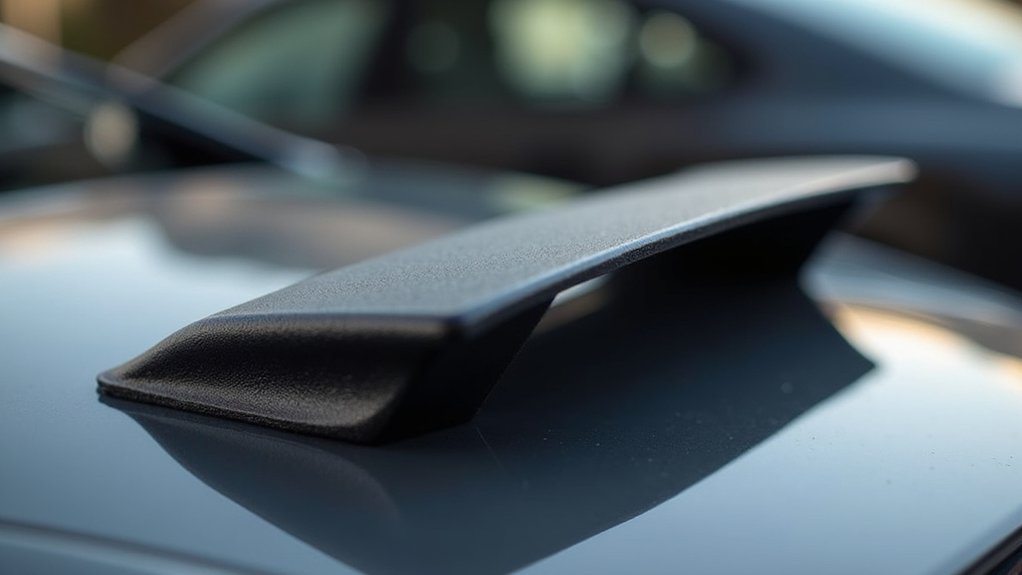
Consider Aerodynamic Properties in Bracket Design
While post-processing guarantees your brackets look professional, their aerodynamic impact on your vehicle’s performance requires equal attention during the design phase.
You’ll want to incorporate tapered edges and rounded profiles to reduce turbulence and minimize drag around the spoiler assembly. Run CFD simulations to analyze airflow patterns and identify areas where your bracket design might create unwanted air disruption.
Position your brackets at angles that complement your spoiler’s aerodynamic function, enhancing downforce generation at high speeds.
Consider using carbon fiber-reinforced polymers for their excellent strength-to-weight ratio, which reduces overall vehicle weight while maintaining structural integrity.
Before finalizing your design, test prototypes in wind tunnels to gather real-world data on airflow behavior and make necessary adjustments for peak performance.
Plan for High-Speed Durability and Safety Requirements
You’ll need to conduct thorough material stress analysis to identify how your 3D-printed brackets will perform under extreme aerodynamic loads at high speeds.
Your mounting system must incorporate multiple secure attachment points that can handle both static weight and dynamic forces without failing.
Don’t underestimate the importance of testing your bracket design with simulation software before moving to physical prototypes, as this prevents costly failures during real-world application.
Material Stress Analysis
When designing 3D printed car spoiler brackets, conducting thorough material stress analysis becomes critical for ensuring your components can withstand the intense forces encountered during high-speed driving.
You’ll need to run finite element analysis (FEA) simulations to predict stress distribution and identify potential failure points before manufacturing. This computational approach helps you visualize how forces affect your bracket design under real-world conditions.
Consider these essential factors during your stress analysis:
- Material selection – Choose high tensile strength materials like carbon fiber composites that offer superior strength-to-weight ratios.
- Design optimization – Incorporate fillets and rounded edges to minimize stress concentrations that cause cracking.
- Environmental impact – Account for temperature fluctuations and humidity effects on material properties over time.
Ensure your attachment points distribute loads evenly across mounting surfaces.
Secure Mounting Systems
Multiple critical factors determine whether your 3D printed spoiler brackets will survive the extreme forces generated at high speeds.
You’ll need reinforced mounting points with strategically placed bosses for threaded inserts to enhance attachment security. Choose lightweight materials like carbon fiber or reinforced plastics that maintain structural integrity while reducing overall weight.
Don’t overlook vibration-dampening features in your mounting system. These reduce stress concentrations that could cause fatigue failures during high-speed operation.
You should test your prototype brackets under simulated high-speed conditions to validate performance and guarantee they meet safety standards.
Consider implementing adjustable mounting options that allow fine-tuning of spoiler angle and position. This optimization enhances aerodynamic performance while maintaining stability across various speeds.
Frequently Asked Questions
What Is the Best Way to Attach 3D Printed Parts Together?
You’ll get the strongest connections using threaded inserts for screw attachments and epoxy adhesive for permanent bonds. Add dowel pins for precise alignment, and always include sufficient clearance around mounting points for easy assembly.
What Are You Not Allowed to 3D Print?
You can’t 3D print firearms, explosives, copyrighted designs, patented parts, critical safety components like brake parts, drug paraphernalia, or certain weapons due to legal restrictions and safety concerns.
What Is the Best Glue for Joining 3D Printed Parts?
You’ll want cyanoacrylate for quick PLA/ABS bonds, or epoxy for stronger, heat-resistant joints. Clean surfaces first, and consider combining adhesive with mechanical fasteners for maximum strength.
How to Best Remove Supports From 3D Print?
You’ll want to warm supports with a heat gun first, then use pliers for leverage. Cut intricate connections with a hobby knife, and sand rough areas afterward for smooth finishes.
Leave a Reply