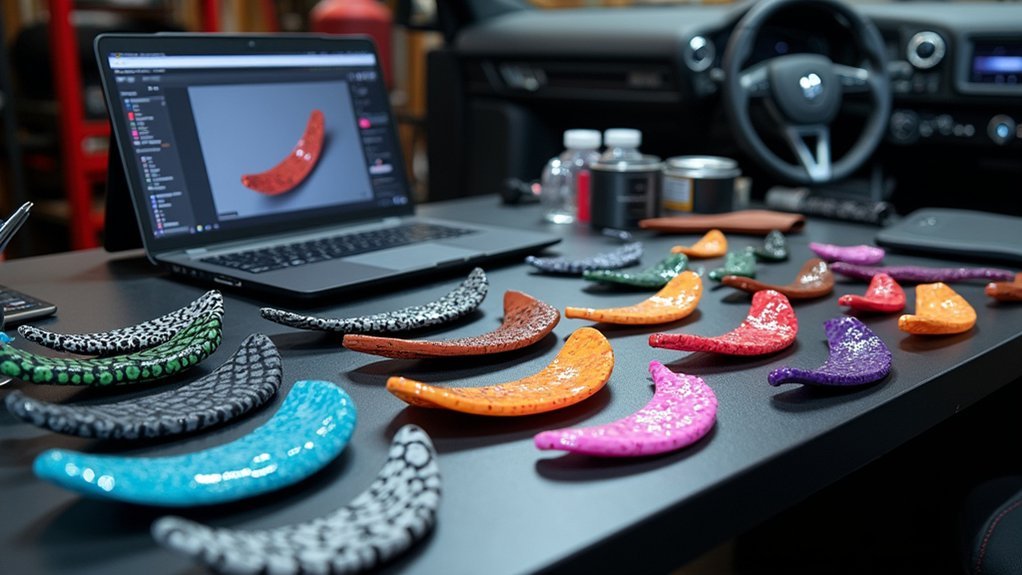
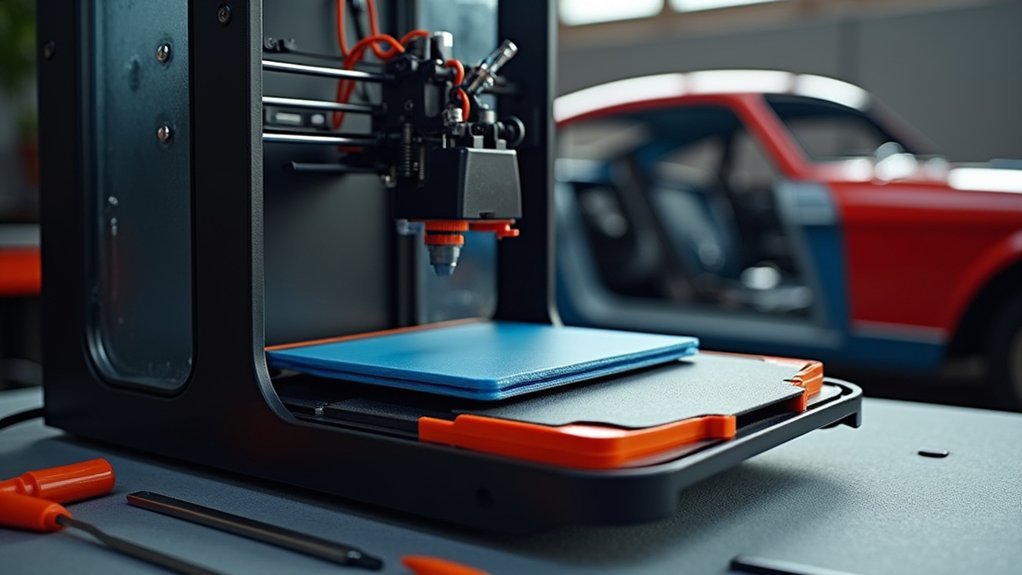
To 3D print custom car interior trim, you’ll start by precisely measuring existing components and creating CAD models using software like Fusion 360. Choose a printer with at least 200x200x200mm build volume and select durable materials like ABS or PET-G for heat resistance. Design with 0.2-0.5mm tolerances, then post-process through progressive sanding, epoxy coating, and professional wrapping techniques using vinyl or carbon fiber materials for factory-quality results. Master these fundamentals to reveal advanced customization possibilities.
Understanding Your Vehicle’s Interior Trim Requirements

Success in 3D printing custom car interior trim starts with thoroughly understanding your vehicle’s specific requirements.
Understanding your vehicle’s unique specifications is the foundation for creating perfectly fitted 3D printed interior trim pieces.
You’ll need to assess your vehicle’s interior by taking precise measurements of existing trim pieces to guarantee your custom parts fit seamlessly. Research the original materials used in your car’s trim, whether they’re plastics or composites, so you can select appropriate 3D printing materials that match or enhance these components.
Consider both aesthetic and functional requirements when planning your project.
Evaluate factors like color coordination, texture preferences, and overall design cohesion with your vehicle’s style. Additionally, determine the performance needs of each trim piece, including durability standards, heat resistance levels, and flexibility requirements, to choose the best printing materials and processes for long-lasting results.
Essential CAD Software and Design Tools for Trim Creation
Choosing the right CAD software determines how effectively you’ll translate your trim design ideas into printable 3D models.
Essential CAD software options vary based on your experience level and requirements. Fusion 360 offers powerful modeling tools with a user-friendly interface, perfect for creating intricate custom car trim designs—it’s free for students and enthusiasts.
Beginners should consider Tinkercad’s intuitive drag-and-drop interface for easy modifications without extensive CAD experience.
Advanced users will appreciate SolidWorks’ professional-grade features for precision trim pieces, though it requires a paid license.
OnShape provides cloud-based collaborative design capabilities, enabling teams to design and produce trim components simultaneously.
Always consider your vehicle’s specific dimensions and contours when selecting software to guarantee accurate fit.
Selecting the Right 3D Printer for Interior Trim Projects

When choosing a 3D printer for your interior trim projects, you’ll need to take into account the build volume since larger trim pieces require adequate printing space to avoid splitting designs into multiple parts.
Your printer must also handle various materials effectively, particularly heat-resistant options like ABS and user-friendly alternatives like PET-G that offer the durability needed for automotive applications.
Look for models with heated beds and reliable material compatibility, as these features directly impact your ability to produce professional-quality trim components.
Printer Size Requirements
Before you begin any custom car interior trim project, you’ll need to evaluate your 3D printer’s build volume to confirm it can handle the dimensions of typical automotive components.
For most printer size requirements, you’ll want at least 200 x 200 x 200 mm capacity to accommodate standard trim pieces comfortably. This guarantees your custom printed parts fit properly without requiring segmentation.
Larger printers like the BigRep STUDIO G2 offer significant advantages for automotive applications, allowing you to print bigger components in single pieces. This eliminates assembly steps and improves fit quality.
Consider your typical project scale when choosing printer size. Smaller trim pieces work fine on compact printers, but door panels or dashboard elements need expanded build volumes.
Match your printing materials compatibility with size requirements for ideal results.
Material Compatibility Features
Material compatibility stands as the most important factor after confirming your printer’s size capabilities.
You’ll need a 3D printer that handles multiple filament types for successful interior parts production. ABS and PET-G are your best choices since they offer superior strength, durability, and resistance to heat and chemicals found in vehicle environments.
Your printer should support flexible materials for custom gaskets or soft-touch surfaces, plus carbon fiber-reinforced filaments for high-stress applications.
A heated bed becomes essential when printing allows you to use ABS without warping issues. Material compatibility directly affects your trim’s longevity and performance, so choose a printer that accommodates various filament diameters and temperatures to expand your design possibilities.
Choosing Optimal Materials for Automotive Interior Applications
Success in 3D printing custom car interior trim hinges on selecting the right material for each specific application.
PLA works perfectly for non-structural decorative parts thanks to its ease of printing and biodegradable properties. However, you’ll want ABS for functional components that’ll face varying temperatures since it offers superior strength and heat resistance.
For high-stress areas requiring flexibility and durability, Nylon stands out as your best choice. It won’t crack under wear and tear like other materials might.
PET-G provides an excellent middle ground, balancing strength, impact resistance, and printability for both aesthetic and functional trim pieces.
Consider carbon fiber-reinforced filaments like PA-CF when you need enhanced strength and heat resistance for lightweight structural components requiring additional support.
Measuring and Modeling Techniques for Perfect Fit

Once you’ve selected your material, achieving a professional-looking result depends entirely on precise measurements and accurate digital modeling.
You’ll need to capture every dimension of your existing trim pieces with extreme accuracy.
Start your measuring process using these essential techniques:
- Use calipers and measuring tapes at multiple points to guarantee precision across the entire piece
- Employ 3D scanning technology to create digital replicas that streamline your modeling workflow
- Incorporate 0.2 to 0.5 mm tolerance in your designs to account for printing variations
- Create prototypes using inexpensive PLA material before committing to final production runs
Next, use CAD software like Fusion 360 or OnShape to build your digital models.
These programs allow you to make precise adjustments and modifications until you reach the perfect fit for your vehicle’s interior.
Printer Settings and Configuration for Quality Trim Parts
Precision in your printer configuration makes the difference between professional-grade trim pieces and disappointing failures.
Your layer height should range between 0.1mm to 0.2mm, balancing detail with printing speed for quality trim parts. Adjust print temperatures according to your filament—ABS needs 230-250°C while PLA requires 190-220°C for ideal adhesion.
Layer height between 0.1-0.2mm optimizes detail quality while filament temperatures must match material specifications for proper adhesion.
Set your heated bed at 60-80°C for ABS materials to prevent warping during the printing process. Configure print speeds between 40-60 mm/s to improve accuracy and reduce defects in intricate designs.
Enable supports or rafts in your slicer software for complex geometries, ensuring your custom printed trim pieces print successfully without sagging or misalignment issues.
Post-Processing Methods for Professional-Grade Finish
Several post-processing techniques transform your freshly printed trim pieces from rough, layered surfaces into smooth, professional automotive components.
You’ll need to combine multiple post-processing methods to achieve a professional-grade finish that meets automotive applications standards.
Start with subtractive techniques to enhance surface finish:
- Sanding – Remove layer lines using progressively finer grits (120 to 400)
- Heat treatment – Apply controlled heating to improve mechanical strength without material changes
- Epoxy coating – Add protective layers for waterproofing and wear resistance
- Comprehensive finishing – Complete the sequence with priming and painting for showroom quality
Combining sanding followed by epoxy coating delivers both aesthetic appeal and functional durability.
This multi-step approach guarantees your custom trim withstands daily automotive use while maintaining visual excellence.
Surface Treatment Options: Sanding, Coating, and Smoothing
Surface treatment success depends on mastering three core techniques that work together to eliminate visible layer lines and create automotive-grade surfaces. You’ll start with sanding to smooth rough textures, then apply coating for protection and enhanced appearance, followed by surface smoothing to achieve that professional finish your custom trim deserves.
| Technique | Method | Purpose | Result |
|---|---|---|---|
| Sanding | Progressive grits 220-800 | Remove layer lines | Smooth base surface |
| Coating | Epoxy or automotive finishes | Protection and aesthetics | Durable, glossy finish |
| Surface Smoothing | Chemical dipping/heat gun | Fill micro-imperfections | Uniform appearance |
| Combined Treatment | All three methods | Professional automotive grade | Enhanced upholstery adhesion |
This systematic approach transforms printed parts into professional-quality custom trim pieces that rival factory components.
Upholstery and Wrapping Techniques for Enhanced Aesthetics
You’ll need to choose the right materials for wrapping your 3D printed trim pieces, with options ranging from durable vinyl to premium leather and synthetic Alcantara.
Your material selection will determine both the aesthetic outcome and longevity of your custom interior components.
Once you’ve selected your materials, you’ll apply professional wrapping techniques that guarantee proper adhesion and a seamless, factory-quality finish.
Material Selection Process
Once you’ve successfully 3D printed your custom car interior trim pieces, selecting the right finishing materials transforms basic plastic components into professional-looking upgrades that rival factory installations.
Your material selection process for custom printed parts requires careful consideration of durability, aesthetics, and UV resistance to guarantee longevity.
Consider these finishing options for your printed car parts:
- Vinyl wraps – Provide excellent stain resistance and customization with proper surface preparation and heat application.
- Carbon fiber wraps – Deliver premium aesthetics while adding protective layers against wear and fading.
- Hydrographic films – Enable intricate pattern transfers while maintaining structural integrity.
- Chrome or reflective foils – Add modern luxury touches to enhance overall interior appeal.
Each material offers unique benefits that complement your 3D printing investment.
Professional Wrapping Methods
Three fundamental wrapping methods can transform your 3D printed trim pieces from basic plastic into showroom-quality components that integrate seamlessly with your vehicle’s existing interior.
Professional methods like vinyl foiling allow you to apply adhesive-backed materials with heat activation, creating durable finishes that resist fading and scratches.
Vacuum foiling delivers seamless coverage across complex contours your custom printed components might feature, ensuring professional results.
Paint Protection Films serve dual purposes, protecting your surfaces while maintaining aesthetic appeal.
For tactile enhancement, combining upholstery materials like Alcantara or leather with foiling techniques creates a bespoke interior experience.
Since 3D printing offers endless possibilities for unique shapes, these wrapping techniques help achieve factory-level quality and cohesive design language throughout your customized cabin.
Installation Methods and Quality Testing for Custom Trim
After you’ve successfully printed your custom car interior trim pieces, proper installation becomes essential for achieving a professional-looking result that’ll withstand daily use.
Effective installation methods require careful preparation and attention to detail throughout the process.
Professional-grade results depend on meticulous preparation and sustained focus during every stage of the installation procedure.
Begin with thorough quality testing by conducting dry fits of all printed parts in their intended locations. Check for proper alignment, gaps, and overall aesthetic appeal before permanent attachment.
Key installation considerations include:
- Design parts with precise tolerances to guarantee snug fits and minimize adjustments
- Select durable adhesives like epoxy based on your trim material and mounting surface compatibility
- Apply multi-step post-processing including sanding and clear coating for enhanced durability
- Test structural integrity under various temperature conditions to prevent warping issues
This systematic approach guarantees your custom trim maintains both form and function.
Frequently Asked Questions
What Is the Best Material for 3D Printing Interior Car Parts?
You’ll want ABS for heat-resistant parts near windows, PET-G for balanced strength and aesthetics in trim pieces, or nylon for flexible clips. PLA works fine for low-heat areas you don’t stress frequently.
Is It Legal to 3D Print Car Parts?
You can legally 3D print car parts, but you’ll need to avoid patent infringement, check local regulations, consider warranty implications, and guarantee quality control for safety-critical components.
Can You Print Car Parts With 3D Printers?
You can absolutely print car parts with 3D printers using FDM technology and materials like PLA, ABS, or PETG. You’ll create custom interior components, brackets, and functional parts cost-effectively without expensive tooling.
Is It Illegal to 3D Print a Glock Lower?
Yes, you’ll face serious federal charges if you 3D print a Glock lower without proper licensing. The ATF considers it manufacturing a firearm, which requires an FFL and can result in imprisonment.


Leave a Reply